
As I stood in my kitchen, savoring the scent of chocolate and graham crackers mingling in the air, I realized I was about to create something magnificent. These No-Bake S’mores Dessert Cups are a whimsical twist on the beloved campfire classic, allowing me to indulge in that nostalgic flavor anytime without the hassle of firing up the oven. With their crunchy graham cracker crust, rich chocolate mousse, and a drizzle of silky ganache, these desserts are not just easy to whip up; they’re also perfect for impressing friends at gatherings or packing for a scrumptious picnic. Ready to bring the taste of summer memories to your kitchen? Let’s dive into this mouthwatering recipe together!
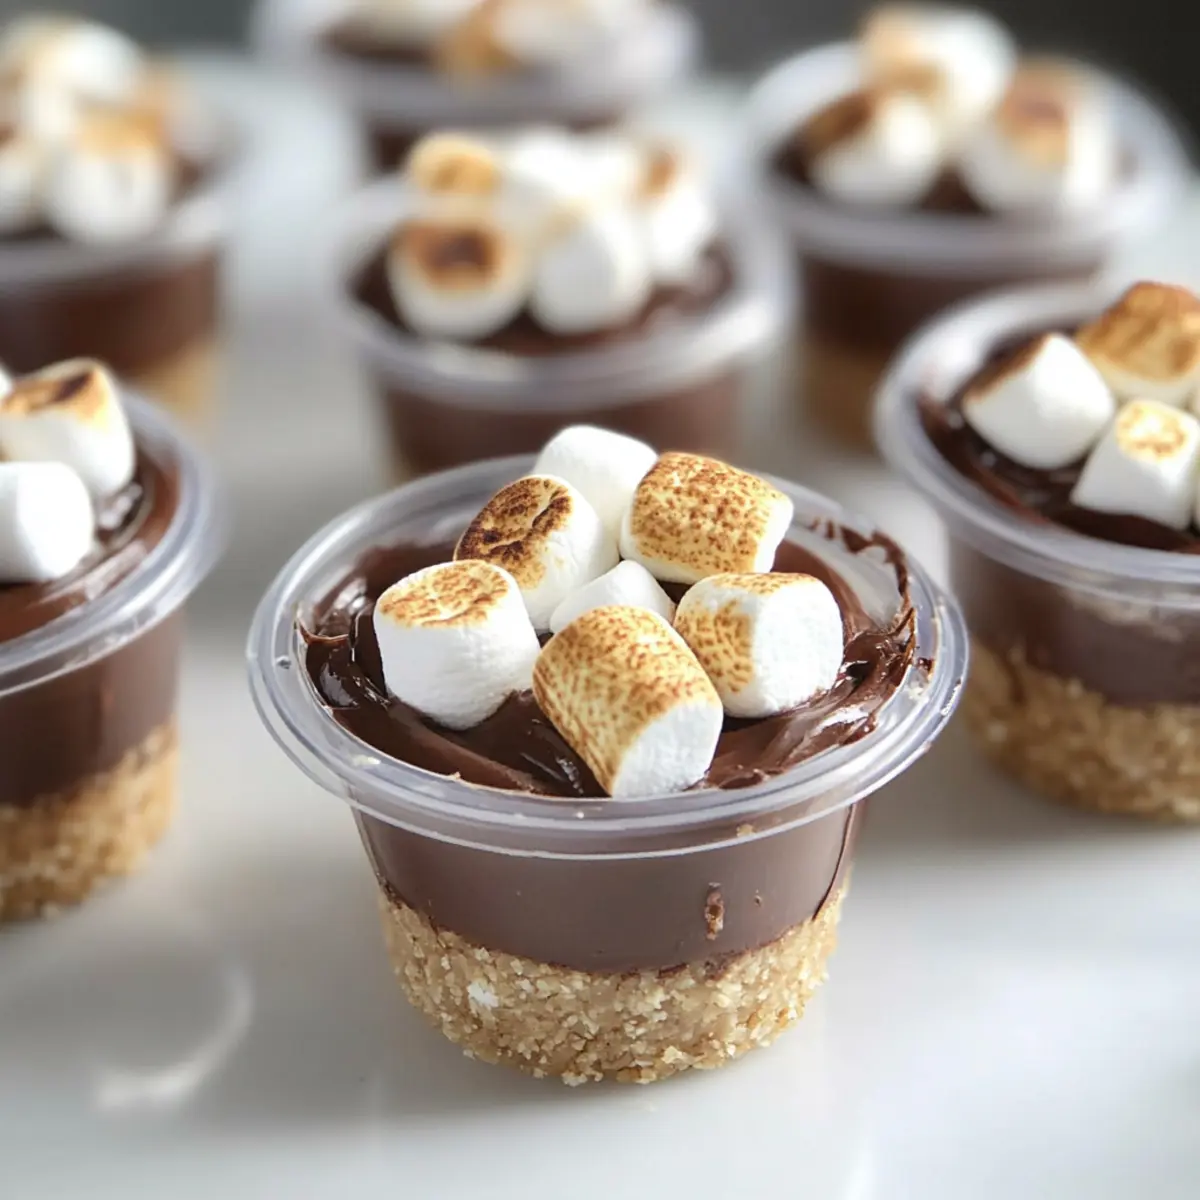
Why will you adore these dessert cups?
No-Bake Magic: These S’mores Dessert Cups can be whipped up quickly, letting you skip the oven and make delightful treats in no time.
Crowd-Pleasing Delight: Perfect for parties or casual get-togethers, these cups will impress friends and family alike with their stunning presentation and nostalgic flavors.
Versatile Options: Easily customize the recipe using different pudding flavors or toppings to fit your taste. You can even switch up the filling for a surprise twist!
Texture Paradise: Each cup combines the crunch of graham crackers, the creaminess of chocolate mousse, and the sweetness of toasted marshmallows, ensuring every bite is a layered delight.
Did We Mention Easy? With simple ingredients and straightforward instructions, even beginner bakers can shine like pros when serving these delightful treats. They’re a perfect introduction to no-bake desserts!
S’mores Dessert Cups Ingredients
• Indulge in the flavors of classic S’mores with these easy-to-follow ingredients!
For the Crust
• Graham Cracker Crust – Provides a crunchy base; consider using gluten-free graham crackers for a gluten-free option.
• Unsalted Butter – Binds the graham cracker crumbs together; coconut oil can be substituted for a dairy-free variation.
For the Mousse
• Instant Chocolate Pudding Mix – Adds rich chocolate flavor and creaminess; vanilla pudding mix can be used for a lighter taste.
• Milk – Used to prepare the pudding; any non-dairy milk can serve as a substitute.
• Heavy Cream – Whipped to create a fluffy mousse texture; opt for coconut cream for a lighter option.
For the Ganache
• Semisweet Chocolate Chips – Essential for the rich chocolate ganache; feel free to choose dark or milk chocolate based on your preference.
• Heavy Cream – Added to the chocolate chips to create a smooth ganache.
For the Topping
• Mini Marshmallows – Topped on each cup for added sweetness and texture; vegan marshmallows are a great choice for a plant-based dessert.
• Extra Graham Cracker Crumbs – Sprinkled on top for garnish; optional but offers extra crunch.
Step‑by‑Step Instructions for S’mores Dessert Cups
Step 1: Prepare the Crust
In a medium bowl, combine crushed graham cracker crumbs with melted unsalted butter, stirring until fully moistened. Evenly portion the mixture into 28 plastic cups, pressing firmly into the bottom to form a solid crust. You should see a nice crumbly base forming that holds together well when pressed.
Step 2: Make Pudding
In another mixing bowl, whisk together the instant chocolate pudding mix and milk for about 2 minutes until the mixture thickens and is smooth. Once combined, set the bowl in the refrigerator to chill for 5 minutes, allowing the pudding to reach the perfect creamy texture for your S’mores Dessert Cups.
Step 3: Whip Cream
After the pudding has chilled, pour the heavy cream into the pudding mixture. Using an electric mixer, whip the ingredients together on medium speed until the mixture is light and fluffy, forming soft peaks. This process should take around 2-3 minutes, resulting in a luscious mousse that will elevate your dessert cups.
Step 4: Fill Cups
Transfer the whipped chocolate mousse into a piping bag to create a beautiful presentation. Carefully pipe the mousse into each cup until they are filled to about three-quarters full. The layers should be distinct, showcasing the rich chocolate mousse atop that delightful graham cracker crust.
Step 5: Prepare Ganache
In a microwave-safe bowl, combine the semisweet chocolate chips and a small amount of heavy cream. Microwave in 30-second intervals, stirring in between, until fully melted and smooth—this takes about 1-1.5 minutes total. Once ready, drizzle the warm ganache generously over the filled mousse portions in the cups for that rich finishing touch.
Step 6: Garnish Cups
Top each S’mores Dessert Cup with a generous handful of mini marshmallows. If you wish, use a culinary torch to toast the marshmallows until they are golden and charred—this brings out that classic S’mores flavor. For added crunch, sprinkle extra graham cracker crumbs on top, making them visually appealing and mouthwatering.
Step 7: Chill Before Serving
Seal the filled dessert cups with lids or plastic wrap and place them in the refrigerator to chill for at least 30 minutes. This chilling time allows the flavors to meld and ensures a refreshing treat when served. Enjoy your deliciously simple S’mores Dessert Cups!
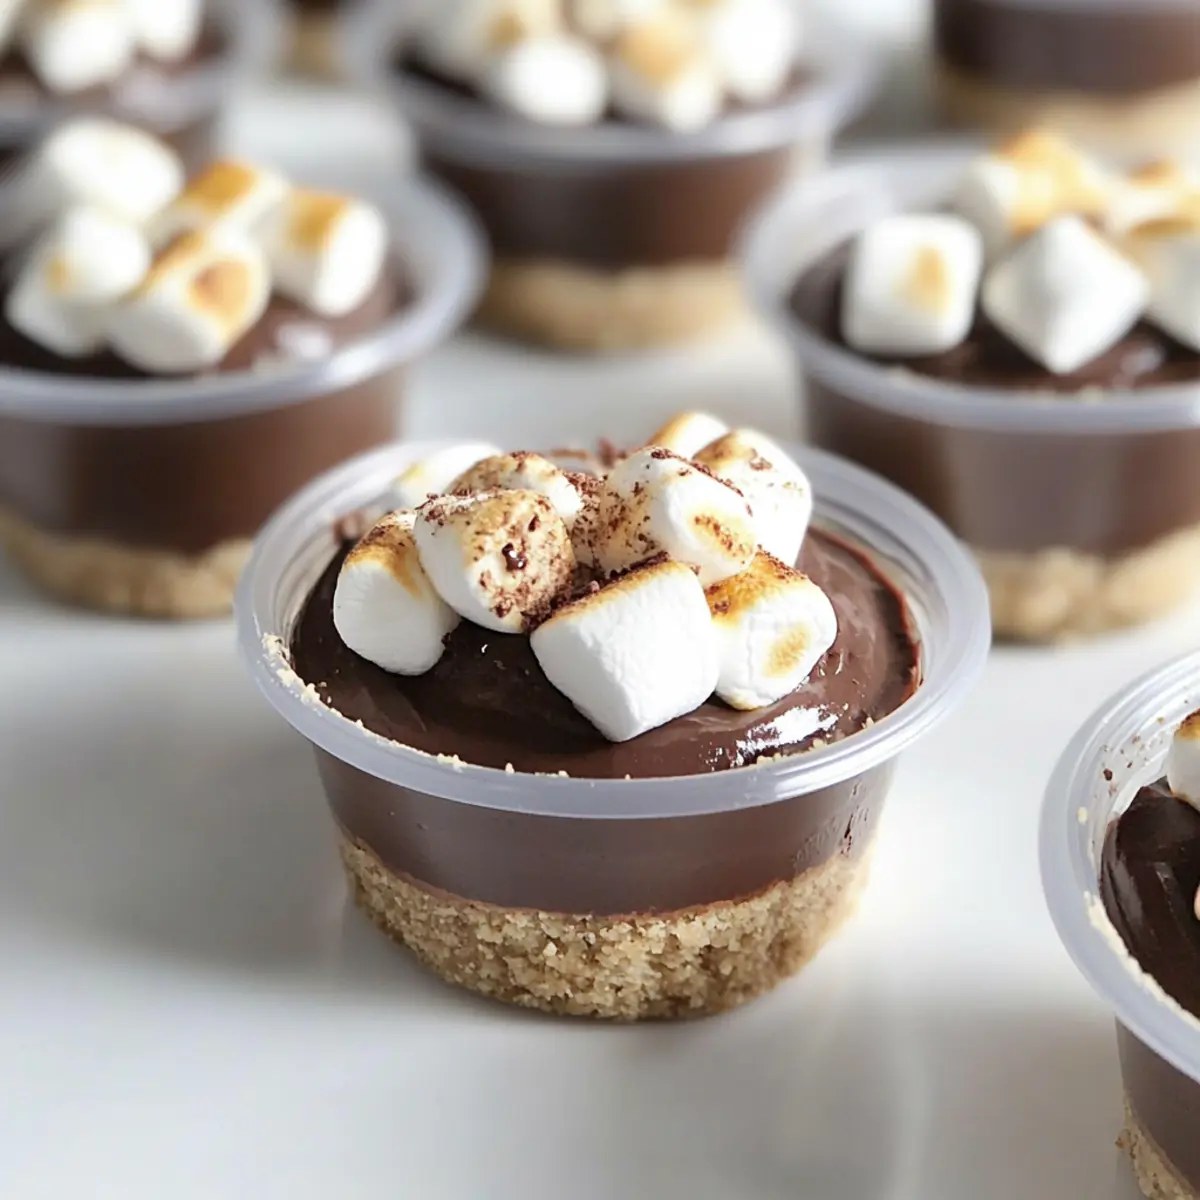
Expert Tips for S’mores Dessert Cups
-
Whip Cream Wisely: Make sure to whip the heavy cream until soft peaks form for a light mousse. Overwhipping can lead to a grainy texture, diminishing the experience.
-
Chill for Flavor: Allow the cups to chill for at least 30 minutes. This step is crucial for the flavors to meld together beautifully, enhancing the overall taste of your S’mores Dessert Cups.
-
Toast Just Before Serving: For the best texture and flavor, toast the mini marshmallows right before serving. This keeps them fluffy and prevents sogginess from the mousse.
-
Experiment with Variations: Don’t hesitate to play around with different pudding flavors or toppings. Mix the chocolate pudding with vanilla for a twist, or try adding peanut butter mousse for a delicious variation.
-
Keep it Portable: These dessert cups are perfect for picnics and parties. Use plastic cups with lids for easy transport and to maintain freshness until serving.
How to Store and Freeze S’mores Dessert Cups
Fridge: Keep your S’mores Dessert Cups in the refrigerator for up to 2-3 days. Make sure they are covered with plastic wrap or stored in an airtight container to retain freshness.
Make-Ahead Option: You can prepare the crust and filling separately and store them in the fridge ahead of time. Assemble the cups just before serving for the best texture and taste.
Freezer: For longer storage, you can freeze the chocolate mousse (without the toppings) in airtight containers for up to 1 month. Thaw in the fridge overnight before serving.
Reheating: While these dessert cups are typically served chilled, you can leave them at room temperature for a few minutes if you prefer a softer texture before indulging!
What to Serve with S’mores Dessert Cups
Create an unforgettable dining experience with perfect pairings that complement the richness of these delightful treats.
-
Fresh Berries: Bursting with natural sweetness, fresh strawberries or raspberries add a refreshing contrast to the creamy texture of the dessert cups. The vibrant colors also make for an inviting presentation!
-
Chocolate Fondue: For an extra touch of indulgence, serve a warm chocolate fondue alongside the dessert cups, allowing guests to dip fruits or graham crackers for an interactive and memorable treat.
-
Vanilla Ice Cream: A scoop of creamy vanilla ice cream balances the richness of the S’mores Dessert Cups, providing a delightful cold element that enhances the overall flavor experience.
-
Iced Coffee: Crisp and refreshing, a glass of iced coffee pairs beautifully with these desserts. The coffee’s slight bitterness cuts through the sweetness, creating a harmony of flavors that no one can resist.
-
Nutty Chocolate Bark: Add some crunch with a side of homemade chocolate bark sprinkled with nuts. The texture contrast complements the soft mousse, and the combination of flavors feels decadent yet satisfying.
-
Refreshing Lemonade: A zesty, homemade lemonade adds a cheerful twist, cutting through the dessert’s richness. The refreshing citrus flavor brightens the palate, making this pairing perfect for summertime gatherings.
-
Mini Fruit Tarts: For a beautiful dessert table, consider serving mini fruit tarts. Their flaky crust and fruity fillings pair well with the S’mores Dessert Cups to offer varied textures and tastes for guests to enjoy.
Make Ahead Options
These S’mores Dessert Cups are perfect for meal prep, making your busy weeknights more manageable! You can prepare the graham cracker crust and chocolate mousse up to 24 hours in advance. Simply press the crust into the cups and refrigerate it, then make the mousse mixture and store it separately in an airtight container. Just before serving, pipe the mousse into the chilled cups, drizzle with warm ganache, and top with mini marshmallows. For optimal quality, toast the marshmallows right before serving to keep them fluffy and avoid sogginess. With this prep, you can enjoy this delightful no-bake dessert with minimal stress!
S’mores Dessert Cups Variations
Feel free to mix things up and create your own unique spin on these delightful dessert cups!
-
Gluten-Free: Substitute traditional graham crackers with gluten-free versions to ensure everyone can enjoy these treats.
-
Dairy-Free Delight: Use coconut oil instead of butter and swap heavy cream for coconut cream for a rich, dairy-free mousse.
-
Peanut Butter Punch: Add a layer of creamy peanut butter mousse before the chocolate mousse for an indulgent twist that adds nutty flavor.
-
Alternative Pudding Flavors: Instead of chocolate pudding, consider vanilla or butterscotch to create a lighter, yet still satisfying dessert.
-
Vegan Version: Use silken tofu blended until smooth combined with plant-based milk in place of heavy cream to create a vegan mousse.
-
Flavor Boosting: Mix in a dash of espresso powder into the mousse for a delightful coffee flavor that pairs wonderfully with chocolate.
-
Coconut Crunch: Fold in toasted coconut flakes into the mousse for a tropical twist that brings a sunny essence to each bite.
-
Heat it Up: Add a pinch of cayenne pepper to the chocolate ganache for a subtle spicy kick that can elevate the flavor profile!
This versatility not only allows you to cater to different dietary needs, but it also keeps up the excitement in the kitchen! For further inspiration, you can also check out this delightful No-Bake Cheesecake recipe or take a look at how to incorporate chocolate into different treats with our Chocolate Dessert Ideas.
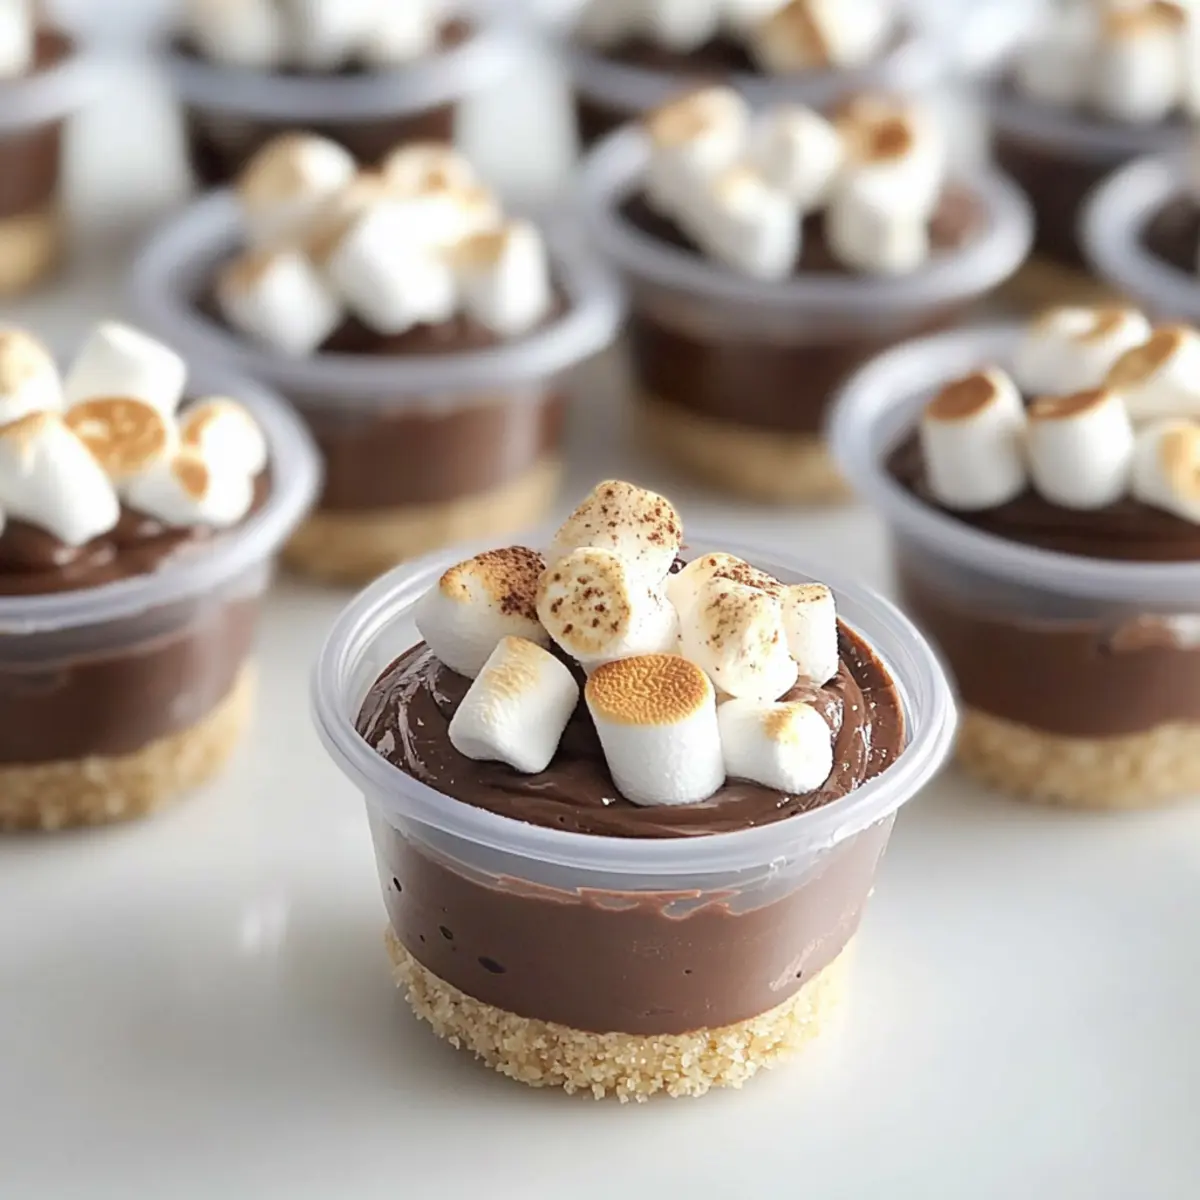
S’mores Dessert Cups Recipe FAQs
How do I know if my graham crackers are fresh enough for the crust?
Absolutely! When selecting graham crackers, look for ones that are intact and free from any dark spots or signs of staleness. If they crumble easily or taste stale, it’s best to grab a fresh package. Fresh graham crackers will give your crust the perfect crunch and flavor!
What’s the best way to store leftover S’mores Dessert Cups?
You can store your S’mores Dessert Cups in the refrigerator for up to 2-3 days. Make sure they’re covered with plastic wrap or kept in an airtight container to keep them fresh and prevent drying out. Enjoy them chilled for the ultimate dessert experience!
Can I freeze my S’mores Dessert Cups?
Yes, you can! To freeze, prepare the chocolate mousse separately (without any toppings), and spoon it into airtight containers before sealing. They can be frozen for up to 1 month. When you’re ready to enjoy, simply thaw them in the refrigerator overnight. To serve, just add the toppings fresh!
What if the whipped cream doesn’t get fluffy enough?
Very! If your whipped cream doesn’t reach soft peaks, check that your heavy cream is well chilled before whipping, as warmer cream won’t fluff up properly. If you’re still struggling, you can try adding a tablespoon of powdered sugar for stabilization and continue whipping until you achieve the desired texture.
Are there any allergy considerations for this recipe?
Indeed! This recipe contains dairy from heavy cream and chocolate. If you’re catering to someone with dairy allergies, you can easily substitute with coconut cream and dairy-free chocolate. For those avoiding gluten, using gluten-free graham crackers and ensuring all ingredients are certified gluten-free will make your S’mores Dessert Cups a safe treat for everyone!
Can I make these S’mores Dessert Cups ahead of time?
Absolutely! You can prepare the crust and mousse a day in advance and store them separately in the fridge. Assemble the cups just before serving for the best texture and freshness. This makes it easy to enjoy a delicious homemade dessert without the hassle right before your gathering!
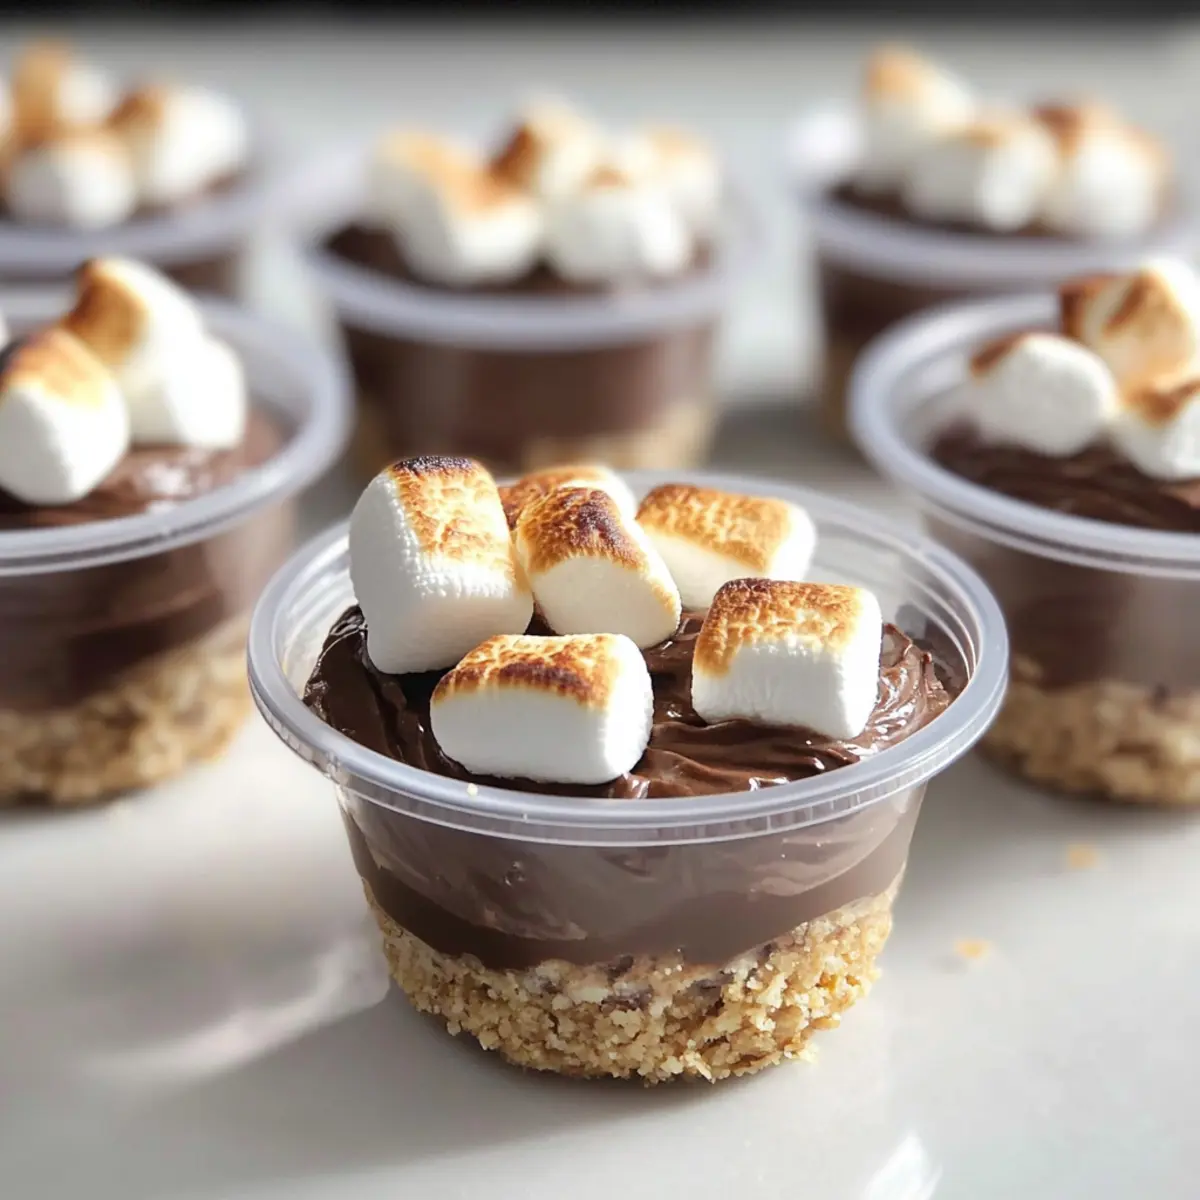
Irresistibly Rich S'mores Dessert Cups: A No-Bake Treat!
Ingredients
Equipment
Method
- In a medium bowl, combine crushed graham cracker crumbs with melted unsalted butter. Press firmly into 28 plastic cups to form a crust.
- In another bowl, whisk together instant chocolate pudding mix and milk for 2 minutes until thickened. Chill in the refrigerator for 5 minutes.
- Pour heavy cream into the chilled pudding and whip on medium speed until light and fluffy, around 2-3 minutes.
- Transfer the mousse into a piping bag and pipe into each cup until filled to about three-quarters full.
- In a microwave-safe bowl, combine chocolate chips and heavy cream. Microwave in 30-second intervals, stirring until melted and smooth. Drizzle over each cup.
- Top each cup with mini marshmallows and optionally toast them. Sprinkle with extra graham cracker crumbs for garnish.
- Seal with lids and refrigerate for at least 30 minutes to chill and allow flavors to meld.
Leave a Reply