
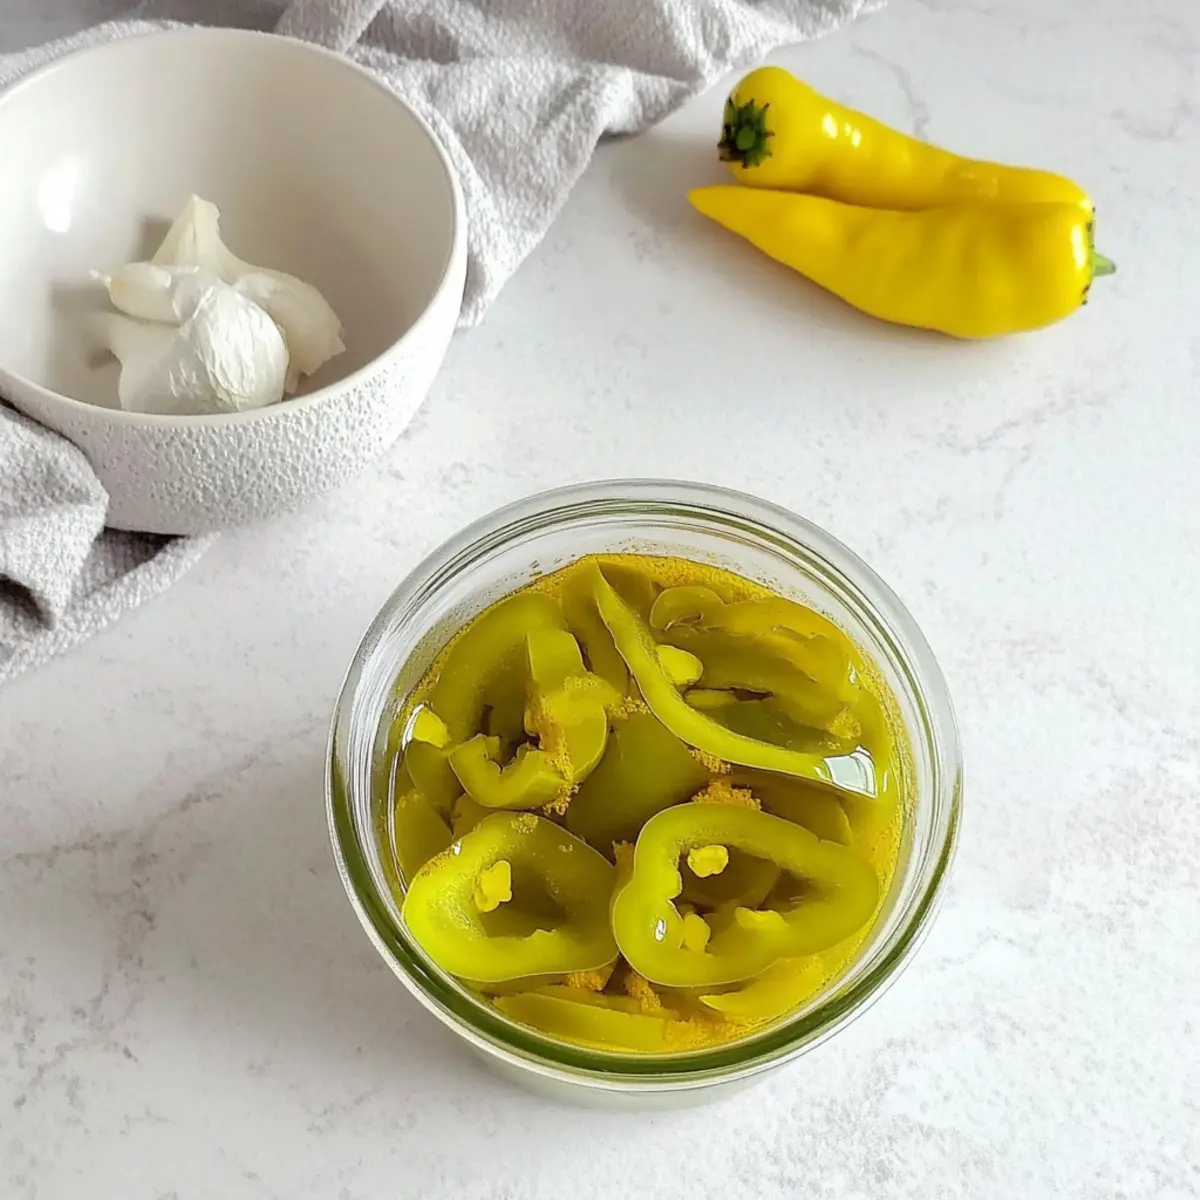
There’s a special kind of joy that comes from transforming fresh ingredients into homemade delights, and today, I’m thrilled to share my recipe for pickled pepperoncini! These tangy treats are the perfect way to elevate your meals with a quick pickling method that’s as simple as it is satisfying. In just 20 minutes of active prep time, you can enjoy the kick of flavor and delightful crunch that pepperoncini offer. Not only do these pickled beauties make for a crowd-pleasing condiment for sandwiches, salads, and pizzas, but they’re also a gluten-free option that’s hard to resist. As the flavors develop over 24 hours, the anticipation builds—what will you add these zesty peppers to first?
Why are Pickled Pepperoncini So Popular?
Quick to prepare, this recipe allows you to enjoy homemade pickled pepperoncini without a lengthy process. Versatile in nature, they complement everything from BBQ sandwiches to garden salads. Bold flavor comes from simple ingredients, ensuring a delightful zesty crunch. Healthy and gluten-free, they’re packed with vitamin C, making them a guilt-free treat. Plus, with just 20 minutes of active prep time, you’ll find yourself reaching for these addictive peppers again and again!
Pickled Pepperoncini Ingredients
• Just the essentials for a tangy treat!
For the Peppers
- Pepperoncini – Fresh, firm peppers add that perfect tangy heat for your pickled pepperoncini.
For the Brine
- Distilled White Vinegar – Provides acidity; apple cider vinegar can create a different flavor profile.
- Water – Balances the acidity of the vinegar for a well-rounded taste.
- Sea Salt – Enhances flavor; ensure it’s fully dissolved in the brine for best results.
- Turmeric – Adds vibrant color and a subtle earthiness; optional if you prefer to skip it.
Get ready to transform your meals with these simple, delicious ingredients!
Step‑by‑Step Instructions for Pickled Pepperoncini
Step 1: Prepare the Peppers
Begin by washing the fresh pepperoncini thoroughly under cool running water to remove any dirt. Using a sharp knife, cut off the tops of the peppers and, if desired, slice them into rings or leave them whole. Once prepped, tightly pack the pepperoncini in a large mason jar or divide them between two smaller jars, creating a colorful display.
Step 2: Make the Brine
In a non-reactive saucepan, combine equal parts distilled white vinegar and water. Add sea salt and a teaspoon of turmeric for color and flavor. Heat the mixture over medium until the salt completely dissolves, stirring gently. This brine will infuse your pickled pepperoncini with that signature tang and subtle earthiness.
Step 3: Combine
Once the brine is hot and the salt is dissolved, remove the saucepan from heat. Allow the brine to cool slightly, around 5-10 minutes, to prevent cooking the peppers. Carefully pour the warm brine over the packed pepperoncini in the jar, leaving about ½ to 1 inch of space at the top to allow for expansion.
Step 4: Remove Air
To ensure even pickling and avoid air pockets, gently tap the jar on the counter. This will help any trapped air escape and ensure the brine fully surrounds the peppers. You can also use a clean utensil to lightly press down on the peppers, ensuring they remain submerged in the brine.
Step 5: Seal and Store
After tapping out the air, let the jar cool to room temperature, approximately 30 minutes. Once cooled, securely seal the jar with a lid and place it in the refrigerator. Allow the pickled pepperoncini to marinate for at least 1 hour, though letting them sit for 24 hours will enhance the flavor even more.
Step 6: Enjoy
Your homemade pickled pepperoncini are now ready to add that perfect zesty crunch to your favorite dishes! Use them as a condiment for sandwiches, as a topping for salads, or stirred into pasta dishes. For optimal freshness, store them in the refrigerator and enjoy within a month.
What to Serve with Homemade Pickled Pepperoncini
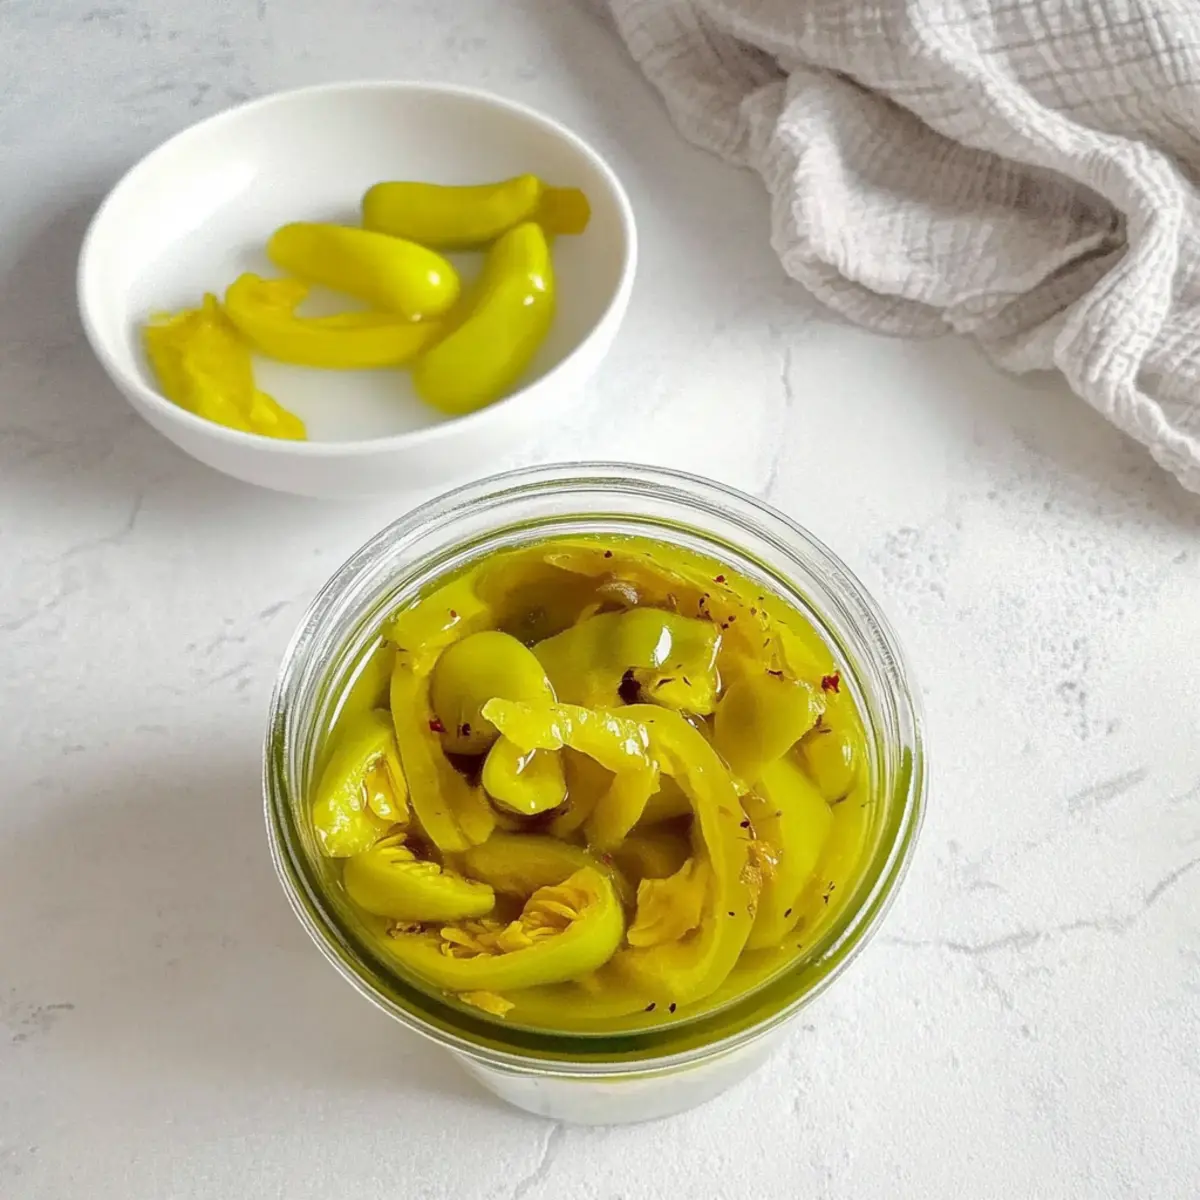
Enhancing your meals becomes a delightful adventure when you pair homemade pickled pepperoncini with complementary dishes.
-
Crispy Fried Chicken: The pepperoncini’s tangy crunch contrasts beautifully with succulent chicken, creating a flavor explosion.
-
Zesty Garden Salad: Toss them into a fresh salad for an exciting pop of flavor, adding both texture and vibrancy to each bite.
-
Savory Italian Sub Sandwiches: Layer them on sandwiches for added zest, they elevate the overall taste and add a delightful crunch.
-
Creamy Pasta Dishes: Their acidic brightness cuts through creamy sauces, lightening up heavy flavors while adding a touch of excitement.
-
Tortilla Chips and Guacamole: Sprinkle them over or mix into guacamole for a tangy twist that enhances the creaminess of avocados.
-
Charcuterie Boards: Include them as a zesty addition to a cheese platter, adding not just flavor but also a beautiful presentation.
-
Craft Beers: The sharpness of a hoppy IPA complements the pepperoncini’s acidity, making for a refreshing pairing.
-
Chocolate Desserts: Believe it or not, their sweet-heat contrast against rich chocolate desserts creates an adventurous pairing that surprises and delights!
How to Store and Freeze Pickled Pepperoncini
Fridge: Store your pickled pepperoncini in an airtight jar in the refrigerator for up to 1 month. Ensure the peppers are fully submerged in the brine to maintain freshness.
Freezer: Although pickled pepperoncini can be frozen, it’s best to consume them fresh for optimal texture and flavor. If you do freeze, place them in an airtight container and use within 3 months for best results.
Reheating: There’s no need to reheat pickled pepperoncini; simply remove them from the fridge, and they’re ready to garnish your favorite dishes. Enjoy their zesty crunch straight from the jar!
Expert Tips for Pickled Pepperoncini
-
Choose Fresh Peppers: Select firm, bright-colored pepperoncini for the best crunch and flavor. Avoid any that are soft or blemished.
-
Vinegar Variations: Experiment with different vinegars like cider or red wine for unique flavor profiles. Just remember to maintain the same vinegar-to-water ratio!
-
Cool Before Pouring: Wait for the brine to cool slightly before pouring it over the peppers; this prevents cooking them and keeps their crunch intact.
-
Remove Air Bubbles: Tapping the jar helps release trapped air pockets. This ensures a better brine distribution, leading to evenly pickled pepperoncini.
-
Marinate Longer: While you can enjoy them after an hour, allowing the peppers to marinate for a full 24 hours will enhance their flavor significantly!
Make Ahead Options
These pickled pepperoncini are perfect for meal prep aficionados! You can prepare the brine (up to 3 days in advance) and store it in a clean, airtight container in the refrigerator. Additionally, you can wash and trim the pepperoncini ahead of time, keeping them in a zip-top bag to maintain their freshness. When you’re ready to finish the recipe, simply pack the prepped peppers in a jar, pour the chilled brine over, and seal. Allow the peppers to marinate for at least 1 hour, but keeping them for 24 hours or more will deepen their flavor, resulting in a tangy, indulgent treat that’s just as delicious days later!
Pickled Pepperoncini Variations & Substitutions
Feel free to let your creativity flow and customize your pickled pepperoncini to suit your taste buds!
-
Vinegar Swap: Replace distilled white vinegar with apple cider or red wine vinegar for a unique twist.
-
Sweet-Pickled: Add a tablespoon of sugar to the brine if you enjoy a hint of sweetness to balance the tanginess.
-
Herb-Infused: Toss in fresh herbs like dill or thyme into the jar for an aromatic flavor boost. They intertwine beautifully with the peppers, bringing freshness to each bite.
-
Spicy Kick: Include sliced jalapeños or a pinch of red pepper flakes to amp up the heat! For an eye-watering punch, let your peppers swim with these fiery friends in the brine.
-
Garlic Infusion: Add a couple of crushed garlic cloves to the jar for a savory note that complements the pepper’s tang.
-
Zesty Citrus: Squeeze in some fresh lemon or lime juice for an extra layer of brightness in your pickled peppers. The citrus undertones will dance harmoniously with the tangy brine.
-
Crunchy Texture: For an added crunch, pair your pepperoncini with other pickled vegetables, such as onions or carrots. These colorful companions add visual appeal and a delightful medley of textures.
-
Smoke Flavor: Try adding a dash of smoked paprika to the brine for a subtle smoky flavor that takes your peppers to the next level of deliciousness.
No matter how you choose to mix it up, these variations keep every bite exciting, ensuring your homemade pickled pepperoncini become a staple in your kitchen. For more ideas, check out quick pickling techniques that can inspire your culinary journey!
Pickled Pepperoncini Recipe FAQs
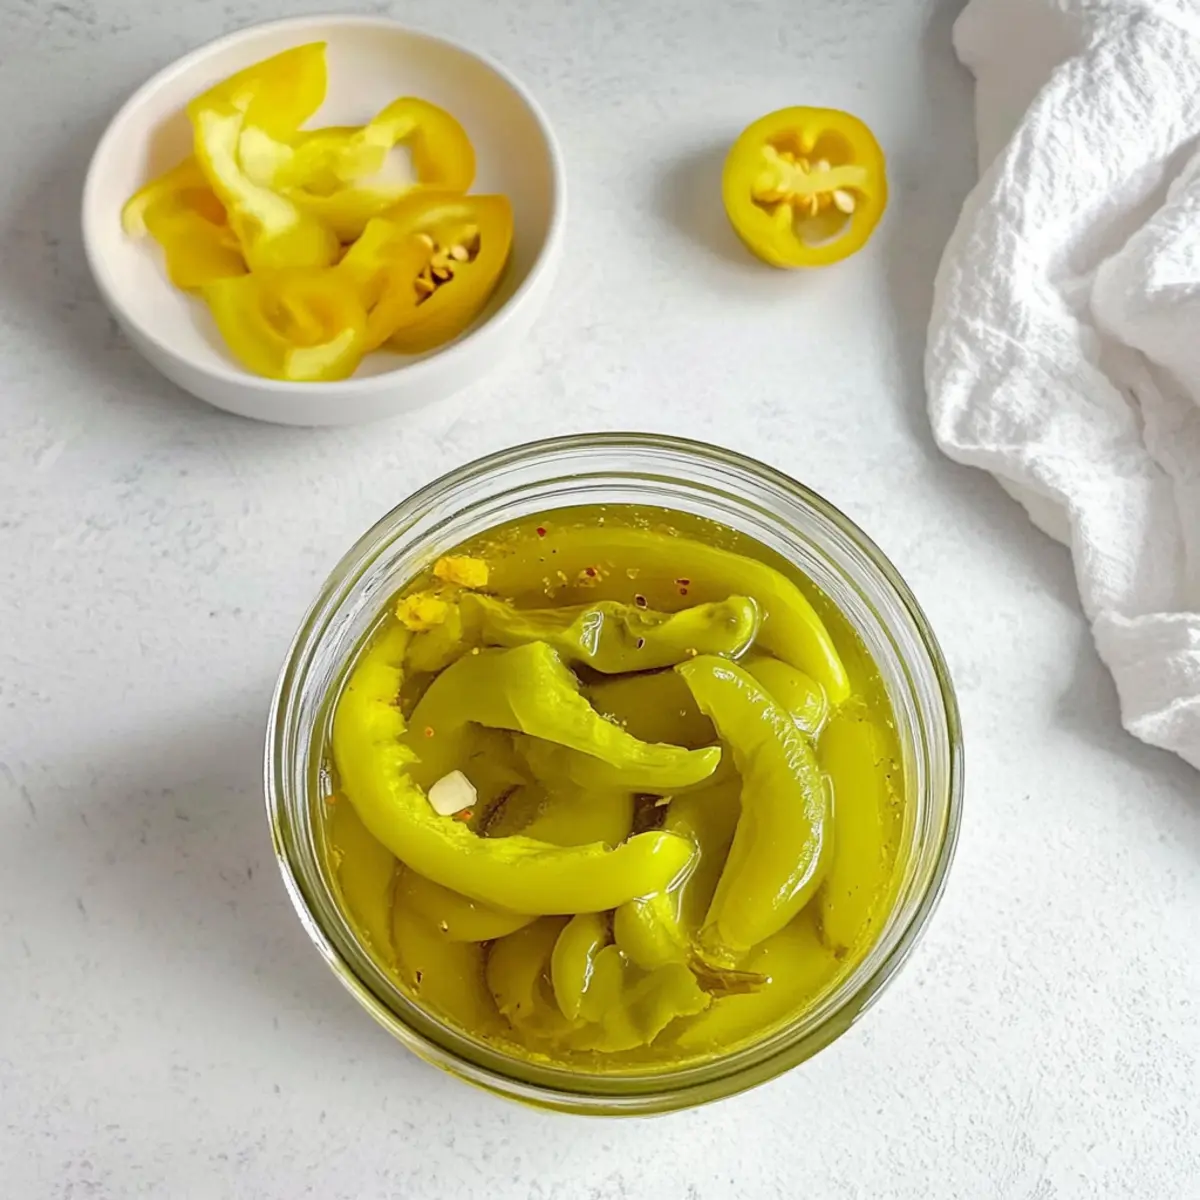
How do I select the best pepperoncini?
Absolutely! When choosing pepperoncini, look for firm, bright-colored peppers without any dark spots or blemishes. Fresh peppers will provide the best crunch and flavor for your pickled pepperoncini. Soft or wrinkled peppers may indicate they are past their prime.
How should I store my pickled pepperoncini?
I recommend storing your pickled pepperoncini in an airtight jar in the refrigerator. They should remain fresh for up to 1 month, as long as they are fully submerged in the brine. This will help maintain their crisp texture and zesty flavor!
Can I freeze pickled pepperoncini?
Very! While I usually enjoy them fresh, you can freeze pickled pepperoncini. Place them in an airtight container, ensuring to leave some space for expansion, and use within 3 months for the best texture. However, keep in mind that freezing may alter their crunchiness.
What should I do if my brine doesn’t cover all the peppers?
No worries! If some of your pepperoncini aren’t submerged in the brine, you can remedy this by making a little more brine. Simply combine equal parts vinegar and water with a bit more sea salt, heat until dissolved, and carefully pour it into the jar until the peppers are fully covered.
Are pickled pepperoncini safe for pets?
It’s best to avoid giving pickled foods like pepperoncini to pets. The vinegar and salt can be harmful in larger quantities. Always err on the side of caution, and keep these tangy treats for your human family members only!
Can I adjust the heat level in my pickled pepperoncini?
Definitely! If you prefer a spicier kick, you can add whole peppercorns, crushed red pepper flakes, or even slices of fresh jalapeño when packing your jar. Adjusting the spice level allows you to create a custom vibe that matches your taste buds perfectly!
Quick and Easy Pickled Pepperoncini for Flavor Lovers
Ingredients
Equipment
Method
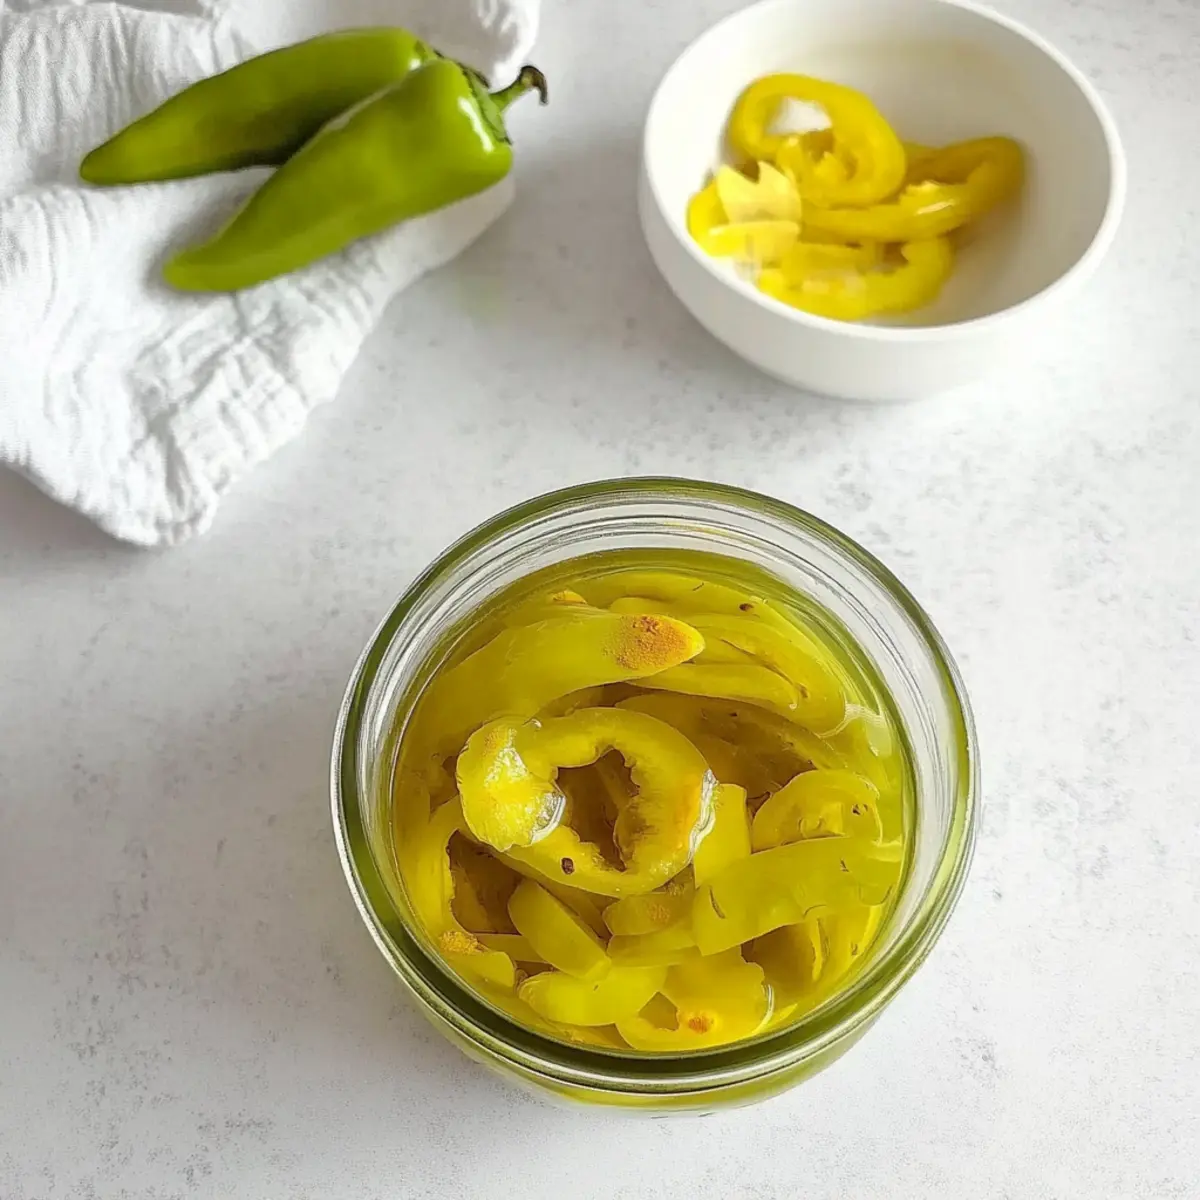
- Wash the fresh pepperoncini thoroughly, cut off the tops, and slice them if desired. Pack them tightly in a jar.
- Combine vinegar, water, sea salt, and turmeric in a saucepan and heat until salt dissolves.
- Remove brine from heat, let cool for 5-10 minutes, then pour over the pepperoncini.
- Tap the jar on the counter to release air pockets and ensure peppers are submerged.
- Let the jar cool to room temperature, seal it, and refrigerate for at least 1 hour.
- Use your pickled pepperoncini as a condiment for various dishes.
Leave a Reply