
The sizzle of cheese meeting perfectly toasted bread is a symphony I’m always eager to conduct in my kitchen. My Perfectly Crispy Grilled Cheese and Vegetable Sandwich takes that classic comfort food and elevates it with a medley of delicious roasted veggies, turning a quick meal into an unforgettable experience. In less than 10 minutes, you can create a satisfying dish that’s not only family-friendly but also easily customizable to feature your favorite vegetables. Imagine enjoying the crunch of golden-brown crust paired with melty cheese and tender veggies—every bite is a warm hug after a long day. Ready to bite into this twist on a beloved classic? Let’s get cooking!
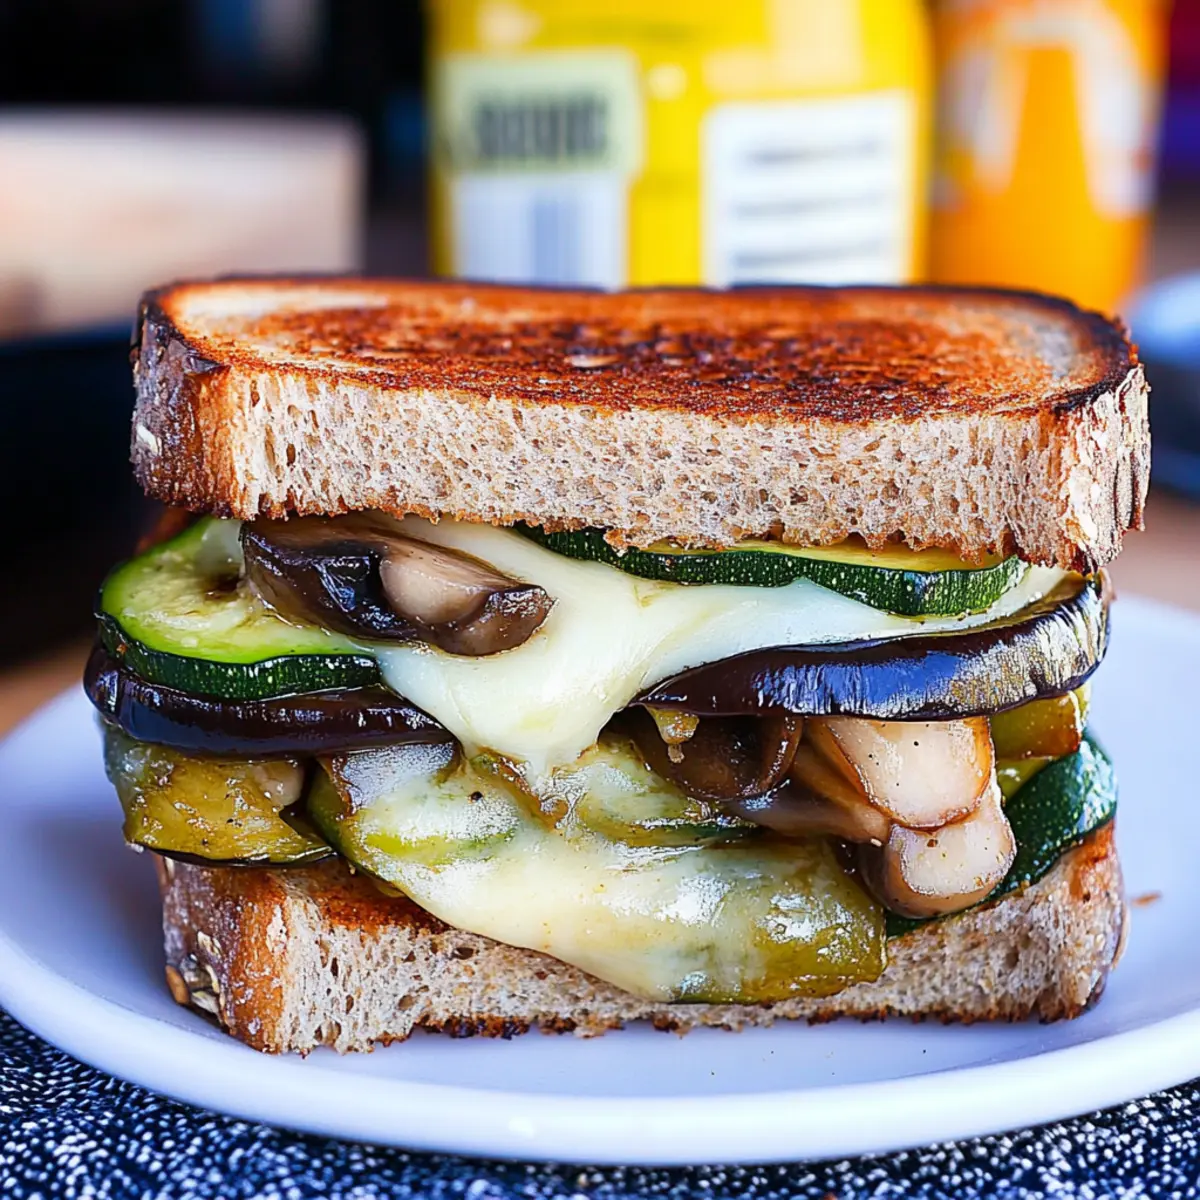
Why is this Grilled Cheese Sandwich Unique?
Elevated Comfort: This Irresistibly Crispy Grilled Cheese and Vegetable Sandwich brings a delightful twist to a classic dish, blending gooey cheddar with hearty roasted veggies.
Quick and Easy: With just 10 minutes of prep time, you can whip up a satisfying meal that’s perfect for busy weeknights.
Customizable: Use any combination of roasted vegetables to match your palate, from zucchini to mushrooms, making it truly yours.
Family-Friendly: This sandwich is a hit with kids and adults alike; pair it with a side of soup for a complete meal.
Fun and Flavorful: The crispy crust, melty cheese, and tender veggies create a textural delight that keeps everyone coming back for seconds.
Grilled Cheese and Vegetable Sandwich Ingredients
For the Sandwich
• Hellmann’s® Real Mayonnaise – Adds unique flavor and helps achieve a perfectly crispy crust when grilled; you can substitute with any mayo or omit for a lighter option.
• Crusty Whole Grain Bread – Provides structure and texture; swap for gluten-free bread if needed to suit dietary preferences.
• Sliced Low-Fat White Cheddar Cheese – Offers creamy flavor and meltability; feel free to replace it with mozzarella or pepper jack for a different taste.
For the Roasted Vegetables
• Sliced Roasted Vegetables (eggplant, zucchini, mushrooms) – Adds nutritious and heartiness to the sandwich; you can mix in any roasted veggies you love for a personalized twist.
This Grilled Cheese and Vegetable Sandwich isn’t just delicious; it’s a warm hug on a plate, perfect for anyone yearning for comfort food!
Step‑by‑Step Instructions for Perfectly Crispy Grilled Cheese and Vegetable Sandwich
Step 1: Preheat the Skillet
Begin by preheating a non-stick skillet over medium heat. This should take about 2-3 minutes. You want the skillet hot enough that a drop of water sizzles upon contact, ensuring your grilled cheese and vegetable sandwich gets a beautifully crispy crust.
Step 2: Prepare the Bread
While the skillet is heating, spread a generous layer of Hellmann’s® Real Mayonnaise on one side of each slice of crusty whole grain bread. This not only adds flavor but also contributes to that perfectly crispy texture on the outside of your grilled cheese and vegetable sandwich.
Step 3: Assemble the Sandwich
Place one slice of bread, mayo-side down, into the hot skillet. Layer on the sliced low-fat white cheddar cheese first, then evenly distribute the sliced roasted vegetables like eggplant, zucchini, and mushrooms on top. This layering ensures gooey cheese and tender veggies are locked into each bite.
Step 4: Top and Grill
Now, carefully place the second slice of bread on top, with the mayo-side facing up. Press down gently with a spatula to compact the sandwich, ensuring it grills evenly. Allow this to cook for approximately 3-4 minutes, or until the bottom becomes a golden brown.
Step 5: Flip the Sandwich
Using a spatula, carefully flip the sandwich over to grill the other side. Cook for another 3-4 minutes, observing the cheese as it melts and the bread continues to turn golden brown. Keep an eye out for that enticing crispiness you want in your grilled cheese and vegetable sandwich.
Step 6: Finish and Serve
Once both sides are perfectly golden and the cheese is ooey-gooey, remove the sandwich from the skillet. Let it sit for a minute to allow the cheese to set slightly, making it easier to cut. Slice it in half diagonally and serve warm, ideally with a side of tomato soup or a fresh salad for a complete meal.
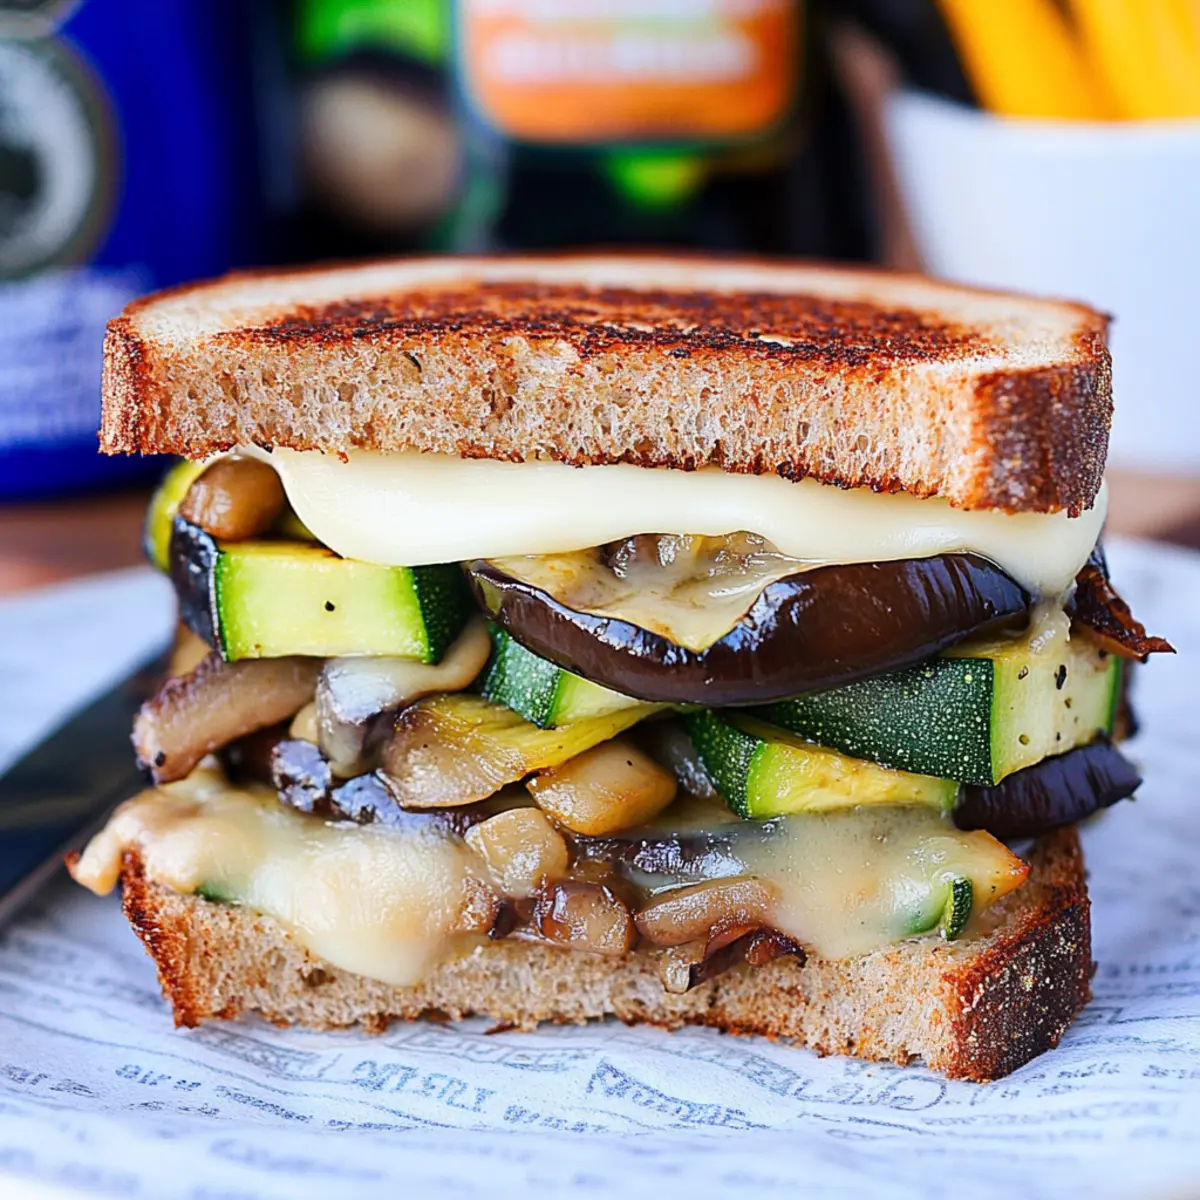
What to Serve with Perfectly Crispy Grilled Cheese and Veggies Hellmann’s Strangewich
A delightful grilled cheese sandwich is just the beginning of creating a comforting and satisfying meal experience.
-
Tomato Basil Soup: A classic pairing, the acidity of the soup beautifully balances the richness of the cheese, making each bite feel cozy and delicious.
-
Crunchy Kale Salad: Fresh, crisp kale tossed with a zesty dressing adds a vibrant, healthy contrast to the warm, gooey sandwich, enhancing your meal’s overall texture.
-
Sweet Potato Fries: The natural sweetness and satisfying crunch of these fries complement the savory sandwich perfectly, providing a delightful play of flavors.
-
Pickle Spear: A tangy, crunchy pickle on the side provides a refreshing bite and cuts through the richness of the cheese, adding a delightful zing.
-
Fruit Salad: A mix of fresh, juicy fruits can lighten the meal and offer a refreshing palate cleanser between bites of cheesy goodness.
-
Craft Soda: Pair with a bubbly craft soda for a fun twist, allowing you to sip something refreshing alongside the warm, crispy sandwich.
-
Classic Coleslaw: The creamy, crunchy slaw adds a refreshing bite that ties together the meal and balances the textures perfectly.
-
Iced Tea: A refreshing glass of iced tea, perhaps with a hint of lemon, can enhance your dining experience while keeping it light and satisfying.
Expert Tips for Grilled Cheese and Vegetable Sandwich
• Don’t Rush the Heat: Cooking on medium heat ensures the bread gets crispy without burning while allowing the cheese to melt perfectly.
• Use Fresh Ingredients: Freshly roasted vegetables will bring out the best flavors in your grilled cheese and vegetable sandwich, making it more satisfying.
• Avoid Overcrowding: Make only one sandwich at a time in the skillet for optimal crispiness; too many sandwiches will lead to steaming instead of toasting.
• Experiment with Spreads: While mayo is key, try adding a layer of pesto or mustard between the cheese and veggies for an extra burst of flavor.
• Keep It Pressed: Lightly pressing down on the sandwich with a spatula while grilling helps create an even crust and a well-melted center.
Variations & Substitutions for Grilled Cheese and Vegetable Sandwich
Feel free to get creative and customize your grilled cheese and vegetable sandwich with these fun variations that will tantalize your taste buds!
- Dairy-Free: Replace cheese with your favorite dairy-free cheese for a plant-based option without sacrificing flavor.
- Gluten-Free: Use gluten-free bread to make this delicious sandwich suitable for those with gluten sensitivities.
- Cheese Swap: Try sharp cheddar or pepper jack for a more pronounced flavor. Mix and match cheeses for a unique taste experience.
- Veggie Mix: Swap out the roasted vegetables for fresh spinach or arugula for a lively crunch without the roast. For added flavor, sauté the spinach briefly before adding.
Imagine the freshness of vibrant greens dancing with those gooey layers of cheese. It brings a whole new life to your sandwich!
- Spicy Kick: Incorporate jalapeños or a spicy pepper jack cheese to ignite your taste buds. The heat complements the creamy cheese, adding an exciting twist to each bite.
- Herbed Creaminess: Blend in some fresh herbs or pesto with the mayonnaise for an aromatic layer that enhances flavor. It’s an easy way to elevate your sandwich!
- Hearty Add-in: Add sliced avocados or sautéed mushrooms for more texture and creaminess. These elements enrich your meal while providing additional nutrients.
Once you’ve settled on your variations, why not serve your grilled cheese and vegetable sandwich alongside a comforting bowl of tomato soup or a crisp side salad for a delightful balance? Enjoy experimenting with flavors—your taste buds will thank you!
How to Store and Freeze Grilled Cheese and Vegetable Sandwich
• Fridge: Store leftover grilled cheese and vegetable sandwich in an airtight container for up to 2 days. This keeps it fresh while maintaining the flavors of the melted cheese and veggies.
• Freezer: If you want to save it for later, wrap the sandwich tightly in plastic wrap and then in aluminum foil before freezing. It can last up to 1 month.
• Reheating: To reheat, place the sandwich in a skillet over medium heat for about 5–7 minutes, flipping halfway through until the cheese is melty and the bread is crispy again.
• Avoiding Sogginess: If you’ve got leftovers, it’s best not to microwave them as this can make the sandwich soggy. Skillet reheating maintains that perfect crispy texture!
Make Ahead Options
These Perfectly Crispy Grilled Cheese and Vegetable Sandwiches are fantastic for meal prep! You can slice and roast your favorite vegetables—like eggplant, zucchini, and mushrooms—up to 3 days in advance, storing them in an airtight container in the refrigerator. To maintain their quality, ensure the vegetables are fully cooled before sealing, as this helps prevent moisture buildup. You can also spread the mayonnaise on the bread ahead of time, ideally within 24 hours before grilling. When you’re ready to enjoy, simply assemble the sandwich with cheese and veggies, and grill as instructed. You’ll have a perfect, satisfying meal ready with minimal effort, just as delicious as when freshly made!
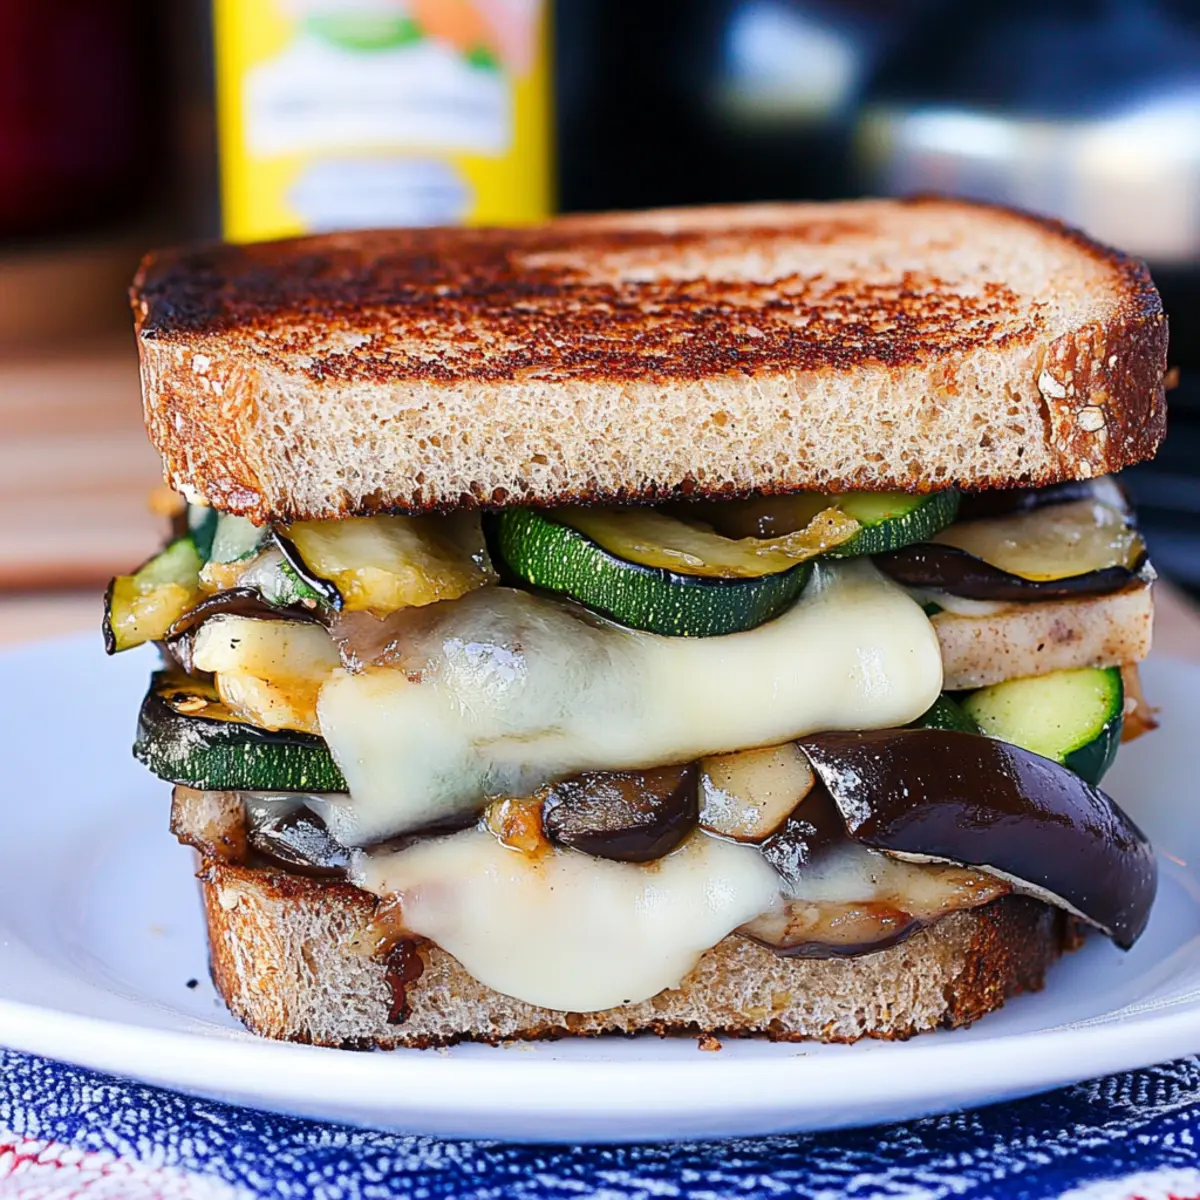
Grilled Cheese and Vegetable Sandwich Recipe FAQs
How do I choose the right vegetables for my Grilled Cheese and Vegetable Sandwich?
Absolutely! When picking vegetables, go for those that roast well. Zucchini, eggplant, and mushrooms are fantastic choices, but you can also use bell peppers, spinach, or even roasted broccoli. Aim for vegetables that have a firm texture before roasting, which will hold up nicely in the sandwich.
How should I store leftovers of my Grilled Cheese and Vegetable Sandwich?
The best way to store your leftovers is by placing the sandwich in an airtight container in the fridge. This ensures freshness for up to 2 days. If you have any extra ingredients aside, store them separately to keep everything crisp and flavorful.
Can I freeze my Grilled Cheese and Vegetable Sandwich?
Absolutely! To freeze, wrap the sandwich tightly in plastic wrap and then in aluminum foil. This double layer helps protect it from freezer burn. It can last for up to 1 month in the freezer. When you’re ready to enjoy, thaw it in the fridge overnight, and reheat it in a skillet for optimal crispiness.
What should I do if my grilled sandwich isn’t crispy?
If your sandwich isn’t getting that desired crispiness, there may be a couple of reasons. First, ensure your skillet is hot enough; if it’s not properly preheated, the bread will steam instead of toast. Second, avoid overcrowding the skillet—grill one sandwich at a time for the best results. You could also consider using a bit more mayonnaise on the bread for added crunch!
Are there any dietary considerations for this Grilled Cheese and Vegetable Sandwich?
Very much so! If you or someone you are serving has dairy allergies, consider using a vegan cheese or omitting the cheese altogether. For gluten issues, a gluten-free bread would work great. Additionally, make sure to choose roasted vegetables that suit your dietary needs and preferences. This sandwich is easily customizable to fit different diets!
How do I make my Grilled Cheese and Vegetable Sandwich more flavorful?
There are so many options! Try experimenting with different spreads like pesto or mustard in lieu of, or in addition to, the mayonnaise for extra flavor complexity. Also, don’t shy away from adding herbs or spices such as garlic powder, crushed red pepper, or fresh basil to your veggies before roasting them. The more, the merrier!
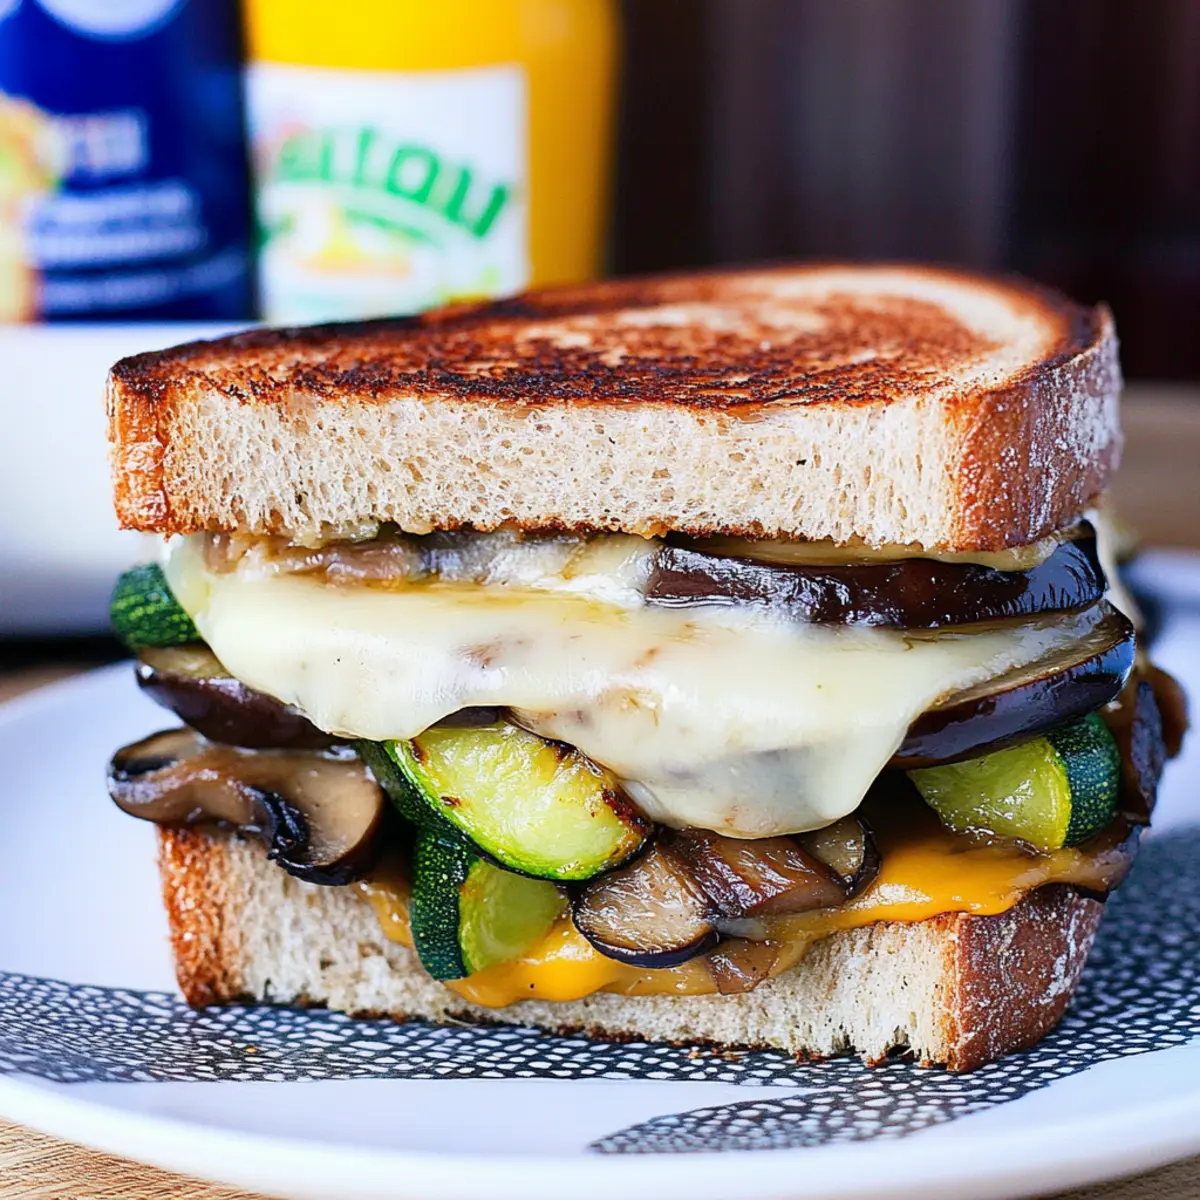
Irresistibly Crispy Grilled Cheese and Vegetable Sandwich
Ingredients
Equipment
Method
- Preheat a non-stick skillet over medium heat for about 2-3 minutes.
- Spread a layer of Hellmann’s® Real Mayonnaise on one side of each slice of bread.
- Assemble the sandwich with one slice of bread mayo-side down, adding cheese and roasted vegetables.
- Top with the second slice of bread, mayo-side up, and press down gently with a spatula.
- Cook for 3-4 minutes or until golden brown, then flip to grill the other side.
- Remove from skillet, let cool slightly, slice and serve warm.
Leave a Reply