
As I rummaged through my pantry, a lightbulb moment hit me—I’ve got the perfect ingredients for an Easy No-Bake Cool Whip Candy. This delightful treat is not only a breeze to whip up, but it also conjures memories of laughter-filled gatherings and childhood sweetness. With just a few simple ingredients like creamy Cool Whip and your choice of instant pudding mixes, this dessert offers endless flavor customization, from luscious chocolate to zesty lemon. It’s an effortless way to wow guests or spend quality time with little ones who love to help in the kitchen. Best of all, these cute little candies are gluten-free and beckon for a second bite! Curious how to make your own batch? Let’s dive in!
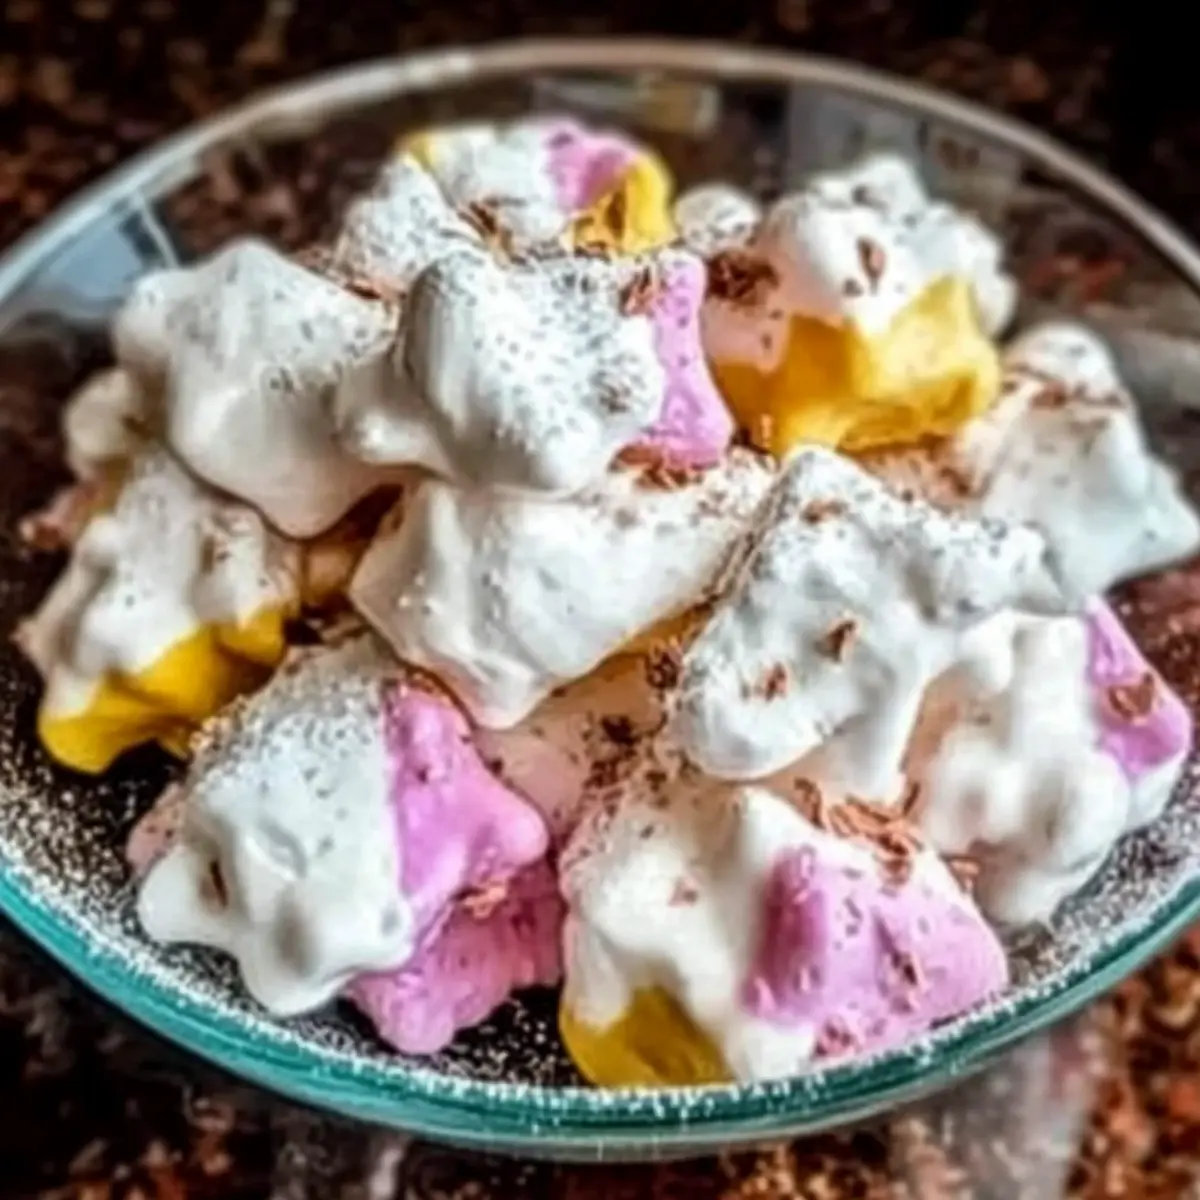
Why is Cool Whip Candy a must-try?
Easy Preparation: With no baking required, you can whip up these delicious treats in no time, making it a fantastic option for last-minute dessert cravings.
Flavor Freedom: Enjoy a variety of tastes by swapping out instant pudding mixes, from classic chocolate to summertime lemon. Each batch can be uniquely yours!
Fun for All Ages: This recipe is a perfect kitchen project to involve kids; rolling the candy is sure to keep them entertained while creating sweet memories.
Pillow-like Texture: Imagine biting into a fluffy cloud of flavor—each candy offers a melt-in-your-mouth experience that will have everyone reaching for more.
Perfect for Celebrations: Serve these colorful candies at parties or special gatherings, and watch them quickly vanish; they’re that irresistible! For more fun party ideas, check out our guide on easy dessert platters.
Cool Whip Candy Ingredients
For the Base
• Cool Whip – This creamy base will give your candies a fluffy texture, so make sure it’s thawed but still cold.
• Instant Pudding Mix – Choose any flavor, from chocolate to lemon, to create your preferred Cool Whip Candy flavor that excites your taste buds.
For Sweetness & Coating
• Powdered Sugar – Essential for sweetness, it helps achieve the perfect texture; reserve extra for rolling.
• Vanilla Extract – A splash adds depth to your candies, enhancing their overall flavor profile with a delightful aroma.
Step‑by‑Step Instructions for Cool Whip Candy
Step 1: Combine Ingredients
In a large mixing bowl, gently fold together 1 cup of thawed Cool Whip and 1 package of your chosen instant pudding mix until the mixture is smooth and creamy. This should take about 2-3 minutes of careful mixing to prevent any lumps. The vibrant color of the pudding will blend beautifully into the white Cool Whip, creating a delightful base for your Cool Whip Candy.
Step 2: Add Flavor and Sweetness
Next, stir in 1 teaspoon vanilla extract for enhanced flavor, followed by gradually incorporating 1 to 1½ cups of powdered sugar. Mix thoroughly until a soft dough forms; this should take around 3-4 minutes. The mixture will be sticky initially but should hold together when manipulated. Aim for a dough that is soft yet manageable, perfect for shaping into balls.
Step 3: Chill the Mixture
Once your candy mixture is ready, cover the bowl with plastic wrap and place it in the refrigerator for 30 to 60 minutes. This chilling step is crucial, as it helps the dough firm up, making it easier to roll into shapes later. After chilling, the mixture should be firm to the touch, allowing you to form it into delightful little balls of Cool Whip Candy.
Step 4: Prepare the Baking Sheet
While the mixture is chilling, line a baking sheet with parchment paper. This will prevent the candies from sticking and make for easy transfer. Having everything ready will ensure a smooth process when it comes time to shape your Cool Whip Candy. The parchment paper will help maintain the lovely presentation of your candies.
Step 5: Shape the Candy
After chilling, remove the bowl from the refrigerator. Using a small cookie scoop or tablespoon, form rounded balls from the dough and place them on the lined baking sheet. Aim for a size that fits comfortably in your hand, and continue until all the mixture is used. Your Cool Whip Candy should be a delightful sight, showcasing the mix of flavors you chose.
Step 6: Coat the Candies
To finish, roll each candy ball in additional powdered sugar until fully coated. This adds a sweet layer and prevents the candies from sticking together, giving them a beautiful appearance. The powdered sugar will create a lovely contrast against the colorful center of your Cool Whip Candy, making them irresistible.
Step 7: Final Chill Before Serving
Return the coated candies to the refrigerator for an additional 15 to 20 minutes to set properly. This final chilling will help them firm up even more, ensuring a perfect melt-in-your-mouth experience. Once set, they’re ready to be served at your next gathering or enjoyed as a sweet snack any time!
Make Ahead Options
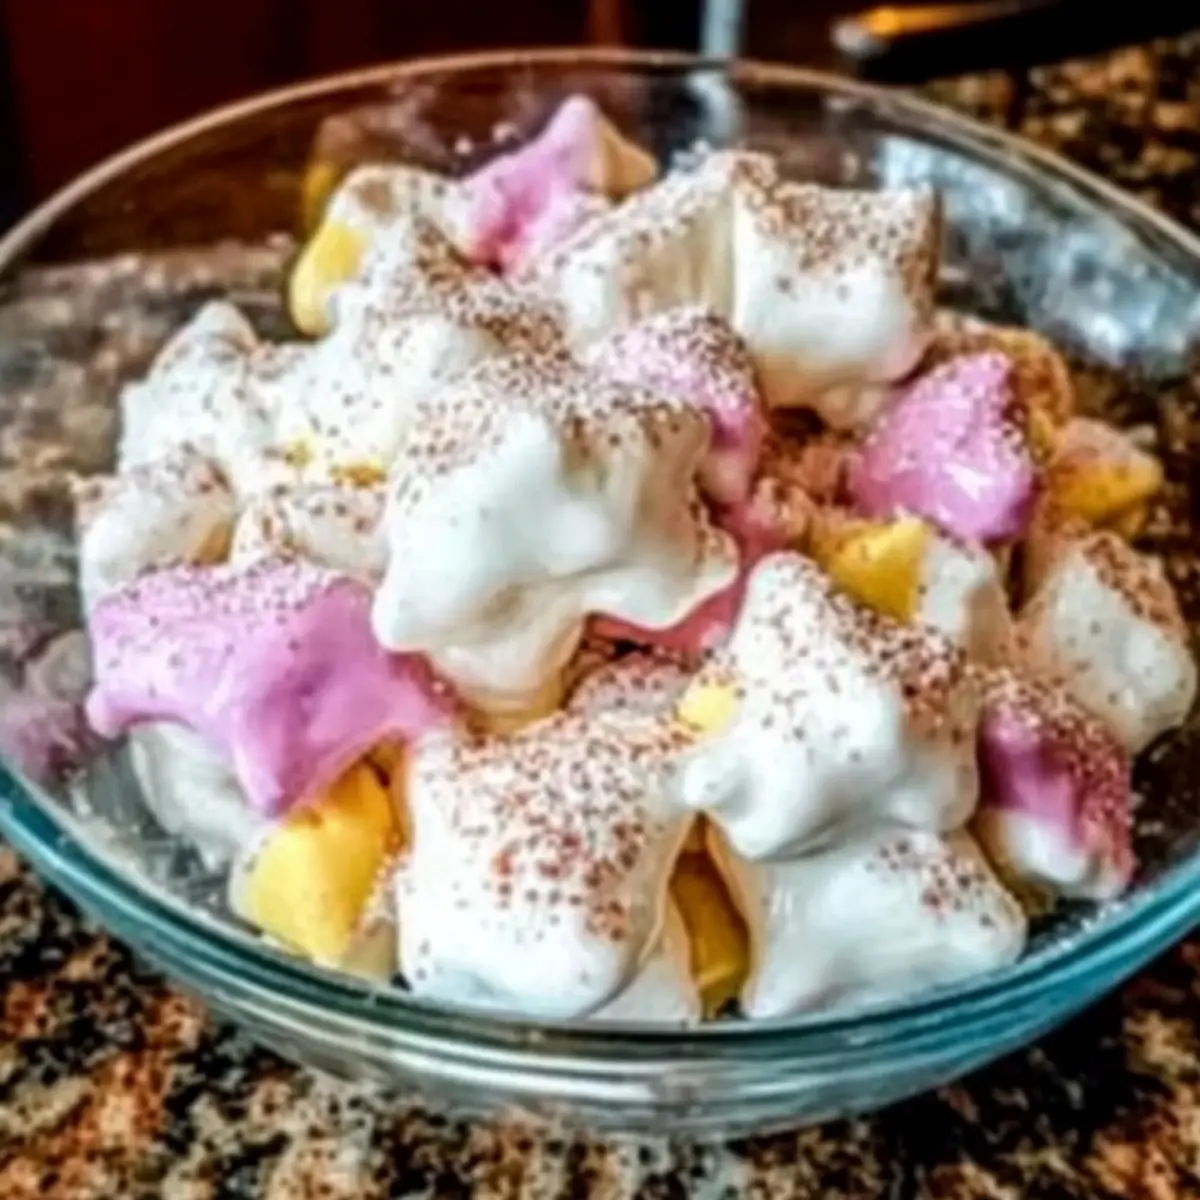
These Easy No-Bake Cool Whip Candy treats are perfect for busy home cooks looking to save time! You can prepare the candy mixture up to 24 hours in advance by following steps 1 through 3, then cover and refrigerate it. Additionally, you can roll the mixture into balls and coat them in powdered sugar up to 2 days before serving; just make sure to store them in an airtight container in the refrigerator to keep them fresh and prevent any moisture accumulation. When you’re ready to enjoy them, simply remove the candies from the fridge and let them sit for a few minutes at room temperature to soften slightly. With these make ahead options, you can ensure your Cool Whip Candy remains just as delicious and ready for delightful gatherings!
What to Serve with Easy No-Bake Cool Whip Candy?
Delight in crafting a full meal experience along with these irresistible, fluffy treats that bring smiles and sweetness to any gathering.
-
Fresh Fruit Salad: A vibrant mix of seasonal fruits adds a refreshing contrast to the creamy sweetness, perfectly balancing flavors and textures. The natural juices from the fruits awaken the palate, making every bite a burst of color and zest.
-
Chocolate Dipped Pretzels: Salty, crispy pretzels coated in rich chocolate create a delightful sweet-salty pairing. This crunch complements the smooth texture of the Cool Whip Candy, giving an exciting twist.
-
Vanilla Ice Cream: Serve alongside a scoop of vanilla ice cream for an indulgent dessert experience. The creaminess enhances the fluffy candy, making each bite feel even more decadent.
-
Chocolate Sauce Drizzle: A rich, warm chocolate sauce poured over the candies creates an eye-catching display. This addition deepens the flavor and elevates the fun factor when serving.
-
Nutty Granola: Sprinkle some crunchy granola over the plated candies for a satisfying crunch and nutty flavor. This textural contrast will have everyone reaching for more, creating delightful bites.
-
Sparkling Lemonade: Quench your thirst with a bubbly glass of sparkling lemonade. The tartness of lemon enhances the sweetness of your Cool Whip Candy while adding a refreshing kick to your meal.
-
Mini Cheesecakes: Pair with small, creamy cheesecake bites for an elegant touch. Their rich yet light flavor harmonizes beautifully with the fluffy, sweet candies.
-
Cold Brew Coffee: For a cozy beverage, serve chilled coffee alongside the candies. The coffee’s subtle bitterness balances the sweetness of the dessert, creating a well-rounded finish.
How to Store and Freeze Cool Whip Candy
Fridge: Store your Cool Whip Candy in an airtight container in the refrigerator for up to a week. This keeps them fresh and ready to enjoy anytime!
Freezer: For longer storage, freeze your candies in a single layer on a baking sheet, then transfer to an airtight container for up to a month.
Thawing: When you’re ready to enjoy your frozen Cool Whip Candy, simply thaw it in the fridge for a few hours before serving to maintain that delightful texture.
Room Temperature: It’s best to avoid keeping these candies at room temperature for extended periods, as they may become too soft and lose their delightful shape.
Expert Tips for Cool Whip Candy
-
Thawing is Key: Ensure your Cool Whip is completely thawed but still cold for smooth mixing. Any ice crystals can result in a lumpy texture.
-
Stay Cool: If your mixture feels sticky while shaping, chill it longer or dust your hands with powdered sugar to make rolling easier.
-
Mold It Fun: For a creative twist, use silicone molds or mini muffin pans to shape your Cool Whip Candy into fun designs for parties or events.
-
Humidity Awareness: In humid weather, work quickly to prevent the mixture from becoming too soft. Consider chilling it further if needed.
-
Experiment Freely: Don’t hesitate to swap out the instant pudding flavors or add mix-ins like crushed cookies or nuts for a unique twist on your Cool Whip Candy!
Cool Whip Candy: Flavor Variations
Ready to make your Cool Whip Candy uniquely yours? Let’s explore some delightful twists and swaps that will spark your creativity in the kitchen!
-
Chocolate Delight: Use chocolate instant pudding mix instead of vanilla for a rich, dreamy treat. Chocolate lovers will swoon over this indulgent version!
-
Fruity Zest: Swap in lemon or banana pudding mix for a refreshing, fruity flavor. The citrus notes will brighten any gathering, making it a crowd-pleaser.
-
Nutty Addition: Stir in chopped nuts or crushed pretzels for a crunchy surprise. The contrast between the creamy candy and the crunchy bits adds a delightful texture that everyone will enjoy.
-
Seasonal Spice: Incorporate pumpkin spice mix into your pudding for a festive autumn treat. It’s a fabulous way to celebrate the flavors of the season!
-
Dairy-Free Option: Use coconut whipped topping and dairy-free pudding to create a scrumptious vegan-friendly candy. You won’t miss the milk one bit, and it’s a delightful treat for everyone!
-
Swirly Surprise: Try combining two pudding flavors, like chocolate and vanilla, for a marbled effect. Not only is it visually appealing, but it also offers a delicious contrast of flavors!
-
Spicy Kick: Add a pinch of cayenne pepper or a dash of cinnamon to the mixture for a surprising heat. This unexpected twist takes your candy to a whole new level of deliciousness!
For more ways to customize your dessert adventures, consider checking out our guide on creative dessert ideas. You’ll find endless inspiration to suit every occasion!

Cool Whip Candy Recipe FAQs
What kind of Cool Whip should I use?
Absolutely! You’ll want to use a regular tub of Cool Whip, thawed but still cold for the best mixing consistency. Light versions can also be used if you’re looking to cut calories.
How do I store Cool Whip Candy?
I recommend storing your Cool Whip Candy in an airtight container in the refrigerator for up to a week. This keeps them fresh, fluffy, and ready to enjoy anytime!
Can I freeze Cool Whip Candy?
Yes, you can! To freeze, place the formed candies in a single layer on a baking sheet and freeze until solid. Then, transfer them to an airtight container and freeze for up to a month. When you’re ready to enjoy them, simply thaw them in the fridge for a few hours before serving.
What should I do if the mixture is too sticky?
Very! If you find the Cool Whip mixture is too sticky to handle, I suggest chilling it a little longer in the refrigerator. Alternatively, dusting your hands with powdered sugar will help you roll the candies without them sticking.
Can I use different flavors of pudding mix?
Absolutely! The beauty of Cool Whip Candy is its flavor versatility. Feel free to swap out the instant pudding mix for any flavor of your choice—chocolate, vanilla, butterscotch, or even seasonal flavors like pumpkin spice!
Are Cool Whip Candies safe for everyone to eat?
While Cool Whip Candies are gluten-free, it’s essential to check the labels of the pudding mix you choose, as variations may contain allergens like gluten, dairy, or nuts. Always consult with anyone you’re serving if they have specific dietary restrictions!
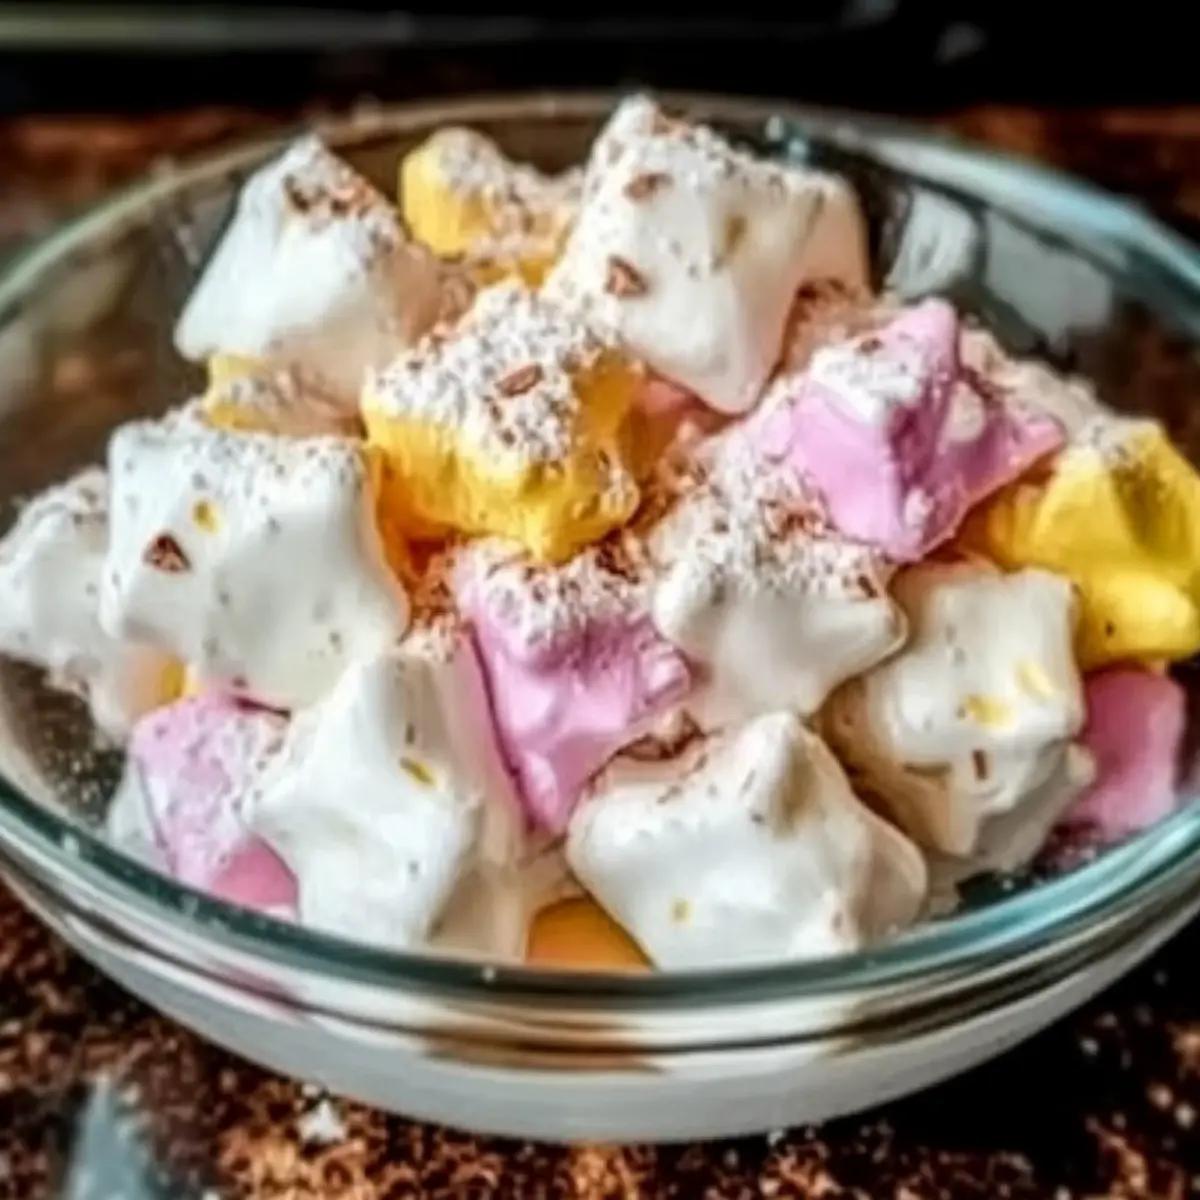
Cool Whip Candy: Easy No-Bake Treats for Sweet Moments
Ingredients
Equipment
Method
- Combine 1 cup of thawed Cool Whip and 1 package of instant pudding mix until smooth.
- Stir in 1 tsp vanilla extract and gradually mix in 1 to 1.5 cups of powdered sugar until a soft dough forms.
- Chill the mixture covered for 30 to 60 minutes.
- Prepare a baking sheet lined with parchment paper.
- Shape the chilled mixture into rounded balls and place on the lined baking sheet.
- Roll each candy ball in powdered sugar until fully coated.
- Return the candies to the refrigerator for another 15 to 20 minutes before serving.
Leave a Reply