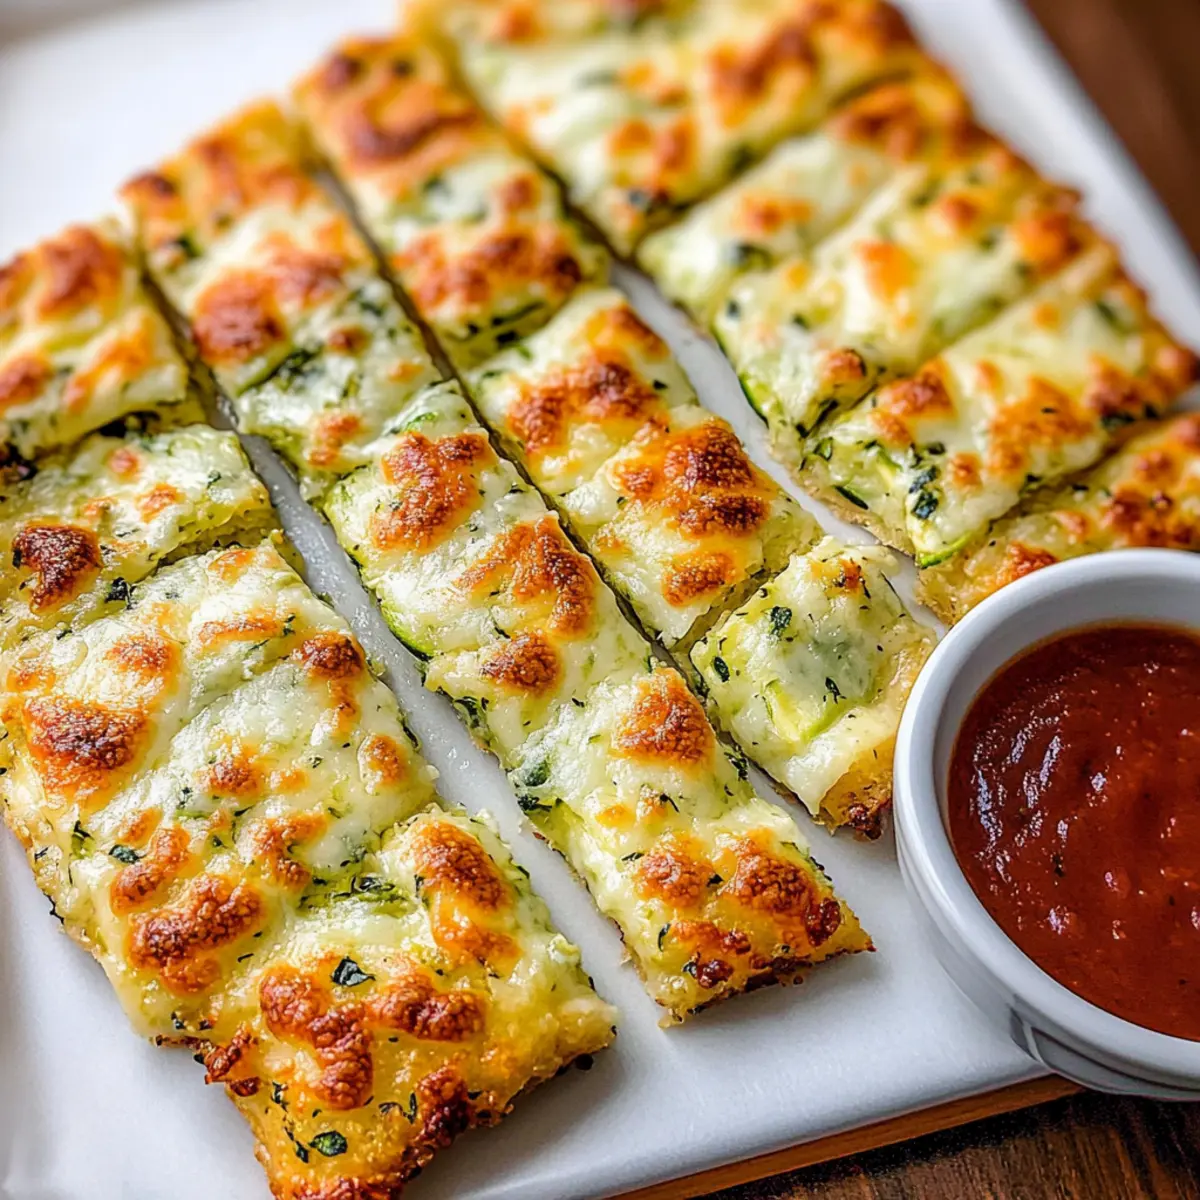
As I stood in my kitchen, a basket of fresh zucchini caught my eye, and a lightbulb moment turned into this delightful creation: Cheesy Zucchini Breadsticks. These little gems combine the cheesy goodness we all crave with the nutritious benefits of zucchini, making them the perfect low-carb snack or side dish. What truly makes this recipe shine is its ease—ready in just over 30 minutes—and its versatility, whether you’re prepping for a game night or wanting a healthier alternative to traditional breadsticks. With a crispy exterior and gooey center, these cheesy delights pair perfectly with marinara or ranch dip, inviting you to indulge without the guilt. Curious how to bring this comforting bite into your home? Let’s dive into making these tasty breadsticks!
Why are cheesy zucchini breadsticks a must-try?
Flavorful Delight: Each bite of these Cheesy Zucchini Breadsticks delivers a burst of cheesy goodness paired with the subtle sweetness of zucchini, making them a satisfying snack.
Quick & Easy: With only a few steps and 30 minutes, you’ll have a fresh, homemade treat that fits into even the busiest schedules.
Low-Carb Goodness: Ideal for those following low-carb or gluten-free lifestyles, these breadsticks make indulgence guilt-free.
Crowd-Pleasing Snack: Perfect for game nights or casual get-togethers, they’ll have everyone reaching for more—pair them with marinara or ranch dip for extra flavor.
Endless Customization: Feel free to add your favorite spices or toppings, allowing you to personalize each batch to suit your taste! For more cheesy indulgence ideas, check out One Pot Cheesy or Smashburger Quesadillas Cheesy.
Cheesy Zucchini Breadsticks Ingredients
• Get ready to create your delicious Cheesy Zucchini Breadsticks with these essential ingredients!
For the Base
- Zucchini – Shredded and squeezed to remove excess moisture, it provides the perfect base and texture for the breadsticks.
- Eggs – Large eggs work best to bind the mixture together for a cohesive structure.
- Mozzarella Cheese – This creamy cheese adds stretch and gooeyness, making your breadsticks irresistible.
- Parmesan Cheese – Freshly grated for enhanced flavor, it brings a nutty, salty depth to each bite.
- Garlic Powder – A fantastic way to infuse classic garlic flavor; fresh minced garlic can also work wonders!
For Seasoning
- Italian Seasoning – A blend of herbs like basil and oregano for that perfect Italian touch in each breadstick.
- Salt & Pepper – Essential for balancing the flavors without overpowering the natural sweetness of the zucchini.
Enjoy the process as you bring these Cheesy Zucchini Breadsticks to life—each delicious bite is worth the effort!
Step‑by‑Step Instructions for Cheesy Zucchini Breadsticks
Step 1: Prepare the Zucchini
Preheat your oven to 425°F (220°C) and line a baking sheet with parchment paper to prevent sticking. Next, grate the zucchini using a box grater or food processor, then transfer it into a clean kitchen towel or cheesecloth. Squeeze firmly to remove excess moisture until the zucchini is considerably drier, as this will prevent sogginess in your Cheesy Zucchini Breadsticks.
Step 2: Make the Crust
In a large mixing bowl, combine the now-dry shredded zucchini with the eggs, ½ cup of mozzarella cheese, grated Parmesan, garlic powder, Italian seasoning, salt, and pepper. Mix thoroughly using a spatula until all ingredients are well incorporated, forming a cohesive batter. This mixture is the foundation of your Cheesy Zucchini Breadsticks, so ensure it has an even consistency.
Step 3: Shape and Bake
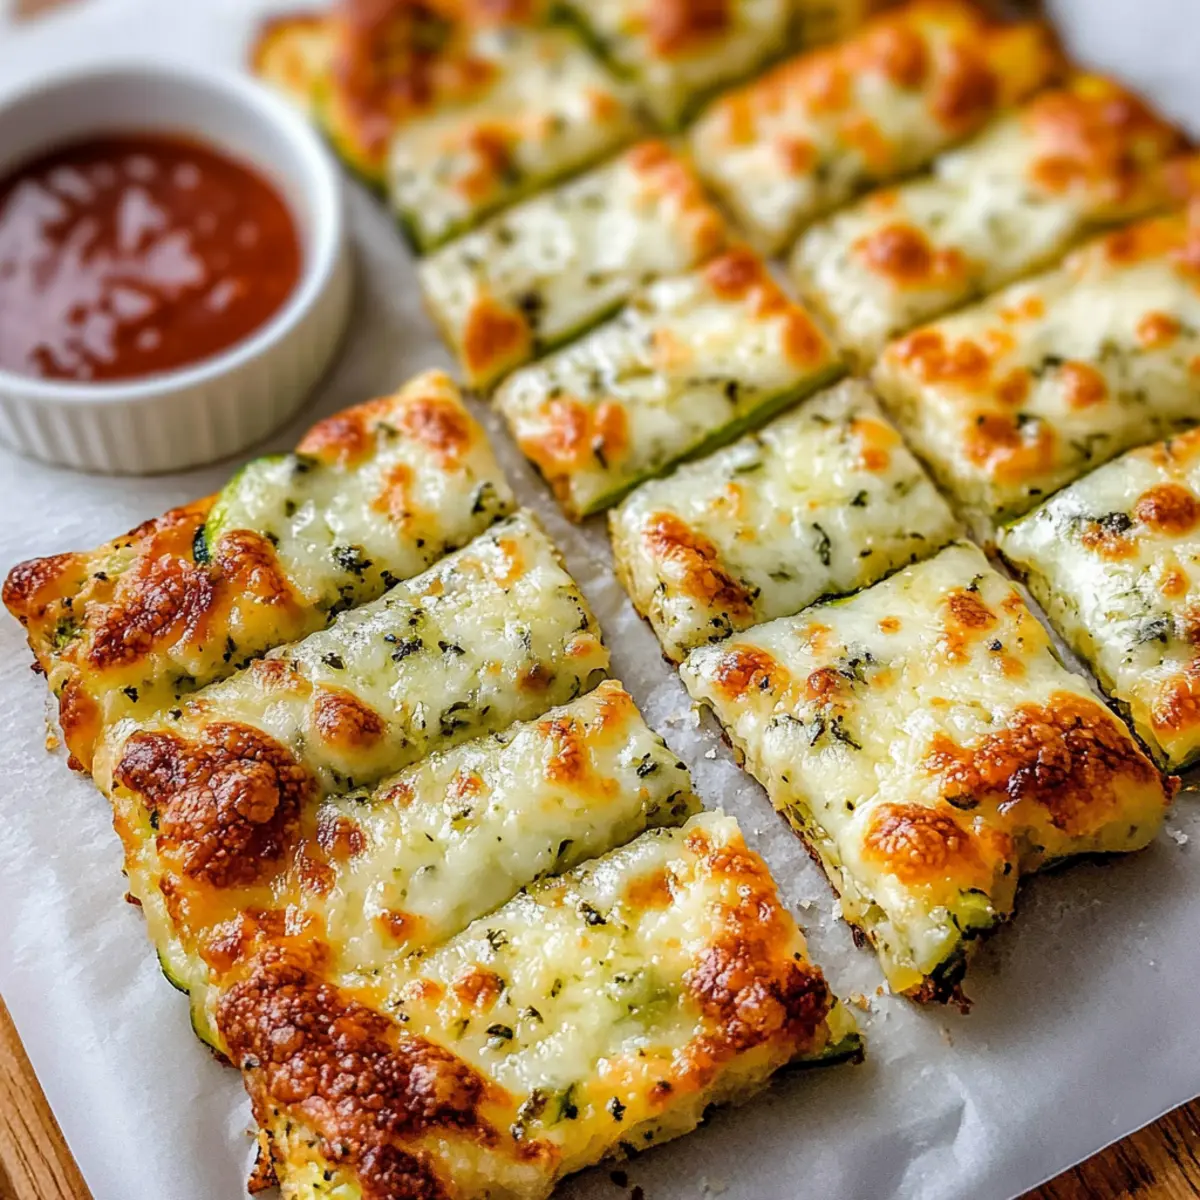
Transfer the zucchini mixture onto the prepared baking sheet, using a spatula to spread it into a rectangle about ¼-inch thick. Smooth the top to create an even layer that will cook uniformly. Place the baking sheet in the preheated oven and bake for 20-25 minutes, or until the crust turns golden brown and feels firm to the touch.
Step 4: Add Cheese Topping
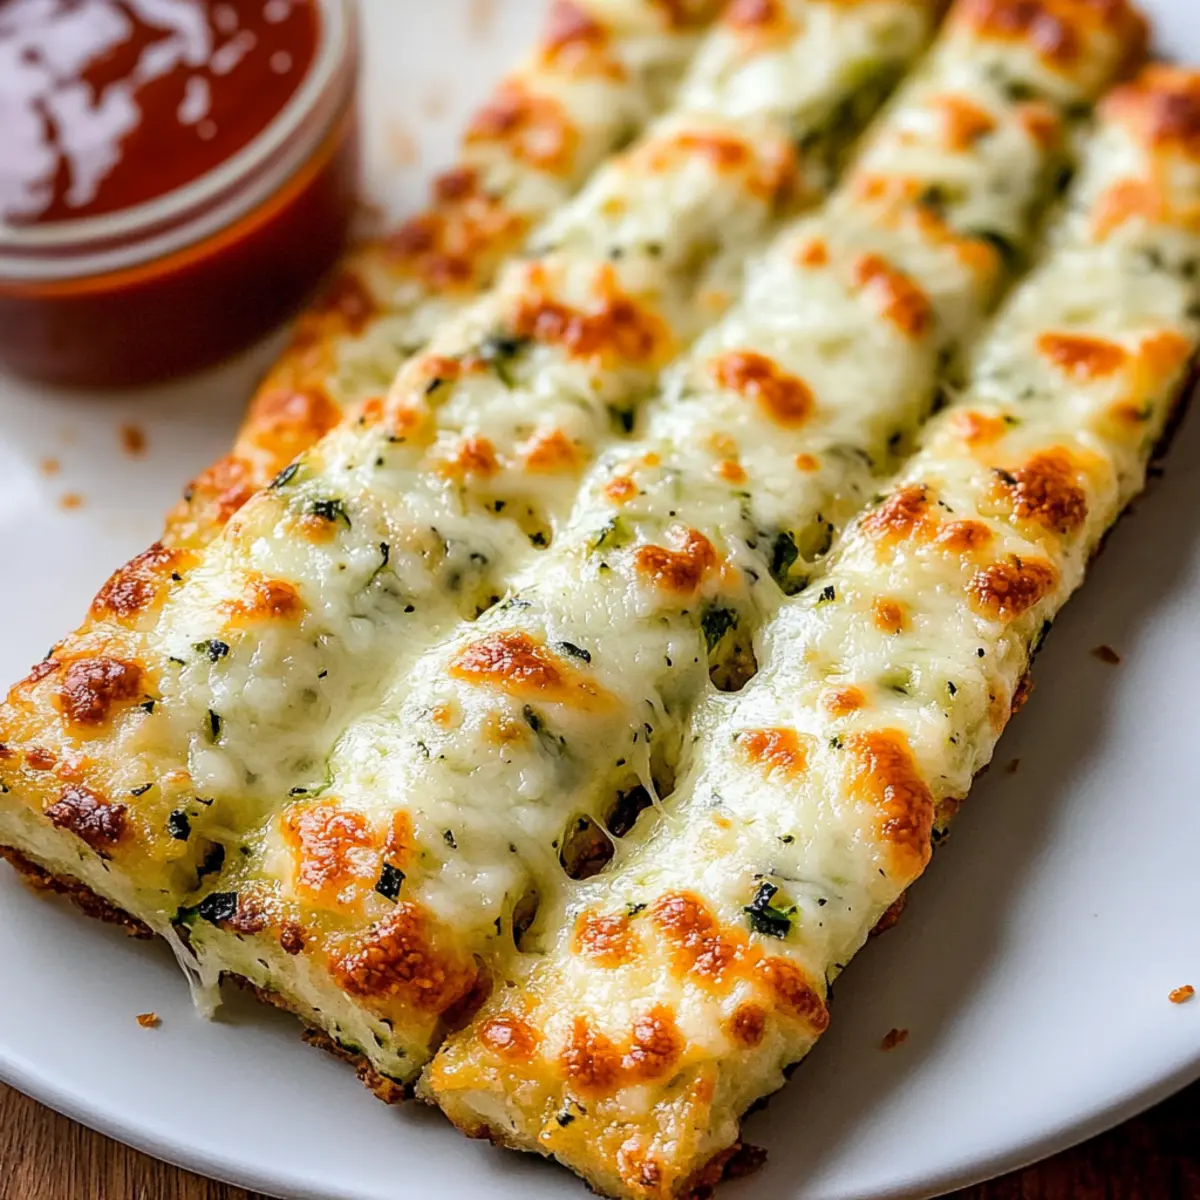
Once the crust is baked, remove it from the oven and sprinkle the remaining mozzarella cheese generously over the top. This cheesy layer will create that melty, gooey texture we adore in Cheesy Zucchini Breadsticks. Return the baking sheet to the oven for an additional 5-7 minutes, until the cheese is bubbly and lightly browned.
Step 5: Slice and Serve
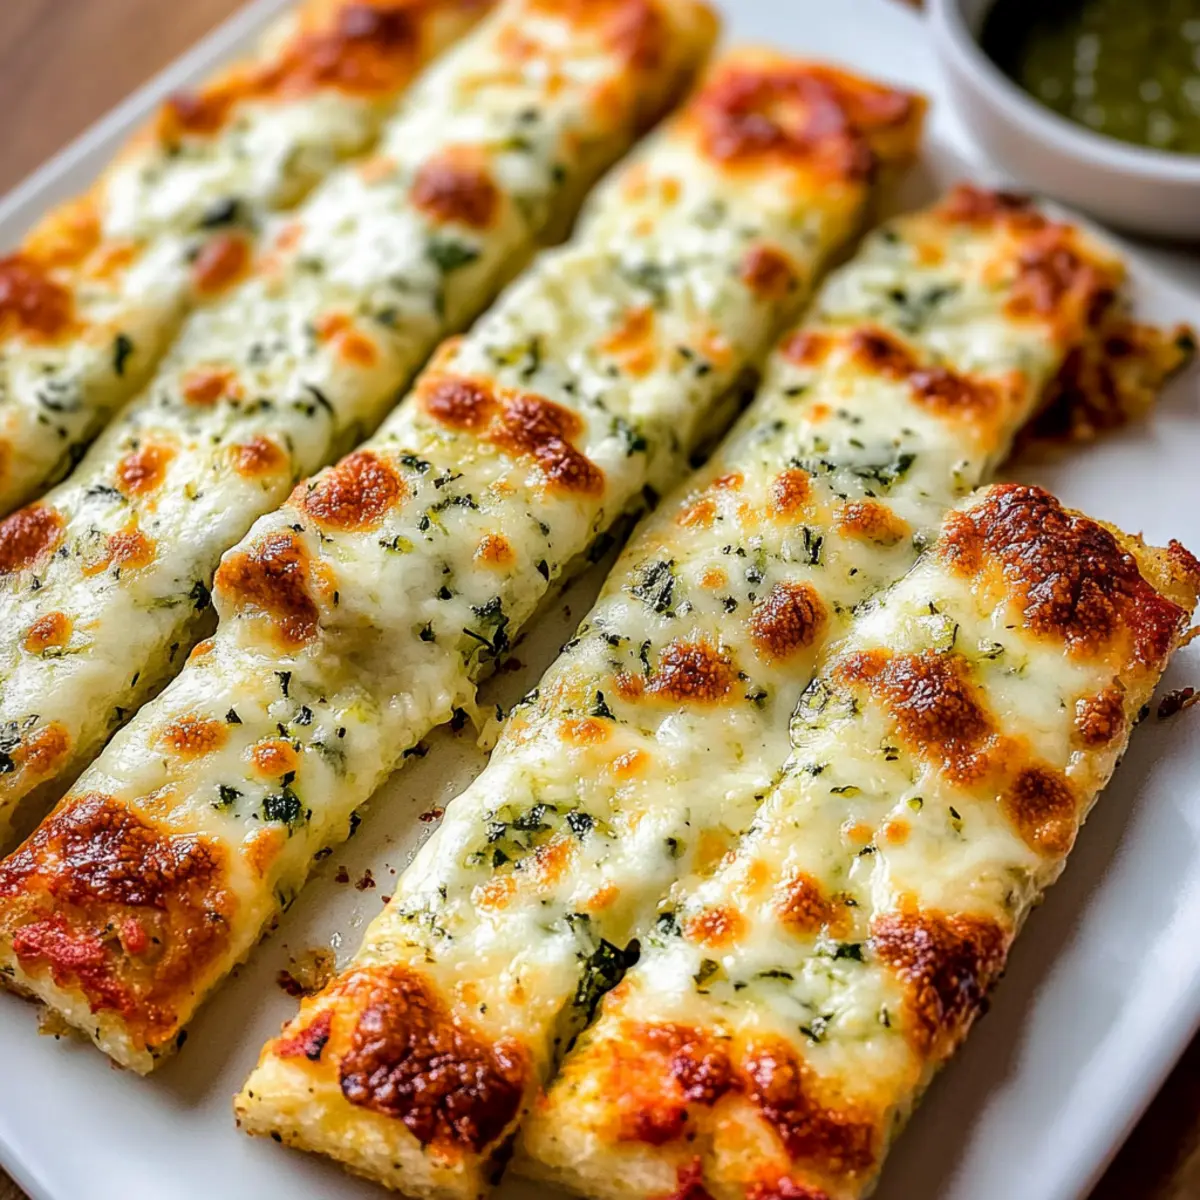
Allow the baked breadsticks to cool slightly for about 5 minutes on the baking sheet. When ready, use a sharp knife to slice them into strips resembling traditional breadsticks. For an extra touch, garnish with fresh herbs if desired and serve warm alongside your favorite dipping sauce, such as marinara or ranch dressing for a delicious finishing touch.
Expert Tips for Cheesy Zucchini Breadsticks
- Moisture Management: Squeeze well: Ensure to remove as much moisture from the shredded zucchini as possible; sogginess can ruin the texture of your Cheesy Zucchini Breadsticks.
- Cheese Choice: Fresh is best: Use freshly grated Parmesan and mozzarella for superior flavor and melting qualities—pre-packaged cheese may not melt as beautifully.
- Even Thickness: Spread it right: Aim for a uniform ¼-inch thickness when spreading the mixture; this ensures even cooking and a perfect crispy edge.
- Customize Wisely: Spice it up: Feel free to add red pepper flakes or fresh herbs, but keep the seasonings balanced to enhance, not overpower, the zucchini’s natural taste.
- Storage Savvy: Keep them fresh: Store any leftovers in an airtight container in the fridge and reheat in the oven to maintain their crispy texture.
Storage Tips for Cheesy Zucchini Breadsticks
Fridge: Store leftover Cheesy Zucchini Breadsticks in an airtight container for up to 3 days to maintain freshness and taste.
Freezer: For longer storage, freeze the baked crusts without cheese toppings in an airtight container for up to 2 months.
Reheating: To enjoy them warm and crispy again, preheat your oven to 375°F (190°C) and bake for 10-15 minutes until heated through.
Wrapping: If storing in the fridge or freezer, wrap them tightly in plastic wrap or foil to prevent freezer burn and maintain flavor.
Make Ahead Options
These Cheesy Zucchini Breadsticks are perfect for meal prep enthusiasts! You can prepare the zucchini mixture up to 24 hours in advance by shredding the zucchini and mixing it with the eggs, mozzarella, Parmesan, and seasonings. Just store the mixture in an airtight container in the fridge to prevent browning. When you’re ready to enjoy, simply spread the mixture onto the baking sheet and bake as directed. For even more convenience, you can also bake the crust without the cheese topping and freeze it for up to 2 months. When craving these tasty breadsticks, just thaw and add the cheese before baking—it’s a deliciously quick solution for busy weeknights!
Cheesy Zucchini Breadsticks Variations
Embrace your creativity in the kitchen and make these Cheesy Zucchini Breadsticks your own with some delightful tweaks!
-
Spicy Kick: Add red pepper flakes or diced jalapeños to the dough for a spicy twist that will tantalize your taste buds. Feel the heat as you take that first bite!
-
Pizza Style: Spread marinara sauce over the crust before adding cheese and topping with pepperoni for a fun pizza-inspired breadstick. Perfect for game nights!
-
Herb Infusion: Incorporate fresh basil or oregano into the mixture to add bright, fresh flavors that elevate each bite. It’s like a garden in your kitchen!
-
Cheese Variety: Swap out mozzarella for a blend of provolone and cheddar for a unique flavor profile that’s both creamy and tangy. Each variation opens a new taste adventure!
-
Dairy-Free Delight: Use plant-based cheese and flax eggs to create a dairy-free version without sacrificing flavor. Enjoy the same great taste while catering to your friends’ dietary needs.
-
Savory Seeds: Add some sesame seeds or poppy seeds on top before baking for an extra crunch and nutty flavor. This little twist adds both texture and visual appeal!
-
Veggie Medley: Mix in chopped spinach or finely diced bell peppers for an extra burst of color and nutrients. Sneaking in those veggies has never been more delicious!
For more cheesy goodness, check out these yummy recipes like One Pot Cheesy or the flavorful Smashburger Quesadillas Cheesy. Happy cooking!
What to Serve with Cheesy Zucchini Breadsticks
These delightful breadsticks are not just a snack; they can turn any meal into a comforting feast bursting with flavor.
- Marinara Sauce: A classic pairing; this rich and tangy sauce complements the cheesy goodness while adding a fresh burst of flavor.
- Ranch Dip: Creamy ranch enhances the savory notes of the breadsticks, making each bite a satisfying indulgence.
- Garden Salad: A crisp, refreshing salad with mixed greens and a light vinaigrette counterbalances the richness, giving a wholesome touch to your meal.
- Roasted Veggies: Adding roasted seasonal vegetables allows for a colorful and hearty side that merges well with the cheesy textures of zucchini breadsticks.
- Soup: A warm bowl of tomato basil soup creates a perfect dip for your breadsticks, enhancing their cheesy flavors with a soothing, cozy vibe.
- Stuffed Peppers: For a more filling meal, pair with cheesy stuffed peppers; they offer a beautiful presentation and a delightful combination of ingredients.
- Wine Spritzer: An easy and refreshing drink, the bubbly notes of a wine spritzer can elevate your meal, perfect for a relaxed evening.
- Chocolate Mousse: For dessert, a light and fluffy chocolate mousse serves as a decadent finish, contrasting beautifully with the savory breadsticks.
- Hummus: This smooth dip provides a nutty flavor profile that works well with the cheesy breadsticks, adding an extra layer of deliciousness.
- Grilled Chicken Skewers: Tender and flavorful chicken complements the carbohydrate reduction from the breadsticks, making it an excellent protein pairing to round out your meal.
Cheesy Zucchini Breadsticks Recipe FAQs
How do I choose the best zucchini for the breadsticks?
Absolutely! When selecting zucchini, look for firm, shiny ones with vibrant green skin. Avoid zucchinis with dark spots or soft spots, as they are past their prime. Medium-sized zucchinis are ideal because they have fewer seeds and a better texture for shredding.
How should I store leftover Cheesy Zucchini Breadsticks?
Very simply! Place any leftovers in an airtight container and keep them in the refrigerator for up to 3 days. You can easily reheat them in the oven to keep that crispy texture intact, which usually takes about 10-15 minutes at 375°F (190°C).
Can I freeze Cheesy Zucchini Breadsticks?
Certainly! If you want to freeze them, bake the crust without the cheese topping first. Allow it to cool completely, then place it in an airtight container or wrap it tightly in plastic wrap for up to 2 months. When you’re ready to enjoy them, just add cheese and bake right from frozen, increasing the baking time by about 3-5 minutes.
What are some common issues I might face while making these breadsticks?
One common challenge is ending up with soggy breadsticks, which usually happens if there’s too much moisture in the zucchini. Be sure to squeeze out as much liquid as possible before mixing the ingredients. If they don’t firm up in the oven, it could be due to uneven spreading; aim for a uniform ¼-inch thickness for even cooking.
Are Cheesy Zucchini Breadsticks suitable for special diets?
Absolutely! They are low-carb, gluten-free, and vegetarian, making them a great snack for various dietary needs. If you’re looking for a dairy-free version, you can substitute the cheeses with plant-based alternatives. Just ensure that all your ingredients meet your dietary requirements, especially if you have allergies.
Cheesy Zucchini Breadsticks - Guilt-Free Indulgence You'll Love
Ingredients
Equipment
Method
- Preheat your oven to 425°F (220°C) and line a baking sheet with parchment paper.
- Grate the zucchini and squeeze out the excess moisture.
- In a bowl, mix shredded zucchini with eggs, mozzarella, Parmesan, garlic powder, Italian seasoning, salt, and pepper.
- Transfer mixture to the baking sheet and spread into a rectangle about ¼-inch thick.
- Bake for 20-25 minutes until golden brown.
- Sprinkle remaining mozzarella over the crust and bake for an additional 5-7 minutes until bubbly.
- Allow to cool slightly, then slice into strips and serve warm.
Leave a Reply