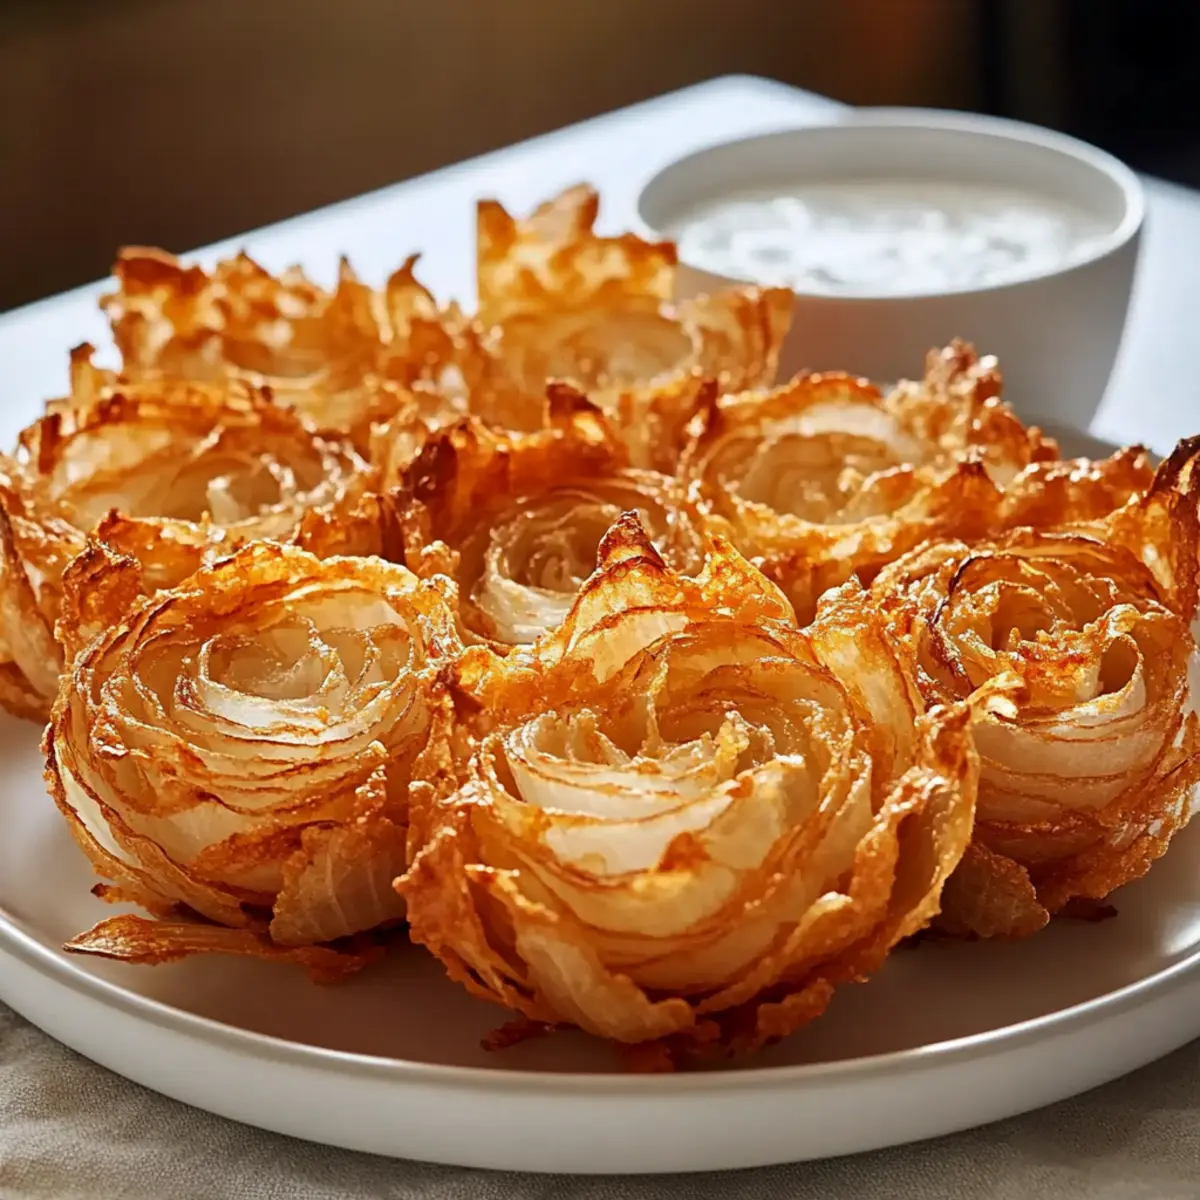
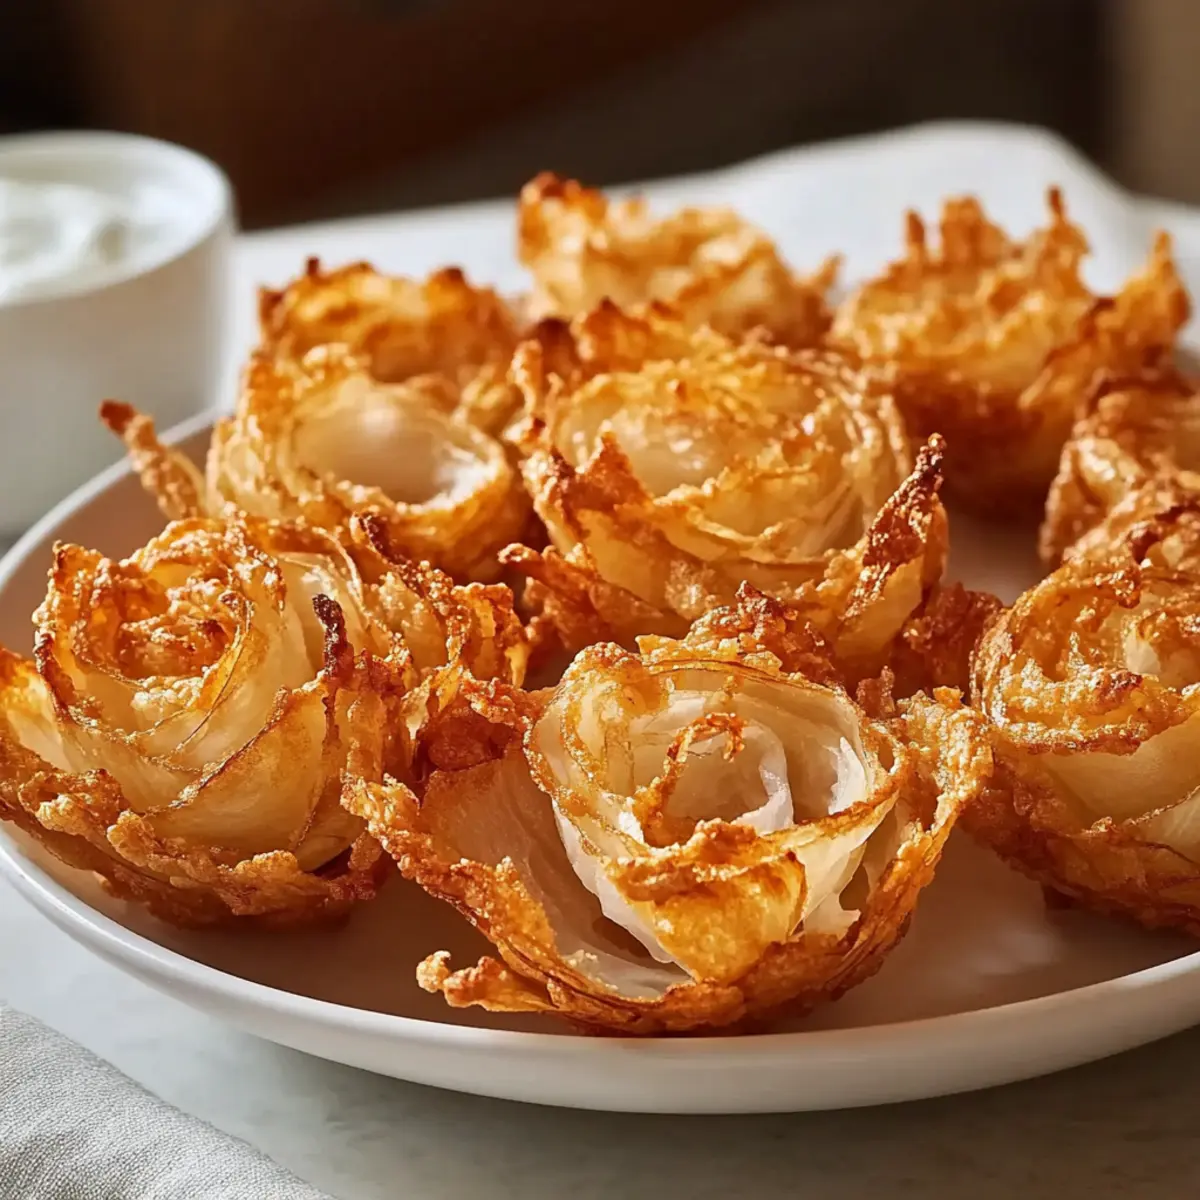
The scent of sweet, golden onions wafting through your kitchen can evoke memories of county fairs and summer barbecues—a delightful experience now made simple at home! My Easy Baked Blooming Onions Recipe transforms the traditional blooming onion into a charming bite-sized appetizer that’s perfect for gatherings. Not only are these addictive little treats a healthier alternative to the classic fried version, but they also pack a satisfying crunch that will have everyone reaching for more. Quick to whip up and share, these blooming onions are gluten-free and absolutely customizable with your favorite spices, ensuring they cater to any palate. Which dipping sauce will you serve alongside these savory bites?
Why Are Blooming Onions So Irresistible?
Crispy Texture: These bite-sized blooming onions deliver a delightful crunch, making them the ultimate finger food for parties or movie nights. Flavor Explosion: Coating them with a custom blend of spices elevates their taste, ensuring each bite is packed with flavor. Versatile Pairing: Perfect alongside savory dishes like General Tso’s Chicken or as a standalone snack with your favorite dipping sauces. Quick & Easy: Ready in just 25 minutes, this recipe is ideal for busy hosts who want to impress without the hassle. Healthier Choice: Baked rather than fried, these blooming onions are a guilt-free way to indulge in a beloved classic!
Blooming Onions Recipe Ingredients
• Dive into the delightful flavors of baked blooming onions with these essential ingredients!
For the Onions
- Sweet Onions – The star ingredient providing sweetness and tenderness; use mild varieties for the best results.
For the Coating
- All-Purpose Flour – Creates the crunchy coating; swap with a gluten-free flour blend for gluten-free options.
- Eggs – Binds the flour to the onion petals; for a vegan or dairy-free option, replace with a flax egg or aquafaba.
- Spices (Paprika, Garlic Powder, etc.) – Enhance flavor with your custom blend, adding an exciting kick to the coating.
For Baking
- Oil – A light spritz helps achieve a golden color and crispy texture; reduce oil quantity for a lighter option.
Get ready to enjoy delicious blooming onions that will have everyone reaching for more!
Step‑by‑Step Instructions for Blooming Onions Recipe
Step 1: Prepare the Onion
Start by peeling a sweet onion and cutting off the root end without removing the core. Slice the onion in half, then position the halves cut-side down. Make 8-12 vertical cuts around the onion, about 1/4 inch apart, extending down toward the core but not cutting through it. This creates the signature petal shape of your blooming onions.
Step 2: Soak the Onion Petals
Place the prepared onion halves in a bowl of ice water, ensuring all petals are submerged. Let the onions soak for about 30 minutes; this step helps the petals bloom and retain their crispness while baking. During this time, preheat your oven to 400°F (200°C) so it’s ready for your blooming onions.
Step 3: Prepare the Coating
In a mixing bowl, combine all-purpose flour and your chosen spices, such as paprika and garlic powder, to create a flavorful coating. Take each onion half out of the ice water and gently shake off excess moisture. Next, dredge the onion petals in the flour mixture to coat them evenly, shaking off any excess flour to ensure a nice crisp.
Step 4: Dip in Egg and Recoat
In a separate bowl, whisk together a couple of eggs to create an egg wash. Dip each floured onion half into the egg mixture, allowing excess to drip off. Return the onion to the flour coating, pressing gently to ensure a thicker, crunchier layer. This double coating method enhances the crispy texture of your blooming onions once baked.
Step 5: Bake the Onions
Line a baking sheet with parchment paper or place a wire rack on top. Space the coated onion halves cut-side up on the prepared surface, ensuring they aren’t touching. Lightly spritz the onions with oil to promote browning during baking. Place them in the preheated oven and bake for 20-25 minutes until golden brown and crispy, keeping an eye on them towards the end.
Step 6: Serve and Enjoy
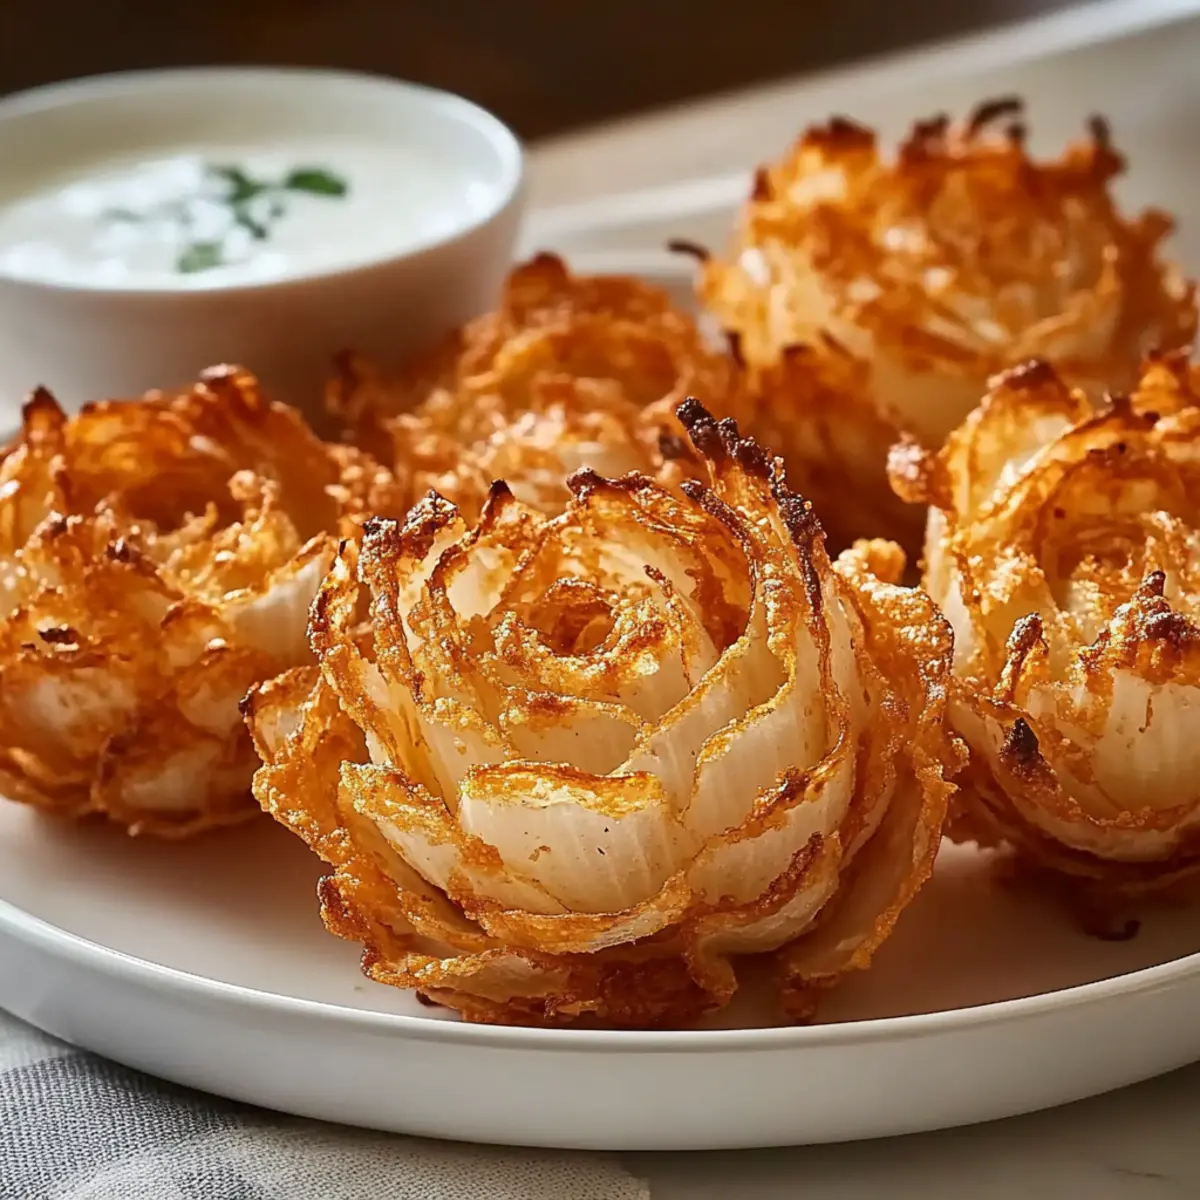
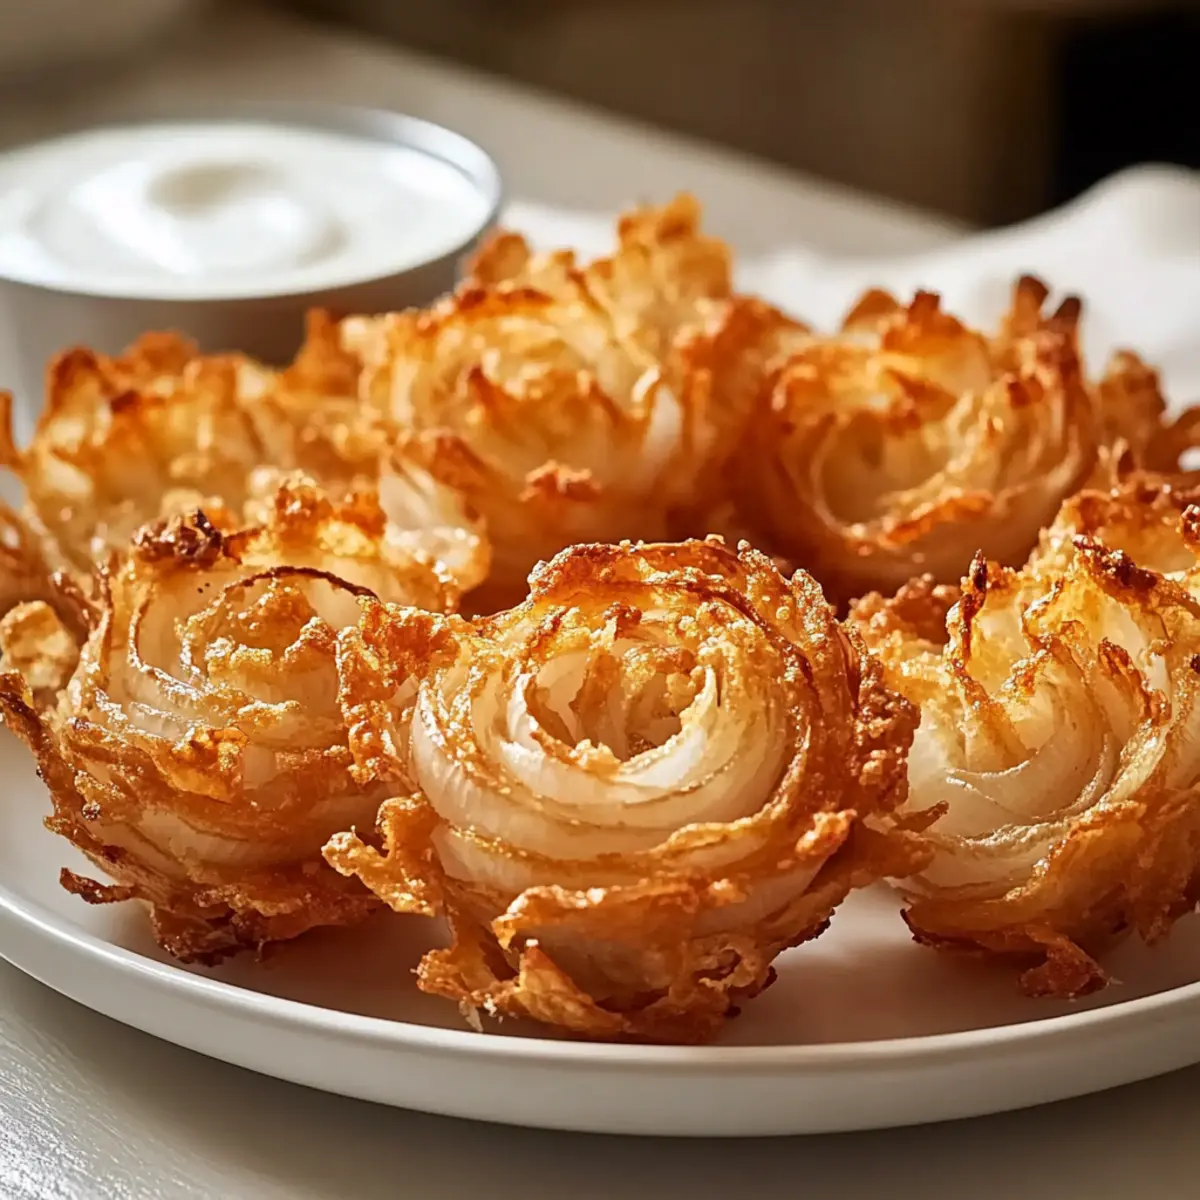
Once the blooming onions are perfectly golden and crispy, remove them from the oven. Allow them to cool for a couple of minutes before serving. These baked blooming onions are best enjoyed warm, so pair them with your favorite dipping sauces and watch as everyone gathers to enjoy this delightful snack!
How to Store and Freeze Blooming Onions
Fridge: Store leftover blooming onions in an airtight container in the refrigerator for up to 3 days. This helps maintain their flavor and prevents them from becoming soggy.
Freezer: For longer storage, freeze blooming onions in a single layer on a baking sheet until solid, then transfer to a freezer bag. They can be frozen for up to 2 months.
Reheating: To restore the crispy texture, reheat in a preheated oven at 400°F (200°C) for 10-15 minutes, or use an air fryer for about 5-7 minutes. Enjoy your blooming onions fresh out of the oven!
Room Temperature: If enjoying the onions at a gathering, they can sit out for about 2 hours; beyond that, it’s best to refrigerate to ensure food safety.
Make Ahead Options
These Bite-Sized Blooming Onions are perfect for meal prep enthusiasts! You can prepare the onion petals and coat them with flour and spices up to 24 hours in advance, which helps save time on busy days. Simply soak the onion halves in ice water, make the cuts, and coat them as instructed, then cover with plastic wrap and refrigerate. When you’re ready to bake, just take them out, dip in the egg wash, give them a final coating in the flour, and bake at 400°F (200°C) for about 20-25 minutes. Following these steps ensures your blooming onions are just as delicious and crispy as if made fresh, making your gatherings even more effortless!
Expert Tips for Blooming Onions Recipe
-
Dry Thoroughly: Ensure onions are completely dried after soaking to prevent the coating from slipping off during baking.
-
Temperature Control: If your coating browns too quickly, lower the oven temperature by 15°F (10°C) to achieve the perfect crispiness.
-
Customize Flavors: Don’t hesitate to experiment with different herbs and spices to create a unique flavor profile that complements your meal.
-
Immediate Serving: Serve your blooming onions right out of the oven for the best texture; they’re most delicious when hot and crispy.
-
Dipping Sauce Pairings: Try pairing these blooming onions with varied dipping sauces, like ranch, spicy mayo, or a tangy balsamic reduction, to enhance your appetizer experience.
What to Serve with Easy Baked Blooming Onions
Transform your appetizer into a feast with these perfect pairings that are sure to delight everyone at the table.
- Savory Sliders: Juicy beef or veggie sliders bring a heartiness to the table and are the ideal counterpart to the light crunch of the blooming onions.
- Crispy Chicken Wings: The combination of spicy or tangy chicken wings with blooming onions creates a classic game day vibe that excites every palate!
- Fresh Garden Salad: A refreshing salad with mixed greens, cherry tomatoes, and a zesty vinaigrette cuts through the richness of the onions, adding a vibrant note to your spread.
- Creamy Dips: Pair with a creamy ranch or zesty dipping sauce that enhances the flavors of the blooming onions and offers a delightful contrast to their crunch.
- Cold Beverages: Refreshing iced tea or a light, crisp beer complements the baked blooming onions beautifully, making your gathering even more enjoyable.
- Dessert Treats: End your meal on a sweet note with light desserts, such as fruit salad or sorbet, to cleanse the palate after indulging in savory bites.
- Stuffed Peppers: For a hearty option, consider stuffed peppers filled with flavorful rice and spices; their contrasting textures add depth to your meal adventure.
These pairings will elevate your blooming onions recipe into a deliciously memorable dining experience that keeps friends and family coming back for more!
Blooming Onions Recipe Variations
Feel free to get creative and make this blooming onions recipe your own with these fun twists!
-
Cheesy Delight: Add grated Parmesan cheese to the flour mixture for a rich and savory flavor boost. This gives your onions a delightful cheesy edge that pairs beautifully with any dipping sauce.
-
Spicy Kick: Mix in cayenne pepper or chili powder to the coating for a spicy twist. This variation is perfect for those who enjoy a little heat in their snacks!
-
Herbaceous Touch: Incorporate fresh herbs like thyme or rosemary into the flour for a fragrant and earthy flavor. These add a delightful aroma that truly elevates your blooming onions.
-
Sweet & Savory: Try drizzling a bit of honey or maple syrup over the baked onions right before serving. The sweetness complements the savory onion perfectly, creating a mouthwatering contrast.
-
Gluten-Free Option: Substitute all-purpose flour with a gluten-free flour blend to make these tasty bites suitable for gluten-sensitive guests. It doesn’t compromise on texture or flavor!
-
Breading Fun: Instead of flour, use crushed cornflakes or panko breadcrumbs for an ultra-crispy coating. This provides an extra crunch and a fun twist on the classic preparation.
-
Flavor Infusion: Soak the onion petals in seasoned vegetable broth instead of plain water before coating. This adds an extra layer of flavor that is simply delightful!
-
Dipping Sauce Ideas: Pair your blooming onions with a range of delightful dipping sauces like spicy mayo or a creamy ranch to match your taste. Don’t shy away from experimenting to find the perfect accompaniment!
Each of these variations allows you to play with flavors and textures, making your blooming onions an even more unforgettable treat at your next gathering!
Blooming Onions Recipe FAQs
What type of onions should I use for blooming onions?
Absolutely! Sweet onions are the star of this recipe, delivering the perfect balance of sweetness and tenderness. I personally recommend using mild varieties like Vidalia or Walla Walla onions for the best results!
How long can I store leftover blooming onions?
Blooming onions can be stored in an airtight container in the refrigerator for up to 3 days. Make sure to keep them covered to maintain their flavor and prevent them from becoming soggy.
Can I freeze blooming onions, and how do I do it?
Yes, you can freeze blooming onions for up to 2 months! To do this, place the baked onions in a single layer on a baking sheet and freeze until they are solid. After that, transfer them to a freezer bag. When you’re ready to enjoy them, reheat in a preheated oven at 400°F (200°C) for about 10-15 minutes to crisp them back up.
What should I do if the coating doesn’t stick to the onions?
If you find the coating slipping off, it could be due to excess moisture. Make sure the onions are thoroughly dried after soaking in ice water. Also, gently shaking off excess flour after dredging can help ensure a better adherence to the onion petals.
Are there any dietary considerations for blooming onions?
Definitely! This blooming onions recipe is naturally vegetarian and can easily be made gluten-free by using a gluten-free flour blend. For those who need a dairy-free option, simply replace the eggs with a flax egg (1 tablespoon ground flaxseed mixed with 2.5 tablespoons of water, let sit for 10 minutes) or aquafaba. Always double-check ingredient labels to avoid allergens!
What dipping sauces pair well with blooming onions?
The more the merrier! I often suggest classic choices like ranch or blue cheese dressing, but a spicy mayo or tangy balsamic reduction can also elevate your blooming onions to the next level! Feel free to mix it up according to your tastes or the theme of your gathering.
Baked Blooming Onions Recipe - Crispy, Flavorful Fun at Home
Ingredients
Equipment
Method
- Start by peeling a sweet onion and cutting off the root end without removing the core. Slice the onion in half, then position the halves cut-side down. Make 8-12 vertical cuts around the onion, about 1/4 inch apart, extending down toward the core but not cutting through it.
- Place the prepared onion halves in a bowl of ice water, ensuring all petals are submerged. Let the onions soak for about 30 minutes; this step helps the petals bloom and retain their crispness while baking. During this time, preheat your oven to 400°F (200°C).
- In a mixing bowl, combine all-purpose flour and your chosen spices to create a flavorful coating. Take each onion half out of the ice water and gently shake off excess moisture. Dredge the onion petals in the flour mixture to coat them evenly.
- In a separate bowl, whisk together a couple of eggs to create an egg wash. Dip each floured onion half into the egg mixture, allowing excess to drip off. Return the onion to the flour coating, pressing gently to ensure a thicker, crunchier layer.
- Line a baking sheet with parchment paper or place a wire rack on top. Space the coated onion halves cut-side up, ensuring they aren’t touching. Lightly spritz the onions with oil. Place them in the preheated oven and bake for 20-25 minutes until golden brown and crispy.
- Once the blooming onions are perfectly golden and crispy, remove them from the oven and allow to cool for a couple of minutes before serving with your favorite dipping sauces.
Leave a Reply