I vividly recall the bustling sounds of a summer BBQ, where the air was filled with laughter and the irresistible scent of burgers sizzling on the grill. Inspired by those gorgeous, juicy flavors, I created these Smashburger Quesadillas that capture that same spirit in a quick and easy recipe. Perfect for busy weeknights, these quesadillas come together in under 30 minutes and are fully customizable, making them a hit with both kids and adults—no more fast food fatigue! With just a handful of ingredients, you can whip up a flavorful meal that’s not only satisfying but also provides a fun twist on classic American cuisine. Curious about how to get that delicious crunch and gooey goodness in every bite? Let’s dive in!
Why are Smashburger Quesadillas a Must-Try?
Quick and Easy: With just 30 minutes needed from start to finish, these quesadillas are perfect for a busy weeknight dinner.
Customizable Delight: Each bite can be tailored to your taste! Swap out ground beef for turkey or plant-based options, add your favorite cheese, or pile on veggies for a personal touch.
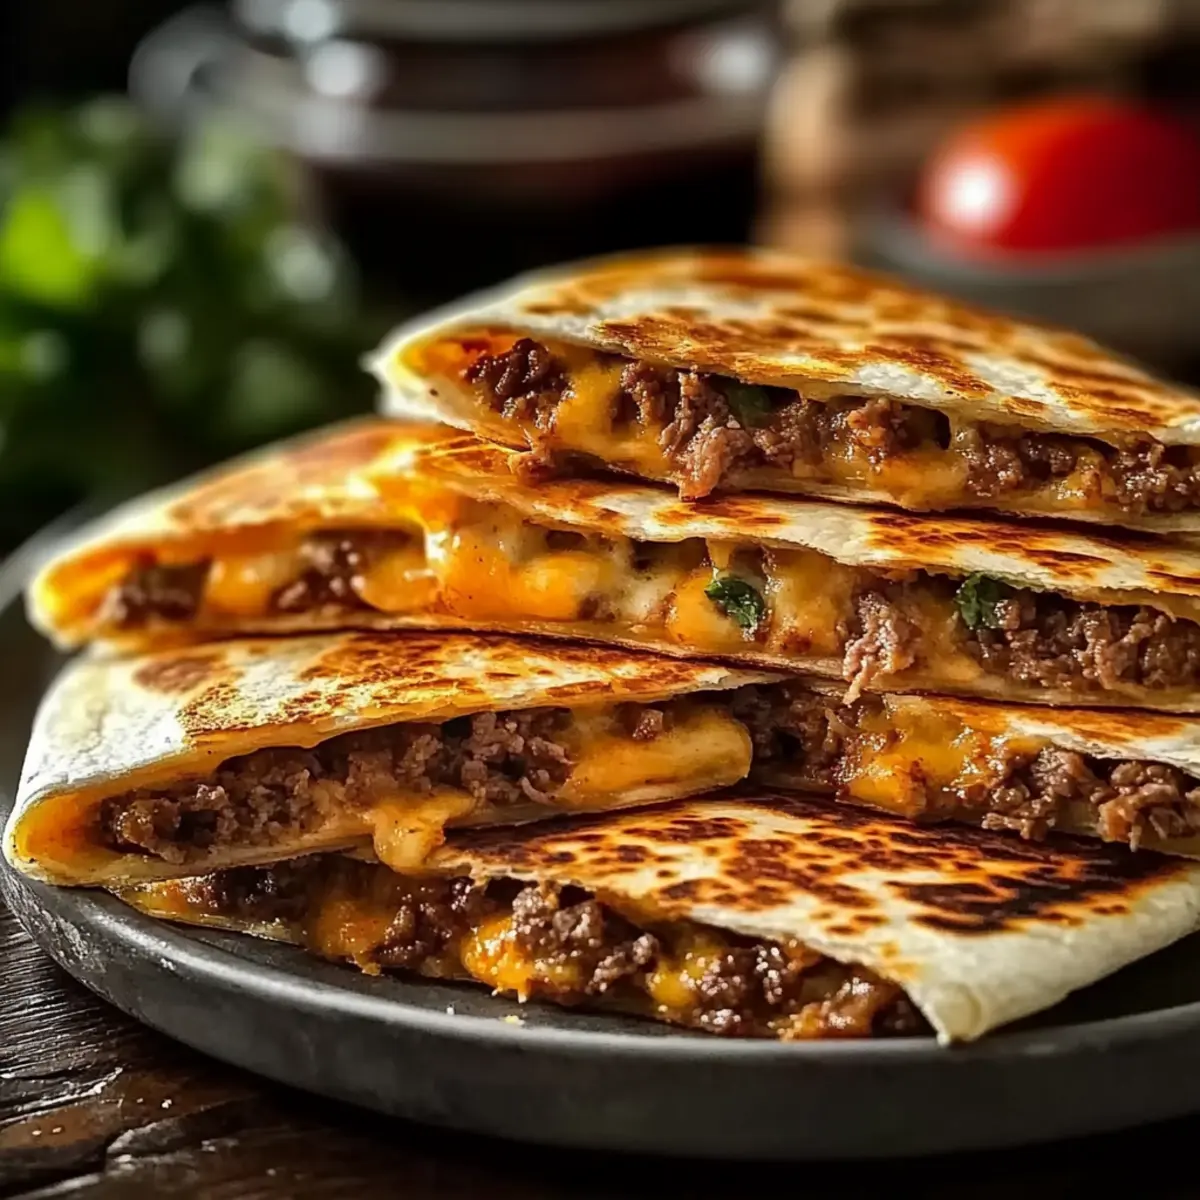
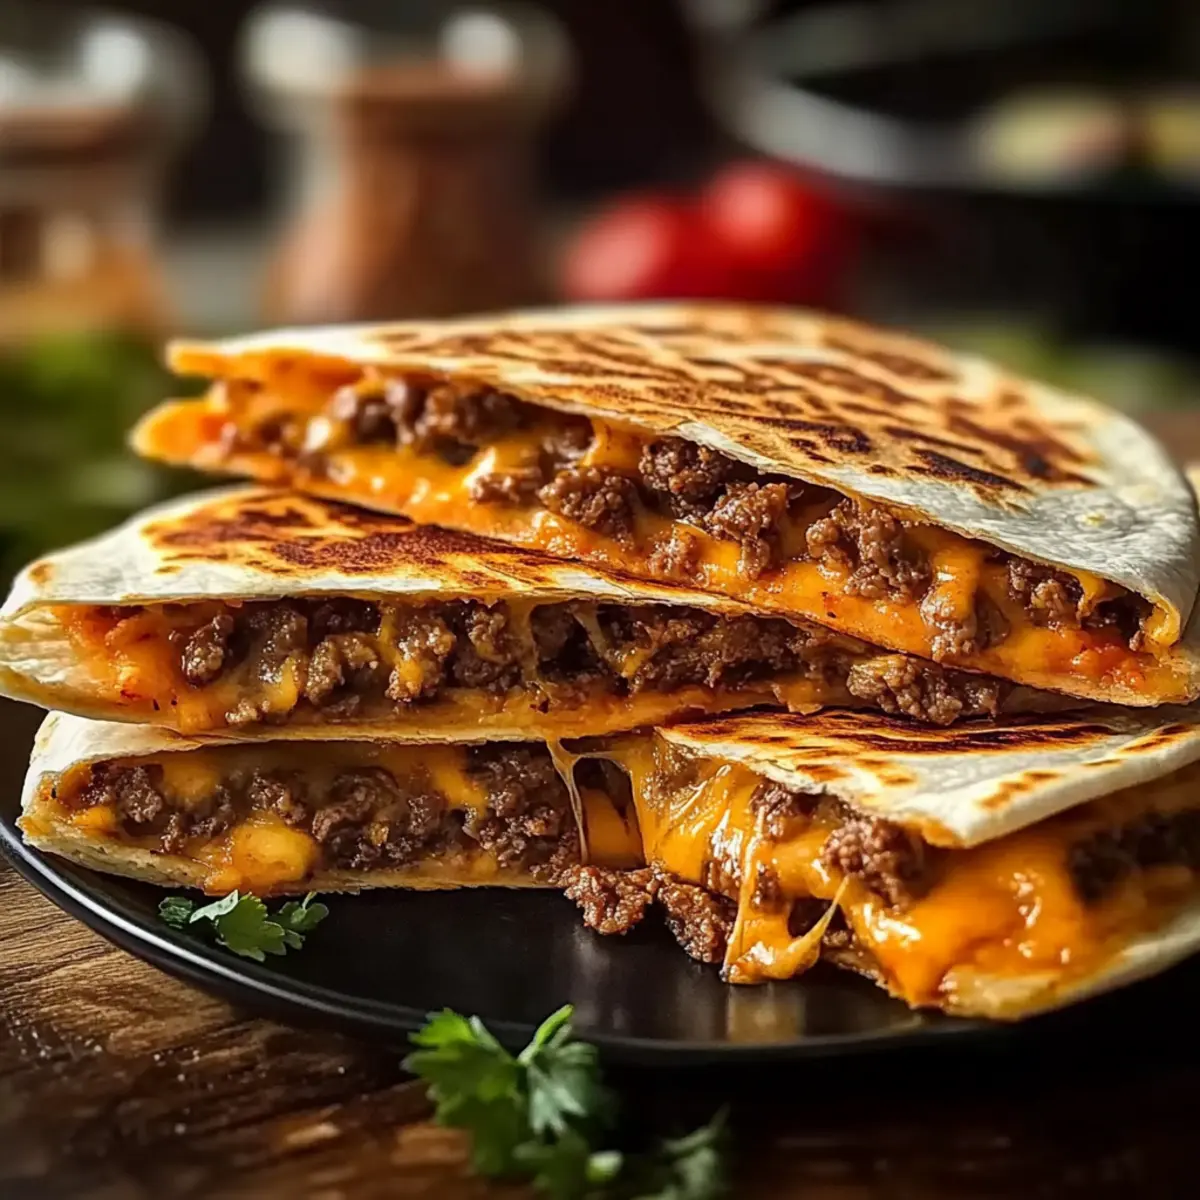
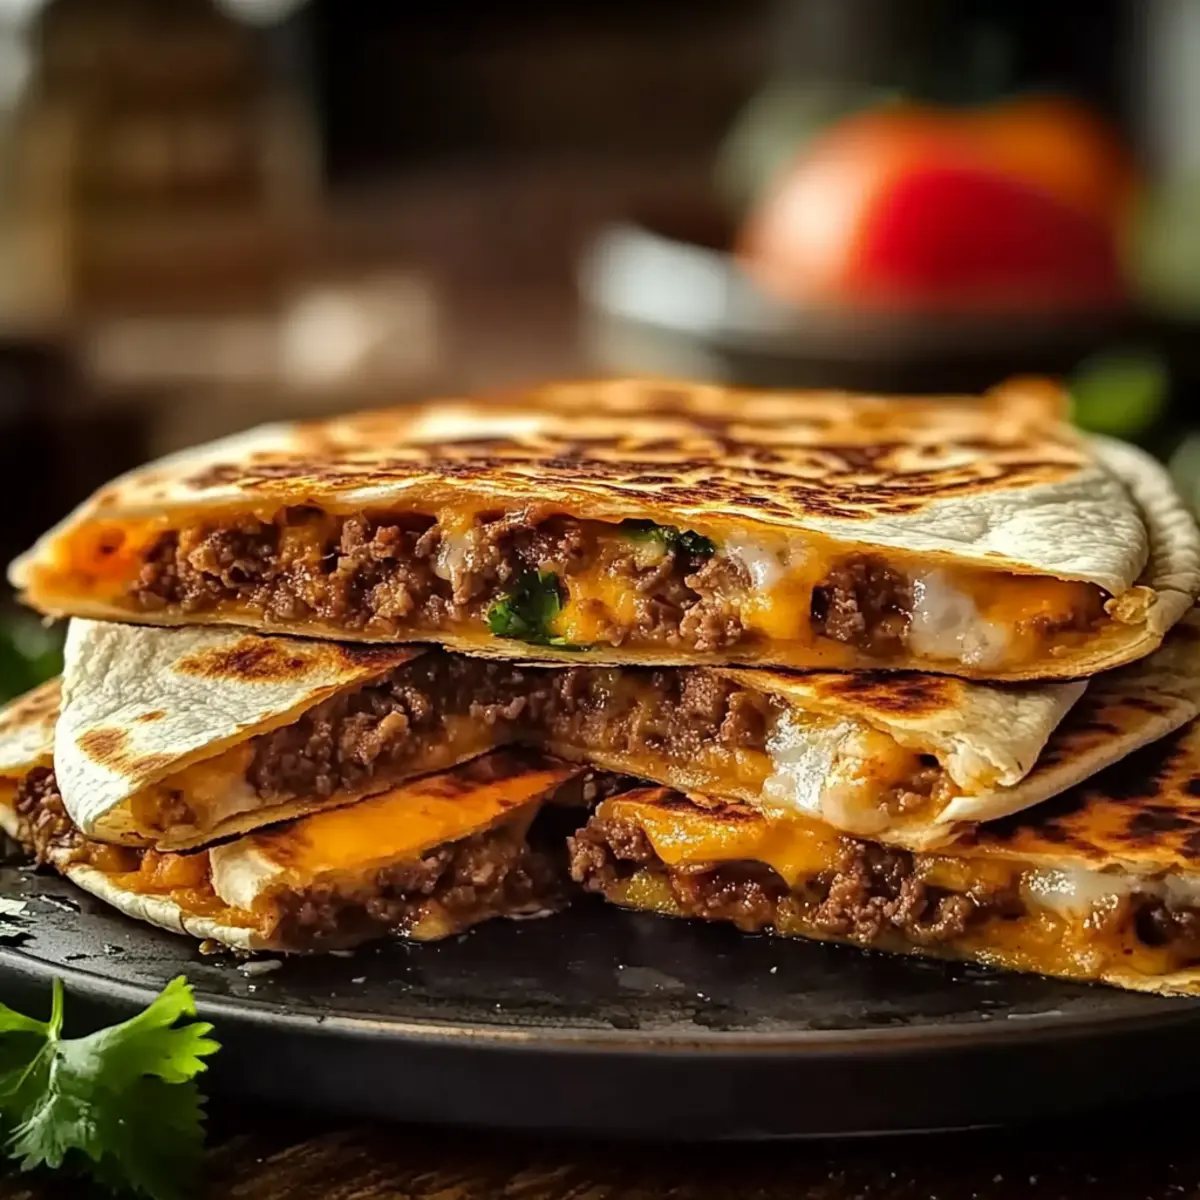
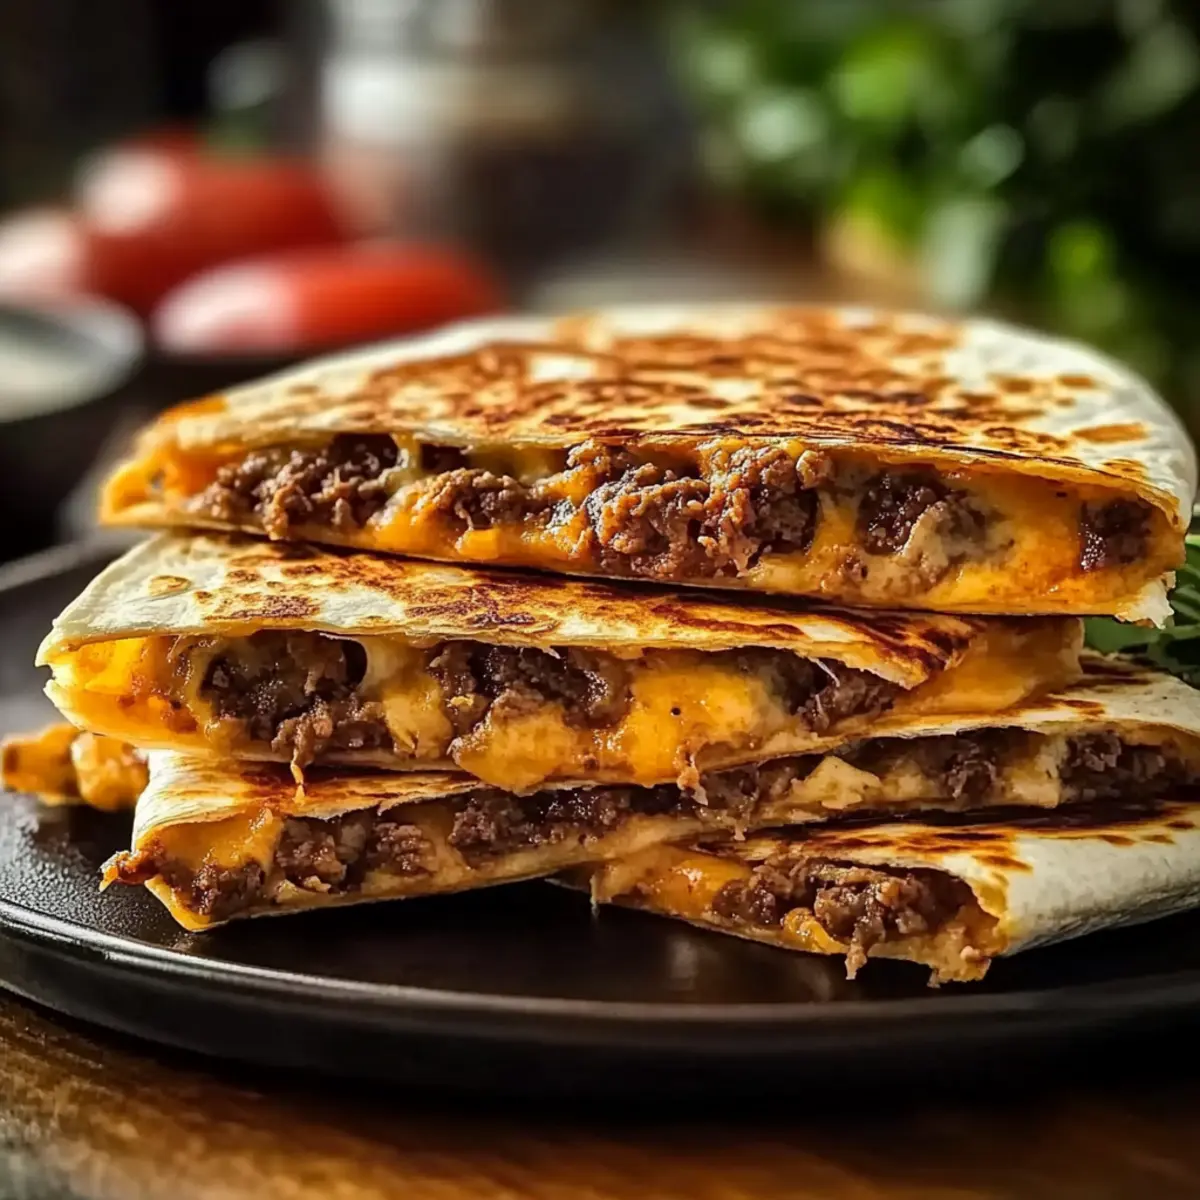
Crowd-Pleasing Flavor: The rich, savory taste of smashburgers meets gooey cheese in a satisfying, crispy wrap that kids and adults will devour alike.
Healthy Substitutions: Use whole-grain or low-carb tortillas to make this recipe as nutritious as it is delicious. It’s an easy way to add fiber without sacrificing flavor!
Less Fast Food, More Fun: Enjoy all the excitement of a backyard BBQ in each quesadilla, making it a perfect answer to fast food fatigue. Recreate those summer memories hassle-free with this fast yet fantastic meal!
Smashburger Quesadilla Ingredients
• To create these mouthwatering Smashburger Quesadillas, gather your essentials for the ultimate homemade delight!
For the Filling
- Ground Beef – A classic choice for a savory flavor; try swapping it out for ground turkey or plant-based meat for a healthier twist.
- Cheese – This is the glue that holds it all together; use cheddar, pepper jack, or smoked gouda for a deliciously gooey texture.
- Pickles – They add that tangy crunch reminiscent of traditional burgers—feel free to skip if you prefer a less tangy bite.
For the Wrap
- Tortillas – The perfect vessel for all those scrumptious fillings; whole-grain or low-carb tortillas can make this dish even healthier.
For Additional Flavor
- Mustard – Elevates your quesadilla with an extra kick of flavor; consider swapping it for your favorite sauce like ranch or chipotle.
- Avocado (optional) – Adds a creamy touch and healthy fats that take the dish to a whole new level!
Now that you’ve got your ingredients ready, let the cooking adventure begin!
Step‑by‑Step Instructions for Smashburger Quesadillas
Step 1: Preheat the Skillet
Begin by preheating a cast iron skillet or a heavy-bottom frying pan over medium-high heat until hot. You can test the temperature by flicking a drop of water onto the skillet; it should sizzle immediately. This step is crucial for achieving the perfect crispy texture for your Smashburger Quesadillas.
Step 2: Prepare the Beef Patties
While the skillet is heating, take your ground beef and form it into thin patties. Once your skillet is hot, place the patties on it, and gently smash them down using a spatula. Cook for about 3-4 minutes on each side until they are browned and crispy around the edges—this will ensure maximum flavor in your quesadillas.
Step 3: Melt the Cheese
Once the beef patties are cooked thoroughly, remove them from the skillet and immediately place a slice of cheese on top of each patty. Allow the residual heat from the patties and skillet to melt the cheese, taking about 1-2 minutes. This cheesy goodness is what makes your Smashburger Quesadillas irresistibly tasty.
Step 4: Assemble the Quesadillas
In the same skillet, lay down your tortillas so they can warm up and achieve that perfect crisp. After a minute, place the melted beef patties onto one half of each tortilla. Add optional pickles and a drizzle of mustard for that classic burger flavor. The warmth from the skillet will enhance the overall taste as you assemble!
Step 5: Grill the Quesadillas
Carefully fold the tortillas over the filling, creating a half-moon shape. Allow them to grill for about 2-3 minutes on each side until they turn golden brown and crispy. Press down gently with a spatula to ensure even grilling and that delightful crunch in your Smashburger Quesadillas.
Step 6: Serve and Enjoy
Once crispy and beautifully browned, remove the quesadillas from the skillet and slice them into wedges. Serve them hot, ideally with sides like fries, salad, or chips for a complete meal. The flavorful filling paired with the crispy exterior makes for a delightful dining experience!
Expert Tips for Smashburger Quesadillas
-
Warm Tortillas: Slightly warm your tortillas before folding them to prevent cracking and tearing during assembly.
-
Taste as You Go: Always taste-test your beef patties for optimal seasoning before cooking. A pinch of salt can elevate the entire flavor of your dish!
-
Oil for Crunch: Lightly brush tortillas with a bit of oil before grilling; this ensures a golden, crispy finish that’s simply irresistible in your Smashburger Quesadillas.
-
Proper Heating: Avoid microwaving leftovers to maintain that delightful crunch. Instead, reheat in a skillet or oven for the best results.
-
Customize Wisely: Feel free to mix in sautéed vegetables or your favorite sauces, but keep seasoning balanced to avoid overpowering the burger flavors!
How to Store and Freeze Smashburger Quesadillas
- Fridge: Store leftover Smashburger Quesadillas in an airtight container for up to 3 days. This helps retain their crispy texture and delicious flavors.
- Freezer: For longer storage, wrap individual quesadillas tightly in plastic wrap and then place them in a freezer-safe bag. They can be frozen for up to 2 months without compromising quality.
- Reheating: To reheat, avoid the microwave, as it can make the quesadilla soggy. Instead, reheat in a skillet on medium heat for about 5-7 minutes or in the oven at 350°F (175°C) for 10-15 minutes.
- Cooling: Ensure the quesadillas are completely cooled before storing them in the fridge or freezer to avoid moisture buildup, which can affect texture.
Smashburger Quesadillas: Delightful Twists Await
Feel free to get creative and customize your Smashburger Quesadillas to make them truly yours!
- Dairy-Free: Swap cheese for vegan cheese or simply leave it out for a plant-based delight.
- Veggie Boost: Add sautéed bell peppers or onions to enhance the flavor and sweetness of your quesadillas. A colorful medley can really elevate the dish!
- Spicy Kick: Stir in some hot sauce or chopped jalapeños for a fiery twist that enhances the rich flavors of the beef.
- Flatten with Flair: Use a larger tortilla to create a double-decker quesadilla; simply layer another cheese and beef patty in between two tortillas!
- Comforting Creaminess: Include slices of avocado for that extra creaminess and healthy fats. They’ll add a beautiful contrast to the crispy exterior.
- Hearty Grains: Try using whole-grain or low-carb tortillas; not only do they add a nutty flavor, but they also present a fiber boost.
- Flavorful Dips: Pair these quesadillas with homemade guacamole or zesty salsa for a refreshing contrasting flavor with every bite.
- Custom Sauces: Experiment with different sauces, such as ranch or chipotle mayo, to dip and drizzle your quesadillas for added layers of flavor.
With these variations, your Smashburger Quesadillas will never be boring and can become your family’s new favorite!
Make Ahead Options
These Smashburger Quesadillas are an excellent choice for meal prep, saving you time on busy weeknights! You can prepare the beef patties up to 24 hours in advance by cooking them as instructed, then cooling and storing them in an airtight container in the refrigerator. The tortillas can also be prepped ahead; simply assemble them with cheese and cooked patties, cover tightly, and refrigerate until you’re ready to grill them within 3 days. To maintain their quality, ensure everything is tightly sealed to prevent the tortillas from drying out. When you’re ready to enjoy, just grill the assembled quesadillas for 2-3 minutes on each side until crispy and golden, delivering that fresh, restaurant-quality taste in no time!
What to Serve with Smashburger Quesadillas?
Experience a delightful explosion of flavors by diving into a full meal that perfectly complements your crispy quesadillas.
-
Golden French Fries: Crispy fries offer a satisfying crunch, making them a classic side that pairs perfectly with the savory flavors of the quesadillas. Dipping them in ketchup adds a burst of flavor that echoes the essence of your meal.
-
Fresh Garden Salad: A crisp garden salad introduces vibrant colors and fresh flavors to the table, balancing the richness of the quesadilla. Toss in some cherry tomatoes, cucumbers, and a light vinaigrette for a refreshing bite.
-
Creamy Coleslaw: The tangy crunch of coleslaw contrasts deliciously with the gooeyness of the quesadillas. This creamy side provides a refreshing palate cleanser that enhances every bite.
-
Grilled Veggies: Sautéd bell peppers and zucchini bring a touch of smokiness and beautiful color. They make for a wholesome addition to your meal, delighting both the senses and the nutrition aspects.
-
Chipotle Lime Rice: Add a side of chipotle lime rice for a zesty and flavorful grain option. The spiciness complements the quesadillas perfectly, while the lime brightens the dish.
-
Iced Tea or Lemonade: A glass of freshly brewed iced tea or tangy lemonade balances the savory flavors of the quesadillas. Their refreshing qualities make your meal more enjoyable, especially warm summer nights.
-
Chocolate Chip Cookies: Finish your meal with warm chocolate chip cookies for a sweet touch. The gooey chocolate mingles with the savory quesadilla flavors, offering the perfect end to your culinary adventure.
-
Ice Cream Sundae: A decadent scoop of vanilla or chocolate ice cream topped with your favorite sauces is a delightful dessert that contrasts wonderfully with the crispy, savory quesadillas. It’s an indulgent treat everyone will love!
Smashburger Quesadillas Recipe FAQs
What type of ground beef should I use for Smashburger Quesadillas?
Absolutely, for traditional flavor, use 80/20 ground beef, which balances fat and lean meat for juiciness. If you’re looking for a leaner option, ground turkey works well, or for a plant-based alternative, consider using a high-quality plant-based meat substitute.
How should I store leftover Smashburger Quesadillas?
To keep your quesadillas fresh, store them in an airtight container in the refrigerator for up to 3 days. Ensure they’re adequately cooled before placing them in the container to prevent moisture buildup, which can lead to sogginess.
Can I freeze Smashburger Quesadillas?
Yes, you can freeze them! First, let the quesadillas cool completely. Then, tightly wrap each one in plastic wrap and place them in a freezer-safe bag. They can last for up to 2 months. When you’re ready to eat, thaw them in the fridge overnight and reheat in a skillet for the best texture.
What should I do if my quesadillas turn out soggy?
Very! If your quesadillas end up soggy, it could be due to excess moisture. To avoid this, ensure your beef is well-cooked and avoid overloading with sauces. If they do get soggy, try reheating them in a skillet to help regain some crispiness.
Can I make Smashburger Quesadillas dairy-free?
Of course! Simply substitute regular cheese with a dairy-free cheese alternative or skip the cheese altogether. Adding more veggies like sautéed bell peppers or onions can enhance the flavor without compromising on taste.
Are Smashburger Quesadillas pet-friendly?
While the ingredients themselves aren’t toxic to pets, it’s safer to avoid sharing them. The cheese and seasonings might not agree with your pet’s digestion. Stick to a plain cooked beef patty for your furry friends if you want to include them in family meal time.
Smashburger Quesadillas: Crispy, Cheesy Bliss in Minutes
Ingredients
Equipment
Method
- Preheat a cast iron skillet over medium-high heat until hot.
- Form ground beef into thin patties and cook in the skillet, smashing them down gently for about 3-4 minutes on each side.
- Remove the patties and place a slice of cheese on each to melt.
- Warm the tortillas in the skillet, then place melted beef patties on one half, adding pickles and mustard.
- Fold the tortillas, grill for 2-3 minutes on each side until golden brown and crispy.
- Slice into wedges and serve hot with sides.
Leave a Reply