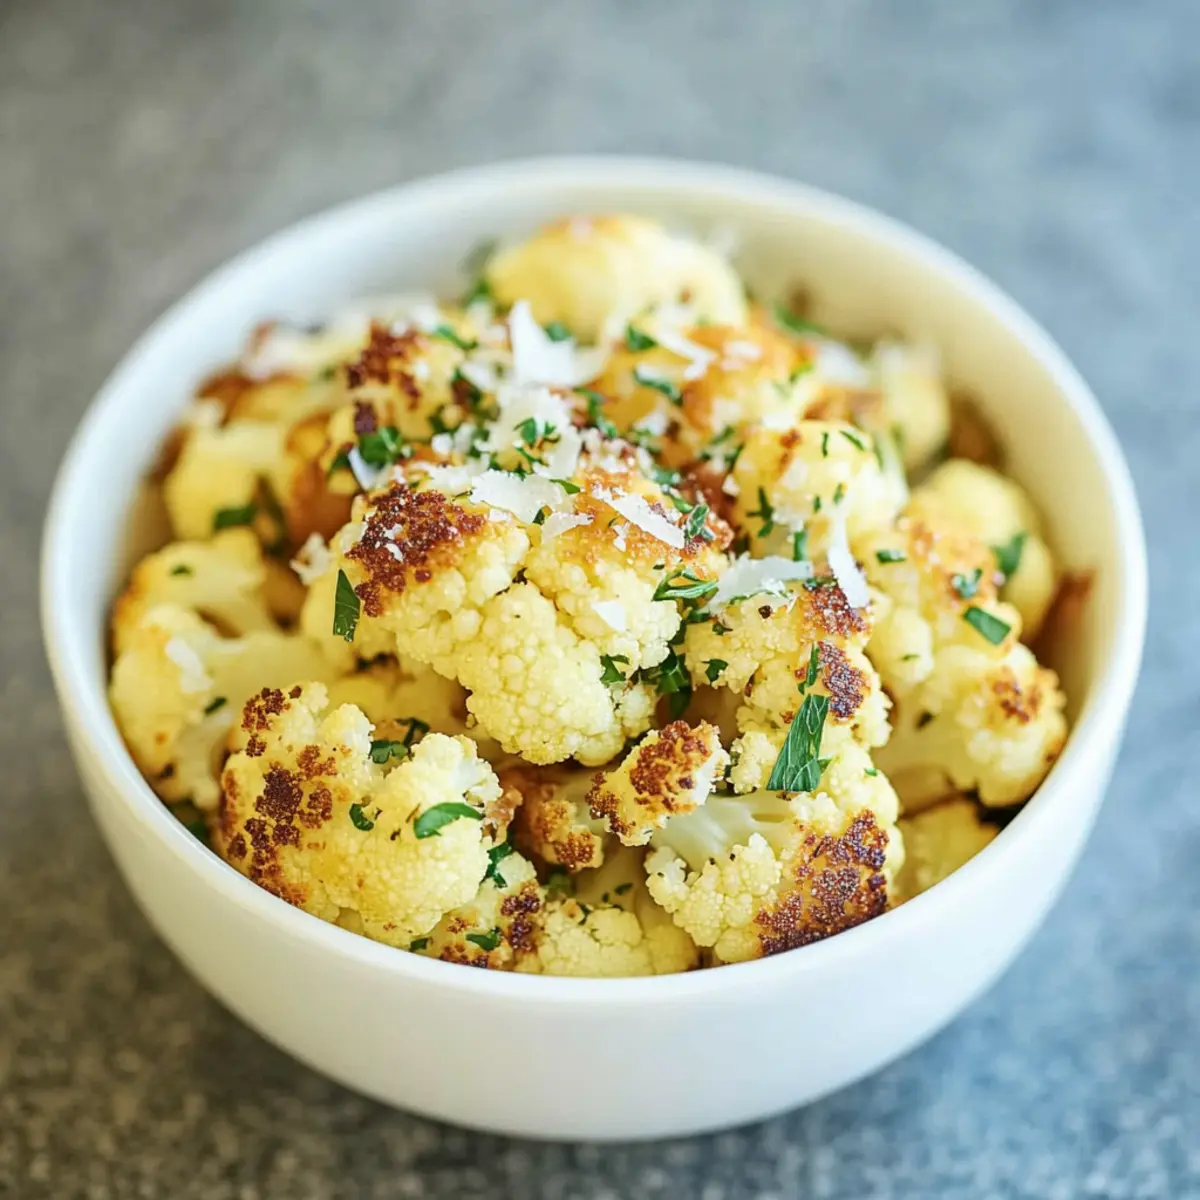
There’s something mesmerizing about the sound of cauliflower florets sizzling in the oven—a subtle promise of golden perfection. Today, I’m thrilled to share my go-to recipe for Roasted Garlic Cauliflower with Coconut Oil, a delightful side dish that elevates any meal without keeping you in the kitchen for hours. Not only is this dish incredibly simple to whip up, but it’s also gluten-free and vegetarian, making it a fantastic option for everyone at the table. The combination of rich coconut oil and aromatic garlic creates a mouthwatering aroma that even the pickiest eaters can’t resist—trust me, you might find them asking for seconds! Curious about how this crowd-pleaser comes together? Let’s dive in and transform your dinner routine!
Why Is Roasted Garlic Cauliflower So Irresistible?
Simplicity, this recipe is quick and easy, making it perfect for busy weeknights. Irresistible flavor, the blend of coconut oil and garlic brings out the natural sweetness of the cauliflower, creating a savory profile that’s hard to resist. Versatile options allow you to customize it with spices or sweeteners like maple syrup for a unique twist. Healthy appeal shines through, as this dish is gluten-free, low-calorie, and packed with vitamins. Serve it alongside grilled meats or a hearty grain salad like quinoa for a complete meal. You’ll realize that Roasted Garlic Cauliflower is the perfect side for every occasion!
Roasted Garlic Cauliflower Ingredients
• Dive into the delightful flavors!
For the Cauliflower
- Cauliflower florets – 24 ounces (about 5 cups) are the star of this dish, providing a tasty base.
- Coconut oil – ¼ cup, melted; it adds a rich, heart-healthy flavor perfect for roasting.
For the Seasoning
- Garlic – 4 cloves, minced; this ingredient infuses the dish with aromatic depth, making it irresistible.
- Kosher salt and black pepper – Season to taste; adjust according to your preference for a perfectly balanced flavor.
For the Garnish
- Freshly grated Parmesan – ¼ cup; this adds a savory, cheesy finish to elevate your dish.
- Chopped fresh parsley – 2 tablespoons; brightens up the dish and adds a pop of color.
Feel free to experiment with substitutions or variations to make this roasted garlic cauliflower even more unique!
Step‑by‑Step Instructions for Savory Garlic Roasted Cauliflower with Coconut Oil
Step 1: Preheat the Oven
Begin by preheating your oven to 450°F (230°C). This high temperature is essential for achieving perfectly roasted cauliflower with that desirable golden color and crispy texture. While the oven is warming up, lightly grease a baking sheet with a drizzle of coconut oil or a few spritzes of nonstick spray to prevent sticking during the roasting process.
Step 2: Prepare the Cauliflower
Once your oven is ready, take 24 ounces of cauliflower florets and spread them out in a single layer on the prepared baking sheet. Make sure the florets aren’t overcrowded to allow for even roasting. This arrangement ensures that each piece gets that nicely caramelized exterior and remains tender on the inside, which is the hallmark of delicious roasted garlic cauliflower.
Step 3: Season the Florets
Next, drizzle the melted coconut oil over the cauliflower florets, ensuring each piece gets a good coating. Sprinkle the minced garlic evenly over the top, followed by a generous pinch of kosher salt and freshly cracked black pepper. Gently toss everything together with your hands or a spatula until the florets are well-coated, inviting all those heavenly flavors to meld as they roast.
Step 4: Roast to Perfection
Now, slide the baking sheet into your preheated oven and let the cauliflower roast for 20-25 minutes. Halfway through, give the florets a quick toss to promote even cooking. You’ll know they’re ready when they turn a beautiful golden brown and become tender when pierced with a fork, releasing that irresistible roasted garlic aroma.
Step 5: Garnish and Serve
Once the cauliflower is perfectly roasted, take it out of the oven and let it cool for a minute. Transfer it to a serving dish and sprinkle with freshly grated Parmesan and chopped parsley for a touch of color and added flavor. Your savory garlic roasted cauliflower is now ready to be enjoyed, and it will surely be a star on any dinner table!
How to Store and Freeze Roasted Garlic Cauliflower
- Fridge: Store your roasted garlic cauliflower in an airtight container for up to 3 days. Ensure it cools completely before sealing to maintain freshness.
- Freezer: For longer storage, freeze leftover cauliflower in an airtight freezer bag for up to 2 months. Portion it out to make reheating easier later.
- Reheating: To regain its delightful crispiness, reheat in a preheated oven at 375°F (190°C) for about 10-15 minutes. You can also toss it in a skillet over medium heat.
- Room Temperature: Avoid leaving roasted garlic cauliflower out for more than 2 hours to ensure food safety and quality.
What to Serve with Savory Garlic Roasted Cauliflower with Coconut Oil
Roasted cauliflower brings a delightful crunch and mouthwatering flavor that can truly transform your dinner table.
- Grilled Chicken: Juicy grilled chicken pairs beautifully with the roasted garlic flavor, making each bite a succulent experience.
- Quinoa Salad: The nuttiness of quinoa complements the richness of the cauliflower, while adding texture for a hearty dish. Add chopped cucumbers and cherry tomatoes for freshness!
- Garlic Butter Shrimp: For a seafood twist, try savory garlic butter shrimp, enhancing the aromatic garlic notes in your cauliflower.
- Mediterranean Couscous: The savory tastes of Mediterranean couscous, loaded with olives and feta, provide a wonderful contrast to the sweet, roasted cauliflower.
- Roasted Sweet Potatoes: The natural sweetness and creaminess of roasted sweet potatoes harmonize with the savory garlic, creating a balanced plate.
- Caesar Salad: The crisp romaine and tangy dressing of a Caesar salad can brighten your meal, offering a refreshing relief to the roasted flavors.
- Sautéed Green Beans: These vibrant beans add both color and a bit of crunch, making for a bright and tasty contrast to the cauliflower’s softness.
- Red Wine: A glass of light red wine can enhance the meal’s flavors, connecting beautifully with the earthiness of the roasted garlic.
- Chocolate Mousse: End the meal on a sweet note! A rich chocolate mousse can be a perfect companion, balancing the savory with a touch of indulgent sweetness.
Helpful Tricks for Roasted Garlic Cauliflower
-
Perfect Timing: Keep an eye on roasting! Aim for 20-25 minutes to achieve tender florets with crispy edges—check halfway through for even cooking.
-
Oil Choice: Coconut oil enhances flavor, but if you prefer olive oil, adjust roasting times slightly since it has a lower smoke point.
-
Minced Garlic Placement: For optimal flavor, mix minced garlic with the cauliflower and oil to ensure its aromatic tastes infuse evenly throughout the vegetable during roasting.
-
Spice It Up: If you love heat, try adding crushed red pepper flakes or a dash of Sriracha to the cauliflower before roasting for a delicious kick!
-
Make-Ahead Prep: Save time by chopping cauliflower florets a day in advance. Store them in the refrigerator until you’re ready to roast for a quick, hassle-free side dish.
-
Serving Suggestions: Pair your roasted garlic cauliflower with grilled chicken or fish for a balanced meal, or toss with quinoa for a satisfying vegetarian option.
Make Ahead Options
These Roasted Garlic Cauliflower florets are perfect for meal prep enthusiasts! You can wash and cut the cauliflower up to 24 hours in advance, storing the florets in an airtight container in the refrigerator. Not only does this save you time during busy weeknights, but it also helps maintain their freshness. For added convenience, you can also prepare the garlic and melt the coconut oil ahead of time, allowing you to simply drizzle and roast when you’re ready to serve. When it’s time to enjoy your dish, follow the final instructions by tossing the florets with the oil and seasonings, then roasting for 20-25 minutes in the preheated oven for that delicious golden-brown finish!
Roasted Garlic Cauliflower Variations
Feel free to get creative and personalize your dish with these delightful twists!
-
Olive Oil: Substitute coconut oil with olive oil for a classic and slightly fruity flavor profile. It’s deliciously versatile!
-
Maple Syrup: Drizzle a bit of maple syrup over the cauliflower before roasting to add a sweet contrast to the savory garlic. You’ll be amazed at how well they complement each other.
-
Sriracha Kick: For those who crave heat, toss on some Sriracha or crushed red pepper flakes before roasting. This spicy addition will satisfy your taste for adventure!
-
Nutty Texture: Sprinkle toasted nuts or seeds like pine nuts or sesame seeds on top before serving for a great crunch and nutty flavor combination.
-
Herbs Galore: Experiment with fresh or dried herbs like thyme or rosemary for an aromatic twist. These fragrant touches can elevate the dish to new heights.
-
Vegan Option: Omit the Parmesan cheese or substitute with a vegan cheese alternative to enjoy a delicious vegan side dish that everyone can savor.
-
Curry Flavor: Add a tablespoon of curry powder to the seasoning for an exotic flair; the warm spices beautifully enhance the cauliflower’s flavor.
-
Lemon Zest: Brighten up the dish with a sprinkle of lemon zest right before serving. The citrus adds a refreshing zing that balances the richness of the coconut oil.
Pair this roasted garlic cauliflower with Garlic Pasta Amp or serve it alongside juicy pieces of Slow Roasted Turkey for a delightful feast everyone will love!
Roasted Garlic Cauliflower Recipe FAQs
How do I select the best cauliflower for roasting?
Absolutely! Always look for firm, compact heads of cauliflower that are free of dark spots or blemishes. The florets should be tightly packed with bright, green leaves attached. If you notice any dark spots all over, it’s best to choose another head. Fresh cauliflower will elevate your roasted garlic cauliflower dish!
How should I store leftover roasted garlic cauliflower?
You can store your roasted garlic cauliflower in an airtight container in the refrigerator for up to 3 days. Allow the dish to cool completely before sealing to maintain its freshness. This way, you can enjoy the flavors again without losing quality!
Can I freeze roasted garlic cauliflower, and if so, how?
Very! To freeze your roasted garlic cauliflower, first, allow it to cool completely. Then, portion it into airtight freezer bags. Squeeze out as much air as possible before sealing. You can freeze it for up to 2 months. When you’re ready to eat it, simply reheat it in the oven at 375°F (190°C) for about 10-15 minutes to regain its delicious crispiness.
What can I do if my roasted cauliflower comes out soggy?
If your cauliflower turns out soggy, it may be due to overcrowding on the baking sheet or not enough roasting time. Make sure to spread the florets out in a single layer and use high heat. If they still appear too soft, return them to the oven for an additional 5-10 minutes—it can make all the difference!
Is roasted garlic cauliflower safe for pets?
While cauliflower is generally safe for dogs and cats in small quantities, it’s best to avoid feeding them seasoned dishes. Garlic can be harmful to pets, so keep the roasted garlic cauliflower strictly as a delightful human side dish. Always consult with your vet before introducing new foods to your pet’s diet.
Can I modify the recipe to make it dairy-free?
Absolutely! You can exclude the Parmesan cheese or use a dairy-free alternative to keep it lactose-free. Nutritional yeast is a fantastic option for a cheesy flavor without dairy! Enjoy the versatility that this roasted garlic cauliflower offers.
Irresistible Roasted Garlic Cauliflower That Everyone Loves
Ingredients
Equipment
Method
- Preheat your oven to 450°F (230°C). Lightly grease a baking sheet with coconut oil or nonstick spray.
- Spread 24 ounces of cauliflower florets in a single layer on the prepared baking sheet.
- Drizzle melted coconut oil over the florets, sprinkle minced garlic, kosher salt, and black pepper, then toss to coat.
- Roast in the oven for 20-25 minutes, tossing halfway through until golden brown and tender.
- Remove from oven, let cool for a minute, garnish with Parmesan and parsley, and serve.
Leave a Reply