
The first time I tasted homemade Italian pickled vegetables, I was instantly transported to a sunny terrace in Tuscany, where vibrant flavors danced in the air. This Pickled Vegetables Recipe, also known as Giardiniera, brings that enchanting experience right to your kitchen. Not only is this dish quick and easy to prepare, but it also offers a delightful crunch and tang that can elevate any meal, whether you’re piling it on a sandwich or serving it on a charcuterie board. With its make-ahead convenience, you can whip up a batch and enjoy its flavors for weeks—perfect for those busy days when you want something tasty yet healthy. So, ready to dive into a jar of zesty goodness? Let’s get pickling!
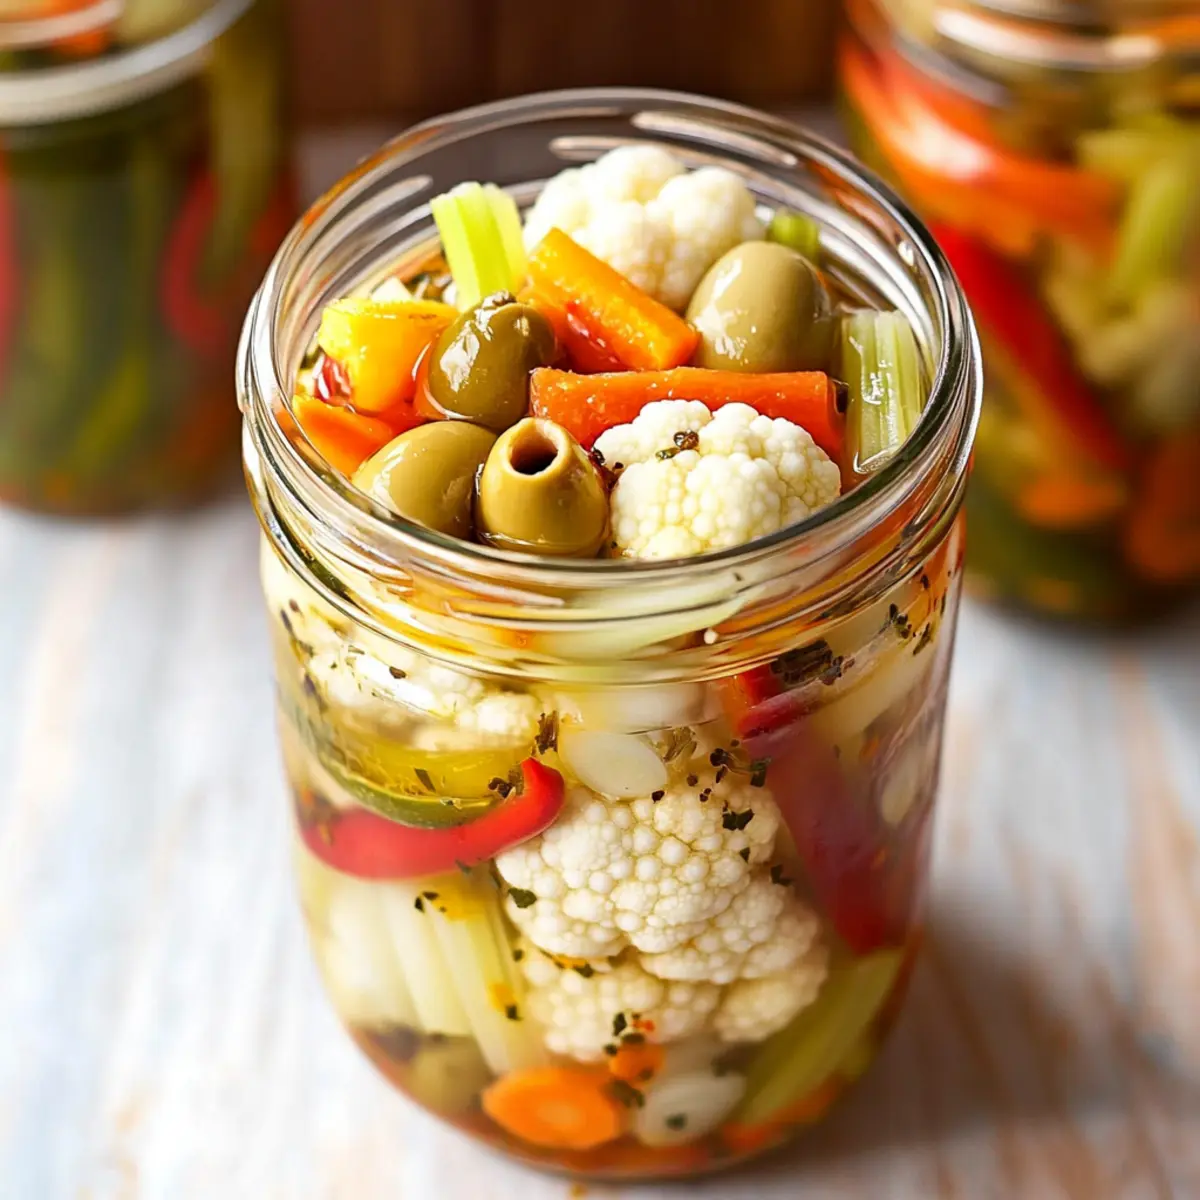
Why Make This Pickled Vegetables Recipe?
Crunchy, Fresh Flavor: Each bite of these Italian pickled vegetables offers a satisfying snap, bursting with vibrant taste that instantly elevates your meals.
Quick & Easy: This recipe comes together in a flash, making it perfect for busy cooks who crave delectable homemade goodness without the fuss.
Make-Ahead Convenience: Prepare a batch to enjoy for weeks, enhancing sandwiches, charcuterie boards, or as a healthy snack to beat fast-food boredom.
Versatile Ingredients: The flexibility in vegetable choices and spice levels means you can customize them to suit your palate or seasonal availability.
Health Boost: Packed with nutrients from fresh vegetables, this dish is a guilt-free addition that supports a healthy diet while satisfying your cravings.
Crowd-Pleaser: Whether for a family meal or a gathering with friends, this pickled vegetables recipe is guaranteed to impress everyone at the table! Looking for more quick and easy homemade options? Check out my Chili Cozy Nights and Mongolian Chicken recipes for tasty ideas!
Pickled Vegetables Recipe Ingredients
For the Vegetables
- Small Cauliflower Florets – Provides a crisp texture; substitute with broccoli florets for a change in flavor.
- Sliced Carrots – Adds sweetness and vibrant color; jicama works well for a different crunch.
- Sliced Celery – Contributes refreshing crunch; can be omitted if not preferred.
- Sliced Red Bell Pepper – Offers sweetness and a pop of color; yellow or orange bell peppers add variety.
- Pitted Green Olives – Adds richness and saltiness; switch to kalamata olives for a bolder taste.
For the Brine
- Olive Oil – Enhances flavor and preserves vegetables; can be replaced with avocado oil.
- Smashed Garlic – Infuses strong aromatic flavor; garlic powder can be substituted but use less for controlled taste.
- Bay Leaves – Provides depth and complexity; omit if not available.
- Serrano Chiles (2-4) – Introduces heat and spice; adjust according to heat preference or switch to jalapeños for milder flavor.
- Dried Oregano – Adds an Italian flavor profile; substitute with an Italian seasoning blend if needed.
- Celery Seeds, Fennel Seeds, Yellow Mustard Seeds – Enhance pickling flavor; omit any not available, and substitute mustards with mustard powder.
For the Brine Solution
- Water (3 cups) – Essential for the brine; no substitution needed.
- White Vinegar (3 cups) – Provides acidity; apple cider vinegar can offer a different nuance.
- Salt & Sugar – Essential for the brine; adjust sugar to taste or substitute with honey for a natural sweetener.
Embrace the charm of this pickled vegetables recipe and transform your meals into something extraordinary!
Step‑by‑Step Instructions for Pickled Vegetables Recipe
Step 1: Prep Vegetables
Begin by washing and drying your fresh vegetables. Chop the small cauliflower florets, slice the carrots, celery, and red bell pepper into bite-sized pieces, and halve the serrano chiles. Drain the pitted green olives. Arrange these vibrant vegetables on a clean cutting board; their colorful hues will signal that you’re off to a great start for your Italian pickled vegetables.
Step 2: Jars Setup
Gather two or three clean, sterilized mason jars to hold your delicious pickled vegetables. In each jar, drizzle a couple of tablespoons of olive oil, add a smash of garlic, a bay leaf, and sprinkle in a mix of celery seeds, fennel seeds, and yellow mustard seeds. The aromatic fragrance will make your kitchen inviting as you prepare to layer in the crunchy veggies.
Step 3: Add Veggies
Carefully fill each jar with the prepared vegetables, ensuring an even distribution of colors and textures. Gently pack them down to maximize space without crushing the veggies. When finished, the jars should be filled to about an inch below the rim, allowing room for the brine. Look for vibrant colors peeking through the jar, promising a delightful crunch in every bite.
Step 4: Make the Brine
In a medium-sized saucepan, combine 3 cups of water, 3 cups of white vinegar, and a tablespoon each of salt and sugar. Bring the mixture to a boil over medium-high heat, stirring until the salt and sugar dissolve completely. Keep an eye on the bubbling brine until it reaches a rolling boil, creating a flavorful foundation for your pickled vegetables.
Step 5: Fill Jars
Once the brine is ready, carefully pour it over the packed vegetables in the jars, making sure the liquid completely covers them. Use a clean utensil to help release any air bubbles trapped among the veggies. As you watch the brine fill the jars, the bright colors will stand out even more, signaling a tantalizing treat is on the way.
Step 6: Cool and Refrigerate
Allow the jars to cool to room temperature for about 30 minutes. Once cool, gently shake each jar to mix the contents and flavor. Finally, seal the jars with their lids and refrigerate them for 36-48 hours before diving into the tangy goodness of your homemade pickled vegetables. The wait will be worth it as the flavors deepen and meld beautifully!
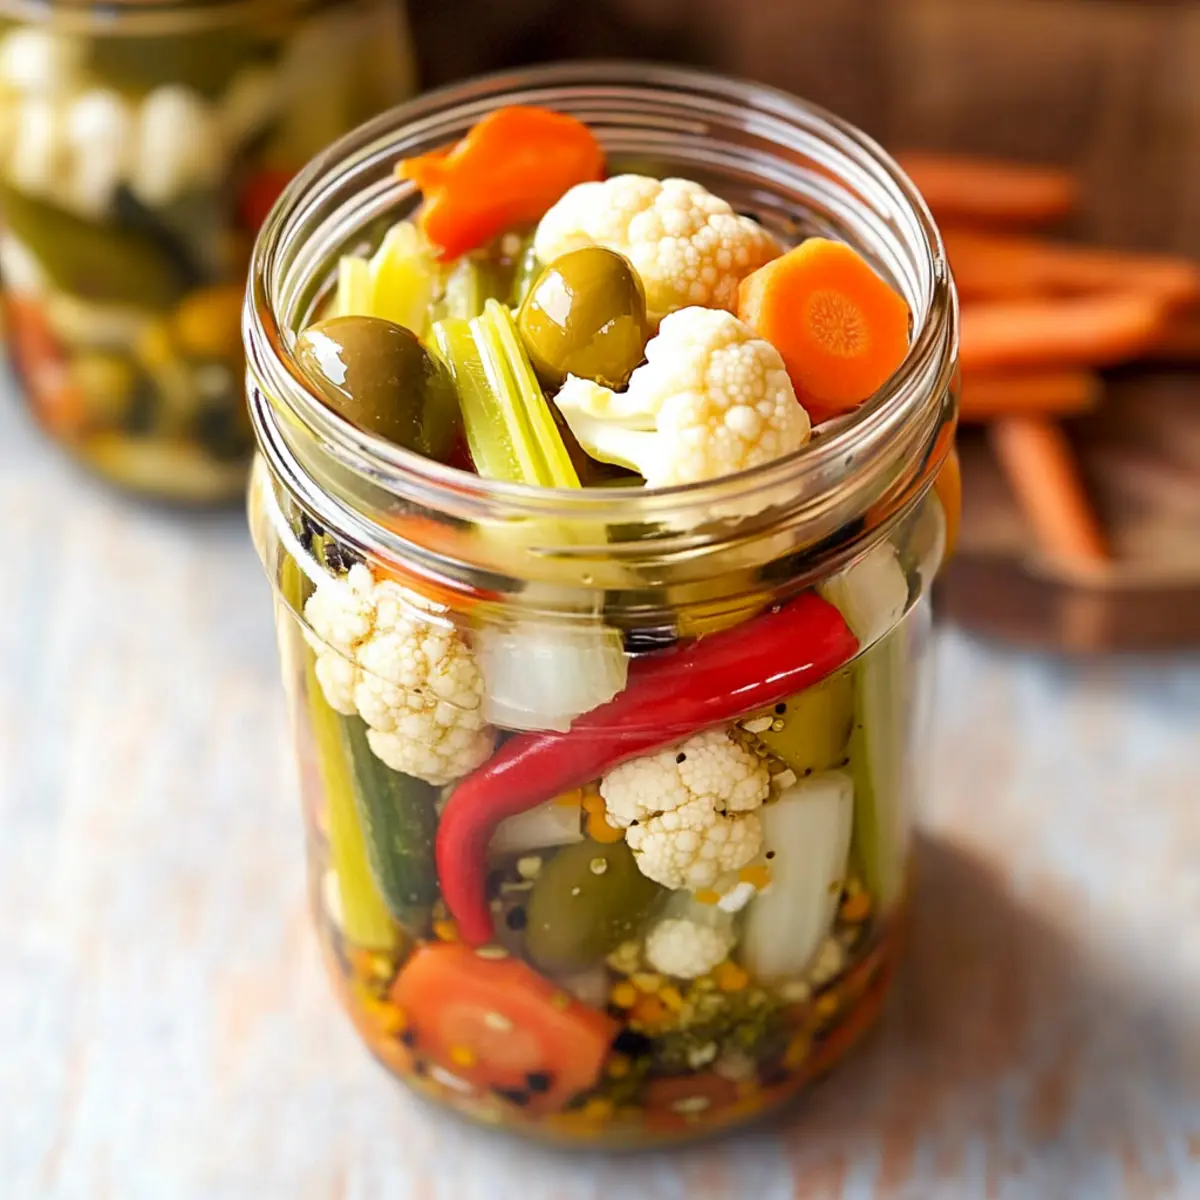
Helpful Tricks for Pickled Vegetables Recipe
- Brine Temperature: Allow the brine to cool slightly before pouring it over the vegetables to maintain their crunchy texture and prevent wilting.
- Saltiness Control: If the pickles turn out too salty after a day or two, you can dilute the brine with a little extra water to balance the flavor.
- Vegetable Flexibility: Feel free to swap in seasonal vegetables based on what you have on hand; this pickled vegetables recipe is designed to be versatile and forgiving.
- Aromatics Matter: Don’t skip out on adding fresh garlic and herbs for that extra flavorful kick; they enhance the overall taste of your pickled vegetables.
- Colorful Layering: Pack the jars by alternating different colors of vegetables, making your jars as visually appealing as they are delicious—perfect for gifting!
- Storage Tip: Keep your pickled vegetables refrigerated, where they’ll last up to four months, and enjoy as the flavors intensify over time!
Storage Tips for Pickled Vegetables Recipe
- Fridge: Store the jars of pickled vegetables in the refrigerator for up to four months; the flavors will deepen and enhance over time, making each jar a delightful treat.
- Sealing: Ensure jars are tightly sealed with lids to maintain freshness and prevent contamination. Consider using airtight containers if transferring to larger batches.
- Freezer: While it’s best to enjoy pickled vegetables fresh, if you must freeze them, place in freezer-safe containers for up to three months; however, the texture may soften upon thawing.
- Reheating: No reheating is needed for pickled vegetables; simply enjoy them cold as a refreshing side to your favorite dishes or snacks!
What to Serve with Italian Pickled Vegetables (Giardiniera)
Elevate your meals with flavorful pairings that complement the zesty crunch of these homemade pickled vegetables.
- Grilled Meats: The tangy crunch of pickled vegetables adds a refreshing contrast to succulent grilled chicken or beef. It’s a flavor sensation!
- Fresh Bread: A crusty baguette or hearty ciabatta can be the perfect companion, allowing you to pile on the pickled goodness for a delightful bite.
- Cheese Platter: Savor the harmony of salty cheese and the bright acidity from the pickles. Each taste brings a celebration of flavors!
- Mediterranean Dishes: Serve alongside falafel or gyros to amplify the taste of those warm spices with a cool, crisp, and zesty crunch.
- Antipasto Board: With olives, meats, and cheeses, your pickled vegetables will enhance the vibrant variety of flavors, inviting everyone to indulge.
- Tacos: Top your favorite taco creations with these pickled delights for added crunch and a burst of acidity that balances rich ingredients beautifully.
- Mixed Green Salad: Toss some fresh greens with olive oil and lemon, then add a generous handful of pickled veggies for a colorful and flavorful salad experience.
- Sparkling Water or Wine: A refreshing drink can cleanse the palate, making it the ideal pairing for enjoying the tangy zest of your pickled vegetables!
- Chips or Crackers: Pairing with crunchy snacks can create a satisfying contrast to the veggies’ unique texture, perfect for casual snacking.
Pickled Vegetables Recipe Variations
Feel free to get creative with this pickled vegetables recipe and make it your own with these delightful twists!
- Seasonal Veggies: Use different vegetables like zucchini, asparagus, or radishes based on availability for a fresh take.
- Heat Levels: Adjust spiciness by swapping serrano chiles for milder jalapeños or go bold with habaneros!
- Herb-Infused: Add fresh herbs like thyme or dill to the brine for a fragrant herbal note that enhances flavor.
- Crunchy Extras: Toss in sliced cucumbers or green beans for extra crunch and variety in texture.
- Fruity Surprise: Include slices of apple or pear for a sweet twist that balances the tangy pickles beautifully.
- Vinegar Variation: Experiment with apple cider vinegar instead of white for a slightly sweeter, fruity undertone.
- Savory Boost: Incorporate a splash of soy sauce for a unique umami flavor profile that complements the pickles.
- Mediterranean Flair: Add sun-dried tomatoes or artichoke hearts for a Mediterranean twist that’s perfect on antipasto platters.
Embrace the spirit of culinary exploration and let these variations pave the way for delicious new discoveries! If you’re enjoying this method of preserving flavors, don’t miss my recipe for General Tsos Chicken or try some Chicken Tenders Dinner for satisfying meal inspiration!
Make Ahead Options
These Pickled Vegetables are perfect for meal prep enthusiasts! You can chop and pack the vegetables (cauliflower, carrots, celery, and bell pepper) up to 24 hours in advance, storing them in airtight containers to maintain their crunch. The brine can also be prepared ahead of time and refrigerated for up to 3 days, allowing the flavors to infuse even more deeply. When you’re ready to finish, simply combine your prepped vegetables with the cooled brine in sterilized jars and refrigerate for 36-48 hours before serving. This way, you’ll have a zesty, homemade side ready to elevate your meals without spending extra time in the kitchen!
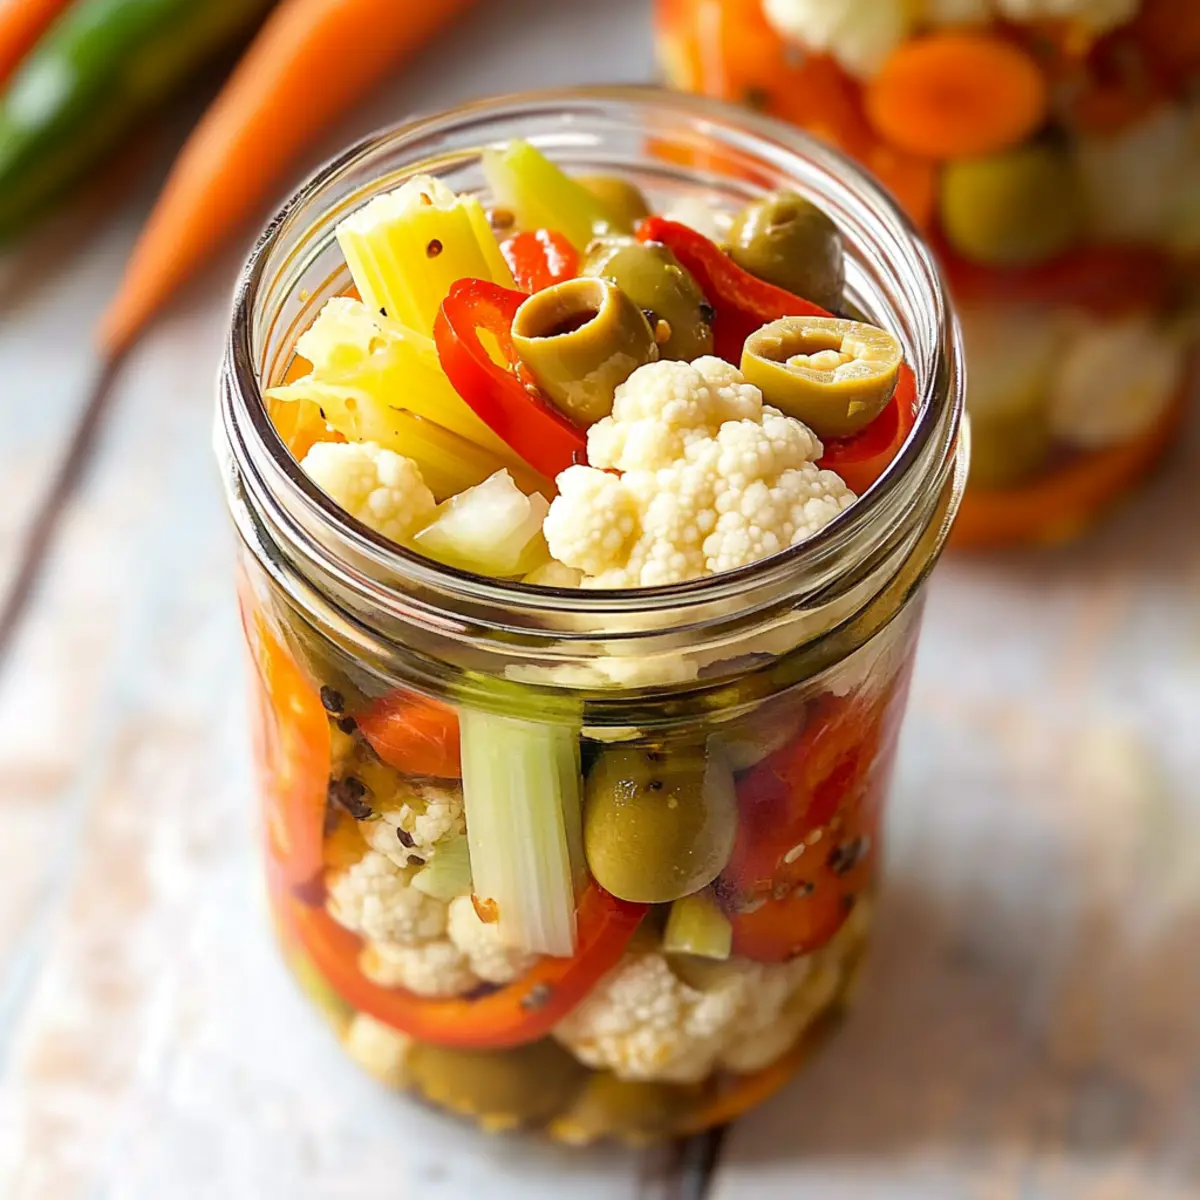
Pickled Vegetables Recipe FAQs
What are the best vegetables to use for pickling?
Absolutely! For this pickled vegetables recipe, classic choices include small cauliflower florets, sliced carrots, celery, and red bell pepper. Each offers a unique crunch and flavor. You can also mix in seasonal vegetables like zucchini or asparagus, or swap out ingredients according to personal preference—just ensure they are fresh and firm to achieve the best results!
How should I store my pickled vegetables?
Very! Store your jars of pickled vegetables in the refrigerator for up to four months. Make sure the lids are tightly sealed to maintain freshness and prevent contamination. If you’re transferring to larger batches, consider using airtight containers. As the days pass, the flavors will deepen, adding more enjoyment to each bite!
Can I freeze pickled vegetables?
While it’s best to consume your pickled vegetables fresh, if you must freeze them, it’s possible! Pack them in freezer-safe containers, ensuring there’s some brine to cover the veggies. They can be frozen for up to three months, but be aware that the texture may soften upon thawing. Just remember to label your containers for ease of use later!
What if my pickled vegetables are too salty?
Very common! If you find your pickles are too salty after a day or two, you can dilute the brine simply by adding a bit of extra water. Start with a tablespoon at a time, shaking the jar gently after each addition and tasting until you’ve reached your preferred level of saltiness. It’s a savvy way to tune the flavor to your liking!
Are there any dietary considerations for this pickled vegetables recipe?
Absolutely! This pickled vegetables recipe is vegetarian and gluten-free, making it suitable for a variety of diets. For those with specific allergies, ensure you check the ingredient labels, especially for additives in store-bought products. If serving to pets, avoid garlic and certain spices that can be harmful; it’s always best to stick with plain vegetables for furry friends!
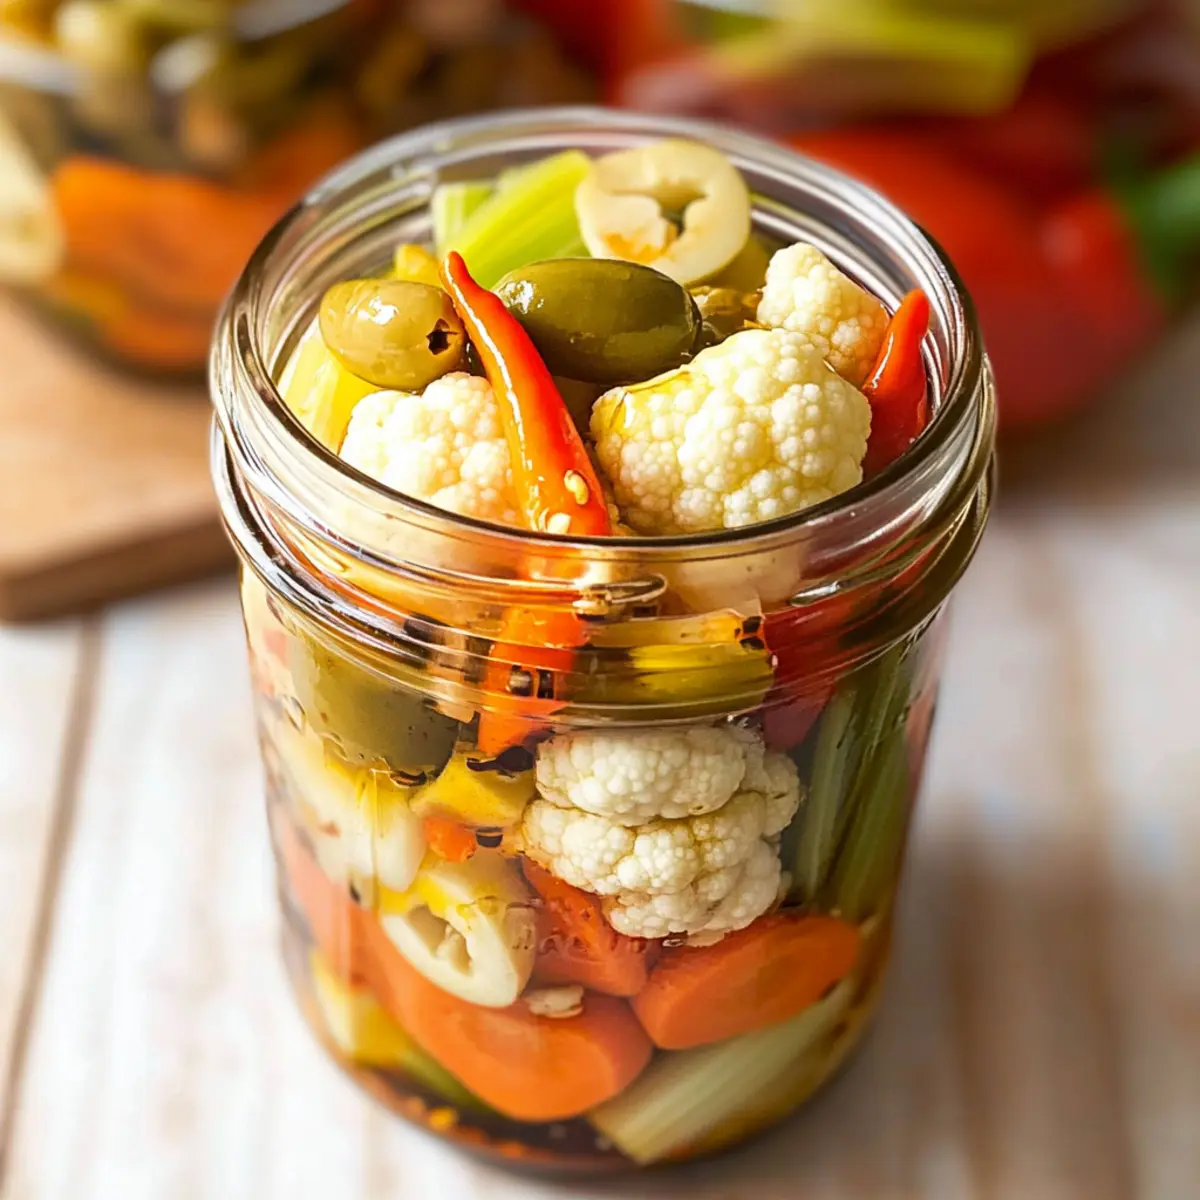
Essential Pickled Vegetables Recipe for Crunchy Homemade Goodness
Ingredients
Equipment
Method
- Wash and dry the fresh vegetables. Chop the cauliflower florets, slice the carrots, celery, and red bell pepper, and halve the serrano chiles.
- Gather clean, sterilized mason jars. In each jar, drizzle olive oil, add a smashed garlic clove, bay leaf, and sprinkle in seeds.
- Fill each jar with prepared vegetables, evenly distributing colors and packing them down slightly.
- Combine water, white vinegar, salt, and sugar in a saucepan. Bring to a boil, stirring until dissolved.
- Pour the brine over vegetables in jars, ensuring all are covered, and release any trapped air bubbles.
- Let jars cool for 30 minutes. Shake gently, seal with lids, and refrigerate for 36-48 hours before serving.
Leave a Reply