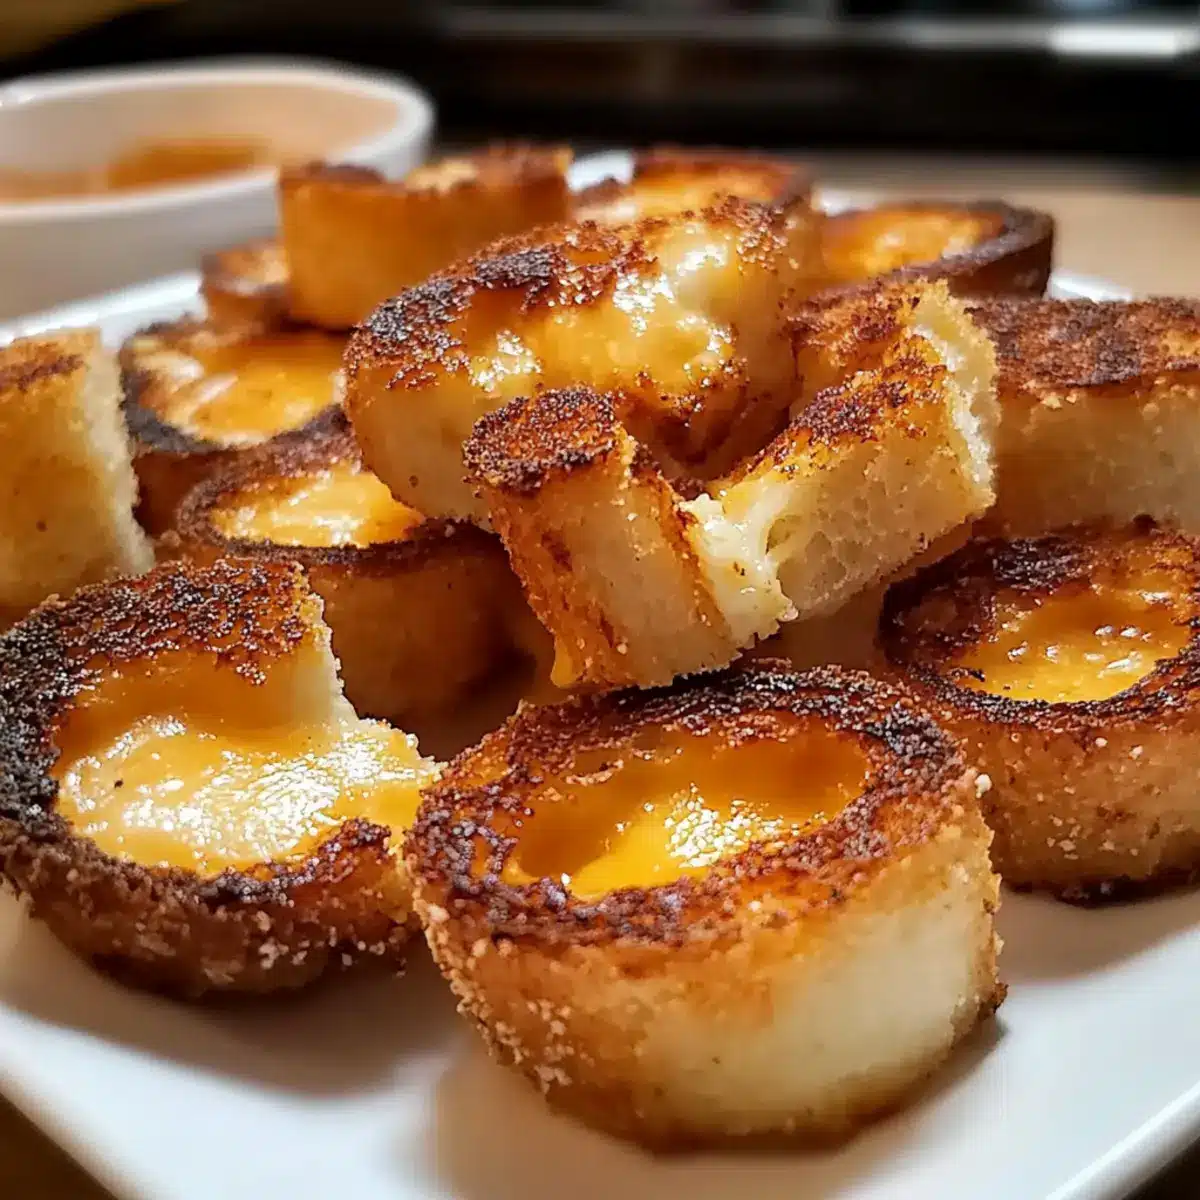
In a world where fast food often reigns supreme, there’s nothing quite like the joy of savoring Mini Grilled Cheese Dippers—your passport to a nostalgic snack that transports you back to carefree childhood days. These delightful morsels are not only incredibly easy to whip up, but they’re also customizable and gluten-free, ensuring everyone can join in on the fun. Whether you’re hosting a game day gathering or simply enjoying a cozy afternoon, these golden, crispy treats are the perfect crowd-pleaser for both kids and adults alike. Paired with a warm bowl of tomato soup or your favorite dip, they invite sharing and laughter around the table. So, are you ready to dive into this cheesy adventure?
Why Are Mini Grilled Cheese Dippers Amazing?
Delightful nostalgia: These Mini Grilled Cheese Dippers bring back childhood memories, making them a perfect treat for anyone seeking comfort food. Whether it’s for a cozy family lunch or a party snack, they are always a hit.
Customizable options: Enjoy endless creations by mixing different cheese blends or adding extras like ham or spinach.
Gluten-free versatility: Those with dietary restrictions can easily swap in gluten-free bread, ensuring everyone can indulge!
Quick & easy: Whip these up in no time, so even busy weeknights can feel special.
Perfect for dipping: Accompany them with your favorite sauces like pesto or even a warm bowl of tomato soup for dipping. Embrace the fun and flavors of this homemade delight!
Mini Grilled Cheese Dippers Recipe Ingredients
Unlock the deliciousness of Mini Grilled Cheese Dippers with these essential ingredients!
For the Dippers
- Sturdy Bread – Provides structure and texture; you can use gluten-free sandwich bread for a gluten-free option.
- Cheese Blend – A combination of sharp cheddar for flavor and provolone or Monterey Jack for meltability ensures a gooey experience.
- Fat for Frying (e.g., butter or mayo) – Enhances flavor and achieves a crispy exterior; use mayo for a richer taste or butter for a classic approach.
For Dipping
- Tomato Soup – A classic pairing that complements the dippers beautifully; feel free to substitute with ranch or garlic aioli for variety.
With these ingredients, you’re all set to create mouthwatering Mini Grilled Cheese Dippers that will bring comfort and joy to your table!
Step‑by‑Step Instructions for Mini Grilled Cheese Dippers Recipe
Step 1: Prepare the Bread
Start by cutting sturdy bread into small squares or triangles, ensuring each piece is about 2-3 inches for easy dunking. If you’re opting for gluten-free bread, make sure it’s fresh to maintain structure. Lay them out on a clean surface, ready to be transformed into delightful Mini Grilled Cheese Dippers.
Step 2: Assemble the Sandwiches
Layer your cheese blend—sharp cheddar and provolone or Monterey Jack—between two pieces of your prepared bread. Make sure the cheese overlaps slightly for maximum gooeyness. Gently press the sandwiches together to help them hold during grilling, and feel free to be creative by adding thin slices of extras like avocado or tomato.
Step 3: Heat the Skillet
Place a non-stick skillet over medium-low heat, allowing it to warm gradually. Add your choice of fat, whether butter for a classic flavor or mayonnaise for an extra kick. Wait for the fat to melt completely and start to bubble gently, which signals it’s time to add your assembled sandwiches.
Step 4: Grill the Sandwiches
Carefully place the sandwiches in the hot skillet, ensuring they fit comfortably without crowding. Cook in batches if needed, letting them sizzle undisturbed for around 3-4 minutes. Keep an eye on the bread; you want it to be golden brown and crispy, which indicates that it’s time to flip.
Step 5: Cook to Golden Perfection
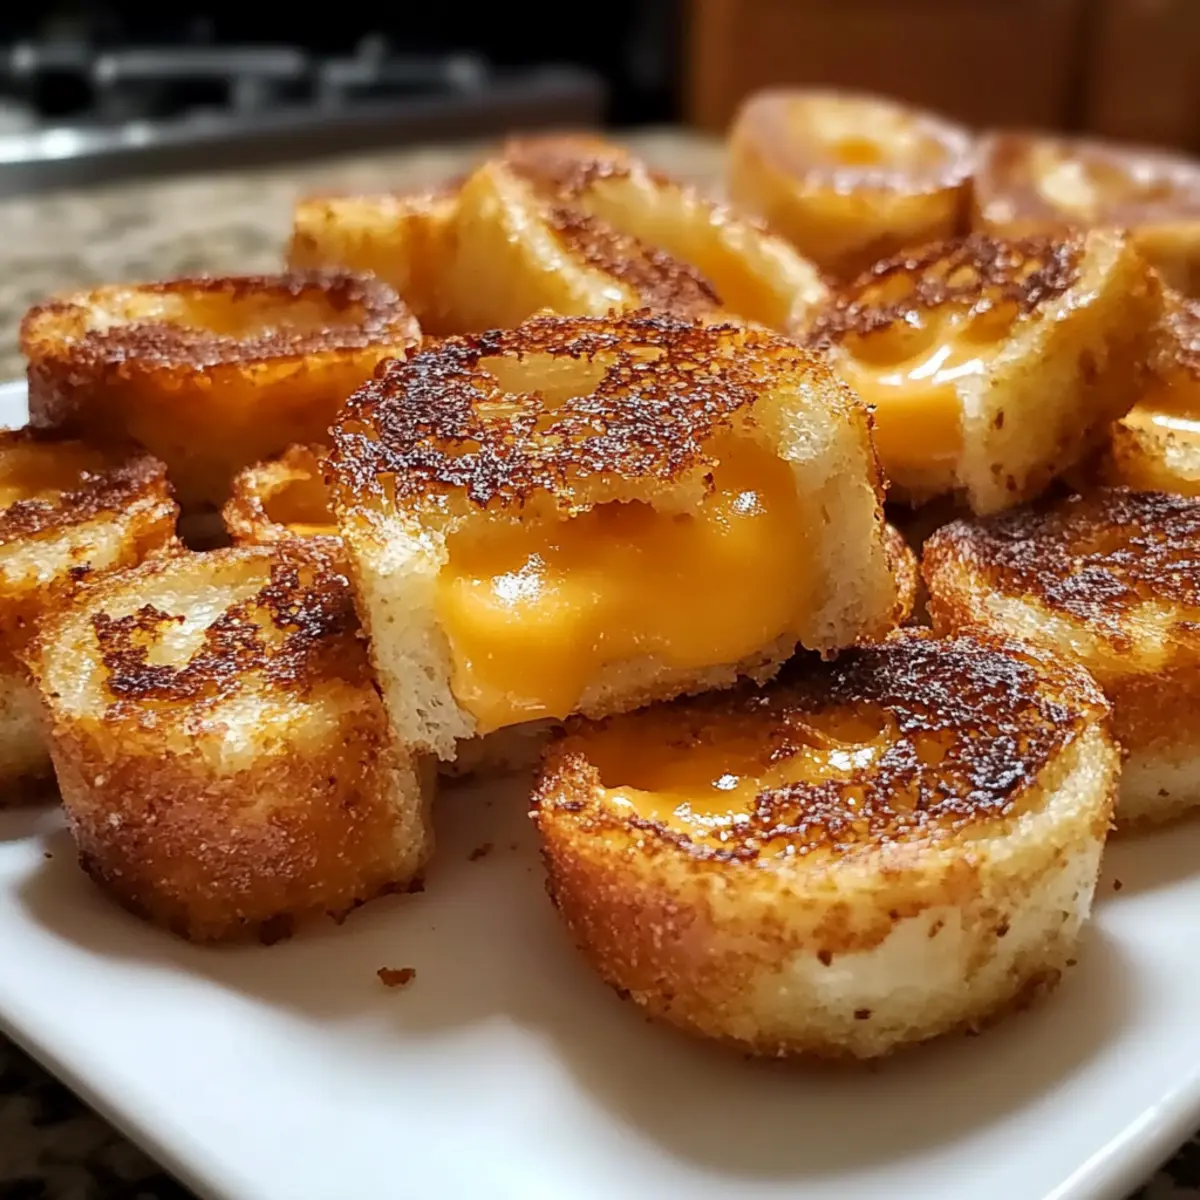
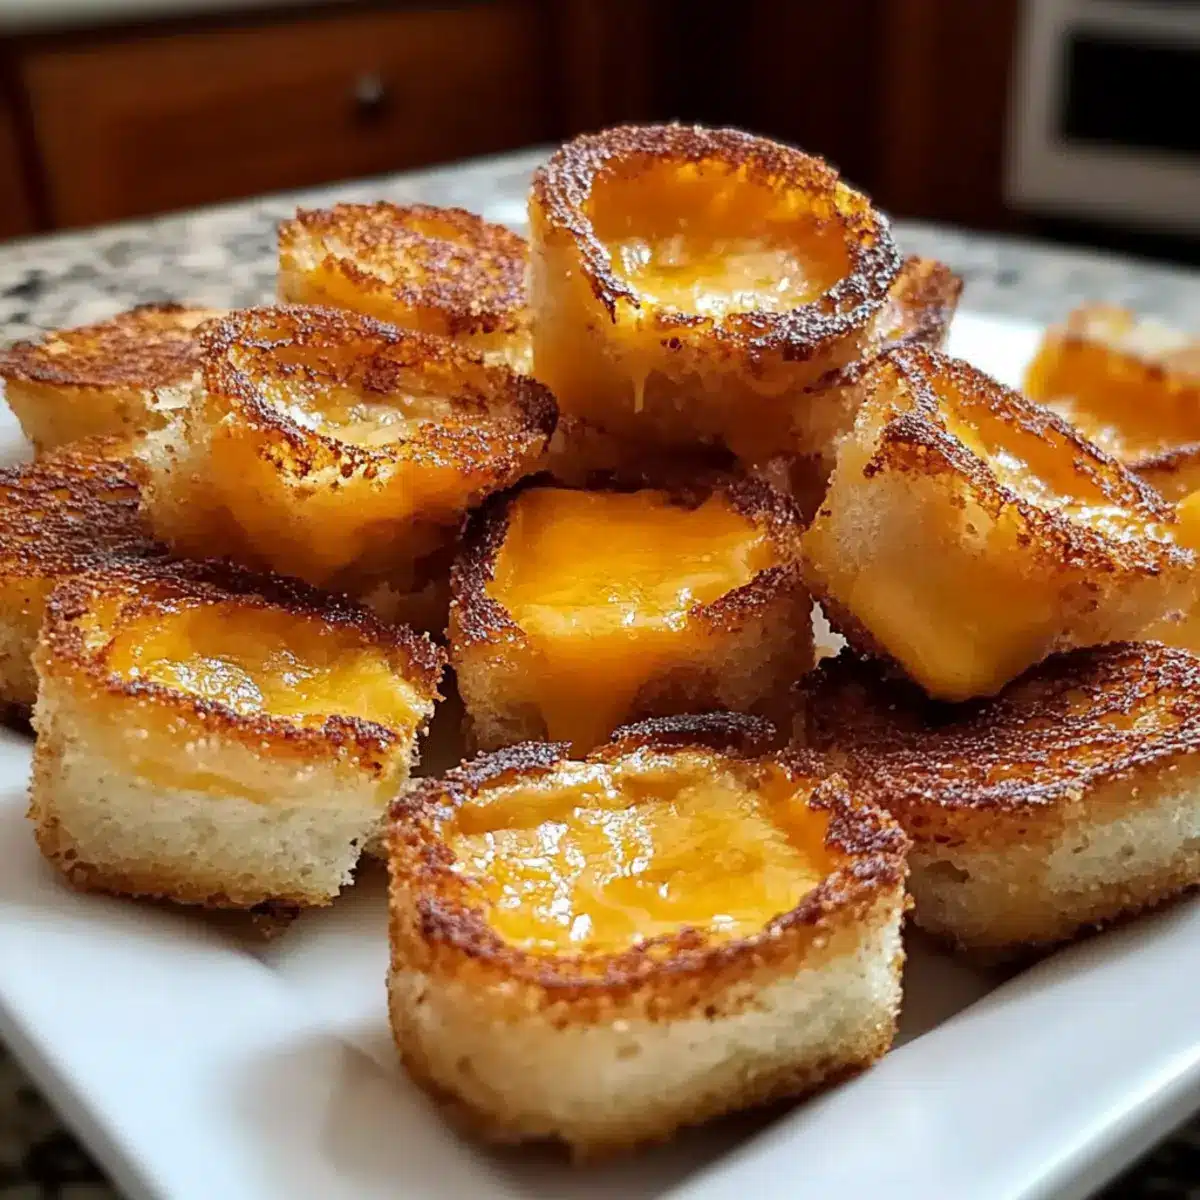
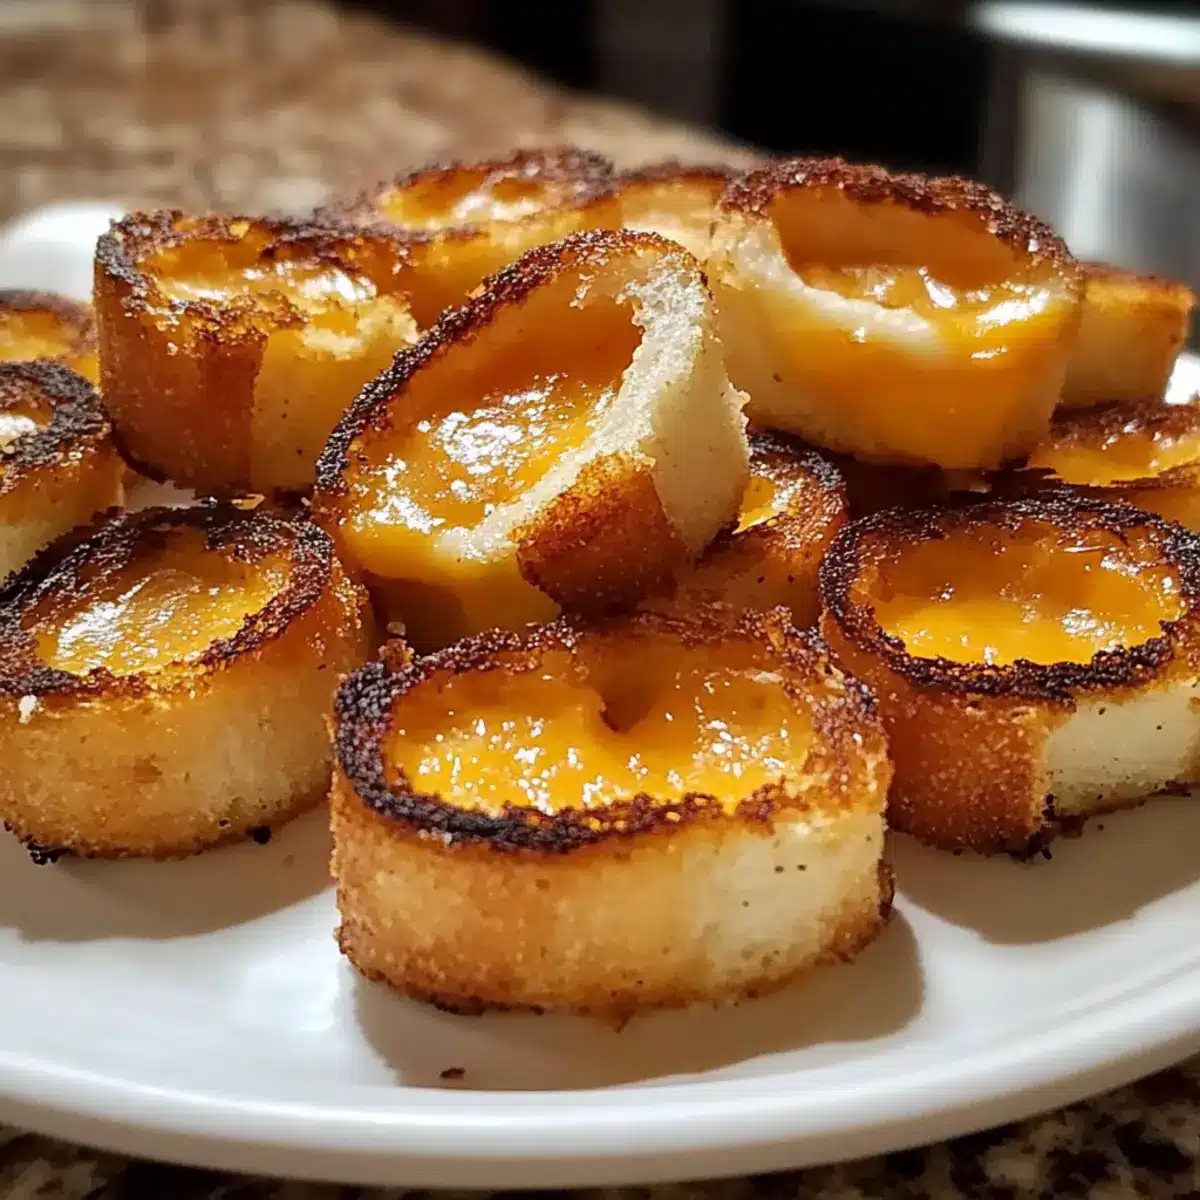
Once the first side reaches a delectable golden hue, gently flip each sandwich using a spatula. Cook for an additional 2-3 minutes, or until the second side is equally golden, and the cheese inside is melted and gooey. You can lightly press down with the spatula to promote even cooking and perfect crispiness.
Step 6: Rest and Slice
After achieving that dreamy, golden-brown crust, remove the Mini Grilled Cheese Dippers from the skillet and let them rest on a cutting board for a minute. This cooling period helps the cheese settle. Then, slice each grilled cheese into dippable pieces, either triangles or strips, depending on your preference.
Step 7: Create the Dippers
Serve your delightful Mini Grilled Cheese Dippers warm alongside a bowl of tomato soup or your favorite dipping sauce, like ranch or garlic aioli. The contrast of hot cheese with a hearty dip enhances the comforting nature of this recipe, making it perfect for sharing with family and friends!
What to Serve with Mini Grilled Cheese Dippers?
Building a delightful meal around these irresistible golden bites brings warmth and comfort to any table.
-
Creamy Tomato Soup: The classic pairing! Its rich, tomato flavors complement the dippers, making each bite extra comforting. Dipping into warm soup creates a nostalgic experience.
-
Tangy Garlic Aioli: Elevate your snacking with this smooth, garlicky dip. Its zesty notes perfectly balance the cheesy richness of the dippers, inviting delightful bites.
-
Crunchy Vegetable Platter: Fresh veggies like carrots, cucumbers, and bell peppers add a crisp texture that contrasts beautifully with the warm, gooey dippers, providing a burst of freshness.
-
Savory Pesto Dip: A flavorful alternative that introduces herby notes and a touch of nuttiness. Dipping your grilled cheese into pesto opens up new layers of delightful flavors.
-
Crispy Potato Wedges: Golden, crispy wedges make for a hearty side. Their satisfying crunch pairs wonderfully with the soft cheese, creating a delightful textural contrast.
-
Homemade Hummus: This creamy dip adds depth and a touch of earthiness. The subtle flavor of hummus complements the dippers beautifully, making every bite a joy.
-
Fruity Sparkling Water: Refreshing and light, a glass of fruity sparkling water adds a fun twist to your meal, cleansing the palate between cheesy bites.
-
Chocolate-Dipped Strawberries: Delight in a sweet finish with these decadent treats. The combination of rich chocolate and fruity strawberries rounds off the meal on a delightful note.
Make Ahead Options
These Mini Grilled Cheese Dippers are a fantastic recipe to prep ahead, saving you valuable time during busy weeknights! You can assemble the sandwiches up to 24 hours in advance, simply store them in an airtight container in the refrigerator to maintain freshness. To prevent the bread from becoming soggy, keep the sandwiches layered with parchment paper in between. When you’re ready to serve, just heat a skillet over medium-low heat, add your chosen fat, and grill the dippers for about 3-4 minutes on each side until golden brown and the cheese is beautifully melted. With these make-ahead options, you’ll have delicious, nostalgic bites ready in no time!
Expert Tips for Mini Grilled Cheese Dippers
- Stay Medium-Low: Use medium-low heat to ensure the cheese melts thoroughly without burning the bread; patience leads to perfection!
- Choose Fresh Cheese: Avoid pre-shredded cheese as it may not melt properly; fresh cheese yields the best gooey texture for your Mini Grilled Cheese Dippers.
- Thin Additions: Keep any added toppings like meats or veggies thin to maintain the structural integrity of your dippers while grilling.
- Air Fryer Option: For a quick and healthier option, lightly spray the dippers with cooking oil and air fry at 370°F (185°C) for 4-5 minutes per side.
- Rest Before Slicing: Allow the dippers to cool slightly after grilling to prevent the cheese from oozing out when you cut them into pieces.
Mini Grilled Cheese Dippers Recipe Variations
Get ready to unleash your creativity with these tempting twists on your Mini Grilled Cheese Dippers!
-
Gluten-Free: Swap regular bread for gluten-free sandwich bread, ensuring everyone can enjoy these cheesy delights. It’s an easy fix to keep everyone happy at your table.
-
Cheese Blends: Experiment with alternative cheeses like Gruyère or Havarti for unique flavor profiles. The more cheese, the more fun! Consider adding different textures, too—mix in some creamy goat cheese for depth.
-
Meat Additions: Include thin slices of ham or turkey for a heartier version. Adding meat gives an inviting protein boost, appealing to meat lovers in your crowd!
-
Veggie Boosts: Toss in some fresh spinach or thin avocado slices before grilling for added nutrition and flavor. This makes for a delightful contrast and adds a splash of color!
-
Flavored Breads: Try using sourdough, whole grain, or even herbed bread to elevate the taste. Each bite becomes a new adventure in flavor, creating an enticing snack that surprises your palate.
-
Spicy Twist: Add a sprinkle of red pepper flakes or a layer of pepper jack cheese for a little heat. Spice it up for those who like their comfort food with a kick!
-
Miniature Dippers: Make them bite-sized using smaller bread slices or even cut shapes with cookie cutters. These adorable dippers are especially fun for kids and perfect for parties. Just imagine a platter filled with cute star and heart-shaped dippers!
-
Dipping Sauces: Pair with an array of dips like pesto, salsa, or even tangy garlic aioli for extra enjoyment. Serving different dips adds an interactive element that heightens the experience of your Mini Grilled Cheese Dippers.
With these variations, you can create a rainbow of flavors and textures to keep your family and friends coming back for more!
Storage Tips for Mini Grilled Cheese Dippers
Fridge: Store leftover Mini Grilled Cheese Dippers in an airtight container for up to 2 days. This keeps them fresh and ready for re-enjoyment.
Freezer: If you’ve made a big batch, freeze them in a single layer on a baking sheet before transferring to a freezer-safe bag. They can last for up to 3 months.
Reheating: To restore crispiness, reheat in a skillet over medium heat for a few minutes on each side or pop them in the air fryer at 370°F (185°C) for 4-5 minutes. Enjoy the cheesy goodness once more!
Room Temperature: If serving at a gathering, allow Mini Grilled Cheese Dippers to sit out for no longer than 2 hours to ensure food safety.
Mini Grilled Cheese Dippers Recipe FAQs
How can I ensure my cheese melts properly?
Absolutely! For the best melting results, opt for fresh cheese instead of pre-shredded varieties. Fresh cheese tends to melt more evenly and creates that gooey texture we all love. Additionally, make sure to use medium-low heat to allow the cheese to melt thoroughly without burning the bread.
What should I do if my bread is too soft?
Very! If you’re working with softer bread, try a sturdier option like artisanal or whole grain bread. This will help maintain the structure of your Mini Grilled Cheese Dippers. If you want to use gluten-free bread that feels soft, it’s best to toast it lightly before assembling the sandwiches to add some crunch.
Can I freeze Mini Grilled Cheese Dippers?
Yes, you can! To freeze, first arrange the dippers in a single layer on a baking sheet, then place them in the freezer until firm. After about an hour, transfer them to a freezer-safe bag or container. They can be stored for up to 3 months. When ready to enjoy, reheat in a skillet or air fryer to restore their crispy texture.
How should I store leftovers?
Store any leftover Mini Grilled Cheese Dippers in an airtight container in the fridge for up to 2 days. Reheat them in a skillet or air fryer for a few minutes to bring back that delicious crunch and melty cheese. They’re a great snack option that holds up quite well!
What types of cheese work best?
For a delightful cheese blend, I recommend a mix of sharp cheddar for flavor and either provolone or Monterey Jack for that perfect melt. However, if you’re feeling adventurous, switching to cheeses like Gruyère or Havarti can offer wonderful variations in flavor and texture.
Can I make these dippers dairy-free?
Absolutely! To make Mini Grilled Cheese Dippers dairy-free, substitute the cheese with your favorite nut-based cheese alternatives or vegan cheese that melts well. For the butter, you can use coconut oil or a dairy-free margarine to achieve a crispy outer layer without any dairy products. Make sure to check the labels for any potential allergens.
Mini Grilled Cheese Dippers Recipe for Ultimate Comfort Snacking
Ingredients
Equipment
Method
- Cut sturdy bread into small squares or triangles, about 2-3 inches for easy dunking.
- Layer the cheese blend between two pieces of bread and press sandwiches together.
- Heat a non-stick skillet over medium-low heat and add fat to melt.
- Place the sandwiches in the hot skillet, cooking undisturbed for around 3-4 minutes.
- Flip the sandwiches once golden brown and cook for an additional 2-3 minutes.
- Remove from skillet and let rest on a cutting board for a minute before slicing.
- Serve warm with tomato soup or your favorite dipping sauce.
Leave a Reply