
As I chopped through the vibrant green garlic chives, a wave of nostalgia washed over me, transporting me to bustling Korean markets and the comforting embrace of home-cooked meals. This recipe for Zingy Korean Garlic Chive Pickles with Chili Flakes takes just 25 minutes to prepare, turning simple ingredients into something extraordinary. Not only do these quick pickles add a satisfying crunch to your plate, but they also deliver a delightful tang that enhances any dish—perfect for those seeking to elevate their meals beyond takeout. Plus, with their vegan option, they cater to a variety of dietary preferences without sacrificing flavor. Are you ready to experience the magic of these zingy pickles? Let’s dive in!
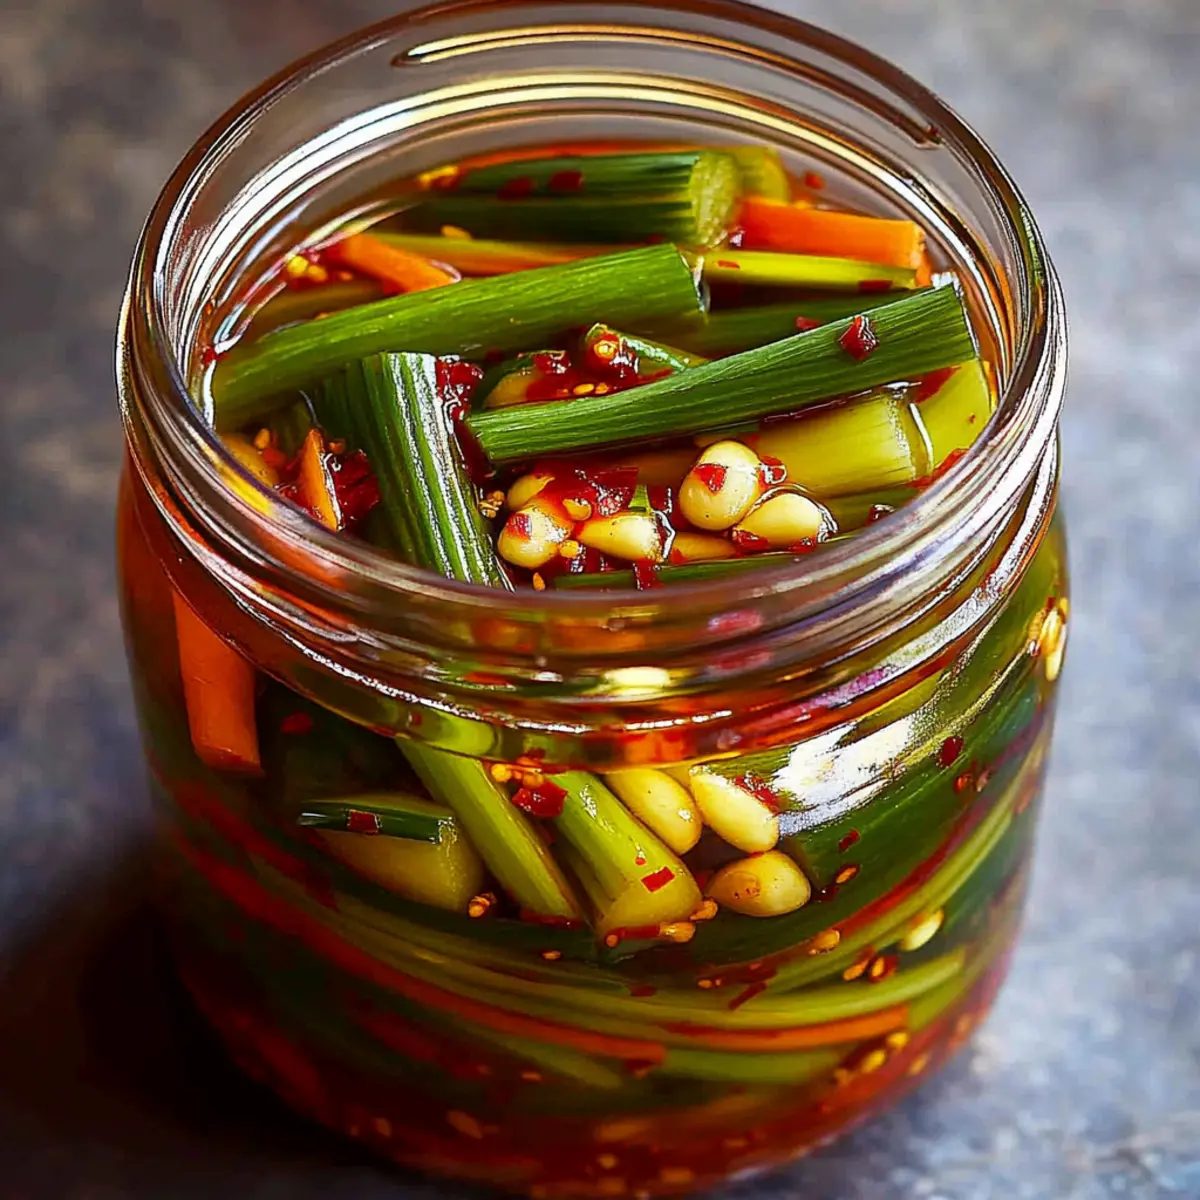
Why You’ll Crave These Pickles?
Zingy Flavor Explosion: The vibrant taste of garlic chives and the kick from chili flakes creates a mouthwatering experience that wakes up your palate.
Quick and Easy: Whip these up in just 25 minutes! Perfect for busy weeknights or spontaneous gatherings.
Versatile Addition: Perfect alongside rice dishes or as a crunchy topping on salads, just like my Garlic Pasta Amp.
Healthy Snacking: Gluten-free and packed with nutrients, they’re a guilt-free way to satisfy your crunch cravings.
Crowd-Pleaser: These pickles are sure to impress your friends at the next dinner party, bringing a taste of Korean cuisine to your table!
Korean Garlic Chive Pickles Ingredients
For the Pickles
• Garlic Chives – Adds a sharp, garlicky flavor; use green onions if you prefer a milder taste.
• Korean Radish (or Daikon) – Provides a crisp texture and subtle sweetness; turnips or watermelon radish work as substitutes.
• Carrot – Offers crunch and color; can be swapped for firm vegetables like cucumber.
• Garlic – Enhances flavor depth; try roasted garlic for a sweeter note.
• Korean Chili Flakes (Gochugaru) – Provides mild heat and color; smoked paprika and cayenne make good substitutes.
For the Brine
• Rice Vinegar – Essential for acidity; apple cider vinegar can be used but will alter the flavor.
• Water – Dilutes the vinegar for the brine.
• Sugar – Balances the acidity; honey or agave syrup can serve as alternatives.
• Salt – Enhances flavor; kosher or sea salt is great for this purpose.
• Fish Sauce (or Soy Sauce) – Adds umami richness; use soy sauce for a vegan option.
Optional Add-ins
• Toasted Sesame Seeds – Optional addition for extra texture; feel free to omit.
These Korean Garlic Chive Pickles with Chili Flakes are not just a recipe, they’re a delightful adventure for your taste buds!
Step‑by‑Step Instructions for Korean Garlic Chive Pickles with Chili Flakes
Step 1: Prepare the Vegetables
Start by washing the garlic chives thoroughly and cutting them into 2-inch lengths. Next, julienne the Korean radish and carrot, ensuring they are thin for quick pickling. Finally, slice the garlic cloves thinly to enhance the flavors. Visualize a colorful array of fresh veggies, as they will form the foundation of your Korean Garlic Chive Pickles with Chili Flakes.
Step 2: Toss with Chili Flakes
In a large mixing bowl, combine all the prepared vegetables and sprinkle the Korean chili flakes (gochugaru) over the top. Using your hands or a spatula, toss the mixture thoroughly to ensure every piece is well-coated with the vibrant red chili flakes. This step not only adds flavor but visually transforms the vegetables, infusing them with a spicy kick.
Step 3: Make Pickling Brine
In a saucepan, combine rice vinegar, water, sugar, salt, and fish sauce (or soy sauce for a vegan option). Heat the mixture over medium heat, stirring frequently, until the sugar and salt dissolve completely—about 3 to 5 minutes. Once dissolved, remove the brine from heat and allow it to cool to room temperature, ensuring the vibrant flavors meld together before pouring over your veggies.
Step 4: Jar the Vegetables
Take a clean glass jar and begin to pack the vegetable mixture tightly inside. Press down gently to remove any air pockets, allowing each layer to fit snugly. Aim for a beautiful display of colors and textures as you fill the jar, ensuring that the garlic chives, radish, and carrot are well intermingled, capturing the essence of your Korean Garlic Chive Pickles with Chili Flakes.
Step 5: Add the Brine
Once your brine has cooled, pour it carefully over the packed vegetables in the jar. Ensure that all the veggies are fully submerged in the brine, which will help them pickle evenly. If any veggies are sticking out, add a little more brine or gently push them down to make sure they are covered. This is key to achieving flavorful and crisp pickles.
Step 6: Seal and Chill
Tightly seal the jar with a lid, locking in all the fabulous flavors. Place the jar in the refrigerator and allow the pickles to sit for at least 24 hours, although letting them chill for 2-3 days will enhance their taste even more. This step will transform your Korean Garlic Chive Pickles with Chili Flakes, letting the flavors develop into a perfect balance of tangy and spicy delight.
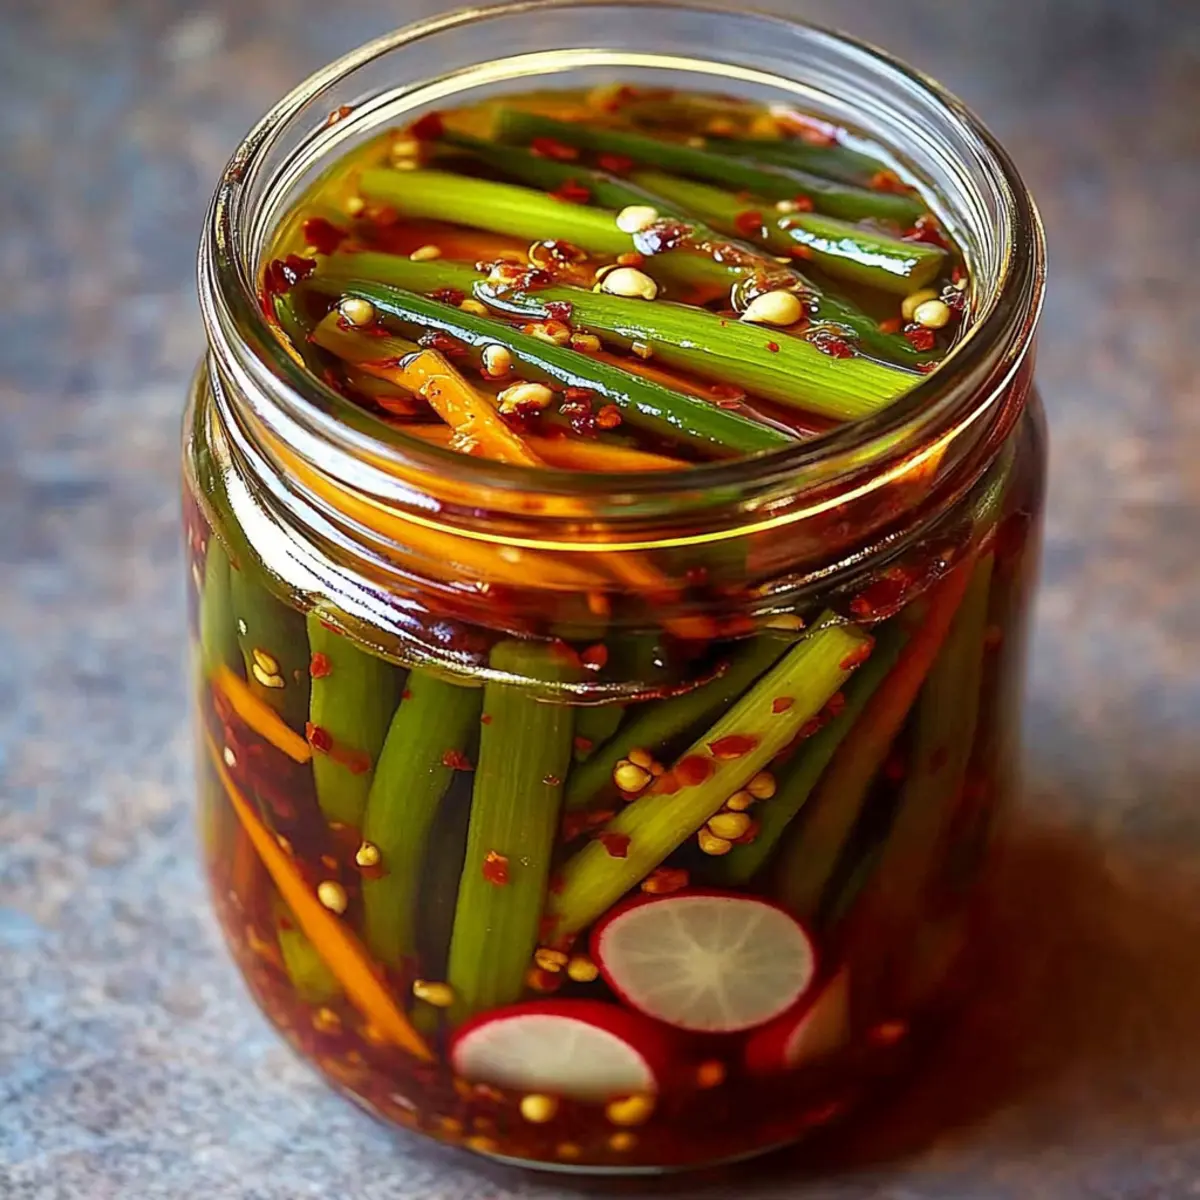
Korean Garlic Chive Pickles Variations
Feel free to customize these tasty pickles to suit your taste buds and pantry!
- Cucumber Twist: Substitute fresh cucumbers for garlic chives for a refreshing, crunchy alternative.
- Mixed Veggies: Use a combination of napa cabbage and scallions for a different texture and flavor profile.
- Fermented Style: Omit vinegar and sugar, add salt, and let the mixture ferment at room temperature for a tangy twist.
- Spicy Kick: Add extra chili flakes for those who crave an intense heat level in their pickles.
- Sweet Touch: Incorporate a splash of pineapple juice in the brine for a tropical sweetness that brightens flavors.
If you love the idea of vibrant side dishes, you might also enjoy these Garlic Mashed Potatoes or my delicious Honey Garlic Sausage for complete meal inspiration!
- Herb Infusion: Toss in some fresh dill or cilantro for an aromatic layer that enhances the pickling experience.
- Zingy Vinegar Swap: Try using apple cider vinegar instead of rice vinegar for a different tangy taste profile.
- Savory Umami: Boost the umami flavor by adding a splash of mushroom soy sauce for layering complexity in your pickles.
Expert Tips for Korean Garlic Chive Pickles
• Use a Wide-Mouth Jar: This allows for better layering and ensures the brine circulates effectively, preventing any veggies from being overcrowded.
• Cool the Brine: Always let the brine cool to room temperature before adding it to the vegetables. Hot brine can wilt your garlic chives, ruining the crunch.
• Don’t Overcrowd: Make sure to pack the jar tightly but don’t jam the vegetables in. Proper brine coverage is essential for successful Korean Garlic Chive Pickles with Chili Flakes.
• Flavor Development: For the best experience, let your pickles chill for 2-3 days. The extended soaking time allows the flavors to marry beautifully!
• Storage: Store your pickles in a clean, airtight container in the fridge to keep them fresh for up to 2-3 weeks. Enjoy the vibrant crunch for days!
What to Serve with Zingy Korean Garlic Chive Pickles?
These delightful pickles are not just a side; they can transform your meal into a vibrant feast bursting with flavor!
-
Steamed Rice: The simplicity of steamed rice enhances the pickles’ tangy crunch, creating a satisfying contrast that elevates your dining experience.
-
Grilled Meats: Pair with bulgogi or grilled chicken to balance the savory flavors; the pickles add a refreshing kick that brightens every bite.
-
Savory Pancakes (Jeon): These Korean pancakes are rich and hearty, and the pickles are perfect for cutting through the richness with their zesty flavor.
-
Fresh Salad: Tossing these pickles into a mixed green salad adds a delightful crunch and spice, making every forkful a burst of excitement.
-
Noodle Dishes: Serve alongside cold noodle dishes like bibimbap for a vibrant contrast, as the acidity beautifully complements the noodles’ texture.
-
Korean BBQ: These pickles are essential in traditional banchan spreads, offering a perfect palate cleanser amidst the richness of BBQ meats.
-
Beer or Soju: Enjoy with a crisp, cold beer or a shot of soju to enhance the experience—both drinks perfectly complement the pickles’ bright flavors.
How to Store and Freeze Korean Garlic Chive Pickles
Fridge: Place your pickles in a clean, airtight container and store them in the refrigerator. They’ll stay fresh for up to 2-3 weeks, allowing you to enjoy that crunchy tang whenever you wish!
Freezer: Freezing is not recommended for these pickles, as the texture will change, causing them to become mushy upon thawing. Enjoy them fresh instead!
Reheating: No reheating is needed, as these Korean Garlic Chive Pickles are best served cold straight from the fridge, adding a refreshing crunch to any meal!
Jar Sealing: Ensure the jar is sealed tightly to avoid air exposure, which can lead to spoilage. Enjoy your delicious pickles for weeks to come!
Make Ahead Options
These Korean Garlic Chive Pickles with Chili Flakes are ideal for meal prep lovers! You can chop the garlic chives, radish, and carrot up to 3 days in advance and store them in an airtight container in the refrigerator to keep them fresh. Prepare the pickling brine (rice vinegar, water, sugar, salt, and fish sauce) and refrigerate it separately for up to 24 hours. When you’re ready to finish, simply pack the prepped vegetables into a jar, pour the cooled brine over them, seal, and refrigerate for at least 24 hours. This method ensures your pickles are just as delicious and flavorful, providing a quick and zesty addition to your meals without the last-minute rush!
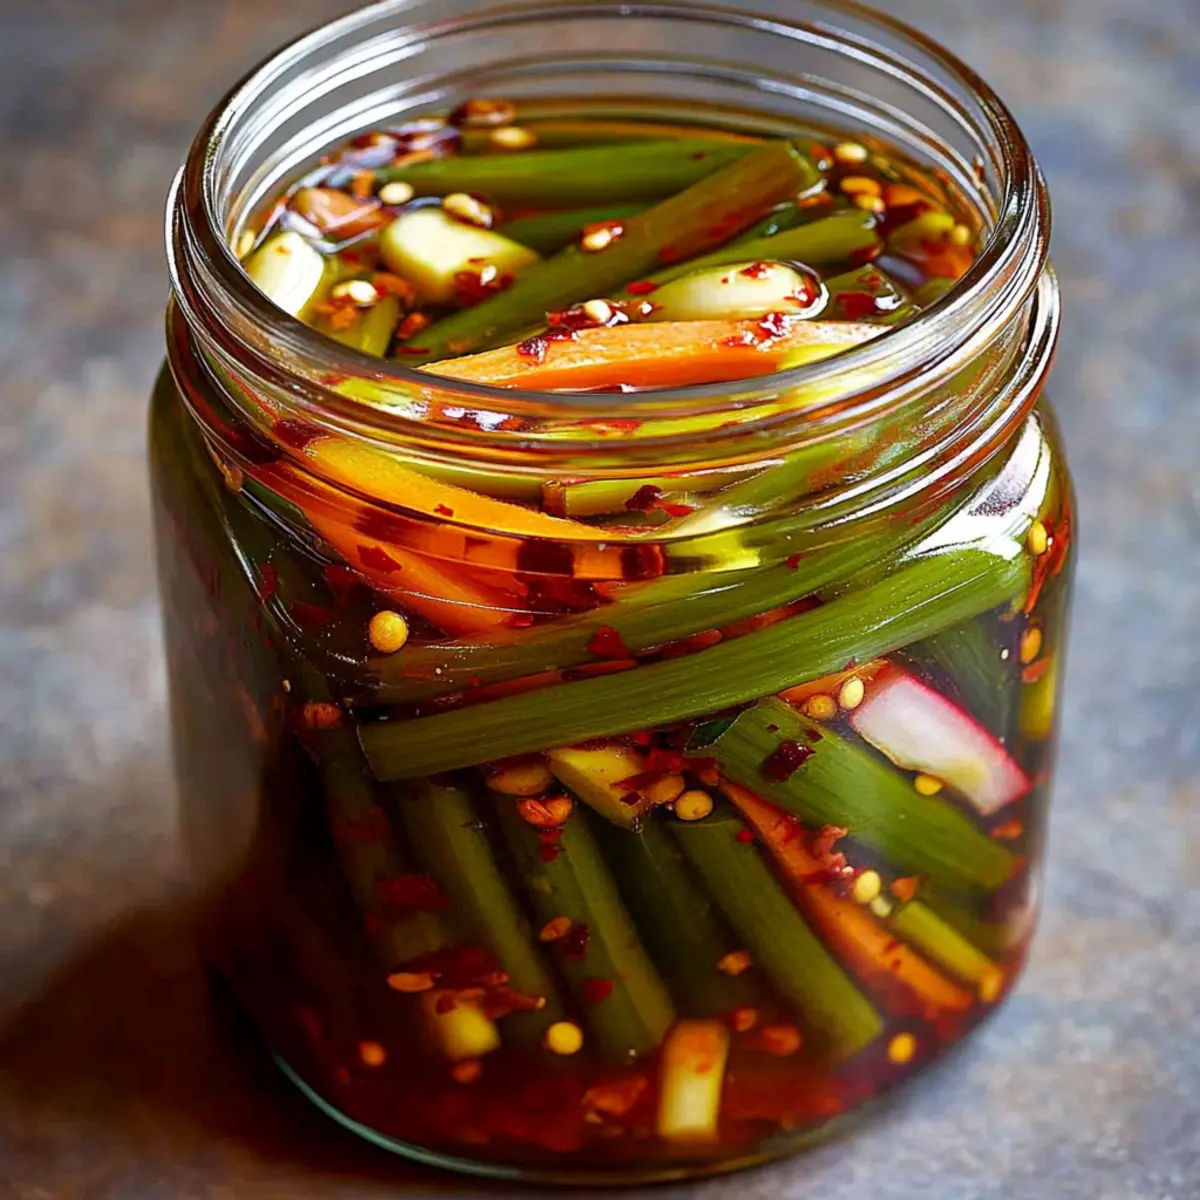
Korean Garlic Chive Pickles with Chili Flakes Recipe FAQs
How do I choose ripe garlic chives?
When selecting garlic chives, look for vibrant green stalks that are firm and upright. Avoid those that appear wilting or have dark spots all over, as these indicate they may be past their prime. Fresh garlic chives should smell pungently garlicky and fragrant, which is a sign of their freshness.
What is the best way to store Korean Garlic Chive Pickles?
Store your pickles in a clean, airtight container in the refrigerator. They will stay fresh for up to 2-3 weeks, allowing their flavors to deepen while providing that refreshing crunch. Just remember to keep them tightly sealed to minimize air exposure that can lead to spoilage.
Can I freeze Korean Garlic Chive Pickles?
Freezing is not recommended for these pickles because the texture will change upon thawing, resulting in mushiness. Instead, enjoy them fresh! If you want to extend their life, consider pickling them in larger batches and sharing with friends or family, as they make excellent gifts!
What if my pickling brine doesn’t cover the vegetables completely?
If your brine doesn’t fully cover the vegetables, simply add a bit of extra brine or gently press down the veggies to submerge them fully. It’s important for all vegetables to be fully submerged in the brine for proper pickling, which helps them maintain their crunch and flavor.
Are Korean Garlic Chive Pickles suitable for people with dietary restrictions?
Absolutely! These pickles can easily be made vegan by substituting fish sauce with soy sauce. They are also gluten-free when using certified gluten-free soy sauce. Always check labels for any additional ingredients to ensure they suit any specific allergies or dietary restrictions.
How long does the pickling process take for the best flavor?
For optimal flavor, it’s best to let your Korean Garlic Chive Pickles chill in the refrigerator for at least 24 hours; however, allowing them to sit for 2-3 days is even better. This gives the flavors time to meld, yielding the most delicious and tangy results that will elevate any meal!
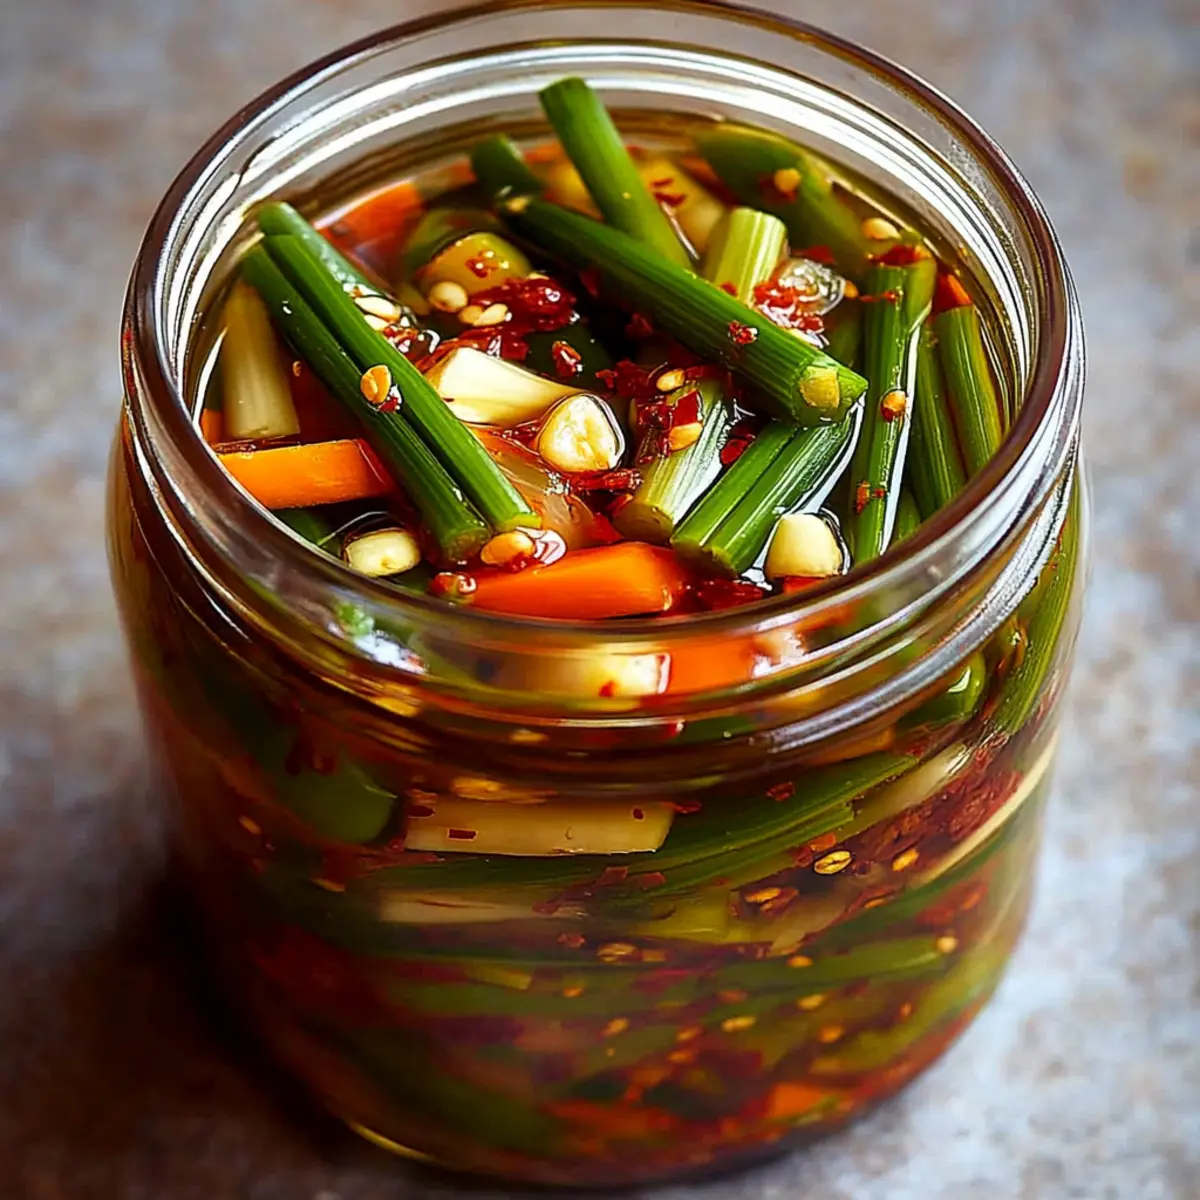
Crunchy Korean Garlic Chive Pickles with Chili Flakes Magic
Ingredients
Equipment
Method
- Prepare the vegetables by washing the garlic chives, cutting them into 2-inch lengths, julienning the Korean radish and carrot, and slicing the garlic cloves.
- In a large mixing bowl, combine all the prepared vegetables and sprinkle the Korean chili flakes over the top.
- Make the pickling brine by combining rice vinegar, water, sugar, salt, and fish sauce in a saucepan. Heat until dissolved, then cool.
- Jar the vegetables tightly in a clean glass jar, pressing gently to remove air pockets.
- Pour the cooled brine over the packed vegetables in the jar, ensuring they are fully submerged.
- Seal the jar tightly and chill in the refrigerator for at least 24 hours, ideally 2-3 days for best flavor.
Leave a Reply