
The wonderful aroma of a bubbling pot of Japanese Katsu Curry wafted through my kitchen, instantly transporting me to a cozy Izakaya in Tokyo. This beloved comfort food is all about contrast—the gentle crunch of panko-breaded chicken perfectly balanced with the rich, savory wheat-based curry. My take on this dish, Juicy Chicken Katsu Curry with Rich Japanese Curry Sauce, not only satisfies cravings but also comes together quickly, making it an ideal weeknight dinner. What’s even better? It’s incredibly adaptable; whether you prefer swapping the chicken for crispy tofu or vibrant veggies, you’ll still enjoy that same heartwarming embrace of flavor. Ready to take your taste buds on a delightful journey with this irresistible dish? Let’s dive in!
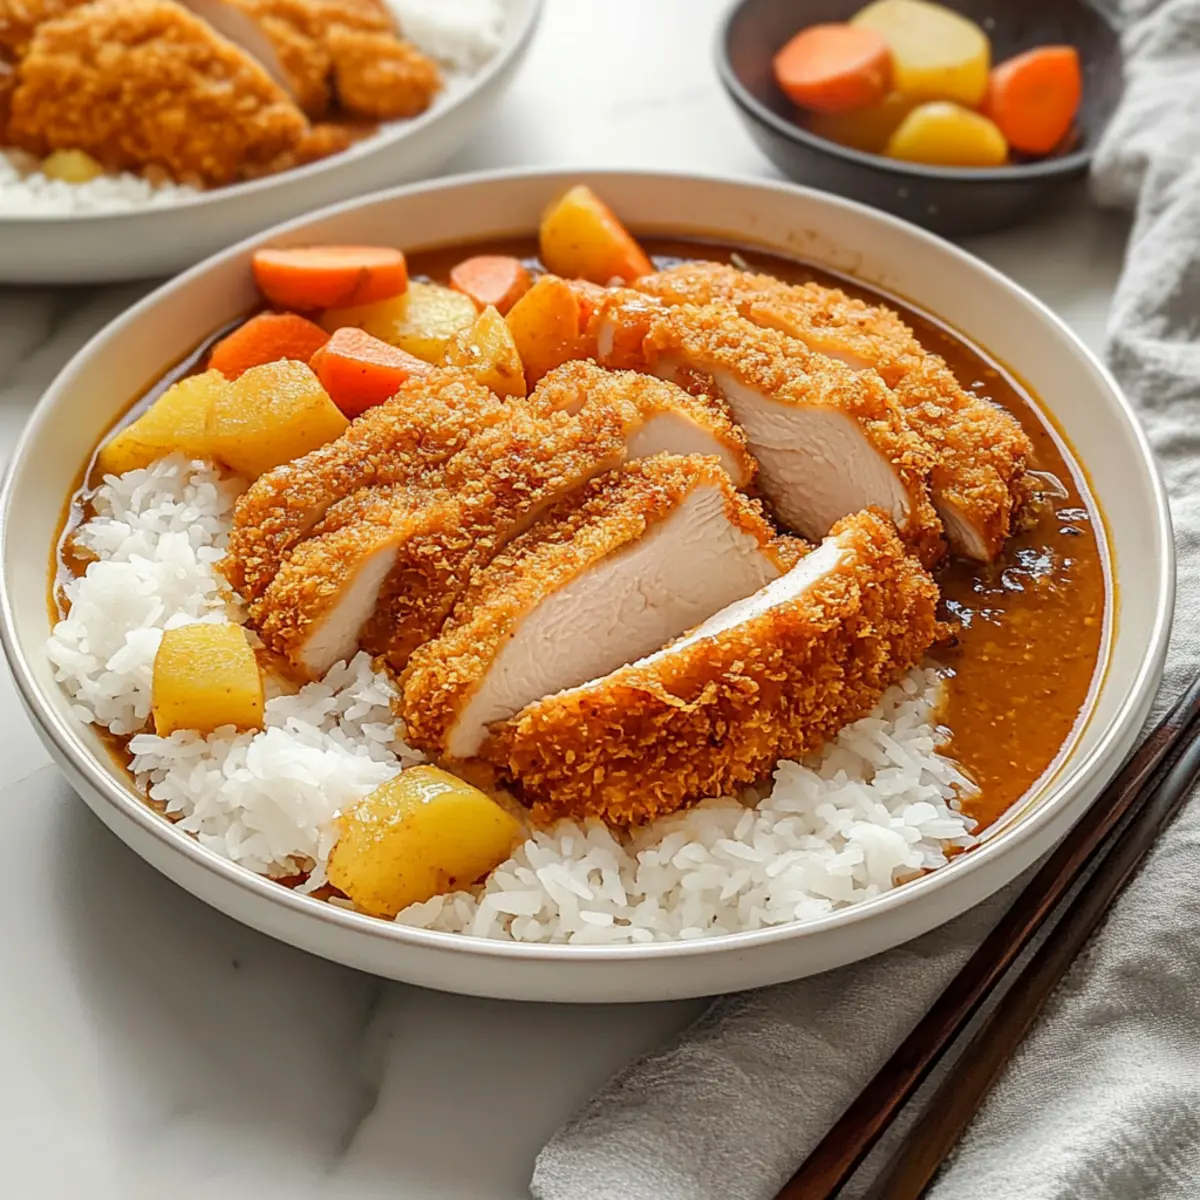
Why is Katsu Curry a Must-Try?
Comforting Delight: This Japanese Katsu Curry is synonymous with comfort food, offering a heartwarming experience that feels like a cozy hug on a plate.
Rich and Flavorful: The combination of panko-crusted chicken and savory curry sauce creates an explosion of flavors that’s second to none.
Quick and Easy: Ready in no time, this dish is perfect for weeknight dinners without compromising on taste—who can say no to that?
Versatile Options: Whether you’re a chicken fan or prefer tofu, this adaptable recipe allows you to switch proteins without losing its delightful essence. For another delicious dinner, check out my Jamaican Curry Chicken for a global twist!
Crowd-Pleasing: Perfect for family meals or entertaining friends, this recipe guarantees rave reviews and satisfied appetites.
Japanese Katsu Curry Ingredients
• Discover the key ingredients behind this delectable dish!
For the Chicken
- Boneless Skinless Chicken Breasts – The main protein source, tenderized for a juicy bite; consider swapping with tofu or veggies for a meatless option.
- Salt & Black Pepper – Essential seasonings to enhance flavor; use sea salt for a more robust taste.
- All-Purpose Flour – Helps the breadcrumbs adhere to the chicken; gluten-free option: cornstarch works well.
- Egg – Binds the breading for a crispy crust; replace with a flax egg or aquafaba for a vegan version.
- Panko Breadcrumbs – Gives that signature crunch; regular breadcrumbs can be used for a softer texture.
- Vegetable Oil – For frying, facilitating an even crisp; neutral oils like canola or sunflower are great substitutes.
For the Curry Sauce
- Japanese Curry Roux – The base that gives the dish its distinct flavor; feel free to create a homemade curry blend if needed.
- Yellow Onion – Adds sweetness and depth; shallots or green onions can do the trick too.
- Russet Potato – Offers heartiness, best diced consistently for even cooking; Yukon Gold potatoes provide a creamier alternative.
- Carrot – Sweetens the dish and adds color; swapping in baby carrots enhances sweetness.
- Garlic – Amplifies the flavor base of the curry; always opt for fresh garlic for optimal results.
- Red Apple – Naturally sweetens the curry; a pear can also work for a similar effect.
- Chicken Stock – Provides depth of flavor; substitute with vegetable broth for a vegetarian option.
- Water – Adjusts the consistency of the curry, so keep it handy to achieve your desired thickness.
- Soy Sauce – Adds that delicious umami flavor; gluten-free soy sauce is available for those with restrictions.
- Honey – Balances the flavors naturally; use maple syrup for a vegan-friendly sweetener.
For Serving
- Cooked White Rice – The ideal base for the dish; sushi rice lends a more authentic texture.
Step‑by‑Step Instructions for Japanese Katsu Curry
Step 1: Prep Chicken
Start by butterfly cutting the boneless skinless chicken breasts, ensuring even cooking. Pound the chicken to about ½ inch thickness for tenderness. Season both sides generously with salt and black pepper to enhance flavor. This preparation is critical for your juicy chicken katsu curry.
Step 2: Breading Setup
Prepare your breading station by setting up three shallow dishes. Place all-purpose flour in the first dish, beaten egg in the second, and panko breadcrumbs in the third. This setup will allow you to coat the chicken evenly, creating the crispy crust that is a hallmark of Japanese Katsu Curry.
Step 3: Coat Chicken
Dredge each seasoned chicken breast in flour, ensuring a light coating. Next, dip it into the beaten egg, letting any excess drip off. Finally, coat the chicken thoroughly with panko breadcrumbs, pressing gently to adhere. This step is key for achieving that signature crunch when frying.
Step 4: Fry Chicken
Heat vegetable oil in a deep pan over medium heat until it reaches 340°F (170°C). Carefully place the coated chicken in the hot oil and fry for about 6-7 minutes, or until golden brown and crispy. Use a slotted spoon to transfer the chicken to a wire rack, allowing excess oil to drain and keep it crispy.
Step 5: Prep Vegetables
While the chicken is frying, prepare your vegetables for the curry. Dice the russet potato and carrot into uniform pieces. Soak the diced potato in water for about 10 minutes to remove excess starch, ensuring they cook evenly. Mince the garlic and grate the red apple for sweetness.
Step 6: Cook Curry Base
In a large pot, heat a drizzle of oil over medium heat and sauté the diced onion and minced garlic until fragrant, about 3-4 minutes. Add the diced carrot and potato to the pot, sautéing for an additional 3-5 minutes until the vegetables begin to soften.
Step 7: Add Liquids
Pour in the chicken stock and a bit of water, then add the soy sauce, honey, and grated apple. Stir well to combine all the ingredients. Bring the mixture to a boil, then reduce the heat and let it simmer for 10-15 minutes, or until the vegetables are tender.
Step 8: Thicken Sauce
Once the vegetables are tender, incorporate the Japanese curry roux into the pot, stirring until it dissolves completely. Allow the curry sauce to simmer for an additional 15 minutes, stirring occasionally, until thickened to your desired consistency.
Step 9: Serve
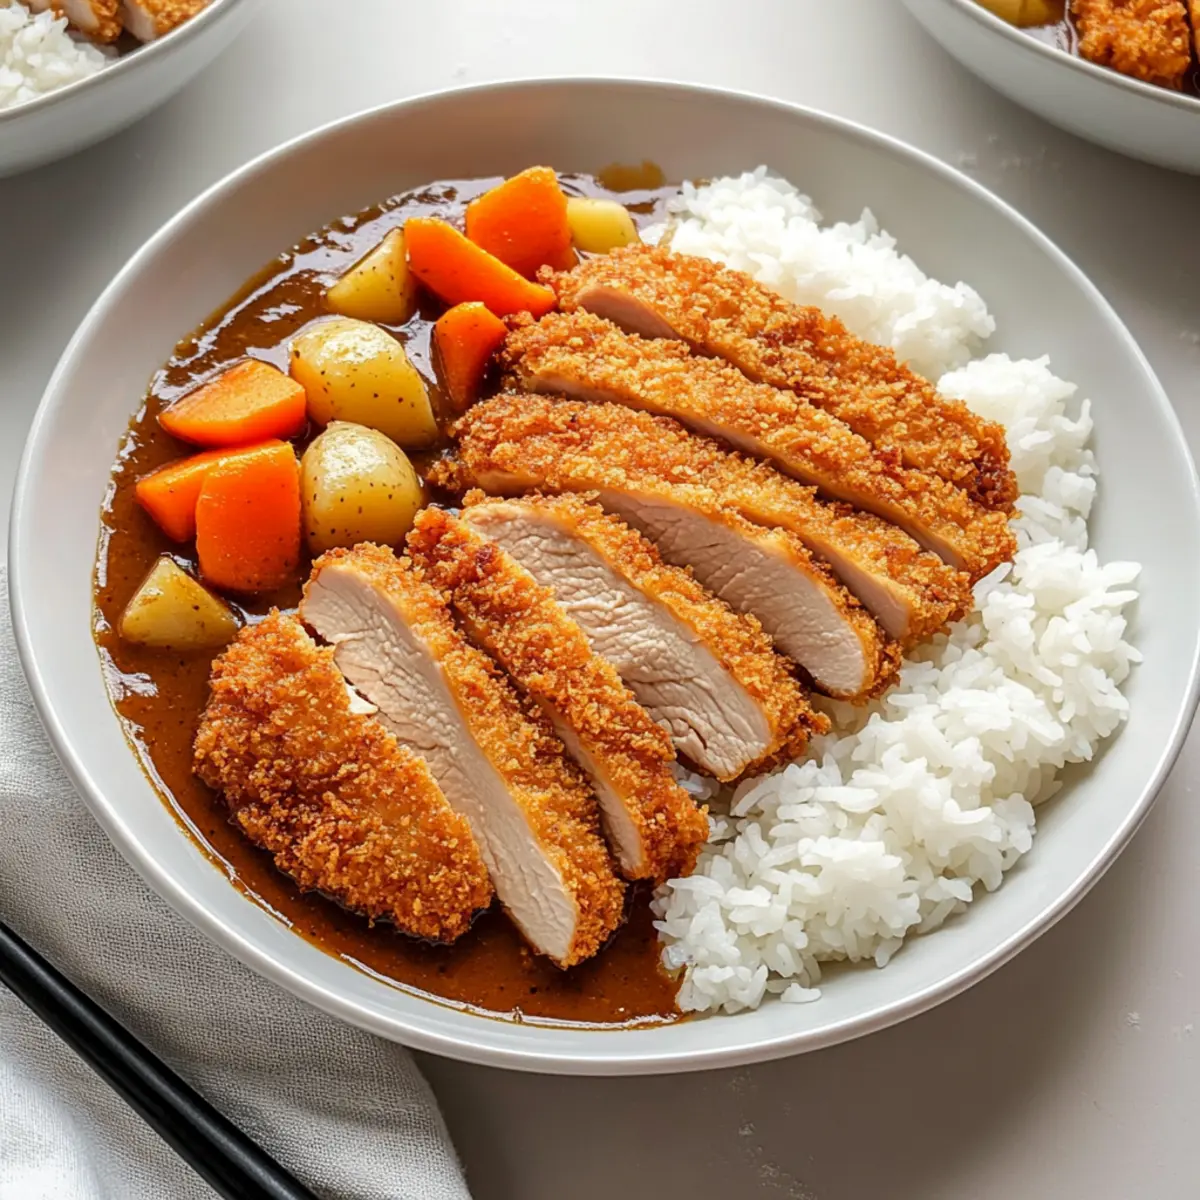
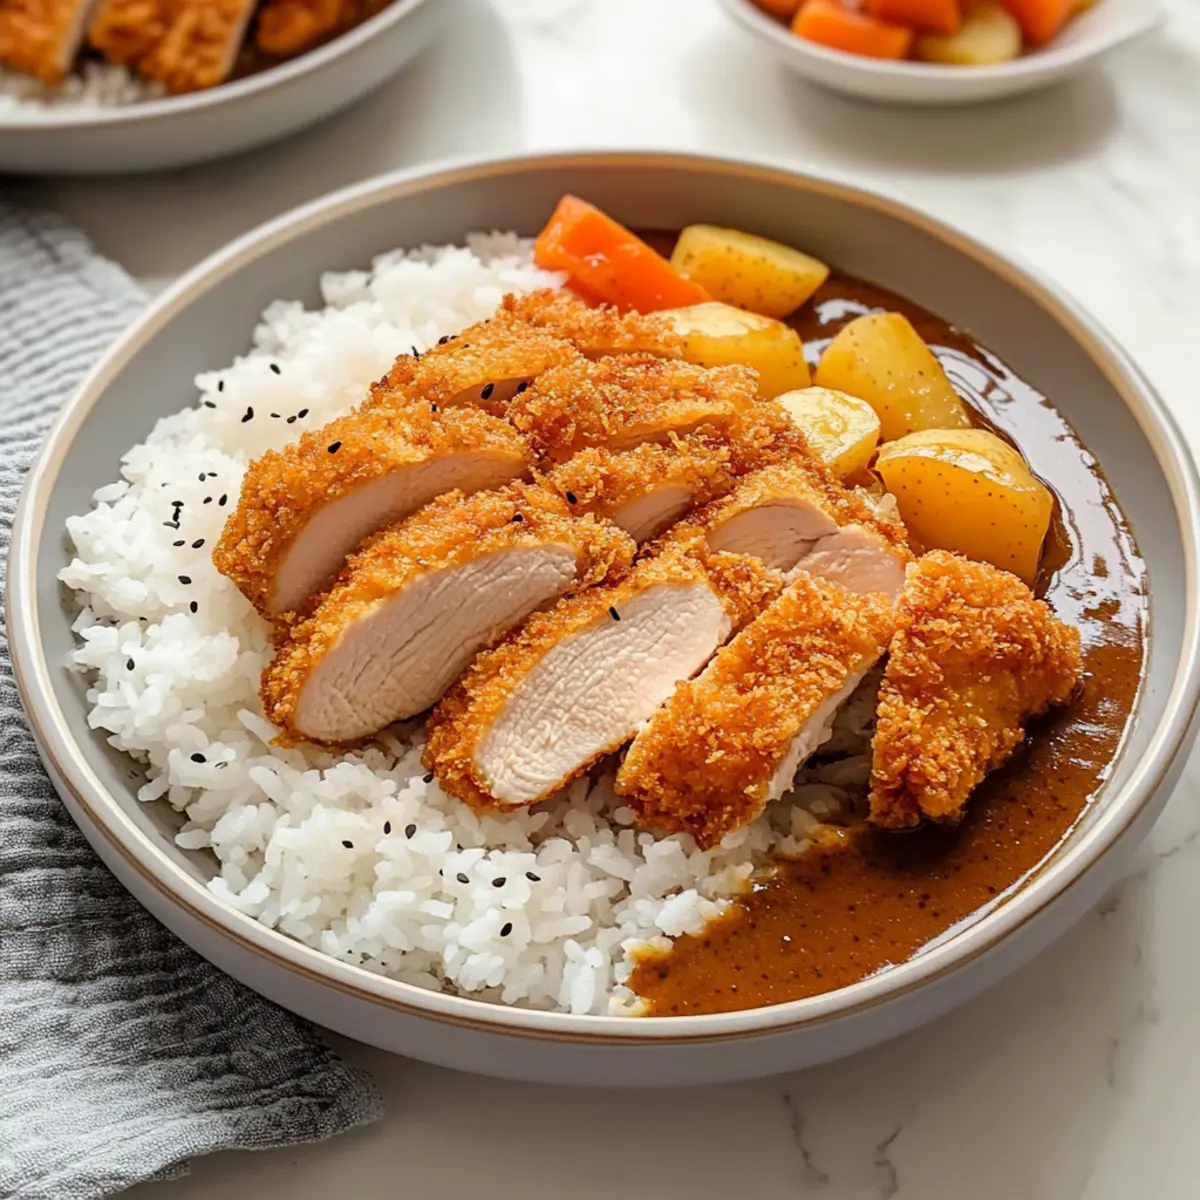
Slice the crispy chicken katsu and serve it over a bed of cooked white rice. Generously ladle the rich Japanese curry sauce over the top, letting it soak in a bit. Your delicious Japanese Katsu Curry is now ready to be enjoyed, providing both warmth and comfort in every bite.
Make Ahead Options
Japanese Katsu Curry is perfect for meal prep, allowing you to savor this delightful dish even on your busiest weeknights! You can prep the chicken katsu by breading it and storing it in the refrigerator for up to 24 hours, which helps to lock in that crispy texture. The curry sauce can also be made in advance and kept in the fridge for up to 3 days—just reheat it on the stove for the best results. When you’re ready to serve, fry the chicken in hot oil until golden brown and crispy, then pour the freshly warmed curry over rice for a comforting meal that’s just as delicious as when first prepared.
Expert Tips for Juicy Chicken Katsu Curry
-
Room Temperature Chicken: Allow chicken to reach room temperature before cooking to ensure even cooking throughout and enhance juiciness in your Japanese Katsu Curry.
-
Monitor Oil Temperature: Use a candy thermometer to check oil temperature while frying. This prevents sogginess and ensures a crispy crust for perfectly fried chicken.
-
Wire Rack Cooling: After frying, place chicken on a wire rack instead of paper towels. This keeps the chicken crispy instead of steaming it on a flat surface.
-
Consistent Veggie Cuts: Dice potatoes and carrots uniformly for even cooking. Avoid large chunks that might remain undercooked in your hearty curry sauce.
-
Adjust Curry Thickness: Keep water handy while cooking the curry; add gradually to achieve the desired thickness in your sauce without it becoming too thin.
-
Experiment with Proteins: Don’t hesitate to swap chicken for tofu or vegetables to create a delicious Japanese Katsu Curry that suits your dietary preferences!
Japanese Katsu Curry Variations
Feel free to explore delightful customizations that enhance your Japanese Katsu Curry experience!
-
Tofu Twist: Swap chicken for crispy tofu slices for a delicious vegetarian option. Firm tofu absorbs the curry flavors beautifully, keeping your meal satisfying and hearty.
-
Vegetable Medley: Replace chicken with an array of mixed veggies, like bell peppers, eggplant, and zucchini, for a vibrant, colorful dish. This is a fantastic way to pack more nutrition into your meal!
-
Spicy Kick: Use a spicy Japanese curry roux instead of the mild version for heat. Adjusting the spice level gives a whole new zing to your Katsu Curry that heat lovers will appreciate.
-
Sweet Potato Addition: Substitute russet potatoes with sweet potatoes for a touch of sweetness that complements the savory sauce. This variation adds a lovely creamy texture that lingers on your palate.
-
Coconut Creamy: Stir in a bit of coconut milk while simmering the curry for a rich, creamy twist. This addition transforms the sauce, infusing it with a tropical flavor that’s simply irresistible.
-
Mushroom Umami: Incorporate shiitake or button mushrooms into your curry for an earthier depth. Their savory profile enhances the overall flavor and pairs nicely with the curry spices.
-
Honey-Free: For a refined sugar-free alternative, replace honey with agave nectar or a dash of maple syrup. This variation is perfect for those watching their sugar intake but still craving sweetness.
-
Quinoa Base: Serve your curry over fluffy quinoa instead of rice for a protein-packed twist that’s also gluten-free. This small switch can elevate your meal while keeping it nutritious.
If you love experimenting in the kitchen, you might also enjoy trying some tantalizing variations like the flavors of Jamaican Curry Chicken for another comforting experience! Enjoy your cooking adventure!
What to Serve with Juicy Chicken Katsu Curry
Pairing your delicious Japanese Katsu Curry with complementary sides elevates the meal experience to new heights.
-
Crispy Pickled Vegetables: Tangy pickles offer a refreshing crunch that contrasts beautifully with the savory curry, enhancing each bite.
-
Steamed Broccoli: A bright green side that adds a vibrant color and nutritious crunch, balancing the rich flavors of the curry.
-
Creamy Coleslaw: This cool, creamy salad provides a perfect creamy texture, making a delightful brainwave of flavors against the tangy curry sauce.
-
Fluffy Sushi Rice: Substituting traditional white rice with sushi rice enhances the authenticity and allows for an even better sauce cling.
-
Homemade Miso Soup: A warm and savory soup brings another layer of richness, priming your palate for the flavors of Katsu Curry.
-
Japanese Green Tea: Smooth and calming, this tea complements the dish’s flavors without overpowering them, adding a soothing finish to your meal.
Each of these sides brings a unique taste and texture, making your chicken katsu curry truly unforgettable.
How to Store and Freeze Japanese Katsu Curry
Fridge: Store leftover Japanese Katsu Curry in an airtight container in the fridge for up to 3 days to maintain its flavor and freshness.
Freezer: For longer storage, you can freeze the curry sauce up to 3 months in a tight freezer-safe container. Season the chicken separately before cooking.
Reheating: When ready to enjoy, thaw the frozen curry overnight in the fridge. Reheat gently on the stove or in the microwave until heated through.
Keeping Crispy: If you’ve stored the chicken separately, reheat it in the oven at 375°F (190°C) for about 10 minutes to restore its crispy texture.
Japanese Katsu Curry Recipe FAQs
What type of chicken should I use for Katsu Curry?
I recommend using boneless skinless chicken breasts for a tender and juicy result, but you can also substitute with pork, beef, or tofu for a meatless option. Just make sure whatever protein you choose is cooked through.
How do I store leftover Katsu Curry?
Leftover Japanese Katsu Curry can be refrigerated in an airtight container for up to 3 days. To maintain the best texture, store the crispy chicken separately from the curry sauce. This will prevent the chicken from getting soggy.
Can I freeze Japanese Katsu Curry?
Absolutely! You can freeze the curry sauce for up to 3 months in a tight freezer-safe container. Just be sure to freeze the chicken separately. When you’re ready to eat, thaw the curry in the fridge overnight and reheat it gently on the stove.
What should I do if my curry sauce is too thin?
If you find your curry sauce is too thin, simply let it simmer on low heat for a little longer to thicken it up. You can also mix a small amount of cornstarch with water to create a slurry and stir it in, cooking for a few minutes until it thickens to your liking.
Can I make Katsu Curry vegetarian?
Certainly! To make a vegetarian version, swap the chicken for crispy tofu or mixed vegetables, and use vegetable broth instead of chicken stock. The Japanese curry roux already provides ample flavor, making this dish easily adaptable!
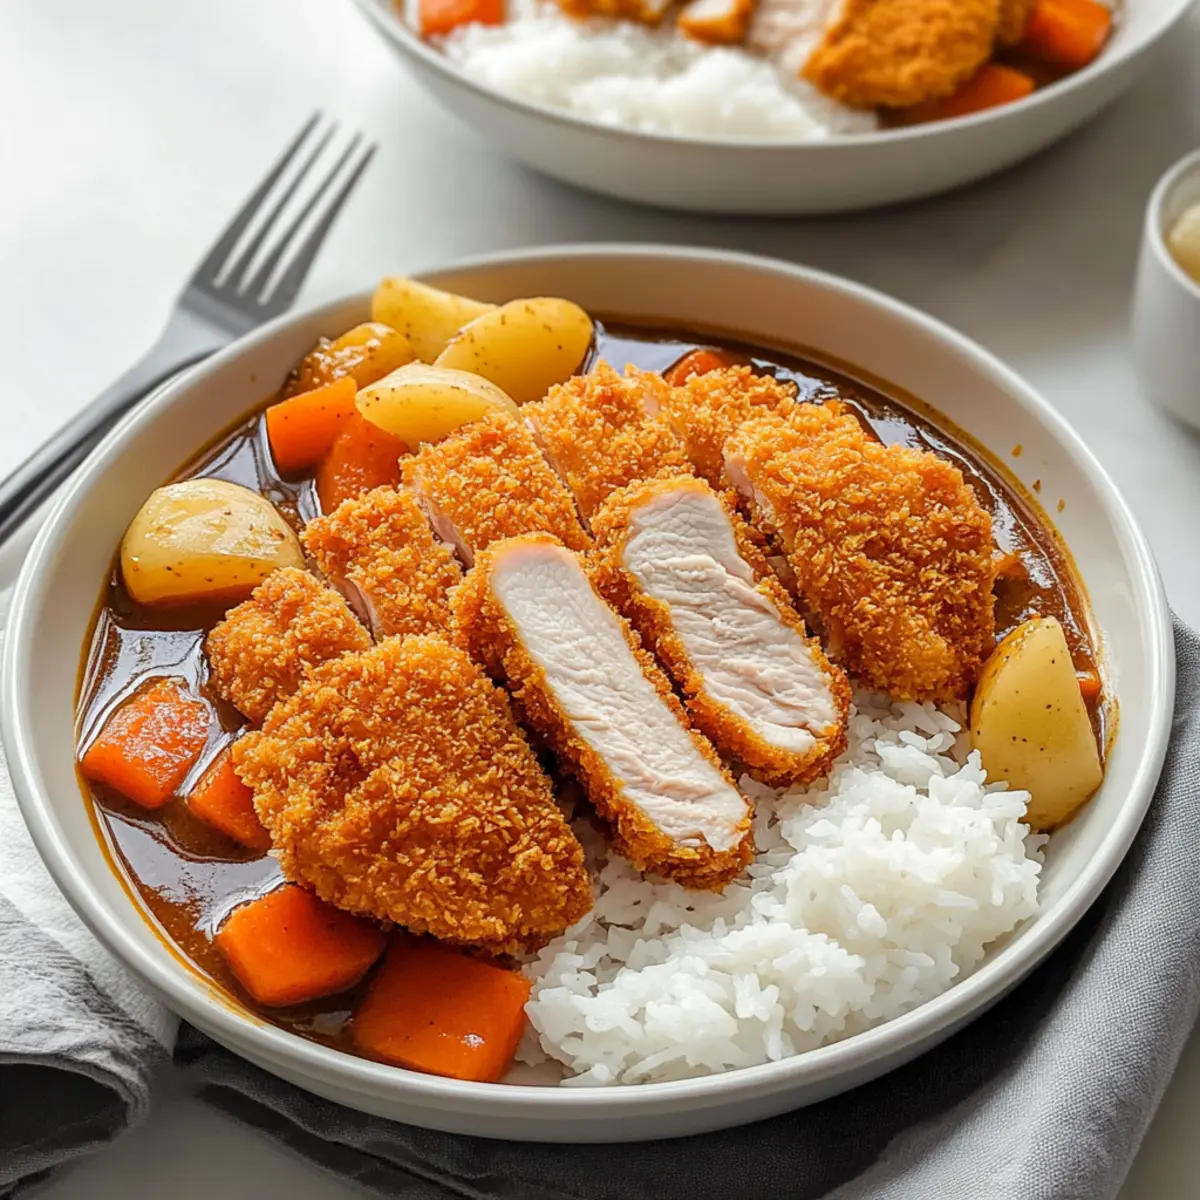
Savory Japanese Katsu Curry for Ultimate Comfort Food Bliss
Ingredients
Equipment
Method
- Butterfly cut the chicken breasts and pound them to ½ inch thickness. Season with salt and pepper.
- Set up a breading station with flour, beaten egg, and panko breadcrumbs in three shallow dishes.
- Dredge seasoned chicken in flour, dip in egg, then coat in panko breadcrumbs.
- Heat vegetable oil in a deep pan to 340°F (170°C). Fry chicken for 6-7 minutes until golden and crispy.
- While frying, dice potato and carrot, soak potato in water for 10 minutes, mince garlic, and grate apple.
- Sauté diced onion and garlic in a large pot with oil for 3-4 minutes.
- Add diced carrot and potato, sauté for another 3-5 minutes.
- Pour in chicken stock, water, soy sauce, honey, and grated apple. Bring to a boil, then simmer for 10-15 minutes.
- Stir in Japanese curry roux and simmer for an additional 15 minutes until thickened.
- Serve sliced chicken over the rice and ladle rich curry sauce on top.
Leave a Reply