
As I stood in my kitchen, the scents of creamy sweetness wafted through the air, reminiscent of carefree afternoons spent indulging in childhood treats. This Easy No-Bake Cool Whip Candy is my secret weapon for satisfying those whimsical cravings or impressing guests at the last minute. The beauty of this nostalgic dessert lies in its simplicity—it comes together in a flash and requires no baking, making it a stress-free option for busy days or spontaneous gatherings. Plus, you can customize the flavors to suit your tastes, from rich chocolate to zesty lemon, ensuring that every bite brings a delightful surprise. Are you ready to craft a batch of these melt-in-your-mouth delights that bring sweetness back to your day?
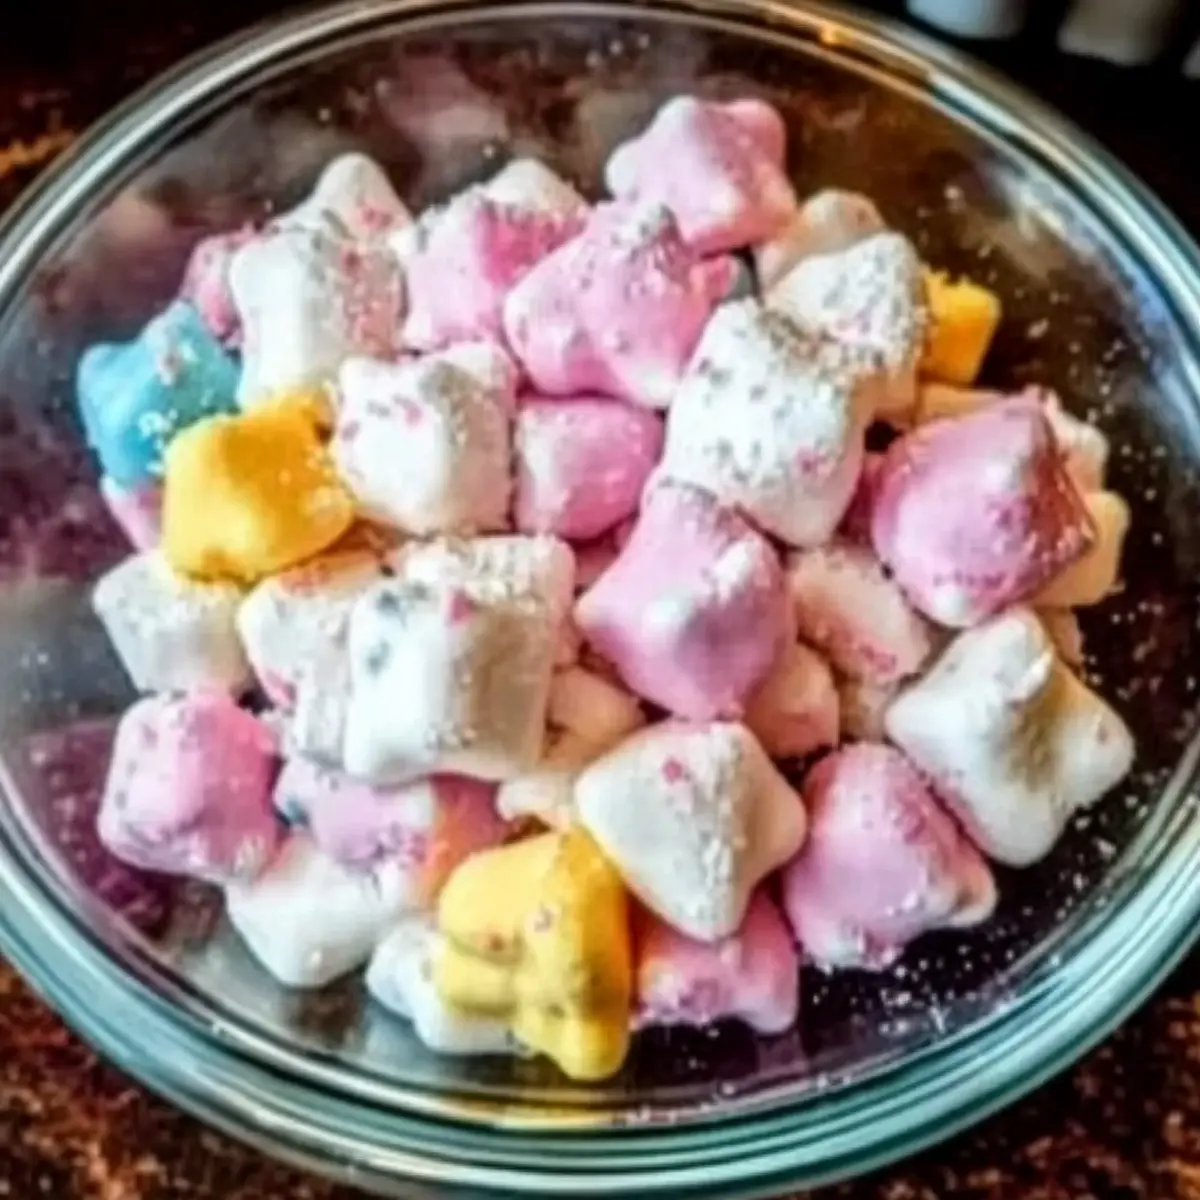
Why is Cool Whip Candy so special?
Simplicity: This no-bake treat comes together with minimal effort, making it perfect for busy days or unexpected guests.
Customizable Flavors: With just instant pudding mix, you can create a wide array of flavors—from classic vanilla to tropical coconut, truly tailoring it to your taste.
Nostalgic Treat: Each bite offers a sweet reminder of childhood, helping you relive those joyful moments with ease.
Light and Fluffy: The unique texture is akin to a cloud, making it a delightful and melt-in-your-mouth experience that will leave everyone wanting more.
Versatile Presentation: Whether served in decorative bowls or cupcake liners, this candy is a showstopper that adds charm to any dessert table. Check out our serving tips for more ideas on how to impress your guests.
Cool Whip Candy Ingredients
• Here’s what you need to create this delightful dessert:
For the Base
- Cool Whip – Provides the creamy and fluffy base; make sure it’s thawed and cold for best results.
- Instant Pudding Mix – Adds flavor and achieves that melt-in-your-mouth texture; feel free to substitute with your favorite flavor.
- Powdered Sugar – Sweetens the candy and enhances its dough-like consistency; adjust the amount based on your sweetness preference.
- Vanilla Extract – Elevates flavor and aroma; always choose real vanilla extract for the best taste.
For Finishing Touches
- Extra Powdered Sugar – Rolls the candies for a sweet exterior; adds a lovely presentation and extra sweetness.
Feel inspired to craft your own variations of this Cool Whip Candy by exploring different flavors and coatings!
Step‑by‑Step Instructions for Cool Whip Candy
Step 1: Mix Ingredients
In a large mixing bowl, combine the thawed Cool Whip and the instant pudding mix. Use a spatula to gently fold them together until the mixture is smooth and creamy, with no dry pudding powder remaining. This should take about 2-3 minutes. Make sure to incorporate everything thoroughly to create the perfect base for your Cool Whip Candy.
Step 2: Add Flavorings
Once the mixture is creamy and well-combined, stir in the vanilla extract. Gradually add the powdered sugar, mixing little by little until a soft, slightly stiff dough forms. This process may take another 2-3 minutes, and the dough should be workable without being too sticky. Don’t hesitate to taste and adjust the sweetness as per your preference!
Step 3: Chill Mixture
After forming the dough, cover the bowl tightly with plastic wrap or a lid to prevent drying. Place it in the refrigerator for 30-60 minutes, allowing it to firm up for easier handling. Check the mixture after 30 minutes; it should be cool to the touch and hold its shape when scooped, making it perfect for shaping into candies.
Step 4: Shape Candies
Once the dough has chilled, prepare a parchment-lined baking sheet for easy cleanup. Scoop small portions of the mixture and roll them into smooth balls between your palms; aim for about 1 inch in diameter. Place the shaped Cool Whip Candy onto the prepared sheet, leaving a little space between each one to avoid sticking together.
Step 5: Coat in Sugar
To add a sweet touch and prevent sticking, take the extra powdered sugar and pour it into a shallow bowl. Roll each candy ball in the sugar until it’s fully coated, creating a beautiful finish. This step not only sweetens the candy but also enhances its appearance, providing that delightful treat factor for anyone indulging in your Cool Whip Candy.
Step 6: Set and Serve
Return the coated candies to the refrigerator for another 15-20 minutes. This final chilling step helps them set properly, ensuring they hold their shape when served. Once they’re firm and ready, present your delightful Cool Whip Candy in decorative bowls or mini cupcake liners for that extra charm. Enjoy sharing this nostalgic treat with family and friends!

Storage Tips for Cool Whip Candy
Fridge: Keep your Cool Whip Candy in an airtight container for up to 1 week. This helps maintain its delightful texture while keeping it fresh and ready to enjoy anytime.
Freezer: For longer storage, place candies in a single layer in a freezer-safe container. They can last up to 1 month; just remember to thaw them in the fridge before serving for the best taste.
Reheating: If you prefer to serve them a bit softer, let them sit at room temperature for 10-15 minutes after removing from the fridge or freezer. This allows the candy to become melt-in-your-mouth delicious again!
Coating Tips: If you want to keep that sugary coating intact, avoid stacking them too close together in the container to prevent them from sticking.
Make Ahead Options
These Cool Whip Candies are ideal for meal prep, allowing you to whip them up ahead of time and save precious moments on busy weeknights. You can prepare the mixture up to 24 hours in advance; simply complete steps one through three, then cover the bowl tightly and refrigerate. For best results, ensure the mixture is well-chilled (30-60 minutes) and firm enough to handle before shaping. When you’re ready to serve, proceed with shaping and coating the candies, then chill them for another 15-20 minutes to set. With these easy make-ahead options, you can enjoy delightful, stress-free treats whenever the craving strikes!
Cool Whip Candy Variations
Feel free to get creative and customize your Cool Whip Candy to suit your taste buds!
-
Flavor Twist:
Experiment with different instant pudding flavors like lemon, raspberry, or even pumpkin spice for a seasonal delight. Each banana-flavored bite will bring a unique burst of nostalgia. -
Dairy-Free:
Swap out Cool Whip for a dairy-free whipped topping to make this treat suitable for lactose-intolerant friends. Coconut-based options add a creamy twist while keeping things light and airy. -
Cocoa Dusted:
Roll the candies in unsweetened cocoa powder instead of powdered sugar for a rich, chocolaty finish. The deep cocoa flavor adds depth, making it an excellent option for chocolate lovers. -
Nutty Crunch:
Coat your candies with finely chopped nuts like almonds or pecans for added texture and flavor. This twist brings a delightful crunch that perfectly balances the candy’s softness. -
Minty Fresh:
Add a few drops of peppermint extract to the mixture for a refreshing twist. Chocolate mint candies are not only nostalgic but also perfect for those holiday gatherings! -
Fun Sprinkles:
Use colorful sprinkles or festive colored sugar to coat the candies. This fun addition brightens the presentation and adds a pop of joy to any occasion. -
Chocolate Drizzle:
Drizzle melted chocolate over the top for an elegant finish. The rich chocolate contrast beautifully with the creamy interior, creating a mouthwatering candy experience. -
Spiced Delights:
Incorporate warming spices like cinnamon or nutmeg into the mixture for a cozy flavor. This variation pairs perfectly with hot cocoa and makes everything feel like a warm hug.
Feel free to get lost in the world of flavors, coatings, and textures for your Cool Whip Candy! It’s all about celebrating the joy of creating effortlessly delicious treats that cater to all your cravings. For tips on making your candies even more special, don’t forget to check out our serving suggestions and storage tips!
What to Serve with Easy No-Bake Cool Whip Candy
Indulging in these delightful little bites is just the beginning of your dessert adventure! Let’s create a full meal experience that complements their sweetness.
-
Creamy Mashed Potatoes: The buttery, velvety texture of mashed potatoes offers a comforting contrast to the airy Cool Whip Candy.
-
Grilled Chicken Skewers: Juicy, tender chicken sprinkled with spices adds a savory element, balancing the sweetness of the candy.
-
Fresh Fruit Salad: Bright and zesty fruits like strawberries and oranges lighten up the dessert table, enhancing the nostalgic vibe beautifully.
-
Chocolate Dipped Pretzels: The combination of salty and sweet provides a delightful crunch, elevating the overall flavor profile and presentation.
-
Vanilla Ice Cream: A scoop of rich, creamy ice cream beside your candy echoes the familiar taste of childhood favorites, creating a dessert lover’s haven.
-
Sparkling Citrus Punch: This refreshing drink serves as the perfect palate cleanser, complementing the sweetness without overwhelming it.
-
Nutty Brownies: Adding a fudgy brownie topped with nuts brings in a rich chocolatey experience, contrasting the fluffy candy beautifully.
-
Mini Cheesecakes: Creamy cheesecakes offer a tangy bite, balancing out the sugary bliss of the Cool Whip Candy, ensuring a delightful end to your meal.
-
Warm Apple Crisp: The warm and spiced apple filling creates a comforting pairing, evoking that cozy, homey feeling with every bite.
Expert Tips for Cool Whip Candy
-
Chill the Mixture: Ensure your Cool Whip Candy dough is adequately chilled for easier handling. Stickiness can be easily managed with longer refrigeration.
-
Use Quality Ingredients: For the best flavor and texture, always opt for real vanilla extract and high-quality instant pudding mix; it makes all the difference!
-
Flavor Variations: Don’t hesitate to experiment with different instant pudding flavors, like lemon or coconut, to create a unique twist on your Cool Whip Candy.
-
Dusting Sugar: If your candy balls are sticky, dust your hands with powdered sugar before rolling to prevent sticking and create a perfect finish.
-
Make Ahead: These candies are perfect for prepping in advance—just store them in an airtight container in the fridge for up to a week!

Cool Whip Candy Recipe FAQs
What kind of Cool Whip should I use?
Absolutely! For the best results, use thawed, cold Cool Whip. This provides the creamy and fluffy base necessary for achieving that melt-in-your-mouth texture that everyone loves. If you opt for lower-fat versions, the texture may slightly vary, but it will still work beautifully!
How should I store Cool Whip Candy?
To keep your Cool Whip Candy fresh, store it in an airtight container in the refrigerator, where it will last for up to one week. Make sure to layer it gently to prevent sticking, and for the ultimate indulgence, just grab a piece and enjoy its sweet, creamy goodness!
Can I freeze Cool Whip Candy?
Very! If you want to enjoy your Cool Whip Candy for longer, you can freeze them. Simply place candies in a single layer in a freezer-safe container and they’ll last for up to 1 month. When you’re ready to indulge, thaw them in the refrigerator for a few hours; this ensures they remain perfectly soft and delicious.
Why is my Cool Whip Candy sticky?
If your Cool Whip Candy mixture turns out too sticky, don’t worry! Chill it in the refrigerator for an additional 30 minutes to firm it up. If it’s still sticky upon shaping, dusting your hands with powdered sugar can help prevent that tacky texture while you form the candy balls.
Can my pets eat Cool Whip Candy?
It’s best to avoid giving Cool Whip Candy to your pets. While Cool Whip itself isn’t toxic to dogs or cats, it does contain sugar and other ingredients that may upset their stomachs. Stick to pet-safe treats to ensure their health and happiness!
What if I have allergies to certain ingredients?
No problem! You can easily adapt this recipe to fit your dietary needs. Use dairy-free Cool Whip for a lactose-free version, and substitute the instant pudding mix with allergy-friendly alternatives. You can create a delicious treat without compromising on taste, making this Cool Whip Candy a versatile dessert that everyone can enjoy!
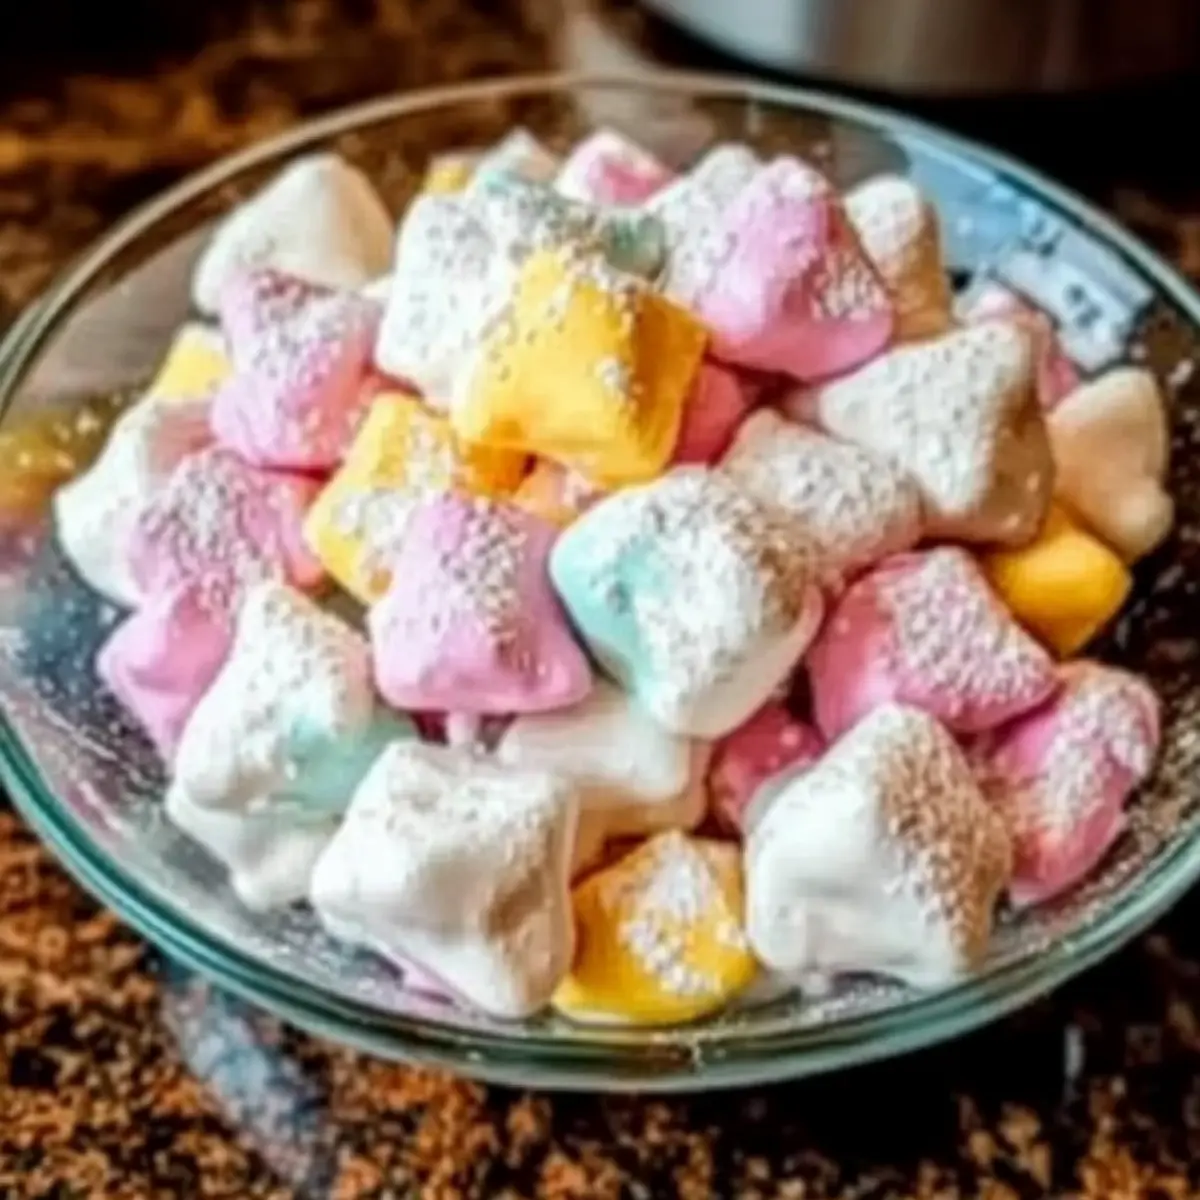
Mouthwatering Cool Whip Candy: Your New Favorite Easy Treat
Ingredients
Equipment
Method
- In a large mixing bowl, combine the thawed Cool Whip and the instant pudding mix. Fold until smooth and creamy.
- Stir in the vanilla extract. Gradually add powdered sugar, mixing until a soft, slightly stiff dough forms.
- Cover tightly and refrigerate for 30-60 minutes to firm up the mixture.
- Scoop small portions of the mixture and roll them into 1-inch balls, placing them on a parchment-lined baking sheet.
- Roll each candy ball in extra powdered sugar until fully coated.
- Return the coated candies to the refrigerator for 15-20 minutes to set before serving.
Leave a Reply