
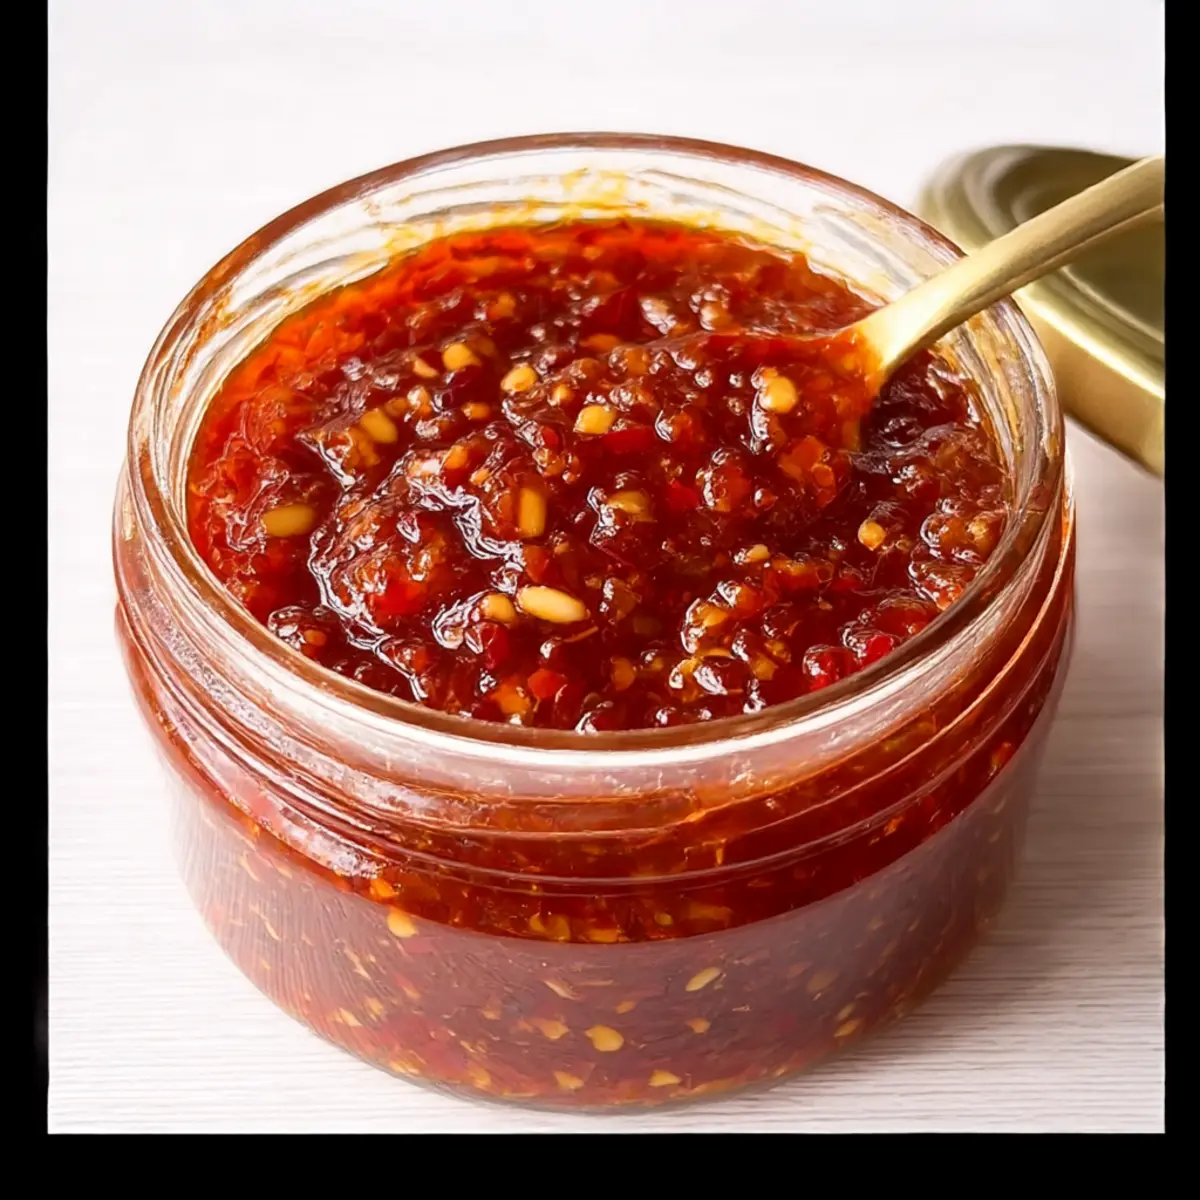
While roaming the vibrant aisles of my local market, I stumbled upon an array of colorful long red chillies, igniting a spark of inspiration. With just a few simple ingredients, you can whip up a sensational homemade chilli jam that’s equal parts sweet and spicy, transforming your meals like magic. This chilli jam recipe not only comes together in under an hour but also allows you to customize its heat level to suit your palate. Whether you’re slathering it on a juicy burger, stirring it into a fragrant stir-fry, or enjoying it straight from the jar, this easy chilli jam promises to elevate your dishes and impress your loved ones. Are you ready to unleash your culinary creativity? Let’s dive into the delicious world of homemade chilli jam!
Why is homemade chilli jam irresistible?
Bold flavor: This homemade chilli jam delivers a perfect balance of sweetness and heat that awakens your taste buds. Quick preparation: Ready in under an hour, it saves you time without sacrificing flavor. Customizable heat: Adjust the spice levels by choosing different chillies and seeds to match your personal preference. Versatile uses: Elevate everything from burgers to cheese platters with this delightful condiment. Enjoy experimenting? Try incorporating it into your next stir-fry for an extra kick! If you love easy-to-make condiments, you might also want to explore Chili Cozy Nights for a cozy companion to your chili jam.
Chilli Jam Ingredients
• Gather your essentials and get ready to make this delicious chilli jam recipe!
For the Jam Base
• Long Red Chillies – Provides the primary flavor and heat; choose based on desired spice level.
• Red Onion – Adds sweetness and depth; substitute with yellow onion if needed.
• Garlic – Contributes aromatic savoriness; fresh garlic is best, but garlic powder can work in a pinch.
• Fresh Ginger – Enhances warmth and complexity; ginger powder can substitute if fresh isn’t available.
For the Sweetening and Balancing
• White Sugar – Primary sweetening agent to balance heat; try coconut sugar for a unique flavor profile.
• White Wine Vinegar – Essential for acidity and preserving; apple cider vinegar makes a great alternative.
• Balsamic Vinegar – Introduces a hint of richness; if you don’t have it, use more white wine vinegar.
• Fish Sauce – Adds umami depth; keep it for authenticity, or substitute with soy or mushroom sauce for a vegan version.
• Lime Juice – Provides acidity to the jam; lemon juice can be used as a substitute.
Now that you have the essential ingredients for this chilli jam recipe, exciting flavors await you in your kitchen!
Step‑by‑Step Instructions for Chilli Jam Recipe
Step 1: Prepare the Ingredients
Start by washing and removing the stems from about 10 long red chillies. Cut them in half and scoop out the seeds if you prefer a milder jam. Next, peel and roughly chop one large red onion, two cloves of garlic, and a thumb-sized piece of fresh ginger to maximize the flavor profile in your homemade chilli jam.
Step 2: Blend the Vegetables
Place the chopped chillies, onion, garlic, and ginger into a food processor. Pulse until finely chopped, ensuring a uniform mixture that will blend seamlessly in your chilli jam. Scrape down the sides as needed, and blend until it resembles a smooth paste, which should take about 30 seconds.
Step 3: Combine in a Saucepan
Transfer the blended mixture into a large saucepan over medium heat. Add one cup of white sugar, half a cup of white wine vinegar, two tablespoons of balsamic vinegar, a tablespoon of fish sauce, and the juice of one lime. Stir everything together until well combined, setting yourself up for a deliciously balanced homemade chilli jam.
Step 4: Dissolve the Sugar
Gently heat the mixture while stirring continuously, allowing the sugar to dissolve completely. This should take about 5-7 minutes. As you stir, keep an eye out for the sugar to disappear and the mixture to become slightly syrupy, filling your kitchen with enticing aromas.
Step 5: Simmer Until Thickened
Once the sugar has dissolved, increase the heat to bring the mixture to a boil. Then, reduce the heat to medium-low and let it simmer uncovered for 35-40 minutes. Stir occasionally while monitoring the consistency; the jam should become thick enough to coat the back of a spoon and fall in thick drops.
Step 6: Jar the Chilli Jam
After the chilli jam reaches the desired thickness, remove it from the heat. Carefully spoon the hot jam into sterilised jars, leaving a bit of space at the top. Seal the jars immediately while the jam is still hot, then invert them for 2 minutes to create a vacuum seal, ensuring freshness in your homemade chilli jam.
Step 7: Cool and Store
Allow the jars to cool completely in an upright position before storing them in a cool, dark place. Your delicious chilli jam can be stored for up to 6 months. Once opened, refrigerate and use within 2 months, making sure to indulge in the sweet and spicy goodness of your homemade creation!
Expert Tips for Homemade Chilli Jam
• Choose Chillies Wisely: Select long red chillies based on your heat preference. Tasting a piece first will guide your spice level for the chilli jam recipe.
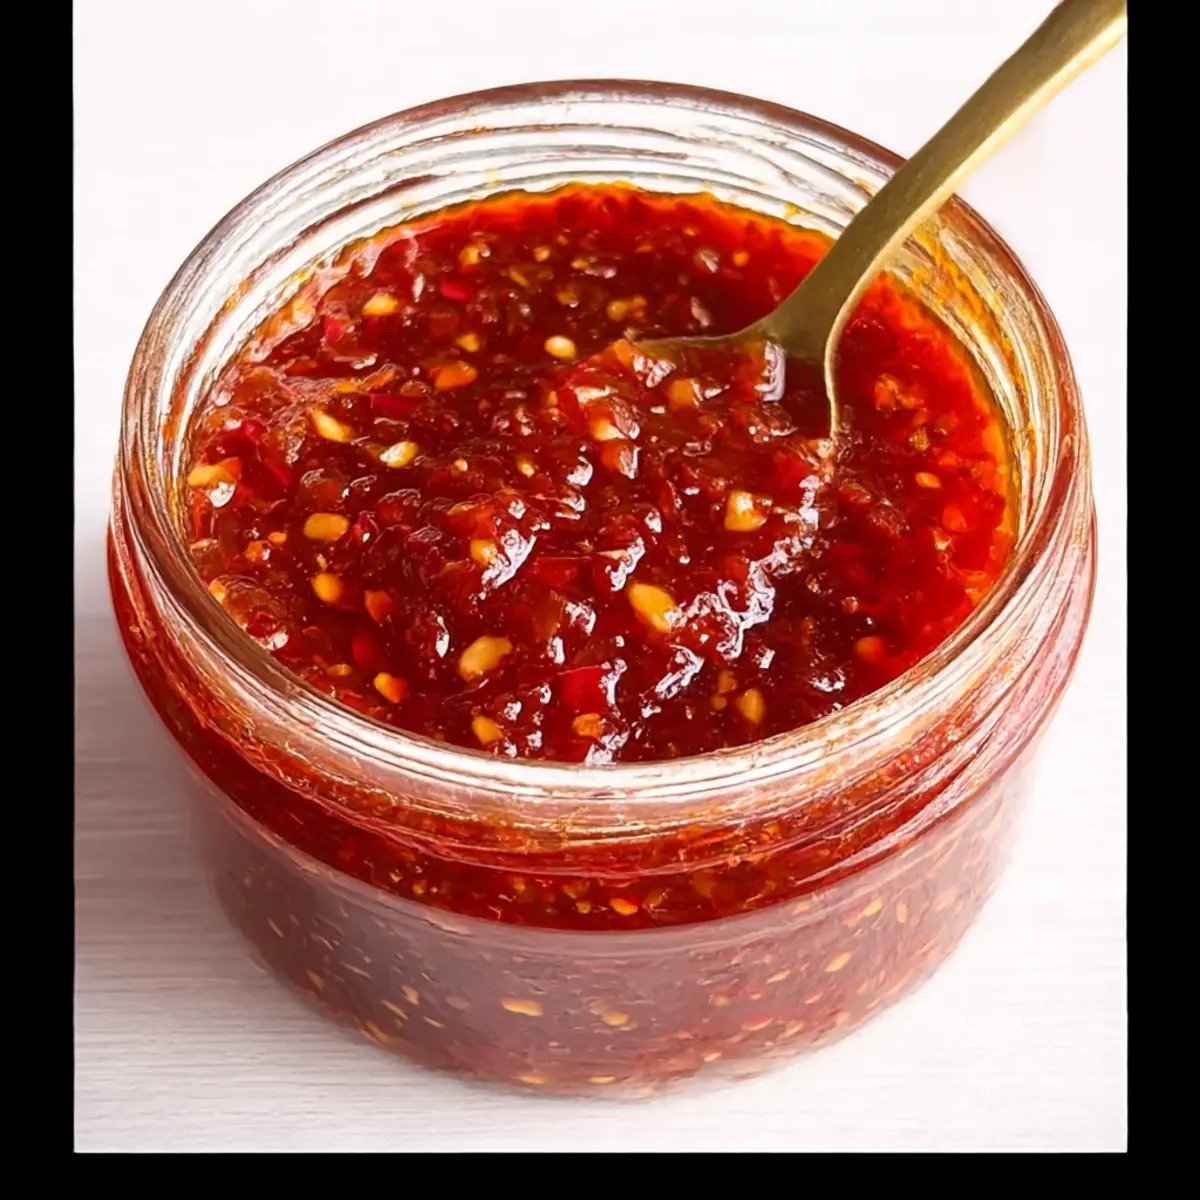
• Watch the Thickness: The jam will continue to thicken as it cools. If it’s too runny, simply simmer longer until it reaches the desired consistency.
• Sterilize Jars Properly: Make sure your jars are thoroughly sterilized to extend shelf life and prevent spoilage; this is crucial for your homemade chilli jam.
• Use a Cold Plate Test: To check if your jam is ready, place a spoonful on a chilled plate. If it wrinkles when pushed, it’s time to jar it up!
• Adjust Flavors: Feel free to experiment with the sugar or vinegar types in your chilli jam recipe for unique flavor profiles that suit your taste.
Make Ahead Options
These homemade chilli jams are perfect for busy home cooks looking to save time! You can prep all the ingredients—wash and chop the chillies, onion, garlic, and ginger—up to 24 hours in advance, storing them in an airtight container in the fridge. This helps retain their freshness and prevents browning. Additionally, you can cook the jam and jar it a few days ahead of time; just remember to let it cool completely before sealing and storing in a cool, dark place. When you’re ready to serve, simply refrigerate any opened jars and enjoy your flavour-packed chilli jam within 2 months. With these make-ahead steps, you’ll have a fabulously delicious condiment at your fingertips, ready to elevate any meal!
Chilli Jam Recipe Variations
Feel free to get creative with this chilli jam recipe and make it your own with delightful twists!
-
Milder Jam: Use bell peppers or fewer seeds from the chillies to lower the spice level.
-
Tomato Bacon Jam: Blend in diced tomatoes and crispy bacon for a savory twist that pairs beautifully with cheese.
-
Sweet & Spicy: Add extra brown sugar and a splash of maple syrup for a deeper sweetness that balances the heat perfectly.
-
Citrusy Twist: Incorporate freshly zested lemon or orange for a refreshing citrus note that brightens the flavor profile.
-
Smoky Flavor: Use smoked chillies or add a teaspoon of smoked paprika for a delightful BBQ-inspired taste. Imagine slathering this on grilled sausages!
-
Herby Infusion: Stir in chopped fresh herbs, like cilantro or basil, just before storing to introduce an aromatic twist. It’ll make every bite feel like a garden party!
-
Vegan Delight: Substitute fish sauce with a mix of soy sauce and mushroom sauce for a rich umami flavor.
-
Extra Heat: Toss in a few more serrano or habanero chillies for those who dare to spice things up. This bold choice will take your jam to a whole new level!
If you’re a lover of flavors, you might also enjoy Crack Chicken Tenders or Mongolian Chicken that pair wonderfully with our homemade chilli jam!
What to Serve with Homemade Chilli Jam?
Indulging in the sweet and spicy magic of chilli jam opens up a world of delicious meal pairings that will take your taste buds on an adventure.
-
Cheese Platter: Combine with a variety of cheeses, particularly creamy brie or aged cheddar, for a sensational taste contrast. The sweetness of the jam beautifully complements the rich profiles of the cheeses.
-
Grilled Meats: Drizzle over grilled chicken, pork, or beef for a vibrant glaze that enhances flavors. The heat of the chillies adds depth, making every bite unforgettable.
-
Bruschetta: Spread chilli jam on toasted baguette slices topped with goat cheese or fresh herbs. It’s a delightful starter that surprises guests with its bold and zesty vibes.
-
Stir-fried Vegetables: Incorporate chilli jam into your favorite stir-fry recipes as a finishing touch. The sticky glaze wraps around the veggies, bringing a spicy sweetness to each forkful.
-
Sandwich Upgrade: Use it as a condiment in sandwiches or wraps for an exciting flavor boost. It adds that sweet, spicy kick that elevates your lunch from ordinary to extraordinary.
-
Baked Brie: Top a wheel of brie with chilli jam and bake until gooey. Serve with crackers for a warm, indulgent dish that’s perfect for gatherings. The creaminess juxtaposed with the spice creates magic!
-
Cocktail Pairing: Enjoy with a refreshing cocktail like a spicy margarita or gin fizz to balance the flavors. The sweetness of the jam ties perfectly with the zesty notes of your favorite drink.
With these delightful offerings, your homemade chilli jam is bound to be the star of any meal!
Storage Tips for Chilli Jam
Fridge: Store your homemade chilli jam in the refrigerator once opened. It will stay fresh for up to 2 months, allowing you to enjoy its delightful flavors over time.
Cool, Dark Place: Unopened, the jam can last up to 6 months in sterilised jars kept in a cool, dark place. This helps maintain its rich texture and flavor.
Airtight Containers: Ensure jars are sealed properly right after filling to prevent spoilage. A vacuum seal method is ideal for preserving your chilli jam.
Reheating: If using the jam in cooked dishes, there’s no need to heat it again before serving. Simply spoon it out directly from the jar and let its sweet and spicy goodness shine.
Chilli Jam Recipe FAQs
What type of chillies should I use for my chilli jam?
Absolutely! Long red chillies are perfect for this chilli jam recipe, as they provide the primary flavor and heat. If you like it mild, remove the seeds; for a hotter kick, keep them in. You can also experiment with different types of chillies, like jalapeños or birds-eye chillies, to create your desired spice level.
How should I store my homemade chilli jam?
Once opened, store your homemade chilli jam in the refrigerator where it will stay fresh for up to 2 months. Unopened jars can last for up to 6 months in a cool, dark place. Be sure to seal the jars properly right after filling to prevent spoilage—this is key to enjoying your sweet and spicy jam for longer!
Can I freeze chilli jam for future use?
Yes! You can freeze your homemade chilli jam, although it’s best enjoyed fresh. To do this, spoon the jam into airtight containers or freezer-safe bags, leaving some space at the top for expansion. It can last up to 3 months in the freezer. When ready to use, simply thaw in the refrigerator overnight and give it a good stir before serving.
What should I do if my chilli jam is too runny?
If your chilli jam is too runny, don’t worry! You can simmer it longer to reach the desired thickness. Return the jam to the saucepan, increase the heat, and simmer for an additional 5 to 10 minutes while stirring occasionally. To test for doneness, place a spoonful on a chilled plate; it should wrinkle when pushed if it’s ready.
Can my pets safely consume chilli jam?
Very! While the ingredients in chilli jam like garlic and onions can be harmful to pets in large quantities, a small taste is usually okay for them. However, it’s always best to keep it out of their reach and avoid sharing high-sugar or high-sodium foods. If you suspect your pet has consumed a significant amount, consult your veterinarian for advice.
What if I have allergies or dietary restrictions?
If you’re dealing with allergies or dietary restrictions, there are plenty of substitutions you can make. For instance, use coconut sugar instead of white sugar for a different flavor profile; replace fish sauce with soy sauce or a mushroom-based alternative for a vegan version. Always double-check ingredient labels to ensure safety based on individual dietary needs.
Deliciously Easy Chilli Jam Recipe You’ll Want to Dip Into
Ingredients
Equipment
Method
- Wash and remove the stems from the long red chillies. Cut them in half and scoop out the seeds if you prefer a milder jam.
- Peel and roughly chop the red onion, garlic, and ginger.
- Place the chopped chillies, onion, garlic, and ginger into a food processor. Pulse until finely chopped.
- Transfer the blended mixture into a large saucepan over medium heat. Add sugar, vinegars, fish sauce, and lime juice. Stir together.
- Gently heat while stirring continuously until the sugar dissolves completely.
- Bring the mixture to a boil, then reduce the heat and let it simmer uncovered for 35-40 minutes.
- Spoon the hot jam into sterilized jars, leaving a bit of space at the top, then seal immediately.
- Allow jars to cool completely before storing them.
Leave a Reply