As summer heat knocks at our door, the craving for something refreshing shifts into high gear. That’s when I whip up a batch of my favorite Frozen Yogurt Bites, a delightful way to indulge without the guilt. These creamy, protein-packed snacks are not just a treat for the taste buds; they’re also incredibly easy to customize and perfect for the whole family. Whether you’re looking to satisfy a sweet tooth or need a quick pick-me-up, these bites are ready to keep you energized while providing a nutritious boost. Plus, they’re freezer-friendly, allowing you to stock up for those hot afternoons. Curious about the endless flavor combinations? Let’s dive into making these frozen delights together!
Why Are Frozen Yogurt Bites Amazing?
Deliciously Customizable: Experiment with flavors like lemon blueberry or peanut butter chocolate to please any palate.
Family-Friendly Fun: A hit with kids and adults alike, they’re perfect for parties or snack time at home.
Healthy Indulgence: Made with Greek yogurt and fresh fruits, these bites are guilt-free and packed with protein.
Quick Preparation: Whip them up in no time, making these bites a go-to for busy schedules.
Freezer-Friendly: Stockpile them in your freezer for a refreshing treat whenever cravings strike.
Whether served alongside smoothies for breakfast or enjoyed as a light dessert, these bites are versatile enough for any occasion! For more delicious snack ideas, check out my Air Fryer Bites or Sugar Cookie Bites.
Frozen Yogurt Bites Ingredients
Here’s everything you need to create these scrumptious frozen yogurt bites!
For the Base
- Greek Yogurt – Adds rich creaminess and a protein boost; swap with coconut yogurt for a dairy-free option.
- Maple Syrup – A natural sweetener that balances the yogurt’s tang; adjust to taste preferences.
- Vanilla Extract – Optional but enhances the overall flavor profile of the bites.
For the Fruit
- Fresh Strawberries – Bring color and natural sweetness; feel free to substitute with raspberries or kiwi.
- Blueberries – Provide a delightful tartness and antioxidants; any seasonal berries are a great alternative.
For the Crunch
- Granola – Adds a delightful crunch and fiber; consider gluten-free granola if necessary.
- Mini Chocolate Chips – Introduces a sweet element; try carob chips for a healthier twist.
Optional Mix-ins
- Peanut Butter – Adds extra protein and a nutty flavor; perfect for enhancing texture.
- Nuts/Seeds – Include healthy fats and crunch; customize based on personal preferences.
- Crushed Freeze-Dried Fruit – Intensifies flavor and adds a unique texture to your bites.
Now that you have your ingredients ready, let’s create these Frozen Yogurt Bites that the whole family will love!
Step‑by‑Step Instructions for Frozen Yogurt Bites
Step 1: Prep Molds
Begin by preparing your mini muffin pan or silicone molds. Line the molds with parchment paper for easy removal or lightly grease them with cooking spray. This step ensures your Frozen Yogurt Bites will come out smoothly, making them easier to enjoy. Setting this up beforehand helps streamline the process so you can focus on the fun part—making the bites!
Step 2: Mix Base
In a medium bowl, combine 2 cups of Greek yogurt, 2 tablespoons of maple syrup, and 1 teaspoon of vanilla extract. Stir the mixture vigorously until it’s smooth and well combined, showcasing a beautiful creamy texture. This base layer is the heart of your Frozen Yogurt Bites, so ensure there are no lumps before moving on to the next step.
Step 3: Add Mix-ins
Gently fold in your favorite mix-ins, such as 1 cup of chopped strawberries, ½ cup of blueberries, and ¼ cup of mini chocolate chips. Be careful not to overmix; you want to keep the fruit intact to add delightful bursts of flavor. This variety of vibrant ingredients will not only offer flavor but also create beautiful, colorful Frozen Yogurt Bites that are visually appealing.
Step 4: Fill Molds
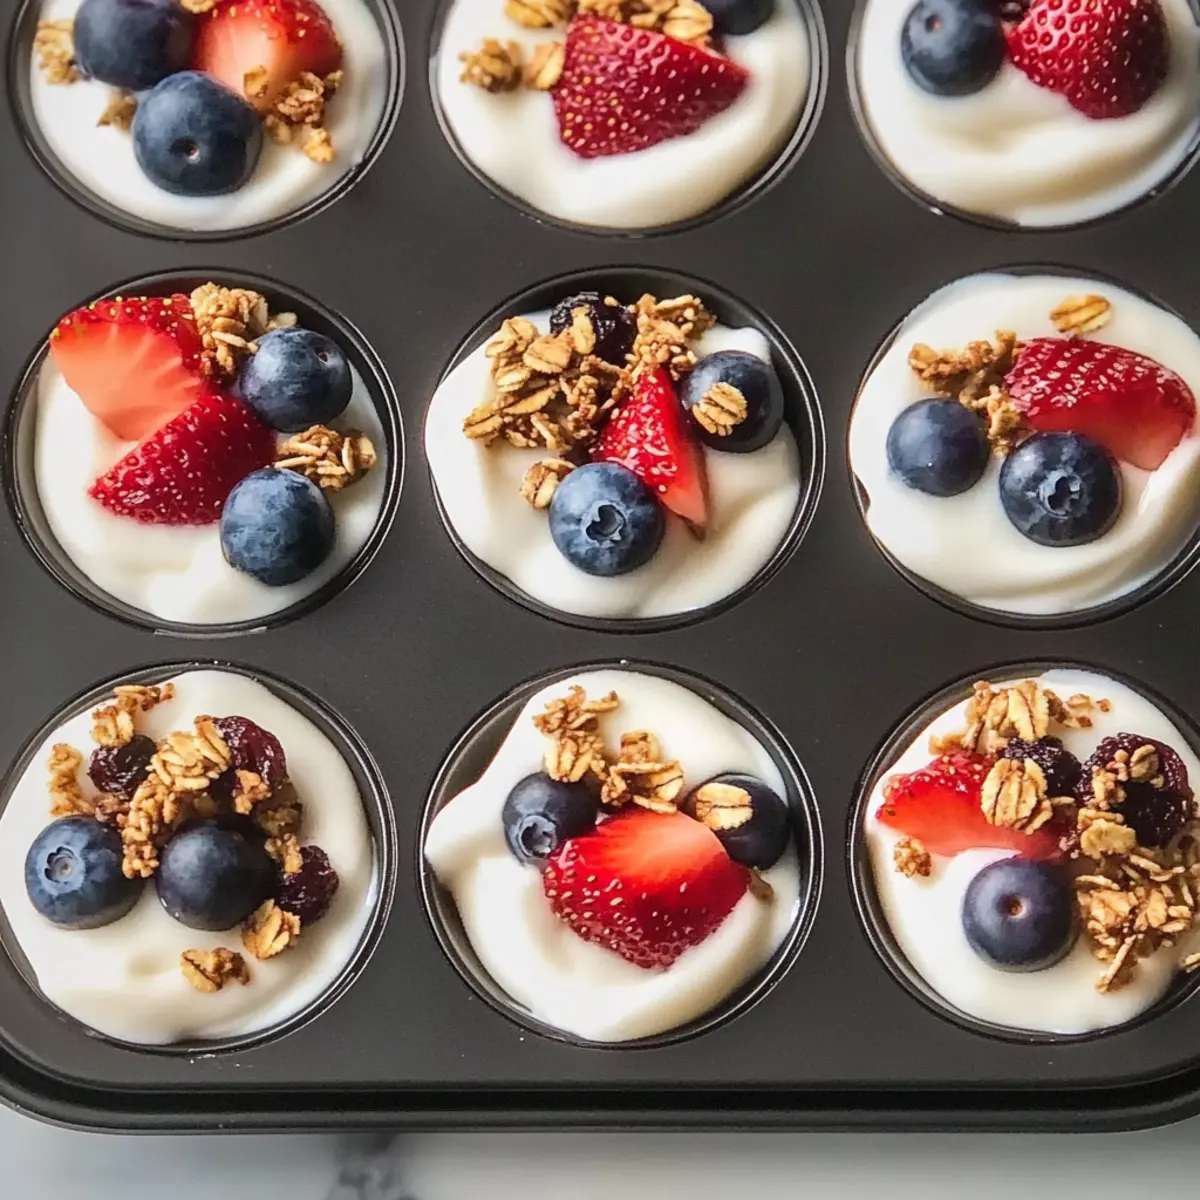
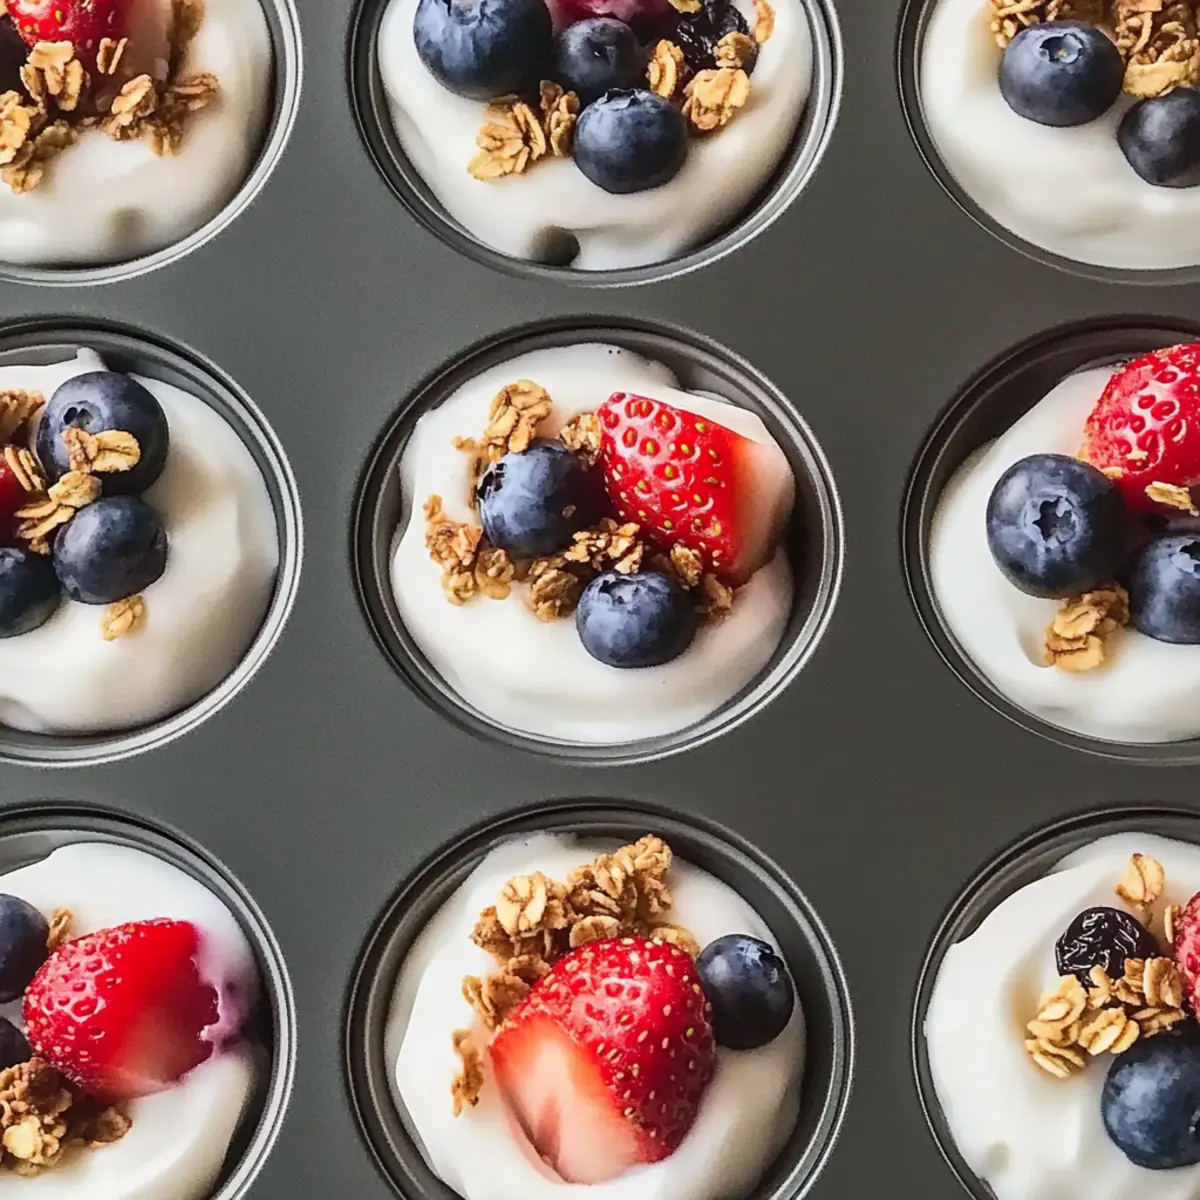
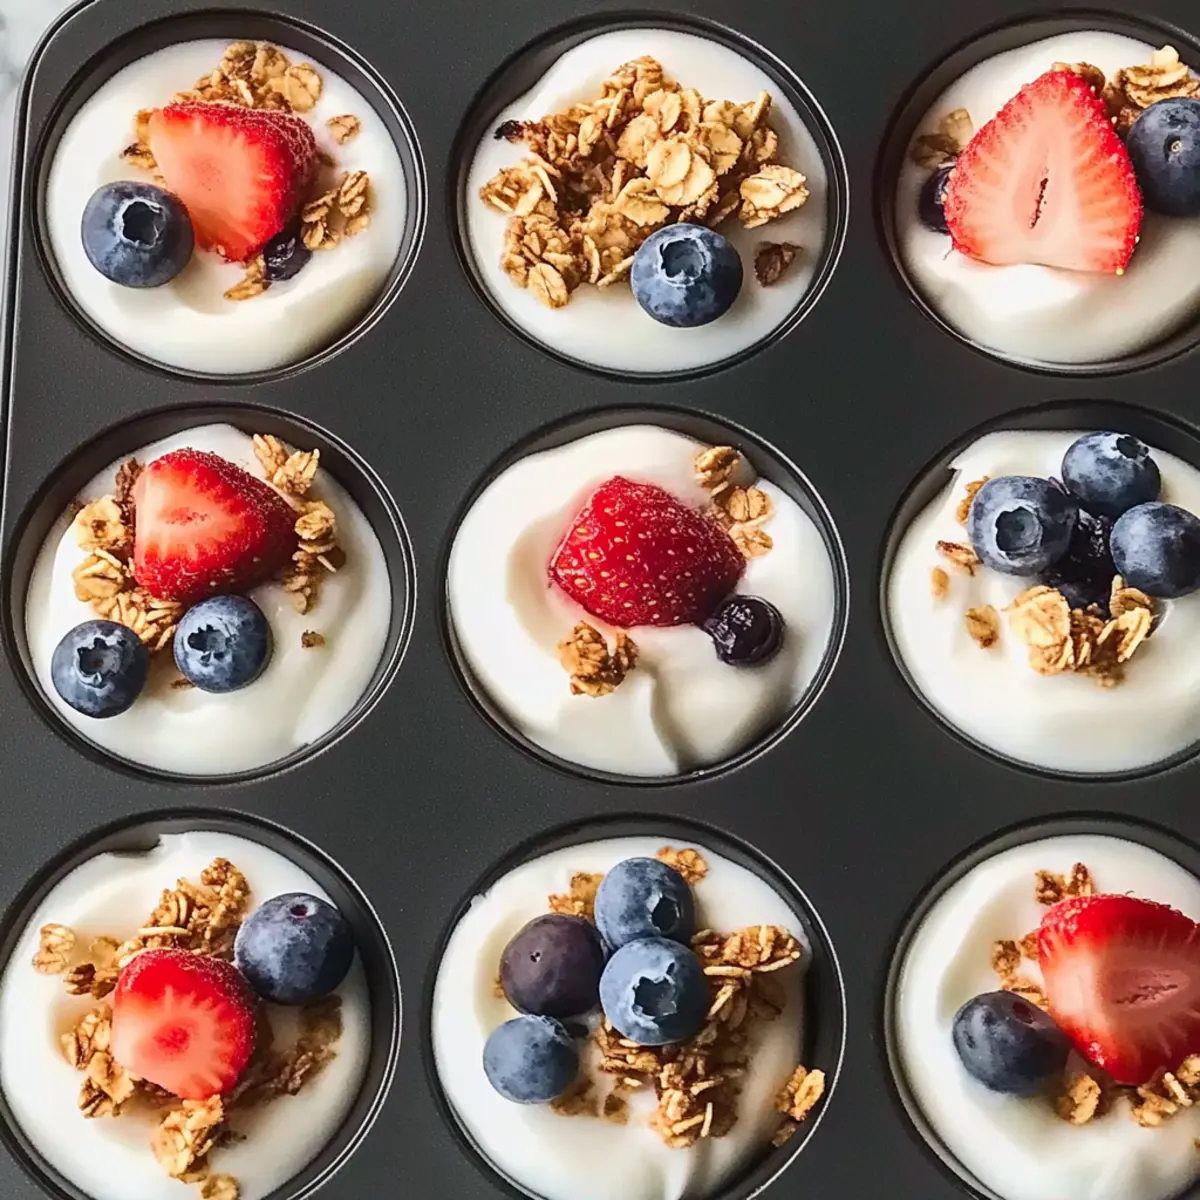
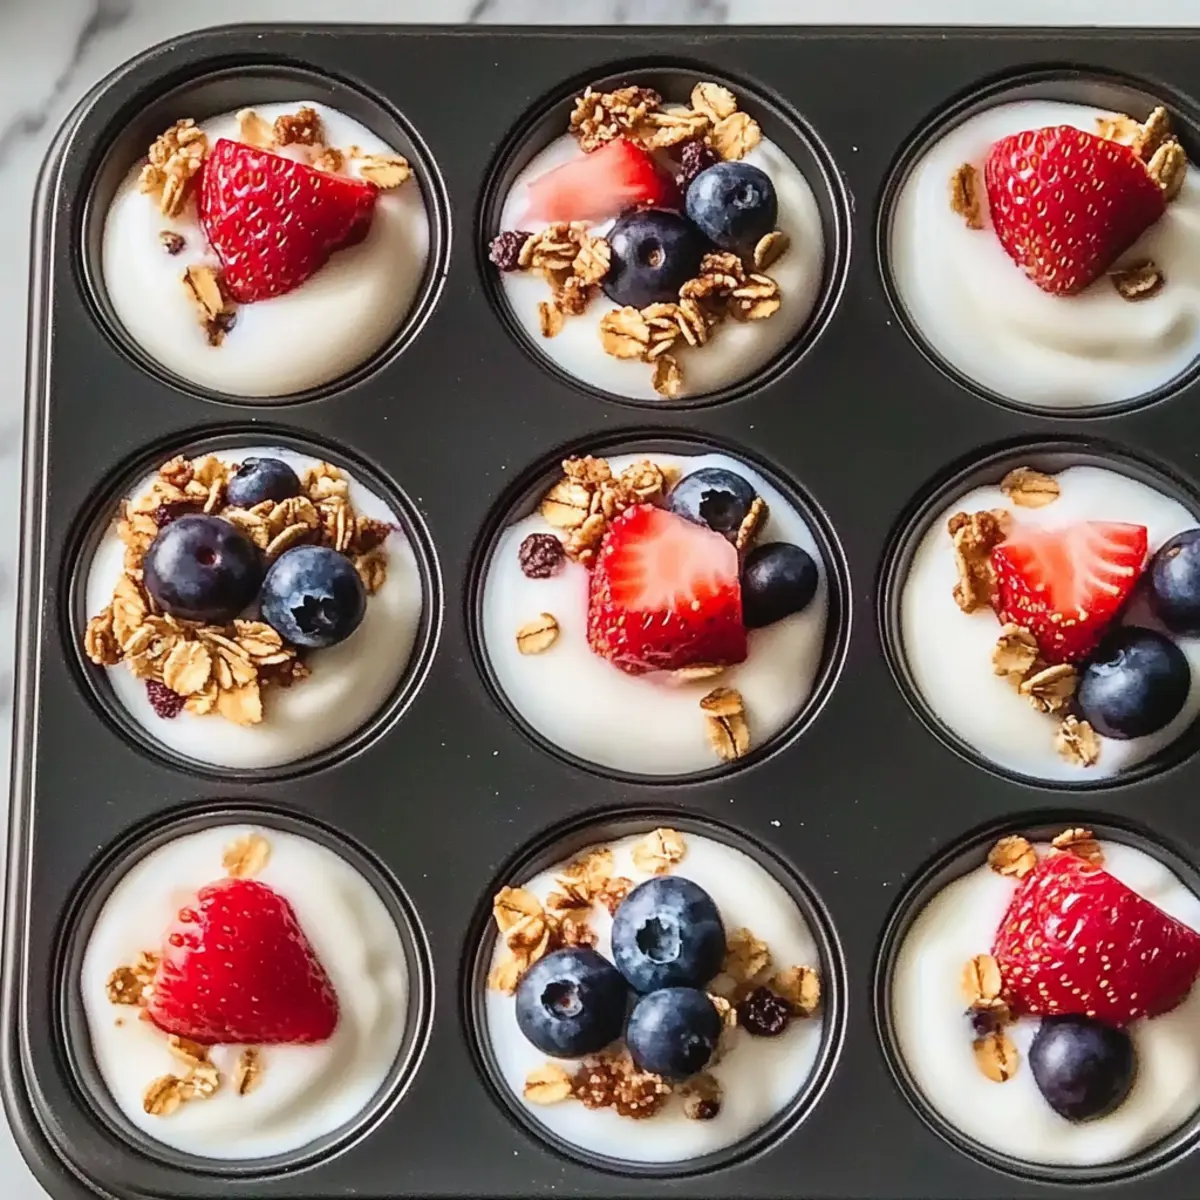
Spoon the yogurt mixture into each prepared mold, filling them to just below the top. Flatten the surface with the back of a spoon to create an even layer, and if desired, sprinkle a few more toppings like granola on top. This step ensures that each bite is generously packed with flavor and texture, promising a satisfying treat for everyone.
Step 5: Freeze
Carefully place the molds in the freezer and let them sit for at least 2 hours, or overnight for the best results. This freezing time allows your Frozen Yogurt Bites to solidify and achieve that satisfying texture. You’ll know they’re ready when they feel firm to the touch yet creamy inside, a perfect balance for a delightful snack.
Step 6: Store
Once frozen solid, remove the yogurt bites from the molds. If needed, let them sit at room temperature for a minute to ease the removal. Store the bites in a freezer-safe container, placing parchment paper between layers to prevent sticking. Keeping them this way ensures your Frozen Yogurt Bites stay fresh and ready to satisfy your cravings for up to 2 months!
Expert Tips for Frozen Yogurt Bites
• Choose Quality Yogurt: Opt for full-fat Greek yogurt for creaminess and added protein, ensuring a smoother texture in your Frozen Yogurt Bites.
• Mix-in Moderation: Avoid overmixing when adding fruit and toppings; this keeps flavors vibrant and fruit pieces intact for delightful bursts in every bite.
• Freeze Smartly: Leave a little space in each mold for the yogurt mixture to expand while freezing, preventing messy spills and maintaining the perfect shape.
• Parchment Matters: Always line your molds with parchment paper or grease them lightly to make removal effortless and your Frozen Yogurt Bites intact.
• Thaw Before Enjoying: Let the frozen bites sit out for 1–2 minutes after removal; this slight thawing will enhance enjoyment and texture when indulging.
How to Store and Freeze Frozen Yogurt Bites
Fridge: Store leftover frozen yogurt bites in an airtight container in the fridge for up to 3 days. However, freezing is recommended for best texture and longevity.
Freezer: Keep your frozen yogurt bites in a freezer-safe container, layered with parchment paper to prevent sticking. They can last up to 2 months without losing freshness.
Reheating: Enjoy them straight from the freezer! If you prefer a softer texture, let them sit out for 1–2 minutes before indulging. This brings out their creamy delight.
Batch Preparation: Feel free to make a larger batch and freeze various flavor combinations. This makes grab-and-go snacking or quick breakfast options incredibly easy!
Frozen Yogurt Bites Variations
Feel free to unleash your creativity and customize these delightful bites with exciting flavors and textures!
-
Lemon Blueberry: Add lemon zest alongside blueberries for a zesty kick that brightens each bite.
-
Peanut Butter Chocolate Chip: Swirl in creamy peanut butter and top with mini chocolate chips for a rich, indulgent flavor.
-
Tropical Coconut: Incorporate diced pineapple and coconut flakes; using coconut yogurt adds a refreshing twist.
-
Strawberry Granola Crunch: Layer yogurt with fresh strawberries and sprinkle with granola for extra texture and a satisfying crunch.
-
Protein Power: Mix in a scoop of your favorite protein powder for an energizing boost, perfect post-workout!
-
Chocolate Cherry: Add chopped cherries and a sprinkle of cocoa powder to create a delightful chocolate-covered fruit experience.
-
Spiced Pumpkin: During fall, mix in pumpkin puree and a dash of cinnamon for a cozy seasonal treat.
-
Nutty Banana: Mash ripe bananas into the base and mix in chopped walnuts for a delightful combination of flavors and crunch.
Get creative and mix these variations into your busy life! If you’re looking for more scrumptious bites, try my delicious Christmas Rice Krispie Treat Bites or explore the sweetness of Christmas Sugar Cookie Bites.
Make Ahead Options
These Frozen Yogurt Bites are perfect for meal prep enthusiasts looking to save time during busy weeks! You can prepare the yogurt mixture and fill the molds up to 24 hours in advance, then simply freeze them according to the original instructions. To maintain their delightful texture, ensure that the molds are well-lined and stored properly; once frozen, place them in a freezer-safe container with parchment paper between layers to prevent sticking. When you’re ready to enjoy your treats, just pop them out of the molds and serve straight from the freezer for a refreshing snack that feels just as delicious as the day you made them!
What to Serve with Frozen Yogurt Bites?
Indulging in these creamy frozen delights calls for a delightful spread of complementary flavors and textures to elevate your snacking experience.
- Fresh Fruit Salad: A mix of seasonal fruits adds brightness and natural sweetness, enhancing the overall freshness of your yogurt bites.
- Crunchy Granola: Serve some granola on the side for added crunch, creating a satisfying contrast to the creamy yogurt bites. Feel free to use your favorite gluten-free variety for a family-friendly touch!
- Nutty Trail Mix: Combine nuts, seeds, and dried fruits for a portable snack mix that pairs perfectly with the cooling yogurt, enriching each bite with both texture and healthy fats.
- Smoothies: Blend up a refreshing fruit smoothie to accompany your bites. The drink’s creamy consistency and vibrant flavors will harmonize beautifully with the frozen treats.
- Chocolate Dipping Sauce: For a decadent twist, warm up some dark chocolate for dipping and enjoy that sweet contrast—just the thing for chocolate lovers!
- Coconut Water: Refresh yourself with a glass of chilled coconut water. Its light, tropical flavor complements the bites wonderfully and keeps you hydrated on hot days.
Whichever combination you choose, these pairings not only tantalize your taste buds but also create a feast that’s perfect for any gathering or cozy afternoon at home!
Frozen Yogurt Bites Recipe FAQs
What kind of yogurt is best for Frozen Yogurt Bites?
Absolutely! I recommend using full-fat Greek yogurt for a rich, creamy texture and a boost of protein. If you’re looking for a dairy-free option, coconut yogurt makes a wonderful substitute while still satisfying your cravings.
How can I store Frozen Yogurt Bites, and for how long?
Store your frozen yogurt bites in a freezer-safe container, layered with parchment paper to prevent them from sticking together. They can last up to 2 months in the freezer, maintaining freshness and flavor. If you want to keep them in the fridge for up to 3 days, that’s okay too, but freezing is ideal for that perfect texture!
Can I freeze different flavors of Frozen Yogurt Bites together?
Very! Feel free to make multiple flavor combinations and freeze them together. Just make sure each type is separated by parchment paper in the container to avoid flavor mixing. This way, you can grab whichever flavor you’re in the mood for without any fuss!
What should I do if my yogurt bites are too hard after freezing?
If your yogurt bites come out too firm, it might be a sign that they were frozen for too long or that the yogurt was too cold. Try letting them sit at room temperature for 1–2 minutes before enjoying to soften them up a bit. This slight thaw can significantly improve the eating experience!
Can my pets enjoy Frozen Yogurt Bites?
It’s best to avoid sharing these with your furry friends since many ingredients, like chocolate, can be harmful to pets. However, you can make a pet-friendly version using plain yogurt and dog-safe mix-ins. Always check with your vet before introducing new treats to your pets!
What are some allergy considerations for Frozen Yogurt Bites?
When making these bites, be mindful of common allergens like nuts and gluten! Opt for gluten-free granola and check labels on yogurt and any mix-ins if your loved ones have allergies or dietary restrictions. This ensures everyone can enjoy these delicious treats without worry!
Frozen Yogurt Bites: Deliciously Healthy Treats You'll Love
Ingredients
Equipment
Method
- Begin by preparing your mini muffin pan or silicone molds. Line the molds with parchment paper for easy removal or lightly grease them with cooking spray.
- In a medium bowl, combine Greek yogurt, maple syrup, and vanilla extract. Stir the mixture vigorously until it's smooth and well combined.
- Gently fold in your favorite mix-ins like chopped strawberries, blueberries, and mini chocolate chips.
- Spoon the yogurt mixture into each prepared mold, filling them just below the top. Flatten the surface with the back of a spoon.
- Carefully place the molds in the freezer and let them sit for at least 2 hours, or overnight for best results.
- Once frozen solid, remove the yogurt bites from the molds. Store in a freezer-safe container with parchment paper between layers.
Leave a Reply