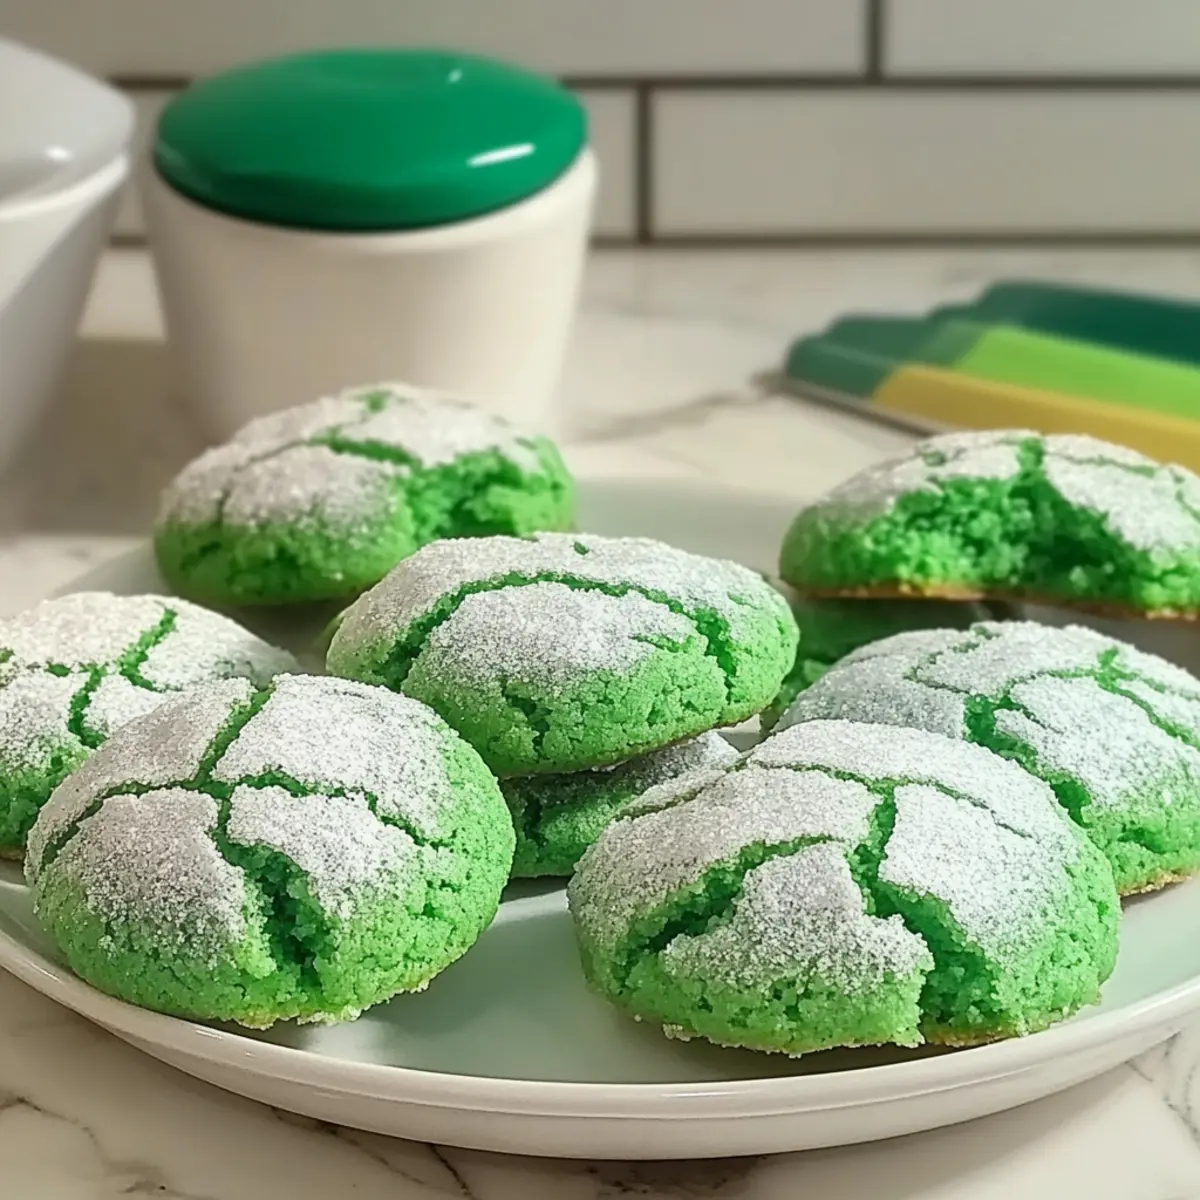
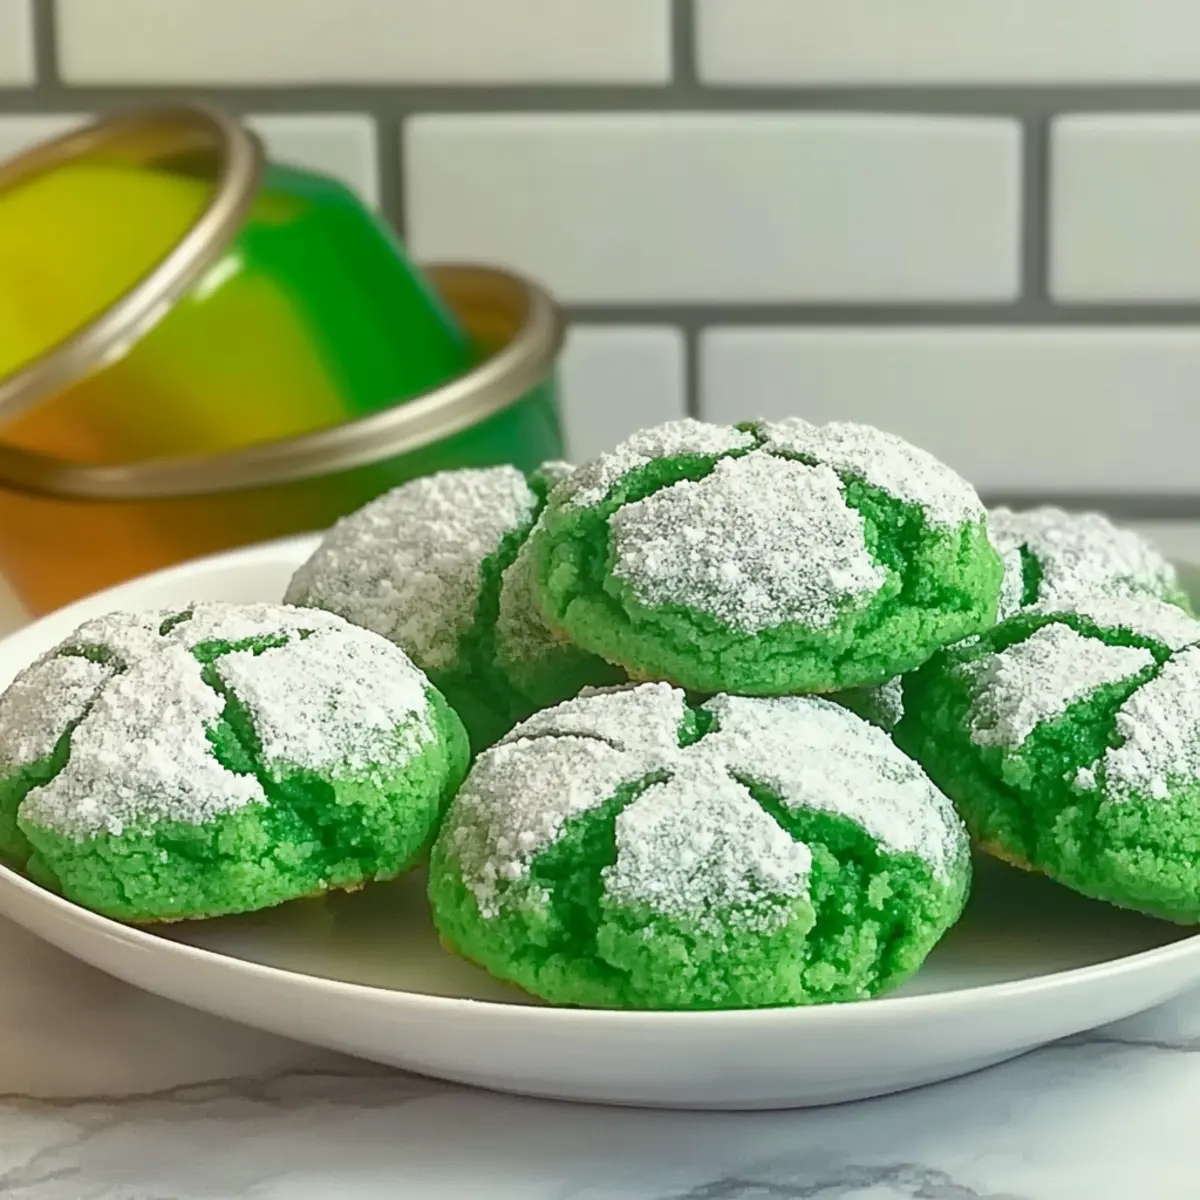
As I sifted through the vibrant green decorations for St. Patrick’s Day, I realized something crucial was missing—a sweet treat to round out our festive gathering. Enter these Easy St. Patrick’s Day Cookies for a Lucky Treat, a playful blend of tender, chewy goodness and a whimsical crackled sugar coating. With a simple cake mix as the foundation, this recipe takes only a few minutes to whip up, making it perfect for those of us who cherish homemade joy but need a quick solution. Not only do these cookies add a pop of color to your celebration, but they also bring back memories of days spent baking with loved ones. Who wouldn’t want to indulge in a bite of nostalgia? So, are you ready to dive into this delightful concoction and impress your friends and family?
Why Are These Cookies a Must-Bake?
Quick and Easy: This recipe combines a simple cake mix with just a few ingredients, making these cookies a breeze to whip up in no time.
Deliciously Festive: With their vibrant green hue and crackled sugar coating, these cookies are sure to be the star of any St. Patrick’s Day gathering.
Nostalgic Flavors: They evoke the warmth of baking with family, offering a sweet taste that brings back fond memories with each chewy bite.
Versatile Treat: Feel free to mix in chocolate chips or sprinkles to customize your cookies and suit your taste! You could even pair them with a delightful warm beverage or try these Pecan Snowball Cookies for an extra festive touch.
Crowd-Pleaser: Their fun appearance and scrumptious flavor make them a hit at parties, family gatherings, and potlucks. You won’t have leftovers with these delectable bites!
Easy St. Patrick’s Day Cookies Ingredients
For the Cookie Dough
- White Cake Mix – This base makes for quick and effortless preparation, delivering a delightful flavor.
- Eggs – Provides moisture and binding, ensuring each cookie is chewy and satisfying; use room temperature for best results.
- Vegetable Oil – Keeps your cookies tender and soft, preventing them from becoming crisp; don’t swap it for solid fats like butter.
- Kelly Green Gel Food Coloring – The key to that festive green color; stick with gel rather than liquid to avoid a sticky dough.
For the Sugar Coating
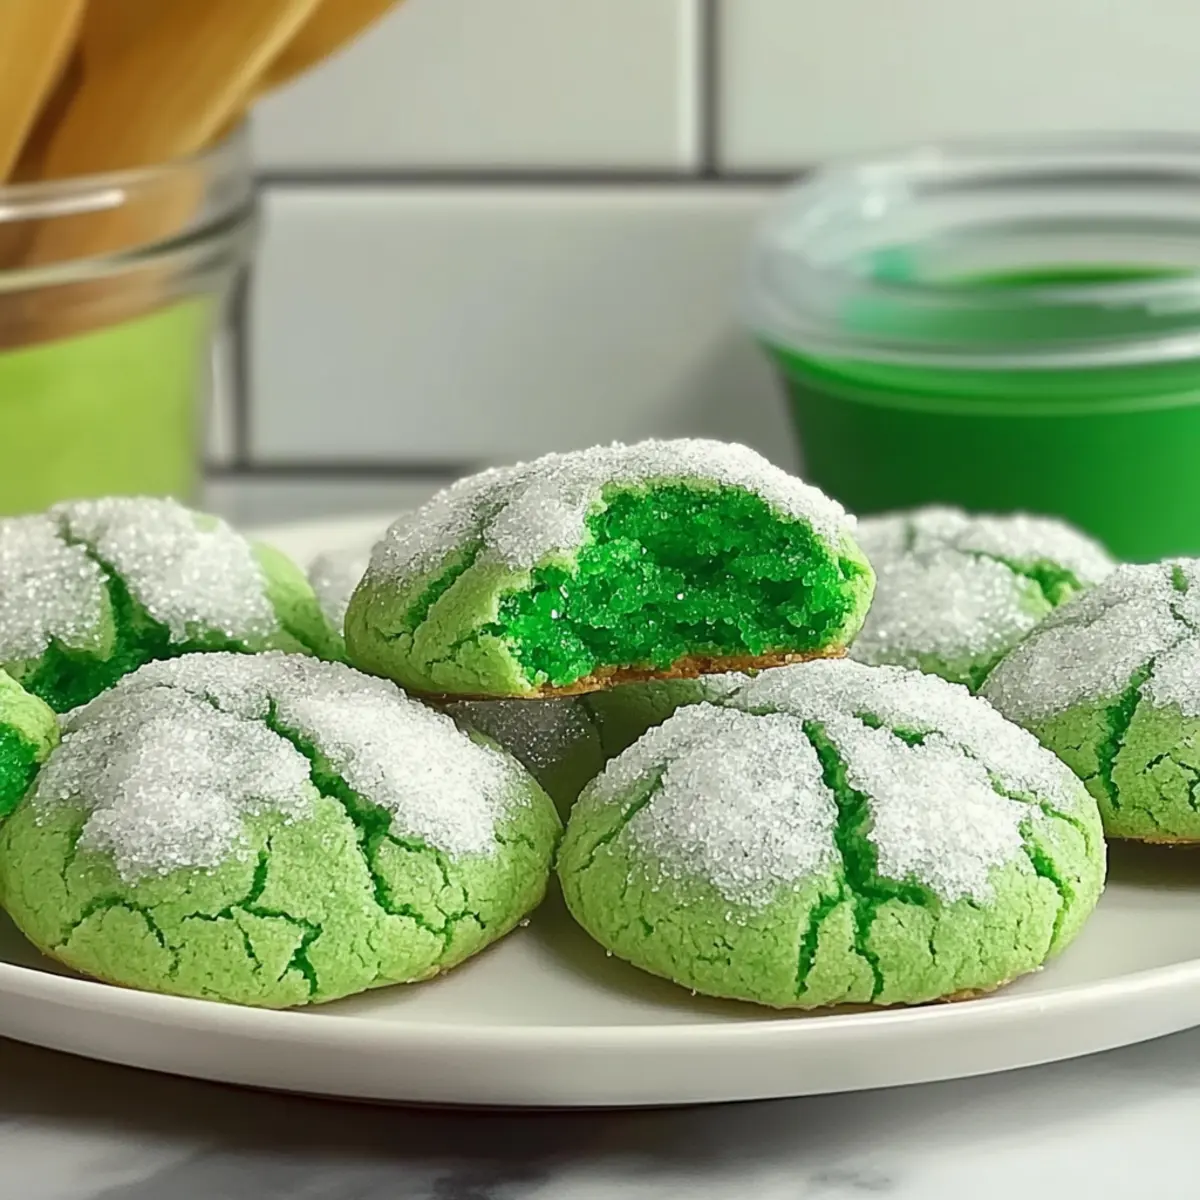
- Granulated Sugar – Adds a light crunch to your cookie outsides during baking, making them irresistible; no substitutions here!
- Powdered Sugar – This creates the signature crackled top; ensure you’re generous with the coating before placing them in the oven.
These Easy St. Patrick’s Day Cookies will elevate your festive celebrations with their playful flavor and eye-catching appearance!
Step‑by‑Step Instructions for Easy St. Patrick’s Day Cookies for a Lucky Treat
Step 1: Mix the Dough
In a large mixing bowl, combine the white cake mix, eggs, and vegetable oil. Use a spatula to mix these ingredients together until they form a sticky dough, which should take about 2-3 minutes. The dough will be somewhat thick but well combined, providing the perfect base for your Easy St. Patrick’s Day Cookies.
Step 2: Add Color
Next, stir in the Kelly green gel food coloring until the color is fully incorporated into the dough. This step not only adds a festive touch but also enhances the visual appeal of your cookies. Aim for a uniform green tone, which will create more delightful treats when baked, about 1-2 minutes of mixing should be sufficient.
Step 3: Chill the Dough
Cover your mixing bowl with plastic wrap and chill the dough in the refrigerator for 30 minutes. Chilling is essential as it firms up the dough, preventing the cookies from spreading too much while baking. This results in thicker, softer cookies, perfect for your St. Patrick’s Day celebration.
Step 4: Prepare the Oven and Baking Sheet
While the dough chills, preheat your oven to 350°F (175°C). Line a baking sheet with parchment paper. This step ensures even baking and helps with easy cookie removal afterward. Your kitchen will start to fill with the anticipation of the delicious aroma to come!
Step 5: Set Up Sugar Coatings
Prepare two shallow bowls: one filled with granulated sugar and the other with powdered sugar. These will be used to roll your cookie dough balls, giving them a delightful crunch and a sweet crackled appearance. Make sure you separate the bowls to maintain the integrity of the sugar coatings.
Step 6: Form the Cookie Balls
Scoop tablespoon-sized portions of the chilled dough and roll them into uniform balls in your hands. Ensure they are smooth and cohesive to guarantee even baking. This should yield about 12-15 cookie balls, ready to be rolled in sugar for that festive touch.
Step 7: Sugar Coating
Roll each dough ball first in the granulated sugar, ensuring a light coating, and then in the powdered sugar, which creates the signature crackled top. This two-step coating process should be done gently to avoid flattening the balls, maintaining the fluffy texture of your Easy St. Patrick’s Day Cookies.
Step 8: Arrange on Baking Sheet
Place the coated dough balls onto the prepared baking sheet, leaving about 2 inches of space between each. This spacing is crucial as they will spread during baking, creating the perfect cookie shape and texture. Plan to fit around 12 balls on each sheet.
Step 9: Bake
Bake the cookies in the preheated oven for 9-12 minutes, until the tops appear crackled and the edges are set. The cookies should look soft in the middle—this ensures they remain chewy after cooling. Keep a close eye on them toward the end to achieve that perfect doneness you desire.
Step 10: Cool
Once baked, allow the cookies to cool on the baking sheet for about 5 minutes before transferring them to a wire rack. This resting period will help them firm up while you savor the delightful scent wafting through your kitchen, ensuring they remain soft yet sturdy for your St. Patrick’s Day festivities.
Make Ahead Options
These Easy St. Patrick’s Day Cookies are a fantastic treat for meal prep enthusiasts! You can prepare the dough up to 24 hours in advance by mixing it and chilling it in the refrigerator. This step enhances the flavors and ensures they hold their shape during baking. For even more convenience, you can roll the dough into balls and freeze them for up to 3 months—just thaw in the refrigerator overnight before baking. When you’re ready to enjoy these festive cookies, simply follow the sugar coating and baking instructions, and you’ll have fresh, soft, and chewy cookies that are just as delightful as if they were freshly made!
What to Serve with Soft & Chewy St. Patrick’s Day Cookies?
These delightful cookies are just the start of your vibrant St. Patrick’s Day celebration, beckoning you to pair them with comforting companions.
-
Whipped Cream: Light and fluffy, a dollop adds creaminess that complements the cookie’s chewy texture beautifully.
-
Hot Cocoa: Rich and chocolaty, a warm cup balances the sweetness of the cookies, offering a cozy touch to your festivities.
-
Irish Breakfast Tea: A robust and aromatic choice, this tea deepens the experience, adding warmth with every sip and bite.
-
Rainbow Fruit Salad: A colorful mix of fresh fruits adds a refreshing contrast, lightening up the cookie’s sweetness while incorporating festive colors.
Bright, cheerful, and delectable, these pairings turn your cookie experience into a complete feast that invites love and laughter around the table!
How to Store and Freeze Easy St. Patrick’s Day Cookies
Room Temperature: Store cookies in an airtight container at room temperature for up to 5 days. This keeps them fresh while maintaining their delightful softness.
Freezer: For longer storage, freeze the rolled dough balls before baking. Lay them on a parchment-lined baking sheet and freeze until firm, then transfer to an airtight container for up to 2 months.
Reheating: When ready to bake, allow the frozen dough to sit for about 15-20 minutes at room temperature before placing it directly in the preheated oven.
Cookie Texture: Once baked, these Easy St. Patrick’s Day Cookies can be stored in a container to preserve their chewy texture, ensuring you enjoy their festive goodness again later!
Expert Tips for Easy St. Patrick’s Day Cookies
-
Chilling is Key: Ensure you chill the dough for at least 30 minutes; this prevents the cookies from spreading and keeps them thick and chewy.
-
Uniform Sizing: Use a tablespoon for scooping dough to ensure evenly sized cookies that bake consistently. This is crucial for achieving perfect Easy St. Patrick’s Day Cookies.
-
Two Sugar Coatings: Always roll in granulated sugar first for texture, followed by powdered sugar for that signature crackled top. This two-step process is essential for the right finish.
-
Watch Closely: Bake only until the tops crackle and the edges set; underbaking slightly will keep the centers soft and chewy, enhancing the cookie’s delightful texture.
-
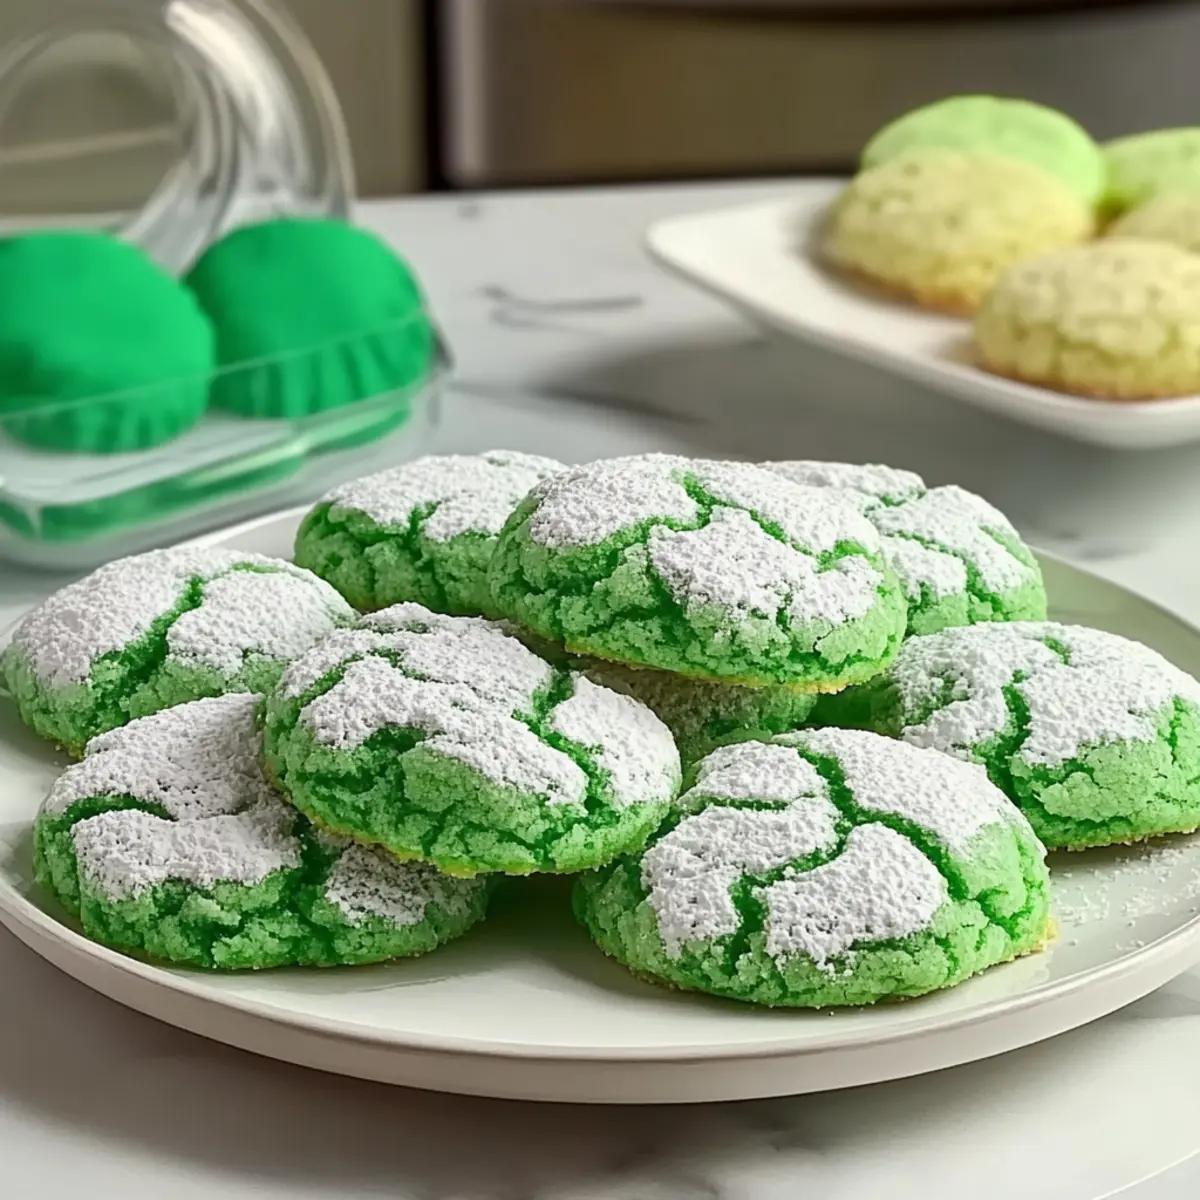
Experiment with Colors: Feel free to swap the green gel food coloring for other fun colors to suit different celebrations while keeping the same festive spirit!
Easy St. Patrick’s Day Cookies Variations
Feel free to get creative and personalize these cookies to suit your taste and occasion!
-
Chocolate Chip Addition: Stir in a handful of mini chocolate chips for a rich, melty surprise in each cookie. They add a lovely contrast to the sweetness and color!
-
Festive Sprinkles: Mix in your favorite festive sprinkles to brighten them up and make them even more fun. Sometimes, a little extra color is just what you need!
-
Coconut Delight: Fold in shredded coconut for added texture and a hint of tropical flavor that pairs beautifully with the greens. It’s a unique twist that captures a new layer of joy!
-
Nutty Crunch: Add chopped nuts, like walnuts or pecans, for a crunchy texture and nutty flavor that contrast with the sweetness. This variation can make bite after bite an adventure!
-
Cream Cheese Filling: For a decadent twist, create a small well in the center of each cookie and fill it with cream cheese frosting before baking. It creates a gooey, delightful treat!
-
Different Oils: Use melted coconut oil instead of vegetable oil for a unique flavor. This swap will introduce a touch of island sweetness while keeping the cookies soft.
-
Spice it Up: Add a pinch of cinnamon or a dash of nutmeg to the dough for an aromatic touch that complements the sweetness of the sugar coatings beautifully.
-
Liquid Coloring Swap: Experiment with other gel food colors to create cookies in various shades for different celebrations. It’s an easy way to accommodate any holiday theme you like!
Each variation brings something special to your Easy St. Patrick’s Day Cookies. Feel free to explore and even pair them with delicious options like Christmas Mini Cookies or Rice Krispie Treats for a fun dessert spread! Enjoy!
Easy St. Patrick’s Day Cookies Recipe FAQs
Can I use any cake mix for these cookies?
Absolutely! While white cake mix is the base for this recipe, you can experiment with other flavors. However, be mindful that the texture and sweetness might change slightly depending on the mix you choose.
How should I store the cookies, and for how long?
To maintain freshness, store your Easy St. Patrick’s Day Cookies in an airtight container at room temperature for up to 5 days. This method keeps them soft and chewy, which is what we all love about cookies!
Can I freeze the cookie dough before baking?
Yes, you can! To freeze, roll the chilled cookie dough into balls, then place them on a baking sheet lined with parchment paper and freeze until firm. Transfer the frozen dough balls to an airtight container, where they’ll stay fresh for up to 2 months. When ready to bake, simply take them out and allow them to sit for about 15-20 minutes at room temperature before baking them directly in the preheated oven.
What should I do if my cookies spread too much while baking?
If your cookies spread excessively, it could be due to several factors. Ensure the dough is chilled for at least 30 minutes before baking to prevent spreading. If your kitchen is warm, consider chilling the dough for longer. Keep a close eye on the baking time as well; pulling them out just as they start to crackle will help maintain their chewy texture.
Are these cookies safe for pets and those with allergies?
These cookies contain ingredients like eggs and sugar, which are not suitable for pets. If you have allergies, check the individual components, particularly the cake mix, as they may contain allergens like wheat or dairy. Always opt for allergen-free alternatives if needed!
Can I customize the color of these cookies?
Very much! Instead of Kelly green gel food coloring, feel free to use any gel coloring that matches your celebration. Just keep in mind that liquid food coloring can alter the dough’s texture, so stick with gels for the best results!
Easy St. Patrick’s Day Cookies for a Sweet Lucky Treat
Ingredients
Equipment
Method
- In a large mixing bowl, combine the white cake mix, eggs, and vegetable oil. Mix until they form a sticky dough.
- Stir in the Kelly green gel food coloring until fully incorporated.
- Cover the bowl with plastic wrap and chill the dough in the refrigerator for 30 minutes.
- Preheat your oven to 350°F (175°C) and line a baking sheet with parchment paper.
- Prepare two shallow bowls with granulated sugar and powdered sugar for coating.
- Scoop tablespoon-sized portions of the chilled dough and roll them into uniform balls.
- Roll each dough ball first in the granulated sugar, then in the powdered sugar.
- Place the coated dough balls onto the prepared baking sheet, leaving about 2 inches between each.
- Bake the cookies for 9-12 minutes until the tops appear crackled and the edges are set.
- Allow the cookies to cool on the baking sheet for about 5 minutes before transferring them to a wire rack.
Leave a Reply