
As I whisk together the rich, golden liquid of pure maple syrup and creamy half & half, I’m reminded of those crisp autumn mornings in New England when the air is sweet with the scent of freshly tapped maple trees. This Homemade Maple Pudding is my go-to no-bake dessert, offering a delightful escape from the rush of everyday life. Not only is it gluten-free and incredibly simple to prepare, but it also allows you to indulge in a luscious, velvety treat that feels like a warm hug. Perfect for make-ahead gatherings, this dessert can be prepped in a flash and enjoyed by everyone—whether you’re planning a holiday feast or just craving something sweet. Curious about how to bring this delightful taste of fall into your kitchen? Let’s dive in!
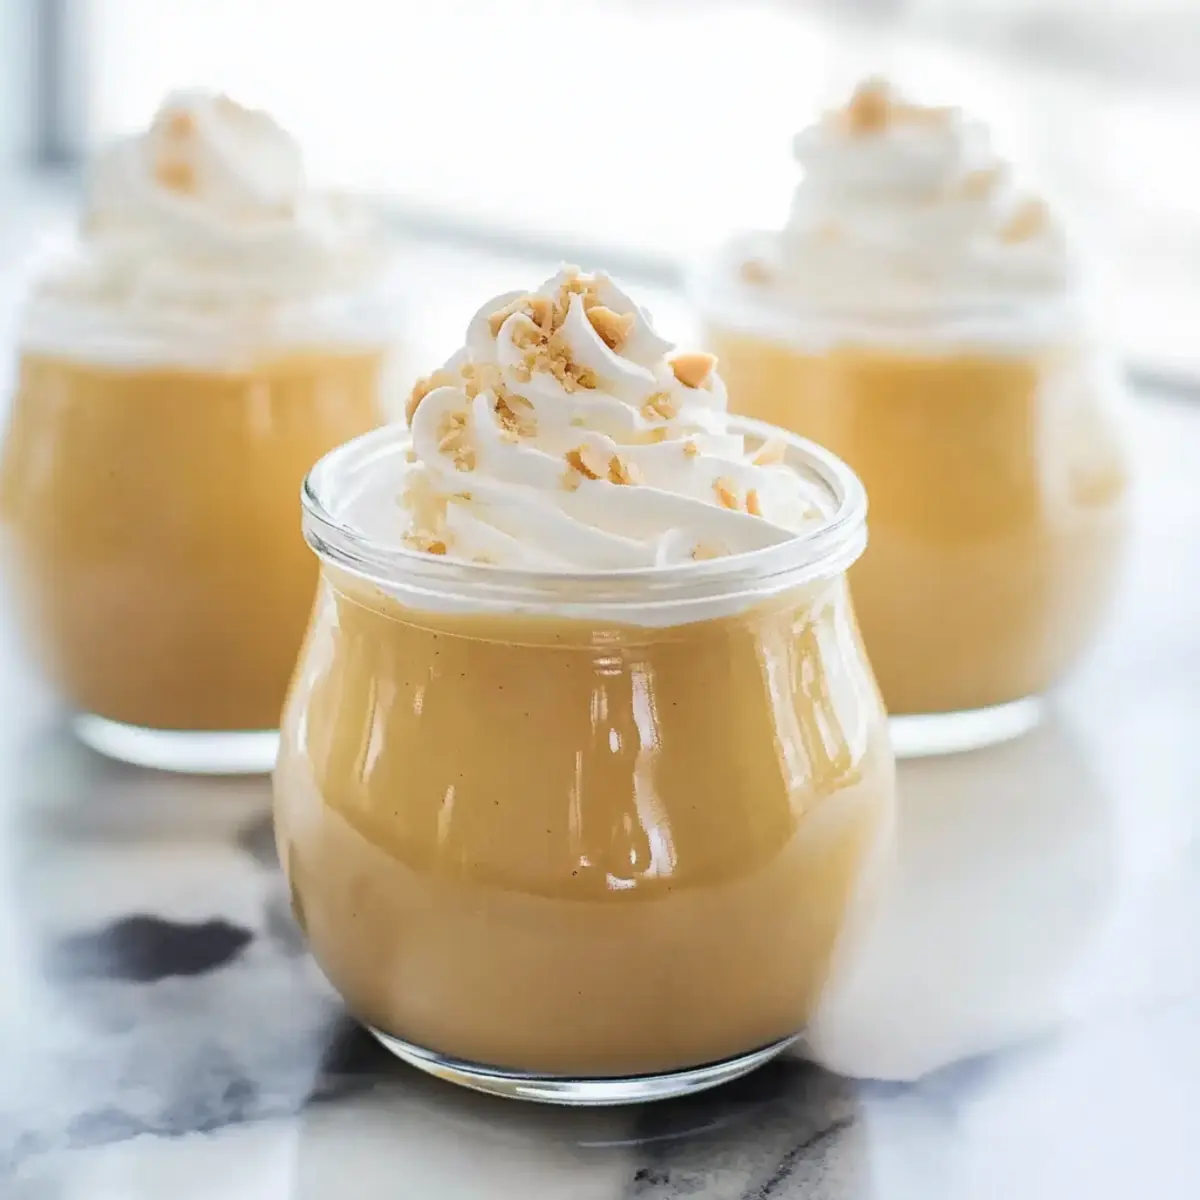
Why is this Maple Pudding irresistible?
Simplicity: This no-bake dessert requires minimal effort, making it perfect even for novice chefs. Rich Flavor: Pure maple syrup shines in this recipe, giving you an authentic taste that’s truly unmatched. Diet-Friendly: With gluten-free ingredients, everyone can enjoy a creamy indulgence. Make-Ahead: Store it in the fridge to impress guests with a quick and delicious treat. Versatile: Customize it with toppings like fresh berries or homemade whipped cream for extra flair! If you love rich desserts, you might also enjoy making some Homemade English Toffee to complement your meal.
Homemade Maple Pudding Ingredients
For the Pudding Base
• Pure Maple Syrup – the heart of this recipe; using pure maple syrup is essential for that deep, rich flavor.
• Half & Half – adds a luxurious creaminess; swap it out for dairy-free heavy cream for a vegan option.
• Large Eggs – they provide structure and creaminess to the pudding for that perfect silky texture.
• Light Brown Sugar – enhances the sweetness with a hint of molasses; you can reduce it slightly if you prefer less sweetness.
• Cornstarch – acts as the thickening agent; feel free to substitute it with arrowroot or tapioca starch if needed.
• Fine Sea Salt – balances the sweetness and elevates the overall flavor profile.
• Vanilla Extract – for that beautiful aroma; opt for pure vanilla extract for the best results.
• Unsalted Butter – enriches the flavor; using room temperature butter helps it blend smoothly into the pudding.
Optional Toppings
• Fresh Berries – their tartness adds a delightful contrast; strawberries or raspberries work beautifully!
• Homemade Whipped Cream – a creamy topping that enhances the indulgence; try adding a dash of vanilla for extra flavor.
• Chopped Nuts – for a little crunch, sprinkle some pecans or walnuts for an added layer of texture.
This Homemade Maple Pudding is a simple dessert that truly shines with its delightful ingredients!
Step‑by‑Step Instructions for Homemade Maple Pudding
Step 1: Combine Ingredients
In a medium saucepan, whisk together the pure maple syrup, half & half, large eggs, light brown sugar, cornstarch, and fine sea salt until smooth and well-blended. Ensure there are no lumps as you blend the mixture into a silky consistency. Set your stove to medium-low heat and prepare to cook the pudding, maintaining a gentle, even heat to prevent scorching.
Step 2: Cook the Mixture
Place the saucepan on the stove and continue whisking almost continuously for about 20 minutes. Keep an eye on the mixture as it thickens; it should bubble gently and transition into a pudding-like consistency. You’ll know it’s ready when the mixture coats the back of a spoon, giving it that velvety texture characteristic of a rich homemade maple pudding.
Step 3: Add Flavor Enhancements
Once thickened, remove the saucepan from heat and immediately stir in the vanilla extract and room temperature cubed unsalted butter. As you mix, watch the butter melt and blend into the pudding, creating an irresistibly glossy finish while the vanilla infuses delightful aromas. This step is vital as it enhances the overall depth of flavor in your homemade maple pudding.
Step 4: Transfer and Cover
Carefully pour the warm pudding into serving bowls or jars, using a spatula to scrape every last bit from the saucepan. To prevent a skin from forming, cover each bowl tightly with plastic wrap or wax paper. This ensures a smooth surface and allows the flavors to meld beautifully as it sets, making your homemade maple pudding even more enjoyable.
Step 5: Chill the Pudding
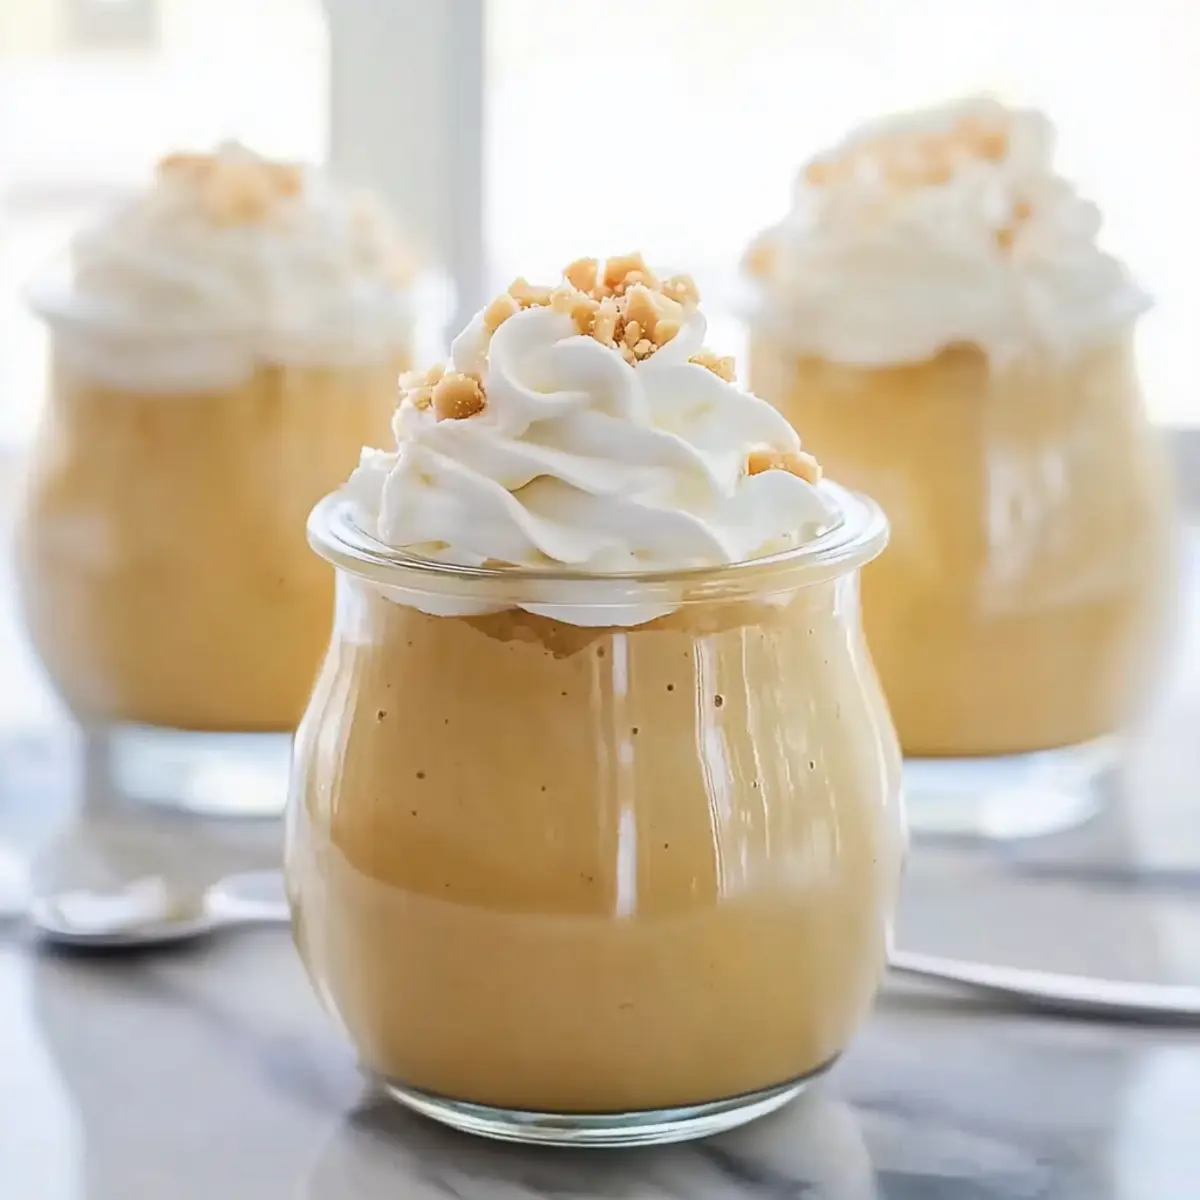
Place the covered pudding in the refrigerator and let it chill for at least 2 to 3 hours, or until completely set. The cooling process is crucial, as it enhances the texture and flavors. After this time, your homemade maple pudding will transform into a delightful treat that’s ready to impress everyone who takes a spoonful!
Expert Tips for Homemade Maple Pudding
- Whisk Frequently: Continuous whisking is essential while cooking to prevent the pudding from scorching and ensure a smooth texture.
- Watch the Thickness: The pudding should be thick enough to coat the back of a spoon; if too runny, it may need more time on the heat.
- Cover Properly: Always cover with plastic wrap or wax paper to prevent a skin from forming as it chills, maintaining that velvety finish.
- Chill Well: Allow the pudding to chill completely in the refrigerator for the best flavor and texture; don’t skip this step!
- Taste as You Go: Before transferring to serving bowls, taste the pudding; adjust sweetness with a touch more maple syrup if desired.
Make Ahead Options
For busy home cooks, this Homemade Maple Pudding is a dream come true, as you can prepare it up to 3 days in advance! To get started, follow the first few steps of the recipe, cooking the pudding based on the instructions and allowing it to cool before transferring it to serving bowls or jars. Ensure each bowl is tightly covered with plastic wrap or wax paper to prevent a skin from forming, which maintains that luscious texture. When you’re ready to serve, simply chill in the refrigerator until fully set, and enjoy this creamy, sweet treat without any last-minute rush! Your homemade maple pudding will be just as delicious as if freshly made, allowing you to savor those sweet moments with loved ones.
Homemade Maple Pudding Variations
Feel free to experiment and personalize your homemade maple pudding for a delightful twist!
- Dairy-Free: Substitute half & half with coconut milk or almond cream for a creamy, plant-based delight.
- Chocolate Drizzle: Add a drizzle of melted dark chocolate on top for an indulgent flavor pairing.
- Spiced Version: Mix in a pinch of nutmeg or cinnamon while cooking for a warm, inviting spice.
- Nutty Crunch: Top with chopped toasted pecans or walnuts for added texture and a nutty flavor boost.
- Fruity Twist: Serve with fresh, sliced strawberries or blueberries to brighten up each bite with fruity freshness.
- Maple Bacon: Crumble crispy bacon over the pudding for a savory-sweet combination that will surprise your taste buds.
- Ginger Maple: Stir in some finely grated ginger for a zesty kick that enhances the maple flavor beautifully.
- Pie Filling: Use the pudding as a filling for a homemade pie, adding a flaky crust to combine textures wonderfully.
If you’re in the mood to elevate your dessert game, consider making a batch of Homemade English Toffee to serve alongside or incorporate into your pudding. Each bite will create a symphony of flavors that your friends and family will love!
What to Serve with Easy No-Bake Maple Pudding
Complement your dessert experience with delightful pairings that elevate each spoonful of creamy goodness!
- Creamy Mashed Potatoes: The buttery smoothness and rich flavor contrast beautifully with the sweet maple notes of the pudding.
- Fresh Berries: Raspberries or strawberries add a vibrant, tart freshness, enhancing both texture and flavor while balancing sweetness.
- Chopped Nuts: A sprinkle of pecans or walnuts introduces a delightful crunch, creating a satisfying textural contrast to the velvety pudding.
- Homemade Whipped Cream: This light and airy topping amps up the indulgence, adding a dollop of extra sweetness and creaminess.
- Strong Coffee or Espresso: A bold cup of coffee cuts through the richness, providing a stimulating balance to the dessert’s sweetness.
- Vanilla Ice Cream: A scoop of creamy vanilla ice cream complements the pudding, making every bite an explosion of flavor.
- Cinnamon Sugar Dusting: A light sprinkle of cinnamon sugar on top elevates your pudding with aromatic warmth and a hint of spice.
- Spiced Chai Tea: The warm spices in chai perfectly complement the maple flavor, making it a cozy pairing choice for dessert.
- Chocolate Drizzle: Add a decadent twist by drizzling melted chocolate on top, creating an irresistible fusion of flavors.
How to Store and Freeze Homemade Maple Pudding
Fridge: Store the pudding covered in the refrigerator for up to 3 days. This ensures it remains fresh and creamy, ready to enjoy whenever your sweet tooth strikes.
Freezer: If you want to keep it longer, freeze the pudding in airtight containers for up to 2 months. Thaw in the fridge overnight before serving for the best texture.
Reheating: While this homemade maple pudding is best enjoyed chilled, if you prefer it warm, gently reheat it on the stovetop over low heat, whisking continuously until warmed through.
Preventing a Skin: Always cover with plastic wrap or wax paper against the pudding’s surface while chilling to avoid a skin from forming, ensuring that velvety texture is preserved.
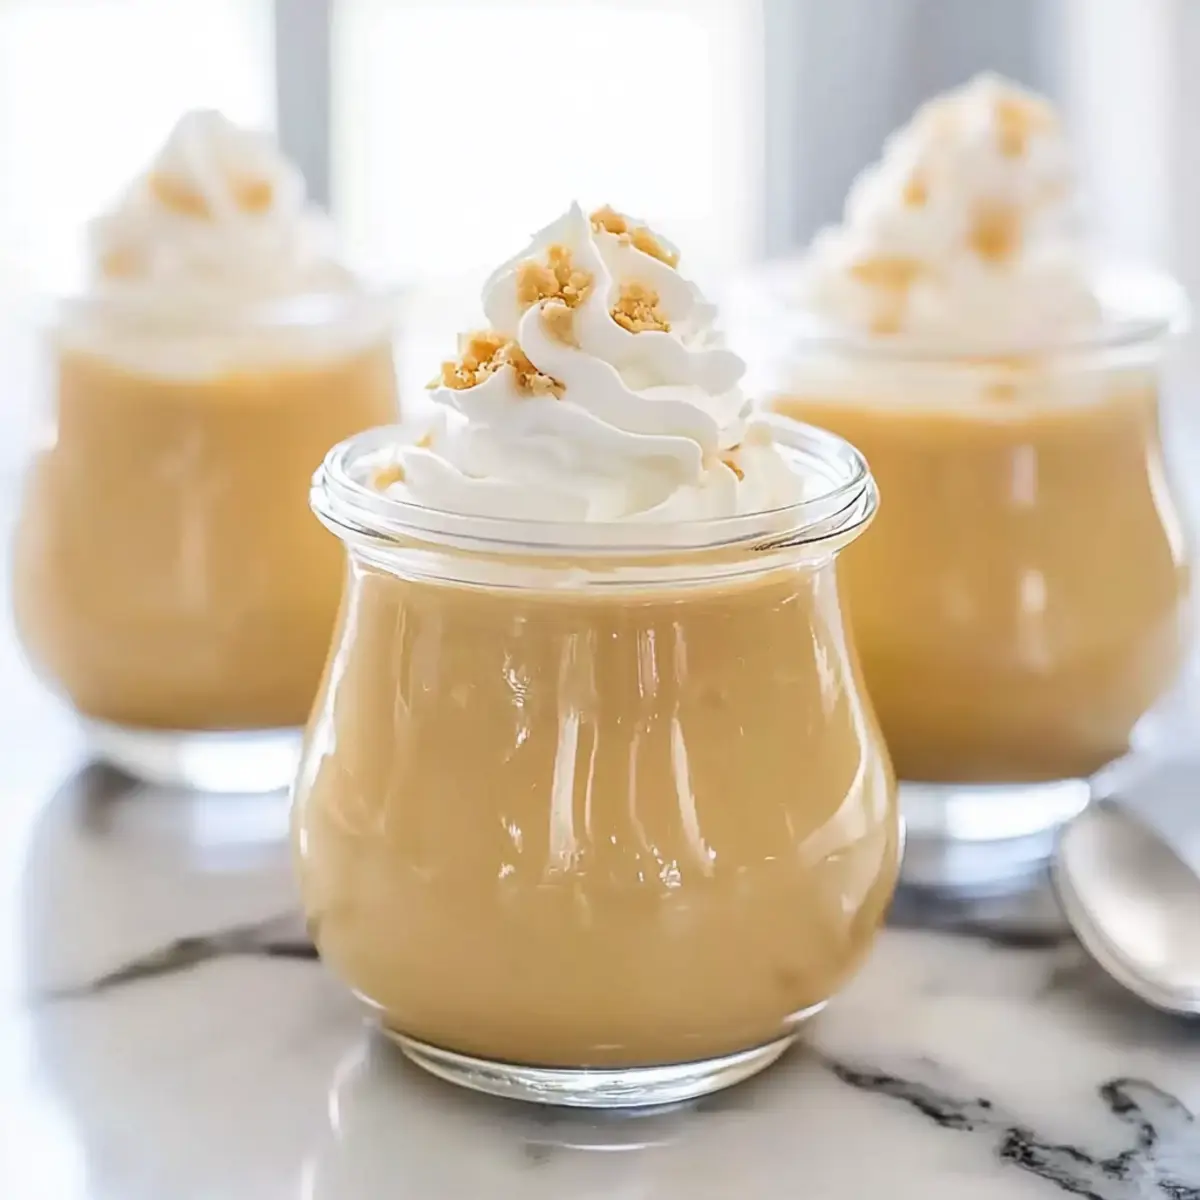
Homemade Maple Pudding Recipe FAQs
How do I choose the best pure maple syrup?
Absolutely! When selecting pure maple syrup, look for one that is labeled “100% pure” and comes from a reputable source. Ideally, you want to choose darker syrup, as it tends to have a more robust flavor which will elevate your homemade maple pudding. Avoid any syrups labeled as “pancake syrup,” as these are typically artificial and won’t give you the authentic taste you’re longing for.
How should I store leftovers of homemade maple pudding?
Store your homemade maple pudding covered in the refrigerator for up to 3 days. Just make sure it’s tightly sealed to retain its creamy texture. If you find yourself with a lot of leftovers or want to make it ahead for a special occasion, you’ll be pleased to know that it also freezes well!
Can I freeze homemade maple pudding? If so, how?
Yes, you can freeze your homemade maple pudding! Here’s how: First, allow the pudding to cool completely. Then, pour it into airtight containers, leaving about an inch of space at the top for expansion. The pudding can be frozen for up to 2 months. When you’re ready to enjoy it, simply transfer the containers to the fridge and let them thaw overnight. For best texture, you can give it a gentle stir once thawed, as it may separate a bit.
What should I do if my pudding turns out too runny?
Very! If you find that your pudding is too runny, it may not have cooked long enough. Return it to the stovetop on low heat, whisking continuously until it thickens to the desired consistency. If it still doesn’t thicken, try mixing a teaspoon of cornstarch with a little cold water to create a slurry, then stir it into your pudding and heat gently until thickened.
Is this recipe suitable for people with allergies?
This homemade maple pudding recipe contains eggs and dairy, so it’s not suitable for those with egg or dairy allergies. If you’re looking for a dairy-free version, you can use dairy-free heavy cream as a substitute for half & half. Always double-check ingredient labels for potential allergens, especially in store-bought items like maple syrup and vanilla extract, to ensure safety for everyone.
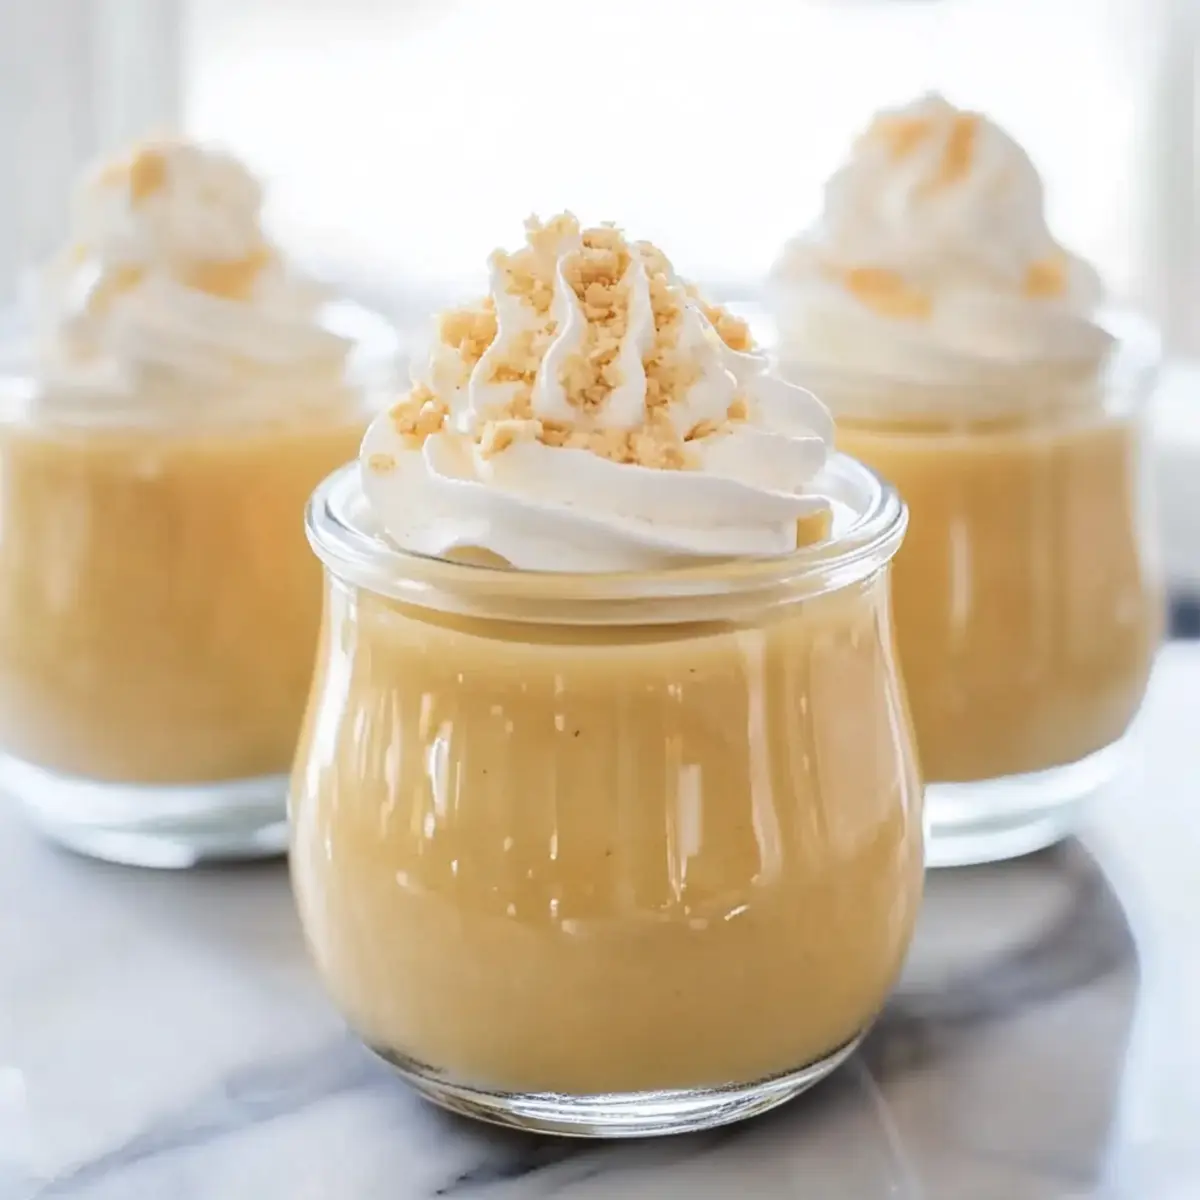
Silky Homemade Maple Pudding That's Simply Irresistible
Ingredients
Equipment
Method
- In a medium saucepan, whisk together the pure maple syrup, half & half, large eggs, light brown sugar, cornstarch, and fine sea salt until smooth.
- Set stove to medium-low heat and cook the mixture, whisking almost continuously for about 20 minutes until it thickens.
- Remove from heat and stir in vanilla extract and butter until well combined.
- Pour the pudding into serving bowls, cover tightly, and chill in the refrigerator for at least 2 to 3 hours.
- Serve chilled with optional toppings as desired.
Leave a Reply