
While rummaging through my pantry one hectic evening, I stumbled upon a treasure trove of Oreo cookies that sparked an idea. Enter the Oreo Dump Cake—my go-to recipe for a quick and indulgent dessert that never fails to impress! In just 15 minutes of fuss-free prep, this delightful treat merges rich chocolate flavors and the satisfying crunch of crushed Oreos into a gooey masterpiece. Perfect for unexpected visitors or busy weeknights, you can bake it with ease and enjoy it warm or at room temperature. With its delightful layers and crowd-pleasing appeal, I promise this is one dessert that will have everyone coming back for seconds. Curious about how to whip up this sweet sensation? Let’s dive into the recipe!
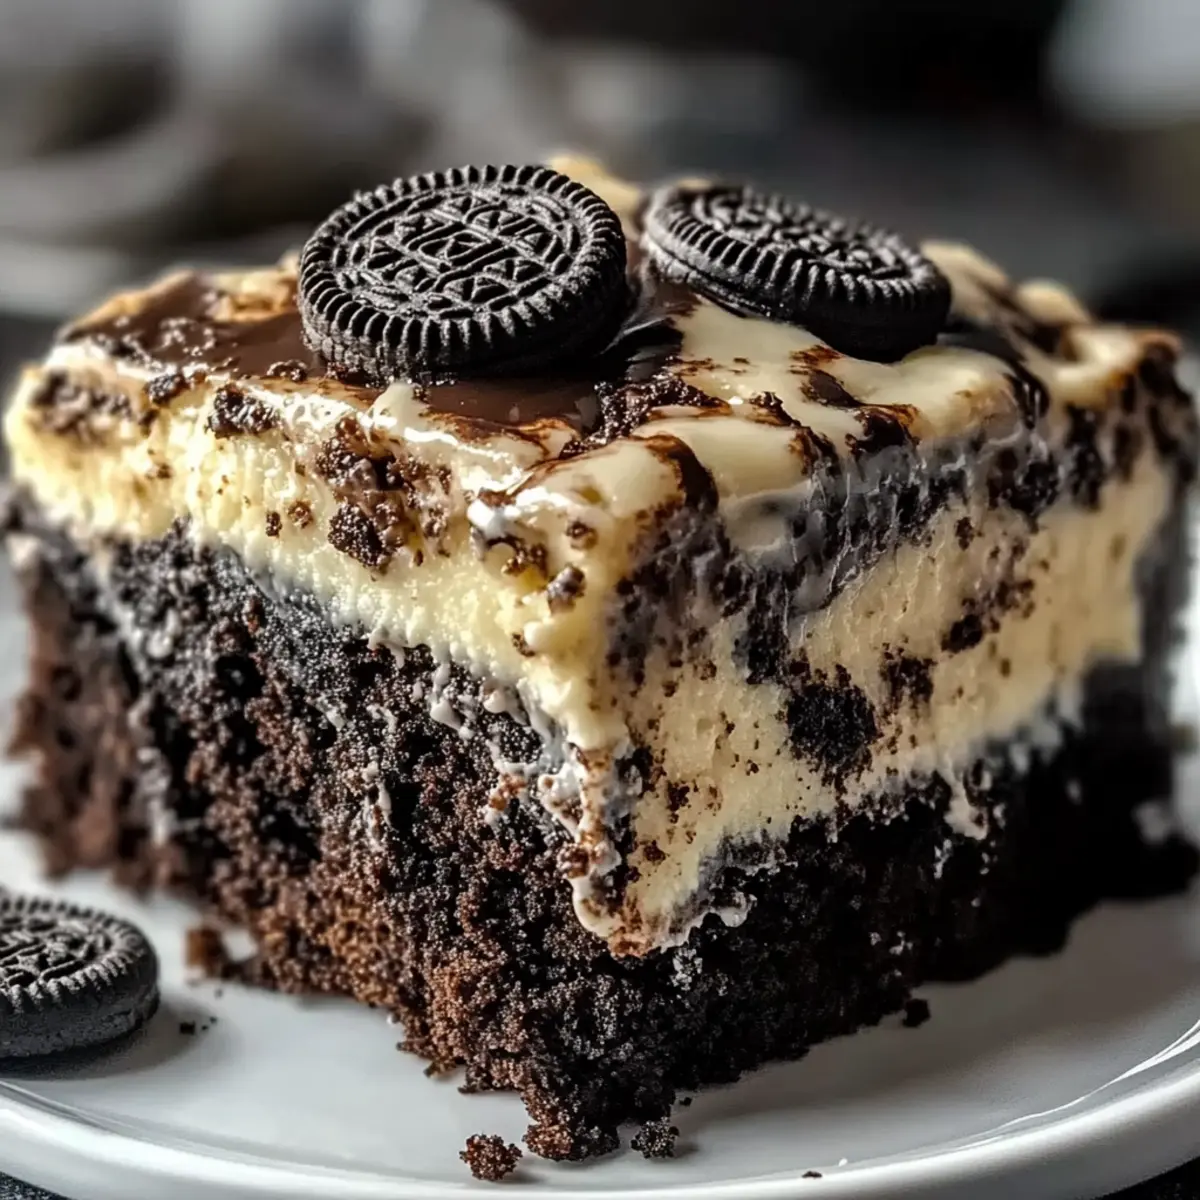
Why is Oreo Dump Cake a must-try?
Ease and Convenience: This no-fuss dessert comes together in just 15 minutes, making it a perfect solution for any sweet tooth craving.
Gooey Goodness: The layer of chocolate and crushed Oreos creates a luxurious mouthfeel that you’ll absolutely love.
Crowd-Pleaser: Whether for a last-minute get-together or family dinner, this cake is always a hit! Pair it with vanilla ice cream to elevate the experience.
Adaptable Recipe: With simple substitutions like using gluten-free Oreos or dairy-free milk, it caters to various dietary needs, ensuring everyone can enjoy a slice.
Enjoy this easy treat and for other delightful desserts, check out my quick recipes for Caramel Apple Dump and Cranberry Cake Wow.
Oreo Dump Cake Ingredients
• Get ready for a treat!
For the Cake Base
• Oreo cookies – Provides a crunchy base and rich flavor; use gluten-free Oreos for a GF option.
• Chocolate cake mix – Serves as the easy cake foundation; consider vanilla or funfetti cake mix for a twist.
• Sweetened condensed milk – Adds moisture and sweetness to bind the layers; substitute with coconut cream for a dairy-free version.
• Butter (melted) – Ensures moisture and richness throughout; swap for a vegan butter alternative for a plant-based treat.
• Milk (whole recommended) – Contributes to the creamy texture and helps the cake rise; almond or oat milk works for a dairy-free option.
For the Topping
• Crushed Oreos – Sprinkled on top for extra crunch and Oreos goodness; use remaining cookies for garnishing.
Now, let’s get baking and turn those Oreos into a dreamy Oreo Dump Cake that everyone will love!
Step‑by‑Step Instructions for Oreo Dump Cake
Step 1: Preheat the Oven
Begin by preheating your oven to 350°F (175°C) while you gather your ingredients. Grease a 9×13 inch baking dish using cooking spray or a thin layer of melted butter to prevent sticking. This preparation ensures your Oreo Dump Cake comes out easily and bakes evenly, setting the stage for a delicious dessert.
Step 2: Crush the Oreos
Take about two-thirds of the Oreo cookies and place them in a ziplock bag. Use a rolling pin or your hands to roughly crush them into chunks. Evenly spread the crushed Oreos across the bottom of the greased baking dish. This creates a delightful crunchy base that enhances the texture and flavor of your Oreo Dump Cake.
Step 3: Add Condensed Milk
Pour the sweetened condensed milk over the layer of crushed Oreos in the dish. Use a spatula to ensure that it covers the Oreos evenly. The condensed milk will soak into the cookies, adding moisture and sweetness to the cake while providing a luscious, gooey layer that binds everything together beautifully.
Step 4: Sprinkle the Cake Mix
Evenly distribute the dry chocolate cake mix over the condensed milk layer. Do not stir or press down; just let it settle on top. This layer is crucial for the Oreo Dump Cake, as it will absorb moisture as it bakes, creating a delightful contrast to the creamy layers beneath.
Step 5: Drizzle with Melted Butter
Next, take the melted butter and drizzle it generously over the cake mix layer. Make sure to cover as much of the mix as possible. This step helps to create a moist and rich texture throughout the Oreo Dump Cake, ensuring every bite is both satisfying and indulgent.
Step 6: Pour the Milk
Gently pour the whole milk over the entire mixture, ensuring even hydration of the cake mix. Observe as the liquid seeps into the layers below. This is essential for your cake’s rise and overall creamy consistency, enhancing the appeal of your delightful Oreo Dump Cake.
Step 7: Top with Remaining Oreos
Finally, scatter the remaining crushed Oreos on top of the cake mixture. This adds an extra crunchy layer and presents an inviting look. The Oreos will toast slightly during baking, providing a delicious crunch that contrasts beautifully with the gooey interior of the Oreo Dump Cake.
Step 8: Bake the Cake
Place the baking dish in the preheated oven and bake for 35-40 minutes. Keep an eye on your cake as it bakes, until it becomes bubbly and golden brown on top. A few cracks may form, indicating that it’s ready to come out and be enjoyed.
Step 9: Cool Before Serving
Once baked, remove the Oreo Dump Cake from the oven and allow it to cool for about 10 minutes. This cooling time will help the layers set properly, making it easier to cut into portions. Serve warm, optionally topped with a scoop of vanilla ice cream or a dollop of whipped cream for an extra treat!
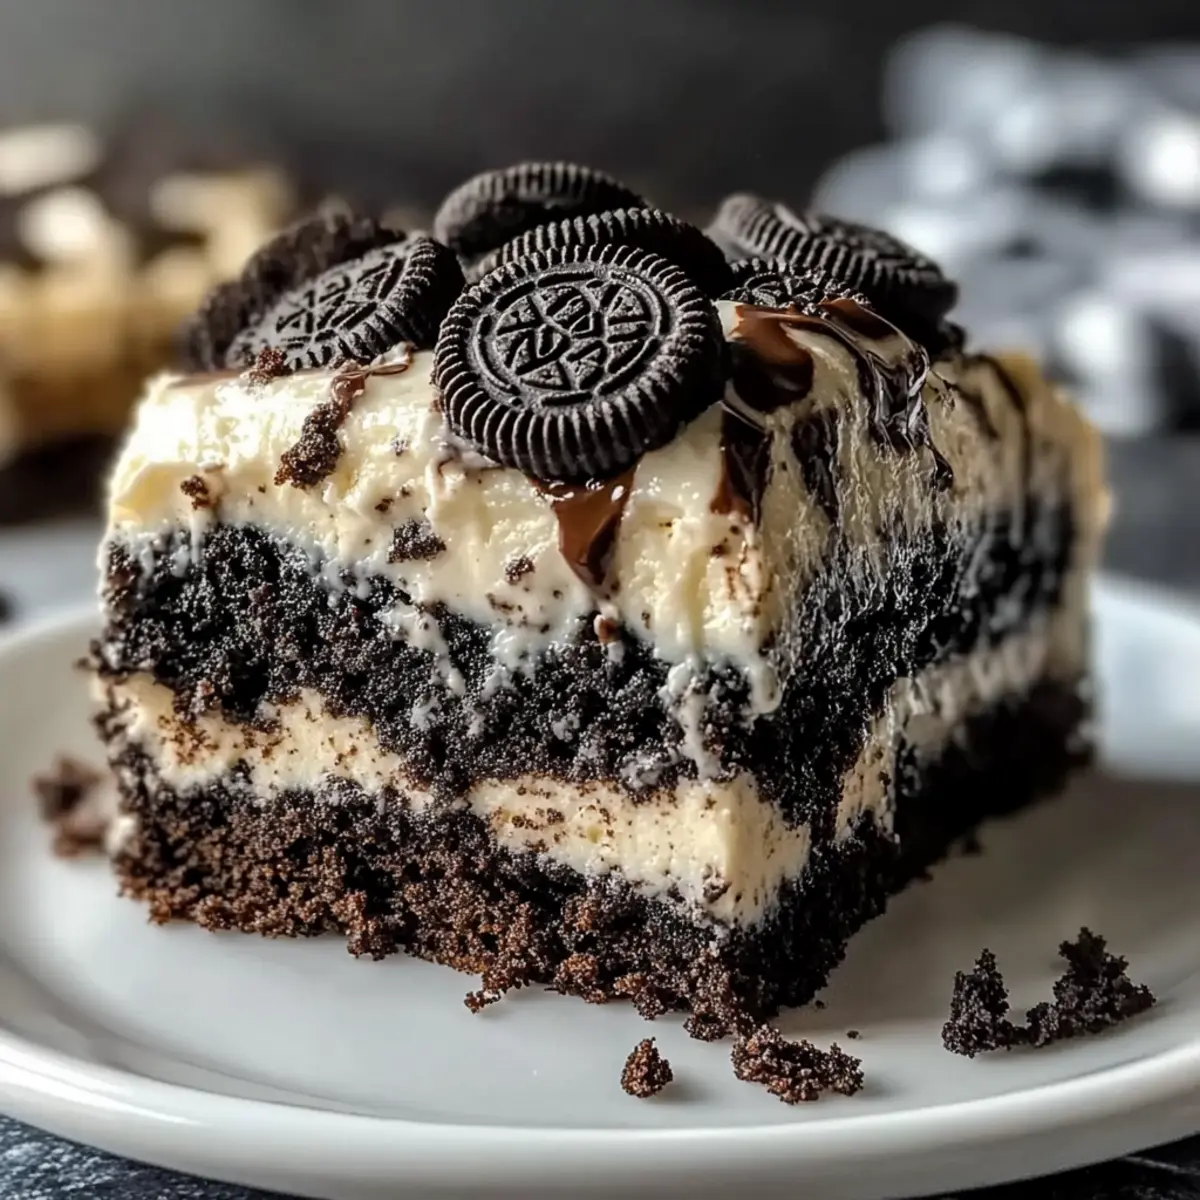
What to Serve with Oreo Dump Cake?
Delight your taste buds by creating a well-rounded dessert experience to accompany this chocolatey masterpiece.
-
Vanilla Ice Cream: The creamy sweetness perfectly balances the richness of the cake, creating a luscious contrast that you won’t forget.
-
Whipped Cream: Light and airy, whipped cream adds a delightful fluffiness on top of the warm cake, enhancing its indulgent charm.
-
Fresh Berries: Ripe strawberries or raspberries provide a burst of freshness and a tart counterpoint to the cake’s sweetness. A great way to brighten the plate!
-
Chocolate Sauce: Drizzle rich chocolate sauce over the top for an extra layer of decadence. It’s chocolate heaven that every chocoholic will adore.
-
Caramel Sauce: The sweet, buttery notes of caramel add a delightful richness, perfectly complementing the crushed Oreo topping.
-
Chilled Coffee or Espresso: Pair your dessert with a cup of chilled coffee or espresso. The bitter notes of coffee contrast beautifully with the sweet cake.
-
Chocolate Mousse: For an even more decadent experience, serve mini cups of chocolate mousse alongside. The lightness offers a satisfying texture variation.
-
Peanut Butter Drizzle: Elevate your experience by adding a peanut butter sauce drizzle, giving a nutty twist that pairs amazingly well with chocolate.
-
Coconut Whipped Cream: For a dairy-free option, enjoy a fluffy coconut whipped cream that adds a delightful tropical flair to your decadent dessert.
These pairing ideas will take your Oreo Dump Cake experience to the next level, ensuring that every bite is a moment of pure bliss!
How to Store and Freeze Oreo Dump Cake
Fridge: Keep leftover Oreo Dump Cake covered in an airtight container for up to 5 days. This helps maintain its gooey texture and rich flavor.
Freezer: For longer storage, freeze the cake in a tightly sealed container or freezer bag for up to 3 months. Make sure to label it with the date for easy reference.
Thawing: When ready to enjoy, thaw the Oreo Dump Cake in the fridge overnight before reheating. This preserves its taste and texture beautifully.
Reheating: Warm individual portions in the microwave for about 20–30 seconds, or in a preheated oven at 350°F for 10 minutes. Enjoy that delicious gooeyness all over again!
Make Ahead Options
These Oreo Dump Cake preparations are a lifesaver for busy home cooks! You can crush the Oreos and layer them with sweetened condensed milk and cake mix up to 24 hours in advance; simply cover the dish tightly with plastic wrap to keep everything fresh. For longer storage, assemble everything without baking and refrigerate for up to 3 days. When you’re ready to enjoy it, just drizzle the melted butter and milk over the top, then bake as directed. This way, you’ll have a fantastic dessert that is just as delicious with minimal effort, ready to please your family at a moment’s notice!
Expert Tips for the Best Oreo Dump Cake
-
Melted Butter Matters: Ensure your butter is fully melted for it to distribute evenly over the cake mix, avoiding any dry spots.
-
Select the Right Milk: Use whole milk for the best creamy texture; low-fat options may leave your Oreo Dump Cake thinner and less rich.
-
Watch the Bake Time: Keep a close eye on the cake as it bakes; it’s done when it’s bubbly and golden brown on top to avoid overcooking.
-
Add Extra Flair: For a delicious twist, consider mixing in chocolate chips or nuts for added texture and flavor variety in your Oreo Dump Cake.
-
Cooling is Key: Allow the cake to cool for 10 minutes after baking to set properly, ensuring clean cuts and better presentation when serving.
Oreo Dump Cake Variations & Substitutions
Feel free to get creative with this delightful recipe, making it truly your own with these tasty twists!
- Gluten-Free: Swap regular Oreos for gluten-free Oreos, ensuring everyone can join in on the deliciousness without compromise.
- Dairy-Free: Use coconut cream instead of sweetened condensed milk for a creamy, dairy-free alternative that maintains the richness.
- Flavor Boost: Sprinkle chocolate chips on top for an extra layer of chocolatey sweetness! They melt beautifully into the warm cake, elevating the experience.
- Nutty Surprise: Mix in some chopped nuts, like walnuts or pecans, into the layers for a delightful textural crunch that complements the softness of the cake.
- Vegan-Friendly: Replace melted butter with a vegan alternative and use almond or oat milk, keeping it plant-based while still indulgent.
- Cake Mix Twist: Experiment with vanilla or funfetti cake mix for a whimsical flavor change, allowing for a new rainbow of deliciousness!
- Single Servings: Bake individual portions in ramekins to create charming desserts that are perfect for sharing or to satisfy personal cravings!
If you’re looking for more sweet inspirations, try out my Christmas Spice Cake or the delightful Tuna Fish Cake for a savory twist!
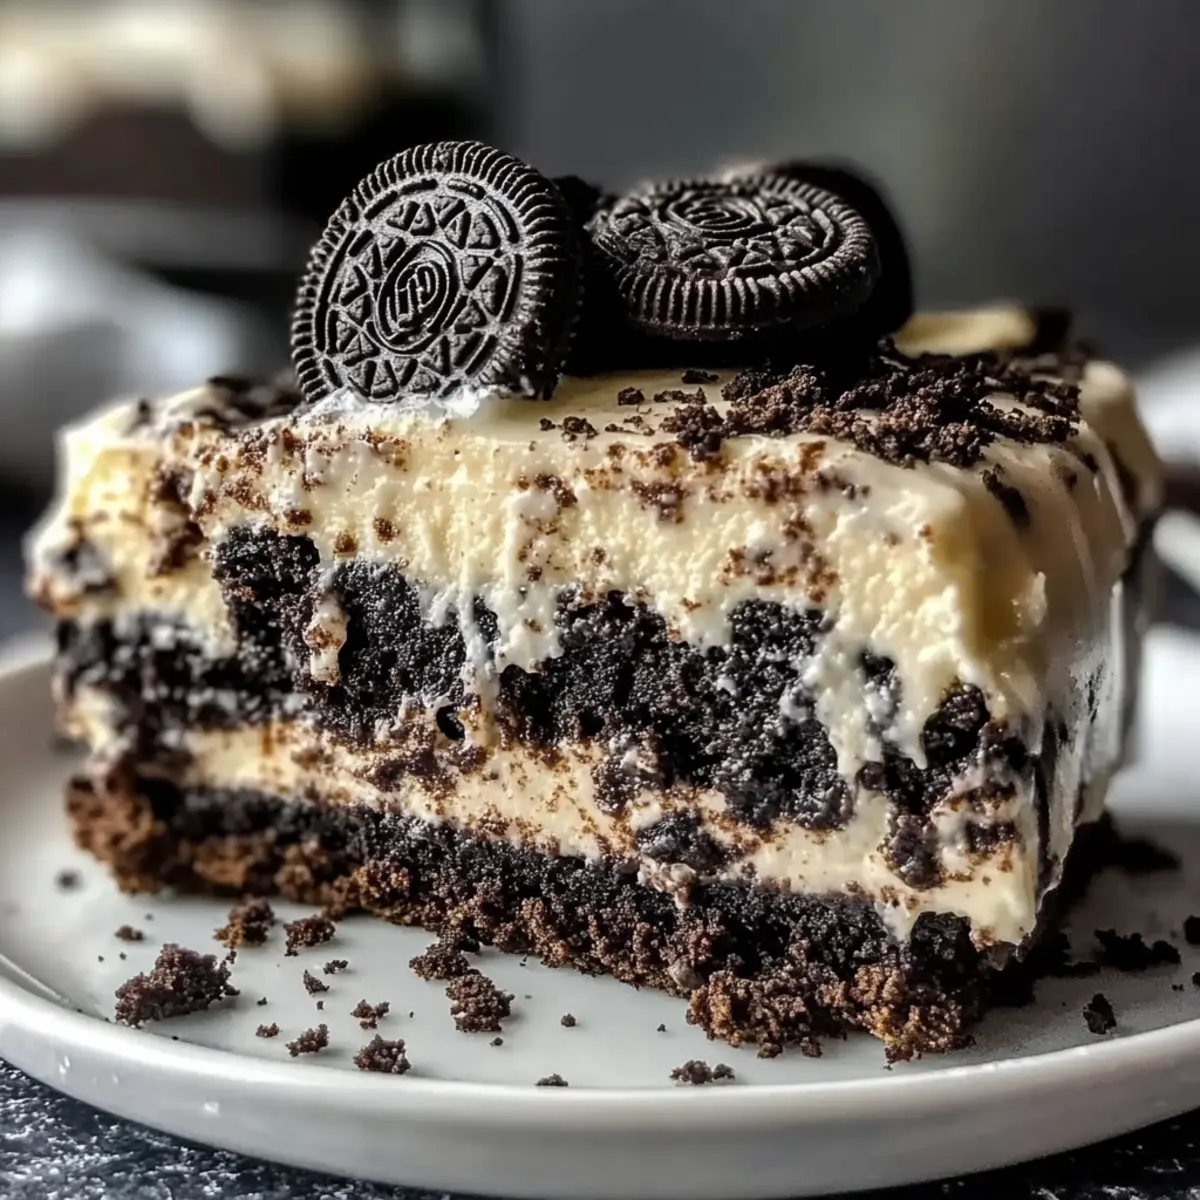
Oreo Dump Cake Recipe FAQs
How do I choose the right Oreos?
Absolutely! For the base of your Oreo Dump Cake, look for Oreos that are intact and free of dark spots all over, which can indicate staleness. If you’re gluten-sensitive, I recommend using gluten-free Oreos available at most grocery stores. They provide the same delightful crunch and flavor!
How should I store leftover Oreo Dump Cake?
Leftover Oreo Dump Cake can be stored in an airtight container in the refrigerator for up to 5 days. If you want to maintain its gooey texture, make sure it’s properly sealed to prevent drying out. Remember to take it out about 10 minutes before serving to reach room temperature for the best flavor!
Can I freeze Oreo Dump Cake?
Yes, indeed! To freeze your Oreo Dump Cake, let it cool completely before transferring it to an airtight container or a freezer-safe bag. Be sure to label it with the date so you can keep track! It can stay frozen for up to 3 months. When you’re ready to enjoy it, thaw it overnight in the fridge and reheat as needed.
What should I do if my cake is too dry?
If your cake turns out dry, which can happen if it’s overbaked, you can salvage it! Try drizzling a bit of milk or chocolate sauce over the top before serving, or even adding a scoop of ice cream—this reintroduces moisture and enhances its flavor. Be sure to check the baking time next time to achieve that perfect gooey consistency!
Are there any dietary considerations for pets?
Very! While Oreos are delicious for humans, they are NOT safe for pets. Chocolate, including the amount found in Oreos, can be toxic to dogs and other pets. If you have furry friends, I suggest keeping the Oreo Dump Cake out of their reach and finding pet-friendly sweet treats instead.
Can I use other types of cake mix for variety?
Certainly! If you want to get creative, feel free to swap out the chocolate cake mix for vanilla or even funfetti. Just keep in mind that it will subtly change the flavor profile, but I often make it with different mixes and have loved each one! The chocolate and crushed Oreos still provide a deliciously rich base no matter what cake mix you choose.
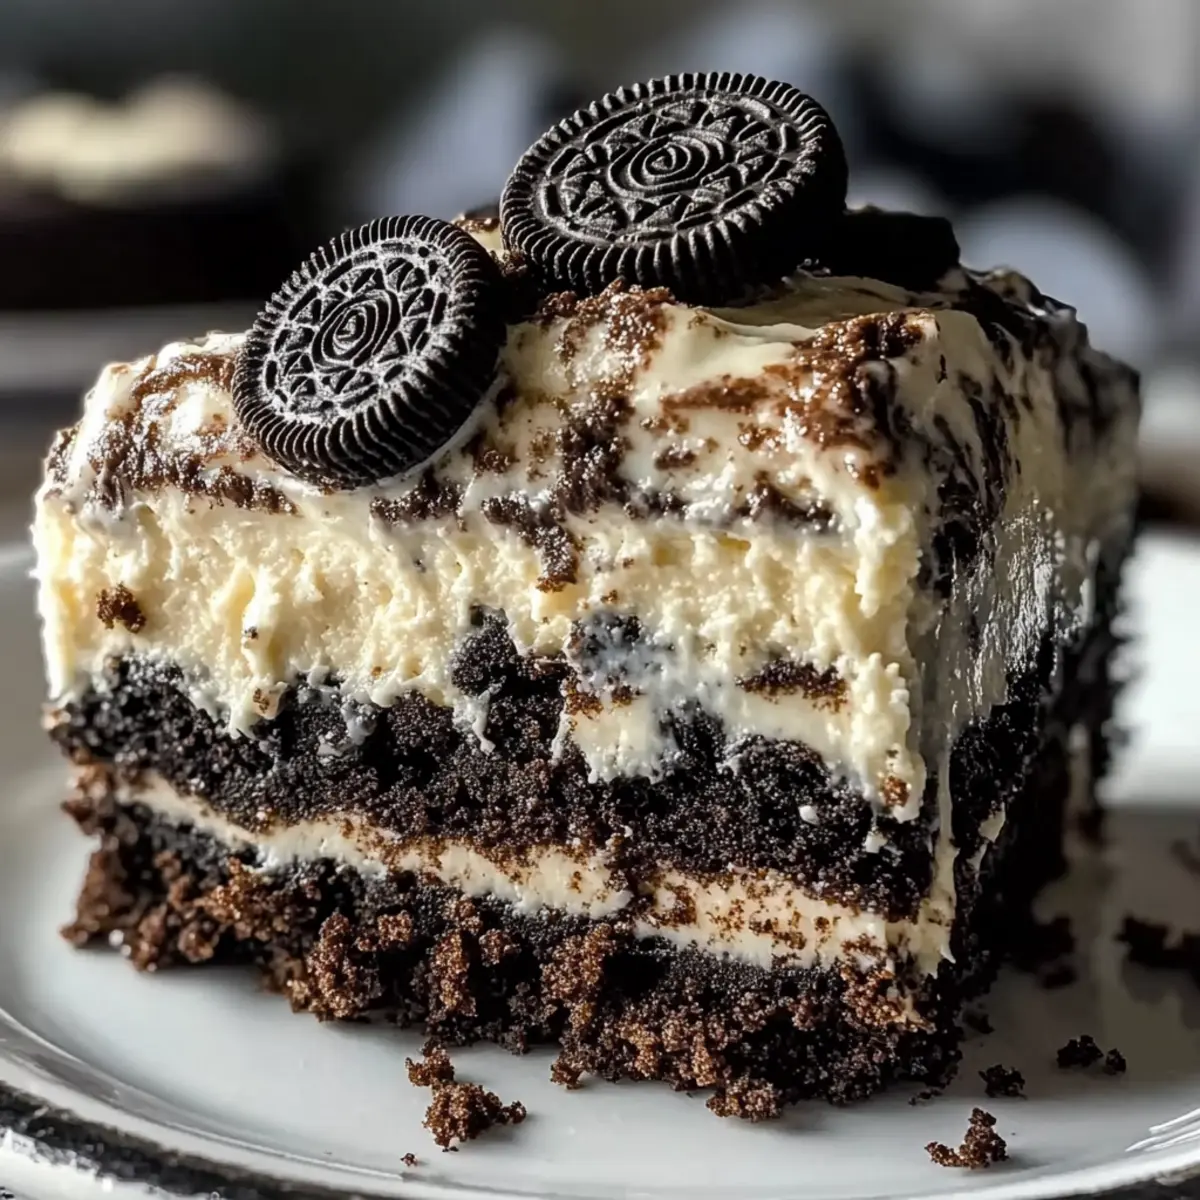
Irresistible Oreo Dump Cake: Your New Favorite Easy Dessert
Ingredients
Equipment
Method
- Preheat your oven to 350°F (175°C) and grease a 9x13 inch baking dish.
- Crush about two-thirds of the Oreo cookies in a ziplock bag and spread them across the bottom of the baking dish.
- Pour the sweetened condensed milk over the crushed Oreos, ensuring even coverage.
- Evenly distribute the dry chocolate cake mix over the condensed milk layer without stirring.
- Drizzle melted butter generously over the cake mix layer.
- Pour whole milk over the entire mixture, ensuring even hydration.
- Top with the remaining crushed Oreos for an extra layer of crunch.
- Bake for 35-40 minutes until bubbly and golden brown.
- Allow to cool for about 10 minutes before serving.
Leave a Reply