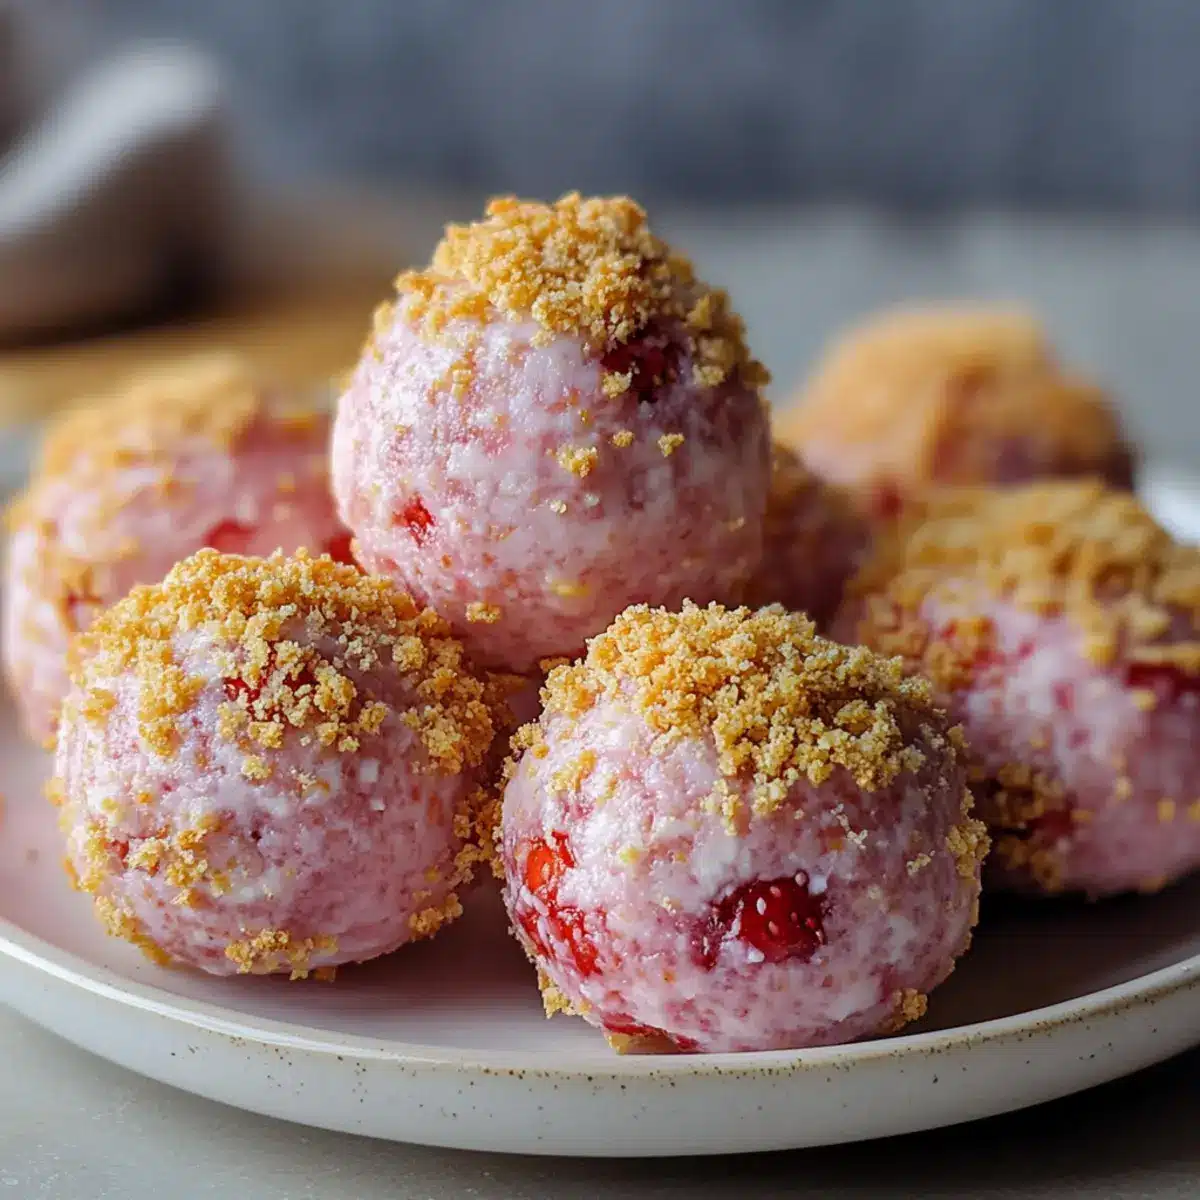
Under the golden sun of summer, I found myself craving something sweet yet satisfying—a delightful challenge. Enter my No-Bake Strawberry Cheesecake Protein Balls! These little gems bring the classic flavors of cheesecake into a healthy treat that’s not only rich in protein but also incredibly easy to whip up. With merely 10 minutes of prep time and no baking involved, they’re perfect for meal prep or a post-workout snack. Whether shared at a picnic or enjoyed on a hot afternoon, these protein balls promise a refreshing, guilt-free indulgence that dances on your palate. So, are you ready to make a summer-inspired treat that’ll have everyone asking for seconds?
Why Are These Protein Balls So Irresistible?
Easy to Make: With just 10 minutes of prep, you can satisfy your sweet tooth without the hassle of baking.
Healthy Alternative: Packed with high protein ingredients, these delicious bites keep you fueled and guilt-free.
Versatile Flavor: Whether you stick with strawberries or experiment with blueberries or lemon zest, there’s a flavor combo for everyone!
Perfectly Refreshing: Enjoy these chilled treats during summer, providing a cool, creamy escape that’s reminiscent of classic cheesecake.
Meal Prep Friendly: Ideal for packing in lunchboxes or as quick snacks, you’ll love how they satisfy those cravings for sweet treats while keeping things wholesome—just like Mashed Potato Balls or Pumpkin Cheesecake Gingersnap are perfect for cozy gatherings.
Strawberry Cheesecake Protein Balls Ingredients
• Discover how easy and delightful these protein-packed treats can be!
For the Batter
- Almond Flour – Provides structure and a nutty flavor; substitute with oat flour for a gluten-free option.
- Vanilla Protein Powder – Adds protein content and sweet vanilla flavor; feel free to use any preferred protein powder.
- Cream Cheese – Contributes that rich cheesecake creaminess; low-fat or dairy-free cream cheese works great, too.
- Greek Yogurt – Offers moisture and tanginess while boosting protein; opt for plain or lightly flavored yogurt.
- Fresh Strawberries – Supplies natural sweetness and fruity goodness; frozen strawberries can be used if thawed and drained first.
- Maple Syrup or Honey – Acts as a natural sweetener; agave nectar can make a perfect substitute.
- Graham Cracker Crumbs – Delivers that classic cheesecake crust crunch; crushed nuts are a fantastic gluten-free alternative.
Enjoy whipping up these Strawberry Cheesecake Protein Balls that are both healthy and delicious!
Step‑by‑Step Instructions for Strawberry Cheesecake Protein Balls
Step 1: Prepare Strawberries
Begin by washing and hulking 1 cup of fresh strawberries. Place them in a mixing bowl and mash with a fork until smooth and saucy, aiming for a consistency similar to jam. This process should take about 3-4 minutes. Set the mashed strawberries aside while you gather your other ingredients for the Strawberry Cheesecake Protein Balls.
Step 2: Mix Dry Ingredients
In a separate bowl, combine 1 cup of almond flour, 1 scoop of vanilla protein powder, and ½ cup of graham cracker crumbs. Use a whisk to blend these dry ingredients thoroughly, ensuring there are no clumps, which should take around 2 minutes. This mixture will provide the structure and flavor base for your irresistible Strawberry Cheesecake Protein Balls.
Step 3: Combine Ingredients
Add 4 ounces of softened cream cheese and ½ cup of Greek yogurt to your dry mixture. Pour in 2 tablespoons of maple syrup or honey for sweetness. Gently fold in the reserved mashed strawberries, taking care not to overmix the batter—about 1-2 minutes will suffice. You want everything combined while retaining a lovely, creamy texture.
Step 4: Form Balls
Using a cookie scoop or your hands, scoop out portions of the mixture and roll them into 1-inch balls. This process should yield around 12-15 protein balls, giving you a delightful stash of Strawberry Cheesecake Protein Balls. After rolling, place the balls on a parchment-lined tray for easy transport to the fridge.
Step 5: Chill
Refrigerate your protein balls for at least 30 minutes, allowing them to firm up. This will enhance their texture, making them just the right balance of soft and sturdy for snacking. Once chilled, they will be easier to handle and even more enjoyable to eat.
Step 6: Serve
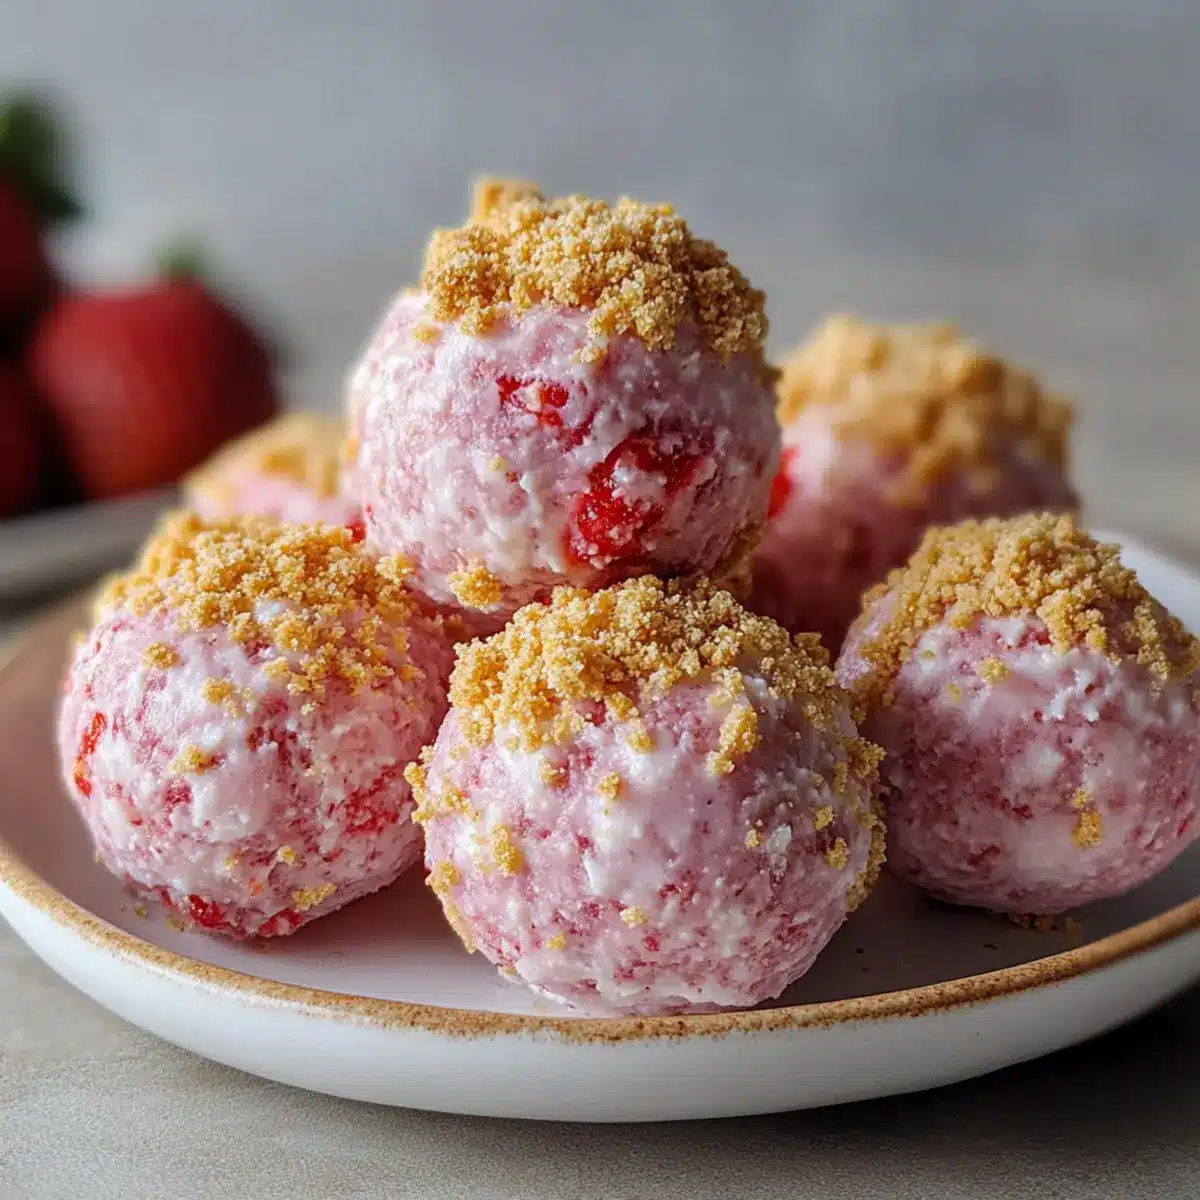
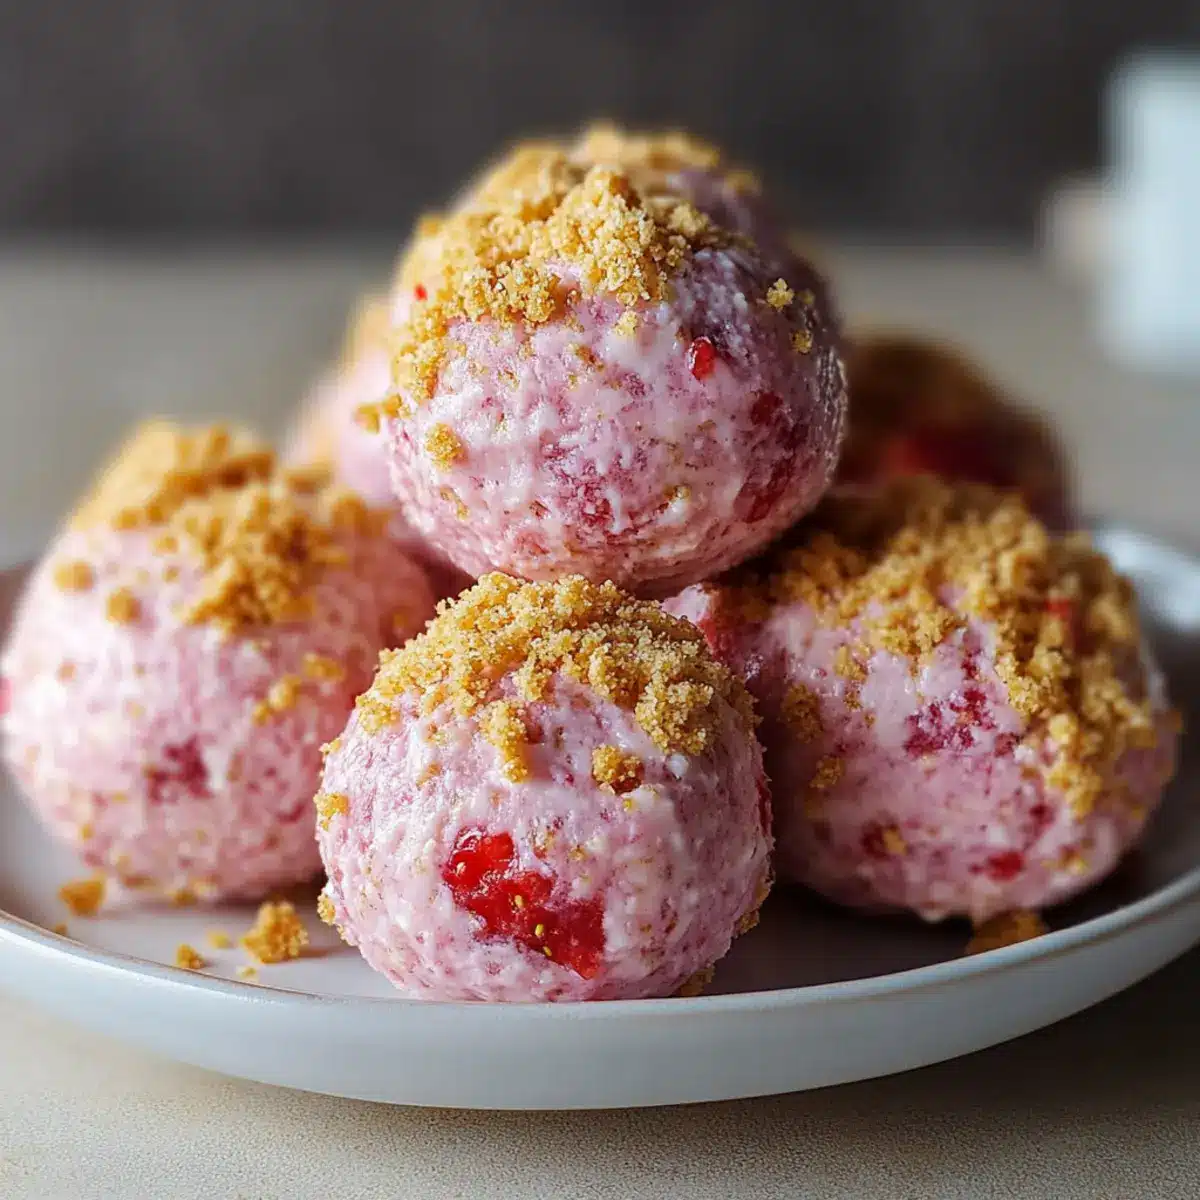
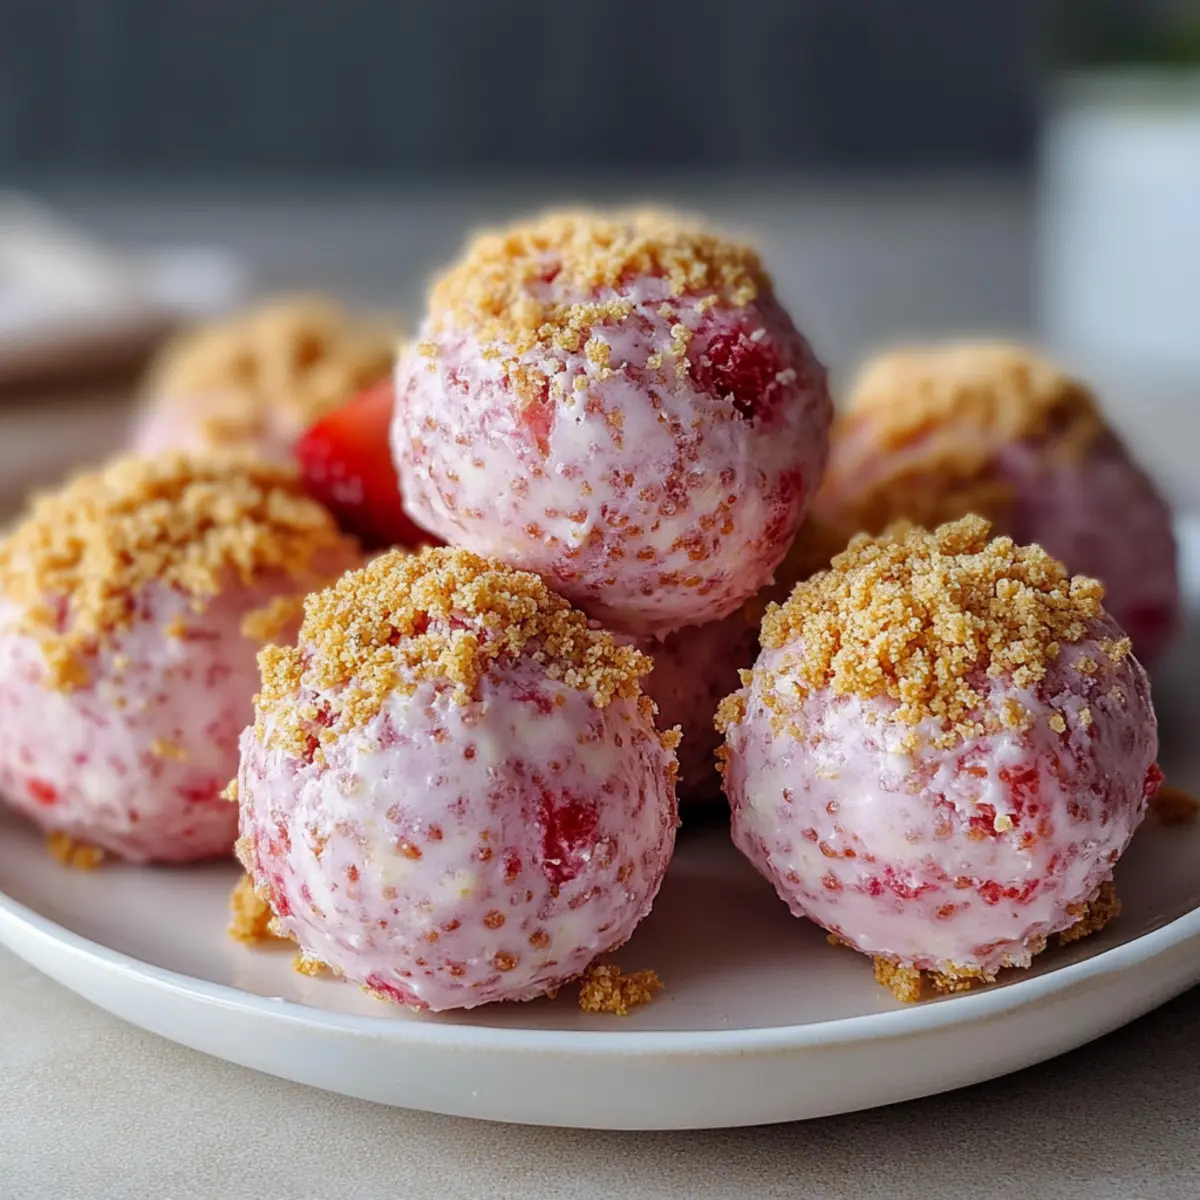
Remove the Strawberry Cheesecake Protein Balls from the fridge and serve them cold. For an added touch, garnish with fresh strawberry slices or a drizzle of maple syrup if desired. These delightful bites are not just a treat for your taste buds; they’re perfect for sharing at gatherings or as a refreshing snack on a hot day.
Strawberry Cheesecake Protein Balls Variations
Feel free to let your creativity shine as you customize these delightful protein balls to suit your taste!
-
Berry Blend: Swap strawberries for a mix of fresh blueberries and raspberries for a colorful twist. The tartness from the berries will create a refreshing burst in each bite.
-
Citrus Zing: Add a teaspoon of lemon zest to brighten the flavors. This aromatic touch elevates the cheesecake vibe, giving you a summer-inspired delight that’s truly uplifting.
-
Chocolate Lover’s Choice: Fold in dark chocolate chips for rich decadence. The delightful contrast of sweet chocolate bits will surely satisfy chocolate cravings while keeping things wholesome.
-
Nutty Delight: Substitute almond flour with finely ground walnuts or peanuts for a unique twist. This adds depth and texture, giving your protein balls an extra crunch!
-
Vegan Version: For a completely plant-based treat, use dairy-free alternatives for cream cheese and yogurt, and opt for maple syrup as your sweetener. You’ll create a delicious and cruelty-free snack that everyone can enjoy!
-
Spicy Kick: Add a pinch of cinnamon or nutmeg for an unexpected warmth. These spices not only enhance the flavor but may also remind you of your favorite seasonal treats.
-
Protein Power-Up: Mix in a tablespoon of chia or flax seeds for an extra nutrition boost. This not only adds fiber but gives these protein balls a satisfying crunch as well.
-
Tropical Twist: Exchange strawberries for diced mango or pineapple. The tropical flavors transport you to a sunny beach, making your snack an instant getaway.
These variations not only keep things exciting but also cater to diverse preferences, much like how Tuna Fish Cake or Salmon Meatballs Avocado bring joy to meal times! Enjoy experimenting!
Storage Tips for Strawberry Cheesecake Protein Balls
Fridge: Store your Strawberry Cheesecake Protein Balls in an airtight container for up to a week. This keeps them fresh and delicious, ready for a quick snack or dessert.
Freezer: If making a larger batch, freeze the protein balls on a baking sheet before transferring them to a freezer-safe container. They can be stored for up to 3 months; simply thaw before enjoying.
Wrapping: For individual servings, wrap each ball in plastic wrap or parchment paper to prevent sticking and ensure freshness during storage.
Reheating: These protein balls are meant to be enjoyed cold right from the fridge. No need to reheat—just grab and go for a delightful, guilt-free snack!
Expert Tips for Strawberry Cheesecake Protein Balls
- Don’t Overmix: Mix just until combined to ensure your protein balls remain soft and creamy, avoiding a tough texture.
- Taste As You Go: Adjust the sweetness by sampling your mixture. Remember, the flavor will intensify after chilling!
- Consistent Sizes: Use a cookie scoop for even portioning, ensuring all the Strawberry Cheesecake Protein Balls are uniform and visually appealing.
- Use Fresh Ingredients: Opt for fresh strawberries for the best flavor. If using frozen, drain excess moisture to prevent a soggy texture.
- Chill Time Matters: Allow the protein balls to chill for at least 30 minutes to achieve the perfect firm yet soft bite.
What to Serve with Strawberry Cheesecake Protein Balls
Enjoy these delightful morsels on their own, but why not make it a full experience?
-
Fresh Fruit Salad: A colorful bowl of mixed fresh fruits complements the sweetness of the protein balls, adding a refreshing and juicy burst.
-
Greek Yogurt Parfait: Layering these protein balls with Greek yogurt and berries creates a creamy parfait that is both satisfying and visually appealing.
-
Nut Butter Dip: Serve with a side of your favorite nut butter for an extra protein boost and an irresistible, creamy dip.
-
Chilled Green Tea: A cool, lightly sweetened green tea refreshes and balances the richness of the protein balls, enhancing your snacking experience.
-
Coconut Chia Pudding: The creamy texture and subtle sweetness of coconut chia pudding pair perfectly, creating a delightful contrast.
-
Chocolate Drizzle: Drizzling a bit of dark chocolate over the protein balls adds a hint of decadence while keeping the overall treat healthy.
-
Granola Crunch: A side of crunchy granola provides a delightful textural contrast, making for a satisfying mix of flavors and bites.
These options transform your healthy snack into a delightful spread, making any occasion feel special!
Make Ahead Options
These No-Bake Strawberry Cheesecake Protein Balls are a fantastic option for meal prep! You can prepare the mixture (steps 1-3) up to 24 hours in advance and store it in the refrigerator until you’re ready to form the balls. Simply roll them into shape (step 4) the next day and chill for at least 30 minutes before serving. To maintain their delightful texture, keep the formed protein balls in an airtight container in the fridge for up to 1 week, or even freeze them for longer storage; just thaw before enjoying. This way, you can have a healthy snack ready to go at any moment, making busy weeknights feel much more manageable!
Strawberry Cheesecake Protein Balls Recipe FAQs
How do I select ripe strawberries for this recipe?
Absolutely! When choosing strawberries, look for berries that are bright red, firm, and have a sweet fragrance. Avoid any with green or white patches, as those are not fully ripe. Any dark spots or mushiness can indicate overripeness, which might affect the taste and texture of your protein balls.
How should I store these protein balls, and how long do they last?
Very! Store your Strawberry Cheesecake Protein Balls in an airtight container in the refrigerator, where they’ll stay fresh for up to a week. If you need them to last longer, you can freeze them for up to 3 months, letting them cool and firm up before placing them in a freezer-safe container.
Can I freeze Strawberry Cheesecake Protein Balls, and what’s the best method?
Certainly! To freeze them, first place the protein balls in a single layer on a baking sheet. Freeze for about 30 minutes or until they’re firm, then transfer them to a freezer-safe container or zip-top bag, separating layers with parchment paper to prevent sticking. Thaw the balls in the fridge when you’re ready to enjoy them!
What should I do if my protein balls are too dry or crumbly?
If your mixture seems dry, don’t worry! You can add a tablespoon of Greek yogurt or a splash of milk to bring it back to a creamier consistency. Just fold gently until everything is combined, being careful not to overmix—this will keep your protein balls deliciously soft!
Are there allergy considerations I should be aware of with this recipe?
Definitely! This recipe includes almond flour, which could cause allergic reactions in those with nut allergies. If you’re making these for someone with allergies, consider substituting almond flour with oat flour or crushed gluten-free crackers. Also, check that your protein powder and cream cheese are safe for their dietary needs—there’s no harm in being cautious!
Strawberry Cheesecake Protein Balls: Indulge Guilt-Free Today
Ingredients
Equipment
Method
- Wash and hull 1 cup of fresh strawberries, then mash until smooth in a mixing bowl (3-4 minutes).
- In a separate bowl, whisk together 1 cup of almond flour, 1 scoop of vanilla protein powder, and ½ cup of graham cracker crumbs (about 2 minutes).
- Add 4 ounces of softened cream cheese, ½ cup of Greek yogurt, and 2 tablespoons of maple syrup or honey to the dry mixture. Fold in the mashed strawberries gently (1-2 minutes).
- Scoop portions and roll into 1-inch balls, placing them on a parchment-lined tray.
- Refrigerate for at least 30 minutes to firm up.
- Serve chilled, optionally garnished with fresh strawberry slices or a drizzle of maple syrup.
Leave a Reply