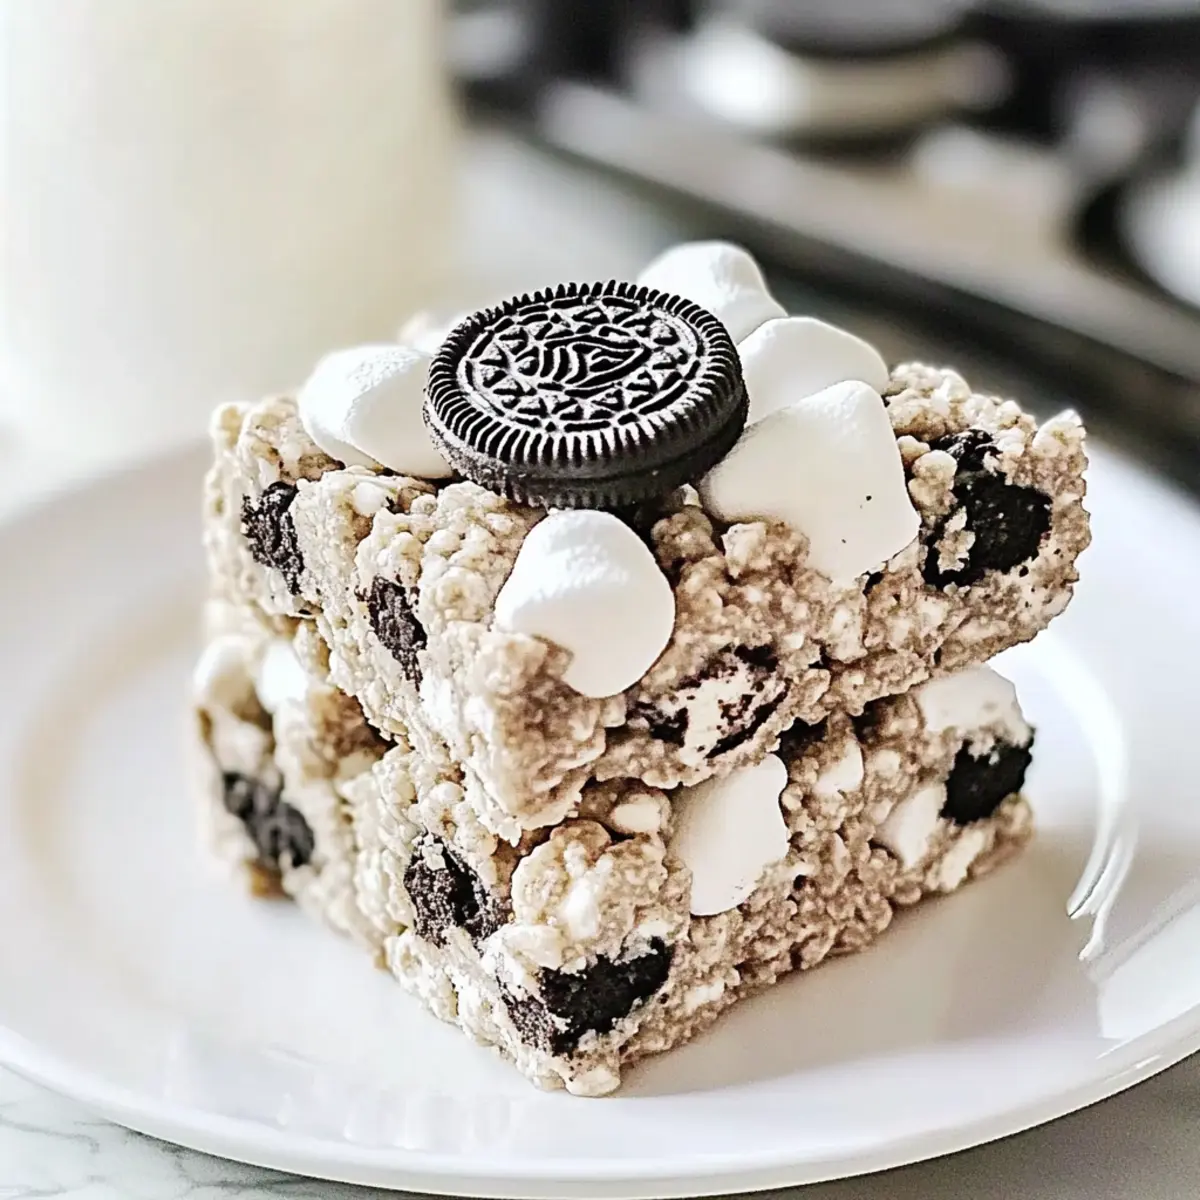
The kitchen was filled with delightful chaos as I searched for something sweet to whip up in a pinch. That’s when it hit me—Oreo Krispies! This no-bake wonder, combining crispy Rice Krispies with crushed Oreos and gooey marshmallows, is a nostalgic treat that will make your taste buds sing. In just 10 minutes, you can prepare these thick and chewy bites, making them perfect for kids’ gatherings, cozy movie nights, or just a sweet craving. What I love most is their versatility; you can easily customize them for any occasion or taste preference. So, are you ready to create a delightful treat that’s certain to impress?
Why are Oreo Krispies a Must-Try?
Quick to Make: With just 10 minutes of prep time, these no-bake treats are the answer to your sweet cravings.
Kid-Friendly Fun: Perfect for little hands, kids can help with mixing and creating their own versions.
Endless Customizations: From adding nuts to swirling in peanut butter, this recipe is as versatile as your imagination.
Nostalgic Taste: The delightful combination of Krispies and Oreos brings back memories and creates new ones.
Crowd-Pleaser: Whether for parties or movie nights, these treats are sure to be a hit with friends and family!
And if you’re looking for more easy desserts, don’t miss my guide on kid-friendly dessert ideas that everyone will love!
Oreo Krispies Ingredients
For the Base
- Butter – Adds richness and helps bind the ingredients together; use salted for enhanced flavor.
- Krispie Cereal – Forms the base structure of the dessert, contributing crunchiness; other puffed cereals can be substituted if desired.
For the Sweetness
- Mini Marshmallows – Provide sweetness and a chewy texture; regular mini marshmallows standardize the flavor profile.
- Salt – Enhances flavor; omit if using salted butter.
For the Signature Flavor
- Oreo Cookies – Introduces the signature cookies-and-cream taste to the mixture; preferably use whole Oreos for maximum flavor impact.
Indulge in these easy-to-make Oreo Krispies and experience the delightful combination of flavors and textures!
Step‑by‑Step Instructions for Oreo Krispies
Step 1: Prepare Ingredients
Begin by gathering all your ingredients for the Oreo Krispies in a large mixing bowl. Measure out 6 cups of Krispie cereal, 1 cup of crushed Oreo cookies, and 1 cup of mini marshmallows. Having everything ready will make the next steps smooth and enjoyable, ensuring that you won’t miss any key ingredient as you dive into the making process.
Step 2: Melt Butter and Marshmallows
In a medium saucepan, melt 4 tablespoons of butter over medium heat, letting it sizzle until bubbling for about 1-2 minutes. Once melted, add in 8 cups of mini marshmallows along with a pinch of salt. Stir continuously for 3-4 minutes until the mixture is completely melted and glossy, bringing together that delightful sweetness that will bind your Oreo Krispies.
Step 3: Combine Mixtures
Carefully pour the melted marshmallow mixture over the bowl of prepared Krispie cereal and crushed Oreos. Using a spatula, fold the mixture gently for about 2-3 minutes until all the ingredients are well-coated and combined. The marshmallow mixture should clump together the Rice Krispies and Oreos, creating an irresistible blend of textures.
Step 4: Transfer to Pan
Grease a 9-inch square pan lightly with butter or cooking spray to keep the Oreo Krispies from sticking. Pour the combined mixture into the pan, using a spatula or your greased hands to press down evenly until it forms a flat top. Ensure that it’s packed gently but firmly, as this will help your treat hold its shape once cooled.
Step 5: Cool and Cut
Allow the Oreo Krispies to cool at room temperature for about 30 minutes. This waiting period is crucial for the treats to firm up and become chewy. Once they have cooled sufficiently, use a sharp knife to cut them into squares or rectangles for easy serving, revealing those crunchy bits of Oreo and deliciously chewy marshmallow goodness.
Expert Tips for Oreo Krispies
-
Use Whole Oreos: For maximum flavor impact, always opt for whole Oreos instead of generic cookies. The signature cookies-and-cream taste is key to delicious Oreo Krispies.
-
Gentle Mixing: Be sure to fold the mixture gently when combining ingredients; vigorous stirring may break down the Krispie texture and result in a less crispy final product.
-
Grease Everything: Grease your mixing bowl, spatula, and pan to prevent sticking. A little butter or cooking spray will make cleanup easier and keep your treats intact.
-
Cooling Time Matters: Don’t rush the cooling process! Let the mixture cool for at least 30 minutes for the best chewiness and to help the bars hold their shape.
-
Customize with Care: Feel free to add nuts or peanut butter, but remember to balance your additions so they complement the delightful flavor of the Oreo Krispies.
What to Serve with Oreo Krispies?
Elevate your dessert experience by pairing these delightful treats with complementary flavors and textures.
- Cold Milk: A classic pairing that enhances the cookies-and-cream flavor while balancing the sweetness of the Krispies.
- Vanilla Ice Cream: The creaminess of ice cream melts into the chewy texture, creating a rich and indulgent dessert experience.
- Fresh Strawberries: Their tartness cuts through the sweetness, offering a refreshing contrast that brightens the overall taste.
- Chocolate Sauce: Drizzle warm chocolate sauce over the bars for an extra indulgent touch that chocolate lovers won’t resist.
- Nutty Trail Mix: Serve alongside a crunchy, nutty trail mix for a delightful textural contrast that also adds a healthy twist.
- Homemade Whipped Cream: A dollop of airy whipped cream provides a light and fluffy addition that complements the chewy cookies.
- Fruity Smoothie: Pair with a berry or banana smoothie for a refreshing drink that balances the richness of the Krispies.
- Creamy Peanut Butter Dip: A small bowl of peanut butter dip adds an extra layer of flavor and fun for those who crave more oomph.
- Sparkling Lemonade: The fizz and zest from lemonade cleanse the palate, making it an energetic and vibrant pairing.
How to Store and Freeze Oreo Krispies
Room Temperature: Keep the Oreo Krispies in an airtight container at room temperature for up to 1 week to preserve their chewy texture.
Fridge: If you prefer a longer storage time, refrigerate the treats in a sealed container for up to 2 weeks. However, this may slightly alter their texture.
Freezer: For even longer storage, freeze the Oreo Krispies for up to 2 months. Wrap them tightly in foil or plastic wrap and then place them in a freezer bag to prevent freezer burn.
Reheating: If you like them warm, simply pop them in the microwave for about 10-15 seconds before serving. Enjoy your delicious Oreo Krispies!
Oreo Krispies: Fun Customization Ideas
Feel free to transform your Oreo Krispies into your dream treat with these delightful variations!
- Chocolate Sandwich Cookies: Swap Oreos for Fudge Creams or your favorite chocolate cookie for a fun twist. The chocolatey goodness will elevate the flavor just right.
- Nutty Delight: Add ½ cup of chopped nuts like pecans or almonds for extra crunch. The nuttiness amplifies the texture and warms the comforting essence of the bars.
- Peanut Butter Swirl: Mix in ½ cup of creamy peanut butter with the melted marshmallows for a rich flavor. This addition provides a delicious contrast to the sweetness of the Oreos.
- Festive Decor: Top with sprinkles or a drizzle of melted chocolate to create a decorative finish. Perfect for festive occasions, this adds a pop of color and fun!
- Fruit Infusion: Incorporate freeze-dried strawberries or raspberries for a fruity tartness. This unexpected twist brightens the overall flavor profile and adds a vibrant touch.
- Dairy-Free Version: Substitute butter with coconut oil and marshmallows with a dairy-free variety. Enjoy the same delightful taste while accommodating dietary needs.
- Spiced Up: Add a pinch of cinnamon or nutmeg into the marshmallow mixture for a warm flavor twist. This subtle spice adds warmth and a comforting aroma, making each bite unique.
- S’mores Style: Mix in mini chocolate chips and graham cracker crumbs to give your treats a s’mores-inspired feel. Think of summer campfires and indulge in this classic favorite.
With these variations, your Oreo Krispies can fit any occasion or flavor preference. Don’t forget to check out my tips for easy no-bake dessert ideas to inspire even more fun creations!
Make Ahead Options
These Oreo Krispies are a fantastic addition to your meal prep routine! You can crush the Oreos and measure out the Krispie cereal up to 24 hours in advance, storing them in an airtight container to preserve their freshness. Additionally, you can prepare the marshmallow mixture and refrigerate it for up to 3 days; just be sure to tightly seal it to prevent drying out. When you’re ready to finish the recipe, simply reheat the marshmallow mixture gently on the stove until it becomes warm and pliable again. Then, combine everything as directed and allow to cool, ensuring that your treats are just as delicious when you’re ready to indulge!
Oreo Krispies Recipe FAQs
What kind of Oreos should I use for Oreo Krispies?
Absolutely! For the best flavor impact, I recommend using whole Oreos. The classic cookies will provide that signature cookies-and-cream taste that makes Oreo Krispies irresistible. Generic brands may not deliver the same bouncy richness in flavor, so stick to the original for maximum enjoyment.
How should I store Oreo Krispies for optimal freshness?
You can keep Oreo Krispies in an airtight container at room temperature for up to 1 week. If you want them to last longer, refrigerate them in a sealed container, but do note it may slightly change their texture. For those who want to save them for later, you can freeze the treats for up to 2 months. Just wrap them tightly in foil or plastic wrap, and then place them in a freezer bag.
Can I freeze Oreo Krispies, and how?
Definitely! Freezing Oreo Krispies is a great way to extend their lifespan. Here’s how: First, let the bars cool completely to room temperature. Then, wrap them tightly in plastic wrap or foil to prevent freezer burn. Place the wrapped treats into a freezer bag or airtight container. They can stay frozen for up to 2 months. When you’re ready to enjoy, simply thaw them in the fridge overnight or at room temperature for a couple of hours before serving.
What should I do if my Krispies don’t hold their shape?
If your Oreo Krispies are crumbling or falling apart, it may be due to insufficient mixing or cooling. Make sure you gently fold the marshmallow mixture with the dry ingredients until everything is well-coated without overdoing it. Also, give them enough time to cool for 30 minutes—this helps them set and firm up for a nice chewy texture. If they still aren’t holding together, try adding a little more melted marshmallows next time to bind the ingredients better.
Can I make Oreo Krispies vegan or gluten-free?
Certainly! To make your Oreo Krispies vegan, you can substitute the butter with a plant-based alternative like coconut oil or vegan butter. For a gluten-free version, be sure to select gluten-free Oreos and use certified gluten-free Rice Krispies. This will enable everyone at the gathering to enjoy this delicious treat without worry!
What are some fun mix-in ideas for Oreo Krispies?
The more the merrier! Feel free to get creative with your Oreo Krispies. Consider adding ½ cup of chopped nuts like almonds or pecans for a crunchy texture. A swirl of peanut butter can add a rich flavor when mixed with the melted marshmallows. You could also toss in some freeze-dried fruit for a fun, fruity twist. Just remember to balance flavors so they enhance, rather than overwhelm, that delicious Oreo goodness!
Oreo Krispies: Chewy No-Bake Treats for Fun Gatherings
Ingredients
Equipment
Method
- Gather all ingredients in a large mixing bowl. Measure out 6 cups of Krispie cereal, 1 cup of crushed Oreo cookies, and 1 cup of mini marshmallows.
- In a medium saucepan, melt 4 tablespoons of butter over medium heat until bubbling, about 1-2 minutes. Then add 8 cups of mini marshmallows and a pinch of salt. Stir continuously for 3-4 minutes until the mixture is melted and glossy.
- Carefully pour the melted marshmallow mixture over the Krispie cereal and crushed Oreos. Fold the mixture gently for about 2-3 minutes until well-coated.
- Grease a 9-inch square pan lightly. Pour the mixture into the pan, pressing down evenly to form a flat top. Pack gently but firmly.
- Allow the Oreo Krispies to cool for about 30 minutes, then cut into squares or rectangles for serving.
Leave a Reply