The aroma of peppermint and chocolate whirls through the air, instantly evoking cozy holiday memories. Homemade Peppermint Patties are not just a treat; they’re a festive tradition waiting to be unwrapped in your kitchen. With only five simple ingredients, this no-bake dessert is as easy to make as it is delightful to enjoy, making it the perfect addition to your holiday celebrations. These creamy, minty confections are not only a crowd-pleaser but also a heartfelt way to spread cheer to family and friends. Plus, you can easily personalize them—try swapping out the peppermint extract for your favorite flavor to create a unique spin! So, are you ready to impress with a homemade holiday treat that everyone will love?
Why are Homemade Peppermint Patties special?
Irresistible Flavor: The cool burst of peppermint paired with rich chocolate delivers a taste sensation that’s simply unforgettable.
Minimal Ingredients: With just five pantry staples, you can create these mouthwatering treats without the fuss.
No-Bake Convenience: Perfect for busy cooks, these patties don’t require an oven—just mix, chill, and coat!
Festive Appeal: Their glossy finish and minty essence make them a delightful addition to any holiday platter, perfect for gifting or serving at parties.
Endless Variations: Feel free to personalize your patties by experimenting with other extracts like almond or lemon—the possibilities are endless! For more delightful holiday ideas, check out these Soft Christmas Peppermints or consider whipping up some Homemade English Toffee for an extra sweet treat!
Homemade Peppermint Patties Ingredients
For the Filling
• Unsalted Butter – 2 tablespoons for creaminess and richness; can be substituted with dairy-free butter for a vegan option.
• Light Corn Syrup – ¼ cup acts as a binder and adds sweetness; golden syrup works as a suitable replacement.
• Peppermint Extract – 1 teaspoon infuses the candy with refreshing mint flavor; switch it up with lemon or maple extract for a unique twist.
• Confectioner’s Sugar – 2 cups sweetens and gives structure to the filling; if the dough is too sticky, gradually add more sugar until it’s manageable.
For the Coating
• Dark Chocolate Melting Wafers – 12 ounces provide a smooth and glossy finish; milk or white chocolate melting wafers can be used instead, but avoid chocolate chips for a dull finish.
Step‑by‑Step Instructions for Homemade Peppermint Patties
Step 1: Prepare Your Workspace
Begin by lining a baking sheet with parchment paper to prevent sticking. This surface will hold your peppermint patties as they chill. Make sure the paper is smooth and flat, ready to catch the delicious treats you’ll create in just a few steps!
Step 2: Mix the Filling
In a mixing bowl, combine 2 tablespoons of unsalted butter, ¼ cup of light corn syrup, and 1 teaspoon of peppermint extract. Use a sturdy spatula or mixer to blend until smooth and creamy. The mixture should be well-combined and uniform, with a refreshing aroma indicating that you are on your way to delicious homemade peppermint patties.
Step 3: Form the Dough
Gradually add 2 cups of confectioner’s sugar to the creamy mixture, stirring until a thick dough forms. If the mixture feels sticky, add a bit more sugar until it is manageable but still pliable. You want a dough that holds its shape well when formed into patties.
Step 4: Shape the Patties
Scoop out about 2 teaspoons of dough and roll it into a ball. Then, gently flatten the ball into a disc about ¼ inch thick, placing each one on the prepared baking sheet. Aim for uniform thickness; this ensures even cooling and chocolate coating later. Repeat until all the dough is shaped into patties.
Step 5: Chill the Patties
Once shaped, place the baking sheet in the refrigerator or freezer for about 30 minutes. This chilling period helps the patties firm up, making them easier to coat with chocolate later. They should feel solid and firm to the touch when ready.
Step 6: Melt the Chocolate
In a microwave-safe bowl, add 12 ounces of dark chocolate melting wafers. Microwave in 30-second intervals, stirring in between, until the chocolate is completely melted and smooth. You want a glossy finish that will envelop your peppermint patties beautifully, so be careful not to overheat.
Step 7: Coat the Patties
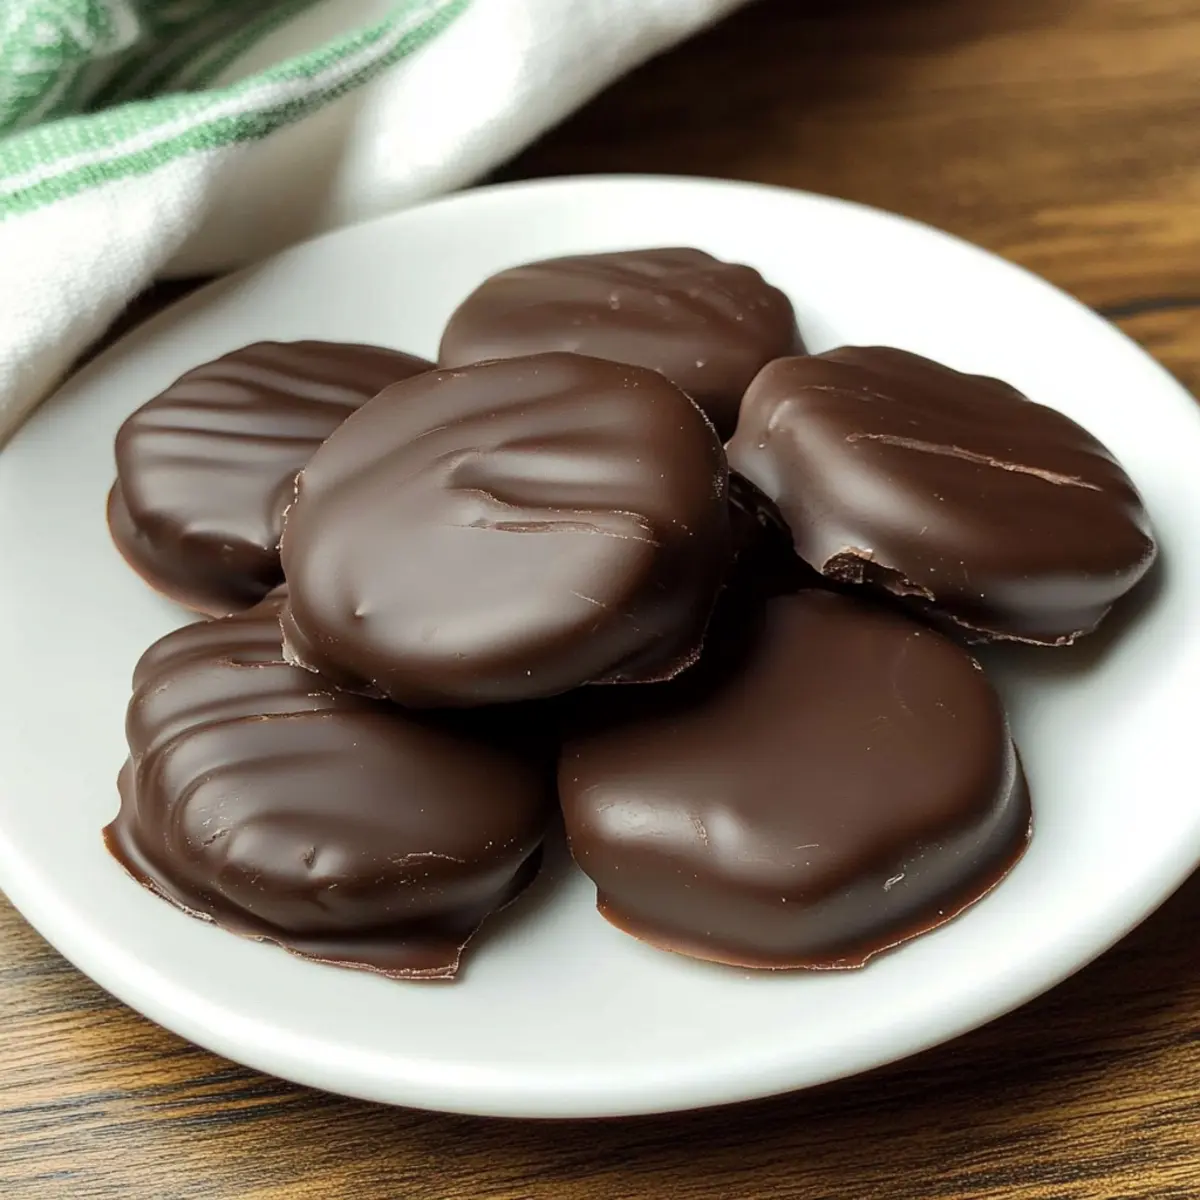
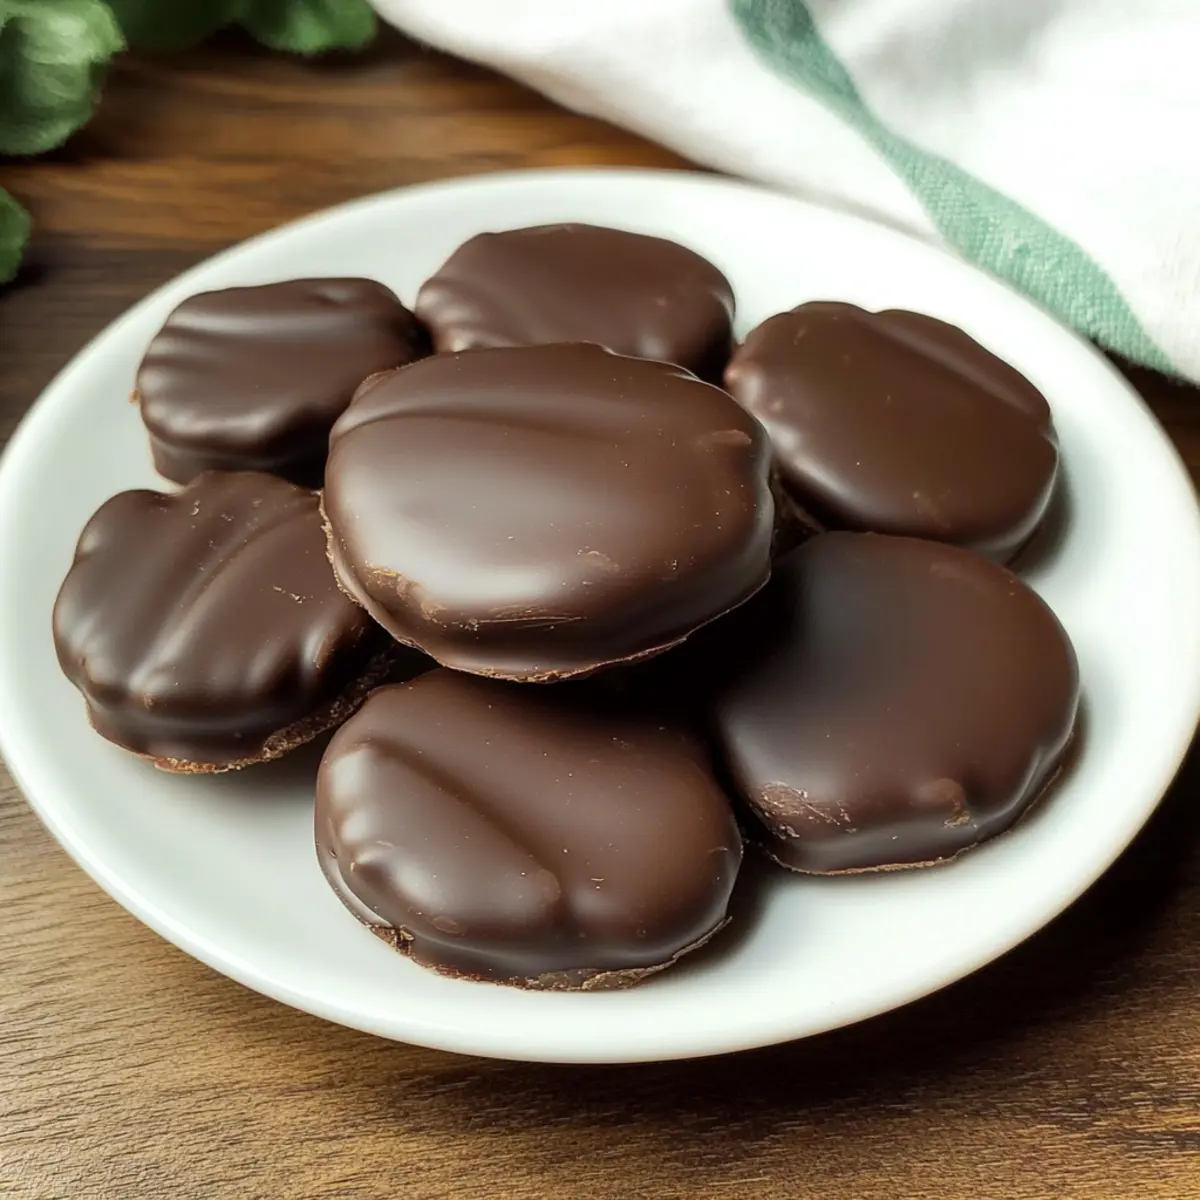
Using a fork, carefully dip each chilled peppermint disc into the melted chocolate, ensuring it’s completely covered. Allow any excess chocolate to drip off before placing the coated patties back on the parchment-lined baking sheet. This step is crucial for achieving that irresistible shiny finish.
Step 8: Set the Candies
Let the coated peppermint patties cool until the chocolate hardens, which should take about 10 minutes in the refrigerator or 30 minutes at room temperature. Once set, you’ll have glossy, smooth homemade peppermint patties ready to share or enjoy—all just in time for your festive celebrations!

Make Ahead Options
These Homemade Peppermint Patties are perfect for busy home cooks looking to save time during the festive season! You can prepare the filling and shape the patties up to 24 hours in advance; simply refrigerate them on a parchment-lined baking sheet. To maintain their quality, ensure they are tightly covered to prevent drying out. When you’re ready to serve, simply dip the chilled patties in melted chocolate and allow them to set. For even more convenience, you can also freeze the shaped patties for up to 3 months—just thaw them in the refrigerator overnight before coating. This way, you can effortlessly create a batch of delicious Homemade Peppermint Patties that are just as delightful as if freshly made!
How to Store and Freeze Homemade Peppermint Patties
Room Temperature: Store the patties in a tightly sealed container at room temperature for up to 2-3 weeks. This allows you to enjoy them fresh while maintaining their delightful texture.
Fridge: For longer freshness, place the peppermint patties in the fridge, where they can last for about 4 weeks in an airtight container without losing their creamy consistency.
Freezer: If you want to prep ahead, freeze the patties in a single layer on a baking sheet, then transfer them to an airtight container or freezer bag. They’ll stay delicious for up to 3 months!
Thawing: To enjoy frozen homemade peppermint patties, simply let them thaw in the refrigerator for a few hours or at room temperature for about 20 minutes before indulging in their minty goodness.
What to Serve with Homemade Peppermint Patties?
Enhance your holiday gatherings by pairing these delightful treats with complementary flavors and festive beverages.
- Creamy Hot Cocoa: The rich, velvety texture of hot cocoa enhances the minty sweetness of peppermint patties, creating a cozy duo.
- Spiced Chai Latte: Its warm spices offer a beautiful contrast to the cool peppermint, making each sip and bite an exquisite experience.
- Christmas Cookie Platter: A tray of assorted cookies, from gingerbread to sugar cookies, provides delightful variety and complements the mint chocolate bliss.
- Cheese Board: Include aged cheddar or creamy brie for a sophisticated balance of flavors. The cheese’s richness beautifully tones down the sweetness of the patties.
- Peppermint Bark: Layered with chocolate and crushed peppermint, this treat echoes the flavors of the patties and adds a crunchy texture for variety.
- Fruit Salad: A crisp, refreshing fruit salad—think apples, pears, and berries—offers a light and fruity counterpoint to the rich, creamy patties.
- Sparkling Water with Lemon: The light fizz and citrus notes cleanse the palate, allowing you to enjoy every decadent bite of your homemade peppermint patties.
Homemade Peppermint Patties Variations
Feel free to explore your creativity and make these treats uniquely yours with delightful twists!
- Vegan Option: Use dairy-free butter instead of unsalted butter to create a plant-based version that everyone can enjoy.
- Alternative Flavors: Substitute peppermint extract with lemon or orange extract for a zesty surprise that brightens up the taste.
- Crushed Candy Coating: Roll your patties in crushed candy canes post-dipping for an added crunch and festive flair.
- Chocolate Variations: Try using milk or white chocolate melting wafers instead of dark chocolate for a sweeter finish that appeals to all palates.
- Frozen Treats: For a refreshing summer treat, freeze the prepared patties after coating for a cool, creamy bite that’s perfect for hot days.
- Textured Filling: Add crushed nuts or coconut flakes to the filling for an extra layer of texture and flavor that will make each bite even more exciting.
- Seasonal Spice: Incorporate a pinch of cinnamon or nutmeg into the filling for a warm, spiced twist that adds a cozy touch during the holidays.
- Mini Patties: Instead of traditional-sized patties, form smaller ones for bite-sized treats that are perfect for sharing or adding to dessert trays.
Whether you’re hosting a gathering or simply indulging at home, these variations allow you to enjoy the essence of Soft Christmas Peppermints or whip up some Homemade English Toffee alongside your peppermint patties for an even sweeter experience!
Expert Tips for Homemade Peppermint Patties
• Chill for Firmness: Ensure your patties are well-chilled before dipping in chocolate. This prevents them from losing shape during coating.
• Choose the Right Chocolate: Use melting wafers for a shiny finish. Chocolate chips can result in soft, dull coatings that don’t have that desired professional look.
• Add Topping Immediately: If you plan to sprinkle crushed candy canes or toppings, do so while the chocolate is still wet for the best adhesion and presentation.
• Avoid Sticky Dough: If your filling dough is sticky, add more confectioner’s sugar gradually. A good consistency makes shaping the patties much easier!
• Experiment with Flavors: Don’t hesitate to swap peppermint extract for alternatives like orange or almond. This opens a world of variations for your homemade peppermint patties!
Homemade Peppermint Patties Recipe FAQs
How do I select the right peppermint extract?
Absolutely! When choosing peppermint extract, look for high-quality extracts made from real peppermint for the best flavor. The more natural the ingredients, the richer the taste. If the extract has a bright green color, it might contain artificial colors, so opt for clear or deep brown extracts for a more authentic flavor.
What’s the best way to store my homemade peppermint patties?
I recommend storing your homemade peppermint patties in a tightly sealed container at room temperature for up to 2-3 weeks. If you’d like to keep them longer, place them in the refrigerator, where they can last about 4 weeks without losing that creamy consistency.
Can I freeze the peppermint patties for later use?
Yes! Freezing is a fantastic option if you want to prep ahead. After shaping the patties, lay them in a single layer on a baking sheet to freeze until solid. Then transfer them to an airtight container or freezer bag. They can last for up to 3 months! Just remember to thaw them in the refrigerator for a few hours or at room temperature for about 20 minutes before enjoying.
What if my filling dough turns out too sticky?
No worries! If your dough is sticky, simply add confectioner’s sugar gradually until you reach a manageable consistency. It’s essential to mix thoroughly to allow the sugar to integrate well. If you find the dough too dry, you can moisten it with a tiny amount of corn syrup or melted butter to improve its pliability.
Are these peppermint patties safe for pets or those with specific allergies?
Very important to consider! These homemade peppermint patties contain ingredients like butter and chocolate, which are not safe for pets. Additionally, if you or anyone consuming them has allergies to dairy, ensure you use dairy-free substitutions. Always check labels for allergy warnings, particularly when using flavored extracts or store-bought ingredients.

Delightful Homemade Peppermint Patties for Festive Cheer
Ingredients
Equipment
Method
- Prepare Your Workspace: Line a baking sheet with parchment paper.
- Mix the Filling: In a mixing bowl, combine 2 tablespoons of unsalted butter, ¼ cup of light corn syrup, and 1 teaspoon of peppermint extract until smooth.
- Form the Dough: Gradually add 2 cups of confectioner's sugar until a thick dough forms.
- Shape the Patties: Scoop about 2 teaspoons of dough, roll into a ball, then flatten into a disc.
- Chill the Patties: Refrigerate the baking sheet for 30 minutes.
- Melt the Chocolate: In a microwave-safe bowl, melt the dark chocolate melting wafers.
- Coat the Patties: Dip each chilled peppermint disc in melted chocolate and let excess drip off.
- Set the Candies: Cool the coated patties until the chocolate hardens.
Leave a Reply