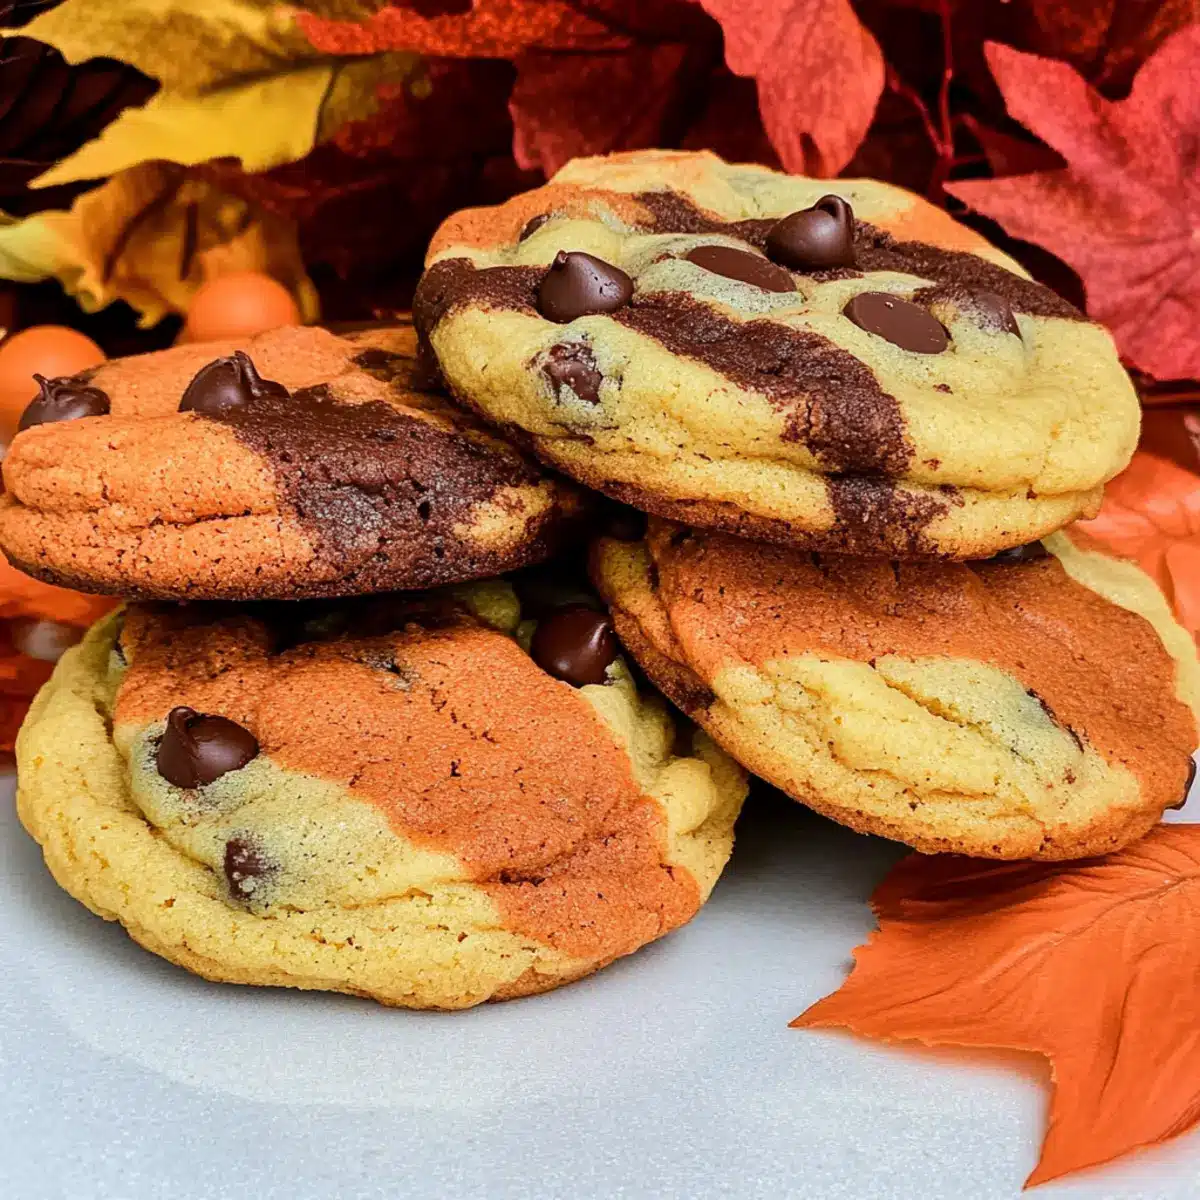
As I watched the leaves turn brilliant shades of orange and gold, I felt an irresistible urge to bring a bit of that fall magic into my kitchen. Enter the Harvest Marble Chocolate Chip Cookies! These delightful treats not only capture the cozy essence of autumn with their stunning marbled dough but also combine the beloved taste of chocolate chip cookies with a festive twist. With quick and easy preparation, you can whip these up in no time, making them a perfect addition to your Thanksgiving dessert table or simply a sweet indulgence for any autumn afternoon. Are you ready to fill your home with delicious aromas and cheerful colors? Let’s dive into the recipe!
Why Are These Cookies So Special?
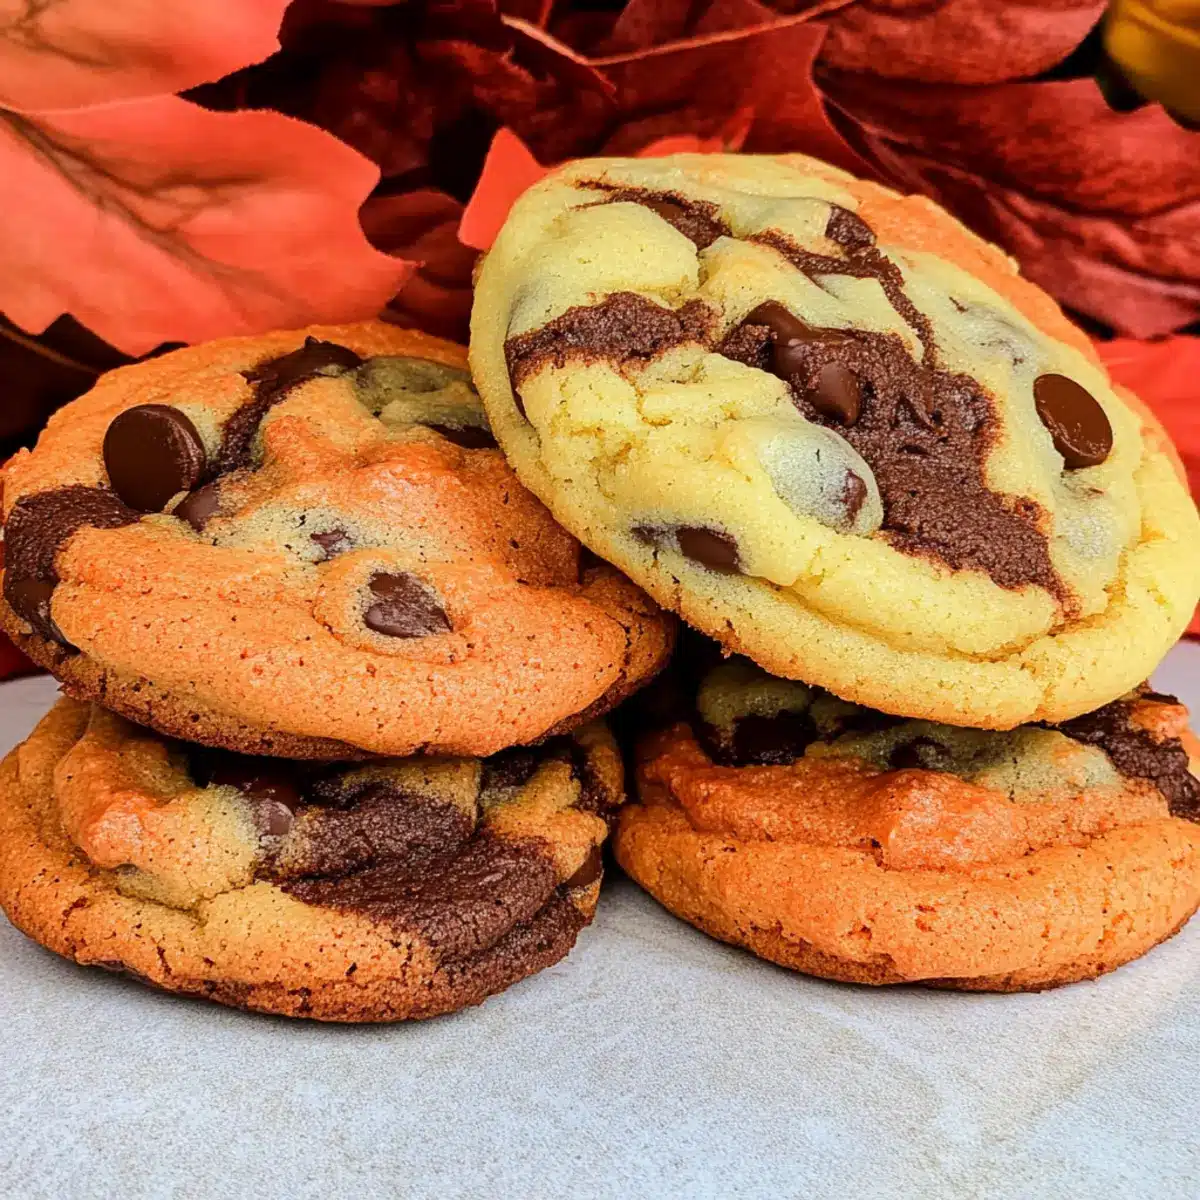
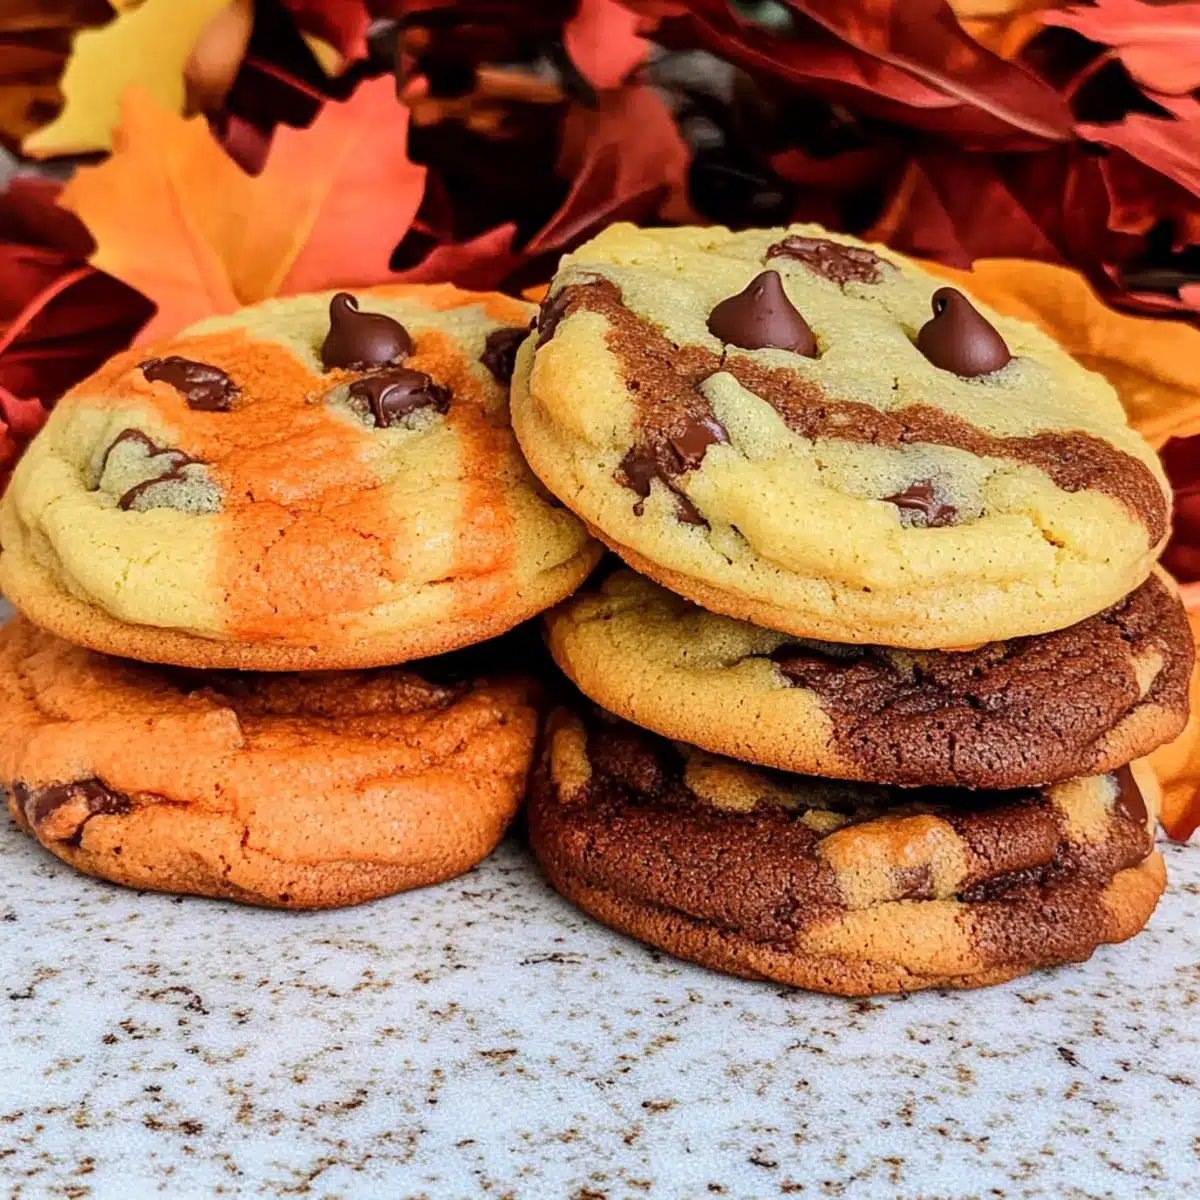
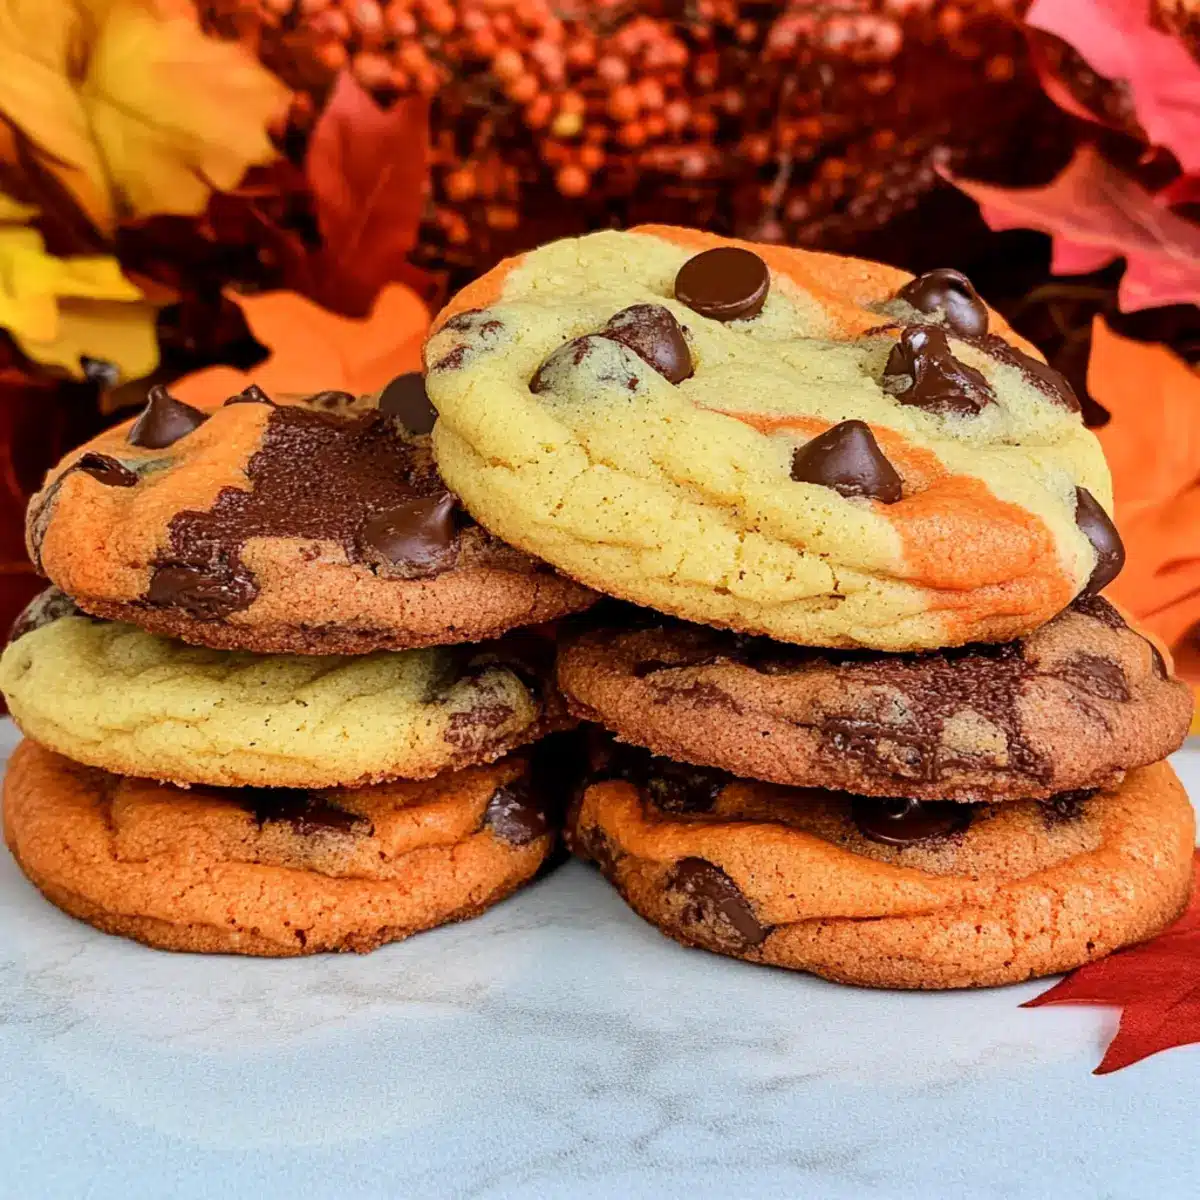
Vibrant Colors: The marbled orange and brown dough not only looks gorgeous but also brings the essence of fall right to your table.
Easy Preparation: With just a few straightforward steps, anyone can create these delightful cookies—perfect for both novice bakers and seasoned chefs alike!
Flavorful Twist: Combining traditional chocolate chip cookie goodness with seasonal colors and flavors sets these cookies apart.
Crowd-Pleasing Treat: Whether for Thanksgiving gatherings or cozy evenings at home, these cookies are sure to impress family and friends.
Versatile Options: Feel free to mix in nuts or swap chocolate chips for a unique twist, similar to my delicious Pecan Pie Cookies.
Baking should be fun and enjoyable, and this recipe truly embodies that spirit while bringing a festive touch to your table!
Harvest Marble Chocolate Chip Cookies Ingredients
Get ready to create a fall masterpiece in your kitchen!
For the Dough
- Butter (1 cup, softened) – Provides richness and moisture; use unsalted for better flavor control.
- Granulated Sugar (1 cup) – Adds sweetness and texture; can be replaced with coconut sugar for a richer taste.
- Brown Sugar (1/2 cup) – Contributes moisture and caramel flavor; dark brown sugar enhances richness.
- Eggs (2 large) – Binds ingredients for structure; substitute with flaxseed meal mixed with water for a vegan option.
- Vanilla Extract (2 teaspoons) – Adds depth of flavor; pure vanilla extract is best for optimal taste.
- Baking Soda (1 teaspoon) – Acts as a leavening agent for rising; adjust amount if using baking powder as a substitute.
- Salt (1/2 teaspoon) – Enhances flavor; can omit if using salted butter.
- All-Purpose Flour (2 3/4 cups) – The base for the cookie dough; gluten-free flour blends work well for a gluten-free version.
For the Chocolate
- Nestle Toll House Chocolate Chips (1 bag) – Provides delightful chocolatey sweetness; try dark or semi-sweet chips for variety.
For Coloring
- Food Coloring (optional) – Use to color dough for the marbled effect; natural colorings are great substitutes for a healthier choice.
These Harvest Marble Chocolate Chip Cookies promise to be a delightful addition to your fall festivities!
Step‑by‑Step Instructions for Harvest Marble Chocolate Chip Cookies
Step 1: Cream the Butters and Sugars
In a stand mixer, cream together 1 cup of softened butter, 1 cup of granulated sugar, and 1/2 cup of brown sugar on medium speed for 2-3 minutes. This process will create a light, fluffy mixture; the sugars and butter should be well combined and pale in color, indicating it’s ready for the next step.
Step 2: Add Wet Ingredients
Crack in 2 large eggs and pour in 2 teaspoons of pure vanilla extract into the creamed mixture. Mix on medium speed for about 3 minutes, or until the batter appears fluffy and smooth. Stop to scrape down the sides of the bowl to ensure everything is evenly combined, creating the base for your Harvest Marble Chocolate Chip Cookies.
Step 3: Incorporate the Dry Ingredients
With the mixer on low speed, add 1 teaspoon of baking soda and 1/2 teaspoon of salt to the batter, mixing just until incorporated. Gradually add in 2 3/4 cups of all-purpose flour. Continue mixing until the dough forms and no dry flour remains, taking care not to overmix, which could affect the cookie texture.
Step 4: Divide the Dough
Once the dough is ready, turn it out onto a clean surface and divide it into three equal portions. Use your hands to shape each portion into a small ball, allowing for easy coloring and marbling later on. This step is crucial for creating the beautiful marbled effect of the Harvest Marble Chocolate Chip Cookies.
Step 5: Color the Dough
Take one portion of dough and add a few drops of orange food coloring, kneading it until the color is evenly distributed. Repeat this process with the second portion using brown food coloring. The third portion will remain uncolored. This vibrant coloring will give your cookies a festive autumn appearance that captures the spirit of fall.
Step 6: Fold in Chocolate Chips
Evenly fold in a bag of Nestle Toll House chocolate chips into each colored portion of dough. Ensure that the chips are distributed well throughout each dough color for maximum chocolatey goodness in every bite. This adds that beloved chocolatey flavor to your Harvest Marble Chocolate Chip Cookies, making them even more irresistible.
Step 7: Assemble the Cookie Dough
Preheat your oven to 375°F (190°C). For each cookie, take small pieces of the orange, brown, and uncolored dough, and gently combine them to form a 2 oz. cookie ball. Vary the combinations for the marbling effect, making sure to retain visible sections of each color. This step is what will make your cookies visually striking.
Step 8: Prepare for Baking
Place the formed cookie balls on a baking sheet lined with parchment paper, leaving enough space (about 2 inches apart) for them to spread. Use your palm to slightly flatten each dough ball for even baking. At this point, your Harvest Marble Chocolate Chip Cookies will be ready for the oven and the delightful aromas to fill your kitchen!
Step 9: Bake the Cookies
Slide the tray into the preheated oven and bake for 8-10 minutes, or until the edges are golden brown while the centers remain soft. Keep an eye on them as they bake; they should look slightly underbaked in the center for that perfect chewy texture once cooled.
Step 10: Cool and Enjoy
Once baked, remove the cookies from the oven and let them cool on the baking sheet for 5 minutes. This allows them to set before transferring to a wire rack to cool completely. These Harvest Marble Chocolate Chip Cookies are best enjoyed warm, when the chocolate chips are melty and delicious!
How to Store and Freeze Harvest Marble Chocolate Chip Cookies
Room Temperature: Store cookies in an airtight container at room temperature for up to 1 week for optimal freshness.
Fridge: If you prefer a chewier texture, place the cookies in the fridge for up to 2 weeks, ensuring they’re well-sealed to avoid drying out.
Freezer: Freeze cookies in a single layer on a baking sheet for about an hour, then transfer to a freezer-safe bag for up to 3 months. Thaw before enjoying!
Reheating: To enjoy warm cookies, reheat in the microwave for 10-15 seconds or in a preheated oven at 350°F until warmed through, keeping the delightful flavors of your Harvest Marble Chocolate Chip Cookies intact.
Make Ahead Options
These Harvest Marble Chocolate Chip Cookies are perfect for meal prep and saving time on busy days! You can prepare the cookie dough up to 24 hours in advance. Simply follow the steps to mix the dough, then divide it into portions and color each with food coloring. Wrap the dough tightly in plastic wrap or store in an airtight container to prevent drying out. When you’re ready to bake, just scoop the colorful dough balls onto a baking sheet and bake straight from the refrigerator—no need to thaw! This way, you’ll enjoy fresh, delicious cookies with minimal effort, perfect for any cozy fall gathering or sweet treat craving.
Expert Tips for Harvest Marble Chocolate Chip Cookies
-
Measure Precisely: Using a kitchen scale ensures accurate ingredient measurements, leading to better texture and taste in your Harvest Marble Chocolate Chip Cookies.
-
Softened Butter: Make sure your butter is softened but not melted. This provides the best texture, preventing cookies from being flat or too crumbly.
-
Don’t Overmix: Avoid overmixing once you add the flour. Mix until just combined to keep the cookies soft and chewy, a key aspect of a perfect chocolate chip cookie.
-
Chill the Dough: If the dough feels too warm or sticky, consider chilling it for about 30 minutes. This helps the cookies maintain their shape during baking.
-
Watch the Bake Time: Keep an eye on your cookies as they bake; they should be golden at the edges but still soft in the middle. This is essential for achieving that classic chewy texture.
Harvest Marble Chocolate Chip Cookies Variations
Feel free to get creative with these cookies by customizing them to suit your taste and dietary preferences!
- Nutty Delight: Add chopped pecans or walnuts for a crunchy texture and delicious nutty flavor.
- Flavorful Chips: Swap in white chocolate chips or peanut butter chips for a fun twist on the classic chocolate chip cookie.
- Colorful Naturals: Use natural food colorings, like beet juice or turmeric, to create healthier yet vibrant shades in your cookie dough.
- Spiced Up: Add a pinch of cinnamon or nutmeg to the dough for a warm, spicy kick that evokes the cozy feel of autumn.
- Gluten-Free: Substitute all-purpose flour for a gluten-free blend to enjoy these cookies without sacrificing taste or texture.
- Lower Sugar: For a lighter option, reduce the granulated sugar by 1/4 cup or replace it with coconut sugar for a deeper flavor.
- Dairy-Free: Use coconut oil in place of butter and dairy-free chocolate chips to make them suitable for a dairy-free diet.
- Chewy Phenomenon: Experiment with chilling the dough before baking to enhance the chewy texture of these delightful cookies.
Whether you’re mixing in nuts or trying out a different combination of flavors, your kitchen will be filled with the warmth of fall. For more inspiration, you might also enjoy baking some delightful Pecan Snowball Cookies or Buttery Spritz Cookies. Happy baking!
What to Serve with Harvest Marble Chocolate Chip Cookies
Elevate your cozy autumn moments with delightful pairings that complement the vibrant flavors of these beautiful cookies.
-
Warm Apple Cider: A comforting beverage that enhances the fall flavors, its sweet and spiced notes pair perfectly with the cookies’ chocolatey richness.
-
Vanilla Ice Cream: Creamy and cold, it contrasts beautifully with the chewy cookies, creating a delightful melt-in-your-mouth experience.
-
Pecan Pie Bars: These rich, nutty treats echo the flavors of the season while providing a tasty contrast to the softness of the cookies.
-
Caramel Sauce for Drizzling: A drizzle of warm caramel adds a luxurious touch that makes each bite of the cookie even more indulgent and festive.
-
Hot Chocolate: Rich and decadent, sipping on a mug of hot chocolate as you enjoy these cookies will transport you into a blissful fall dream.
-
Cheesecake Bites: Miniature cheesecake bites offer a creamy, tangy alternative that complements the cookies’ sweetness while providing a delightful texture contrast.
-
Pumpkin Spice Latte: The warm spices of this beloved drink harmonize with the cozy essence of the cookies, creating a perfect match for your fall gatherings.
Harvest Marble Chocolate Chip Cookies Recipe FAQs
How do I choose the right ripeness of my ingredients?
Absolutely! When selecting your butter, it should be softened but not melted—this creates that fluffy texture we love. For eggs, use fresh, large ones; look for clean shells without cracks. Fresh ingredients make a big difference in taste and texture!
What is the best way to store Harvest Marble Chocolate Chip Cookies?
To maintain their freshness, store your cookies in an airtight container at room temperature for up to 1 week. If you prefer a chewier bite, you can refrigerate them for up to 2 weeks. Just make sure they’re sealed properly to prevent dryness.
Can I freeze these cookies for later?
Yes, you can! To freeze your Harvest Marble Chocolate Chip Cookies, first, place them in a single layer on a baking sheet and freeze for about an hour. Then, transfer the cookies to a freezer-safe bag, where they’ll keep well for up to 3 months. Just thaw them at room temperature before enjoying!
What if my cookies spread too much during baking?
Very! If your cookies spread too much, it might be due to either overmixing the dough or using too warm a butter. To troubleshoot, try chilling the dough for 30 minutes before baking, which will help the cookies hold their shape.
Are there any dietary considerations for these cookies?
Absolutely! If you’re baking for someone with allergies, remember to substitute the eggs with a flaxseed meal mixed with water for a vegan option. Additionally, if you’re catering to gluten-free diets, use a gluten-free flour blend as an alternative for the all-purpose flour.
How can I ensure my cookies have the perfect texture?
The key is in careful mixing and baking. Make sure to cream the butter and sugars well, but be cautious not to overmix after adding the flour as this can lead to tougher cookies. When baking, keep an eye on them—they should be golden on the edges but still soft in the center when pulled from the oven!
Harvest Marble Chocolate Chip Cookies for Cozy Fall Moments
Ingredients
Equipment
Method
- Cream together the softened butter, granulated sugar, and brown sugar on medium speed for 2-3 minutes until light and fluffy.
- Add the eggs and vanilla extract to the mixture, mixing on medium speed for about 3 minutes until fluffy.
- Incorporate baking soda and salt, then gradually add the all-purpose flour, mixing until the dough forms.
- Divide the dough into three portions and shape each into a small ball.
- Color one portion with orange food coloring, another with brown, and leave the last uncolored.
- Fold in the chocolate chips into each colored portion of dough.
- Preheat the oven to 375°F (190°C) and form each cookie ball by combining small pieces of each dough color.
- Place the cookie balls on a baking sheet lined with parchment paper and flatten slightly.
- Bake for 8-10 minutes until edges are golden brown, allowing centers to remain soft.
- Cool on the baking sheet for 5 minutes before transferring to a wire rack.
Leave a Reply