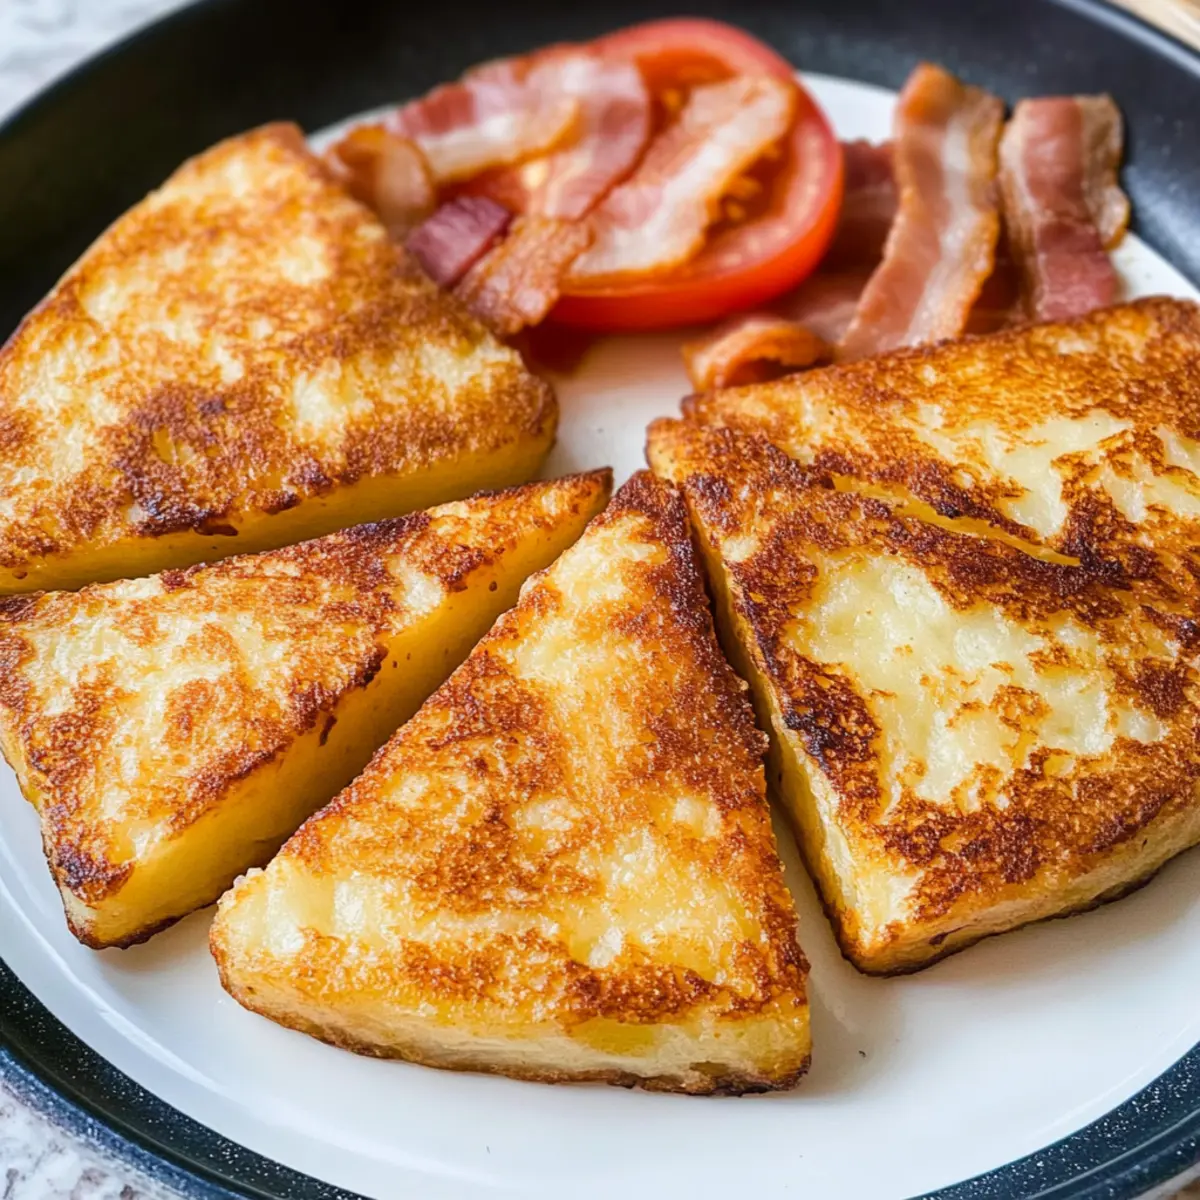
“Can you believe a simple dish can transport you straight to the heart of Ireland?” That’s exactly what you’ll experience with my Authentic Irish Potato Farls Recipe. Made with just four humble ingredients, these delightful potato cakes are a fantastic way to use up leftover mashed potatoes while delivering a warm, comforting breakfast in under 30 minutes. They provide the perfect, quick breakfast solution for those busy mornings, offering a satisfying bite that pairs beautifully with eggs, tomatoes, and crispy bacon. Plus, they’re egg-free, making them a versatile option for everyone! Ready to elevate your breakfast game? Let’s dive into whipping up these tasty little gems!
Why Are Irish Potato Farls So Amazing?
Simplicity at its finest: With just four ingredients, you can whip up these flavorful farls in no time.
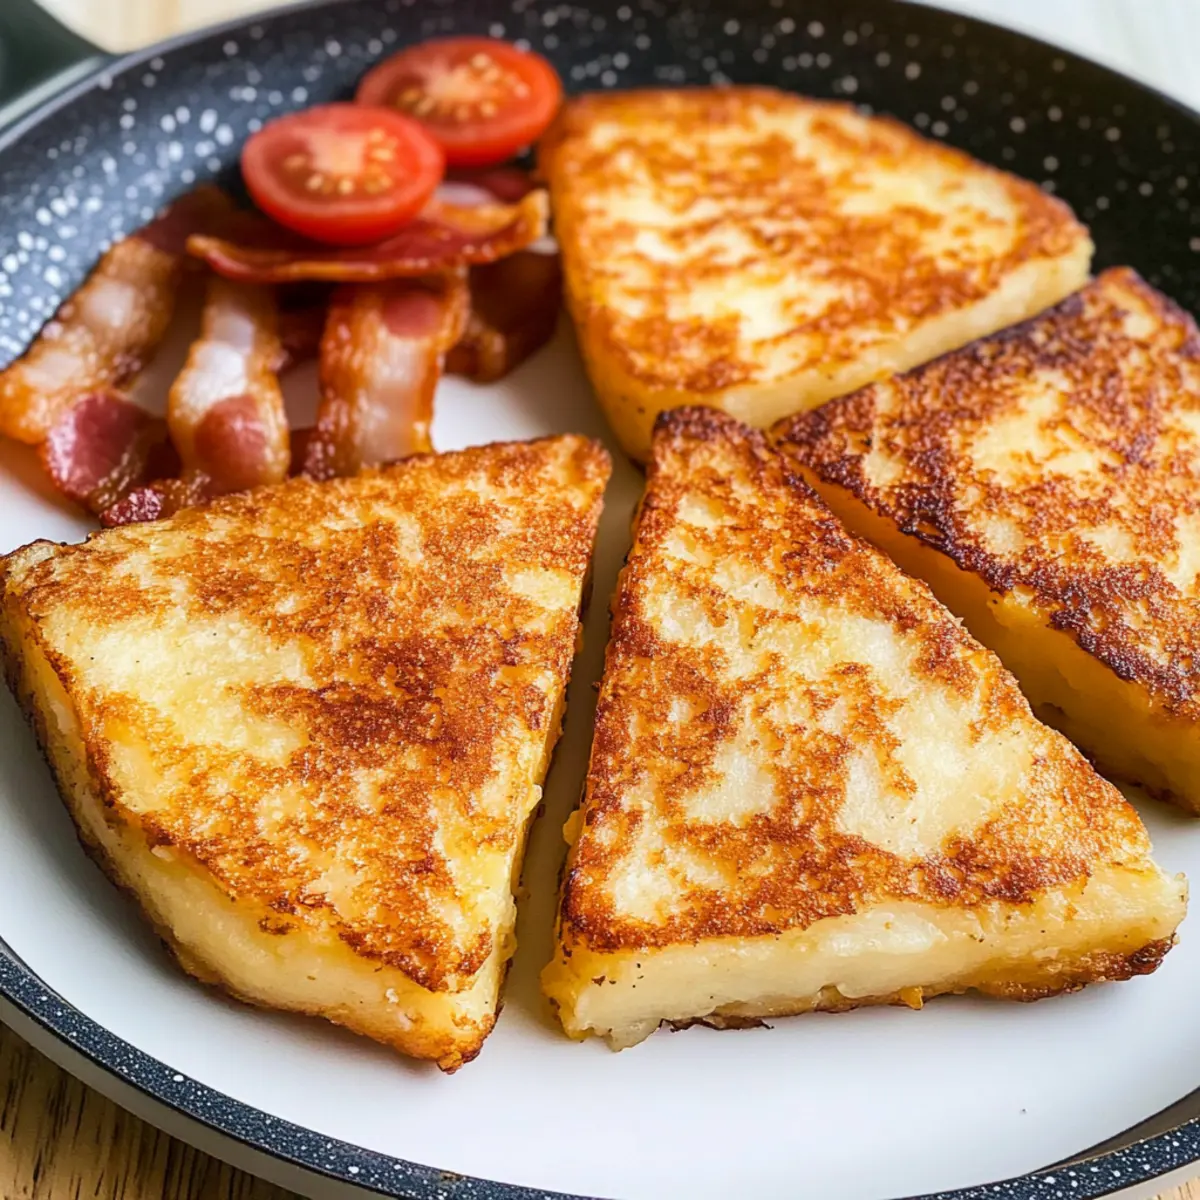
Versatile options: Enjoy them on their own or elevate your breakfast by serving with crispy bacon and grilled tomatoes.
Quick and easy: Ready in under 30 minutes, perfect for busy mornings when you need a hearty meal fast.
Egg-free goodness: These farls are a great option for those avoiding eggs, making them suitable for a wider crowd.
Perfectly crispy exterior and fluffy interior: The combination of texture makes every bite a delightful experience! Consider serving them alongside Fried Mashed Potato for a brunch spread that’s sure to impress.
Authentic Irish Potato Farls Recipe Ingredients
For the Farls
- Potatoes (3 medium, Russet, Maris Piper, or Roosters) – Choose fluffy, high-starch potatoes for the best texture in your farls.
- All-Purpose Flour (¾ cup) – This binds the dough; can be substituted with a gluten-free blend if needed.
- Sea Salt (1½ teaspoons) – Essential for enhancing the flavor of the farls.
- Black Pepper (½ teaspoon) – Adds a subtle warmth and depth to the overall taste.
- Butter (2 tablespoons + more for cooking) – Brings richness and aids frying; use oil for a dairy-free version.
Now that you have your ingredients prepped, you’re just a few steps away from enjoying these delightful Authentic Irish Potato Farls!
Step‑by‑Step Instructions for Authentic Irish Potato Farls Recipe
Step 1: Prep Potatoes
Begin by peeling and chopping the three medium potatoes into uniform pieces. In a large pot, steam or boil them for about 20-25 minutes, until they are fork-tender. Once cooked, drain the potatoes thoroughly and let them dry for a few minutes in a sieve to remove excess moisture.
Step 2: Mash Potatoes
While the potatoes are still warm, pass them through a sieve or use a ricer to achieve a light and fluffy texture. This step is crucial for making your Authentic Irish Potato Farls tender. Ensure there are no lumps left in the mixture so that the farls can hold together well during cooking.
Step 3: Mix Dough
In a large mixing bowl, combine the mashed potatoes with ¾ cup all-purpose flour, 1½ teaspoons sea salt, ½ teaspoon black pepper, and 2 tablespoons of melted butter. Stir until the mixture comes together into a soft dough. If it feels too sticky, add a bit more flour to achieve a manageable dough consistency.
Step 4: Shape the Farls
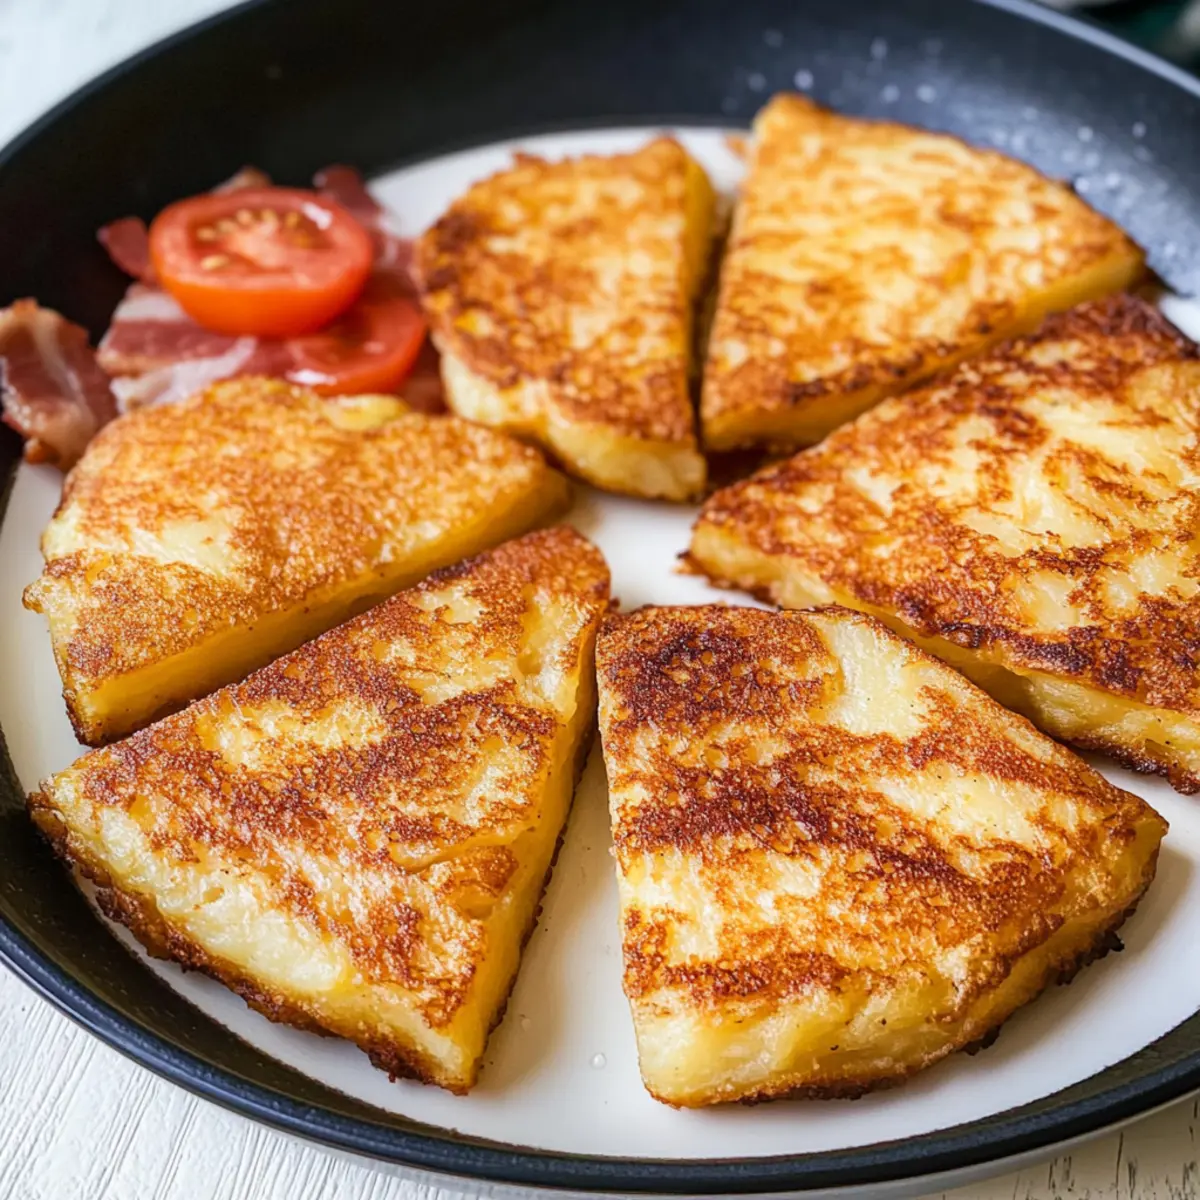
On a lightly floured surface, take the dough and gently flatten it into an 8-inch round disc, about ½-inch thick. Using a sharp knife, cut the disc into six equal wedges, forming the classic shape of your potato farls. Use your hands to gently reshape any uneven edges to ensure consistency.
Step 5: Cook the Farls
Heat a frying pan over medium heat and melt a tablespoon of butter in it. Once the butter is sizzling, place the potato farls in the skillet, ensuring there is enough space between them. Fry each farl for about 5 minutes on one side until golden brown, then carefully flip and fry for another 5 minutes on the opposite side.
Step 6: Serve the Farls
Once cooked, remove the farls from the skillet and place them on a paper towel to absorb any excess grease. Serve your Authentic Irish Potato Farls hot, ideally alongside a traditional Irish breakfast featuring eggs, tomatoes, and crispy bacon for a complete and satisfying meal.

Make Ahead Options
These Authentic Irish Potato Farls are perfect for busy home cooks looking to save time during hectic mornings! You can prepare the potato mixture up to 24 hours in advance by making the dough and shaping the farls, then storing them wrapped tightly in the refrigerator. For optimal freshness, place parchment paper between each farl to prevent sticking. When you’re ready to enjoy, simply heat a skillet over medium heat, add a bit of butter, and fry the farls for about 5 minutes on each side until they are golden brown and crispy. With these make-ahead tips, you’ll have a delicious breakfast ready in no time, just as delightful as if you made them fresh!
What to Serve with Authentic Irish Potato Farls
Prepare to create a memorable breakfast experience that tantalizes your taste buds and satisfies your appetite.
-
Crispy Bacon: The salty crunch of crispy bacon pairs beautifully with the fluffy texture of the farls, creating a perfect balance of flavors.
-
Fried Eggs: Serve sunny-side-up eggs for a delightful runny yolk that enhances the savory goodness of the potato farls.
-
Grilled Tomatoes: Juicy, roasted tomatoes add a fresh burst to your plate, complementing the rich flavors of the farls perfectly.
-
Baked Beans: A savory side of baked beans offers comforting warmth and heartiness, making your breakfast feel like a true feast.
-
Sautéed Mushrooms: Earthy sautéed mushrooms provide a robust flavor that pairs delectably with the potato farls, adding complexity to each bite.
-
Chive Butter: Drizzling melted butter infused with fresh chives brings a sophisticated touch, elevating the farls while adding a hint of herbal brightness.
-
Irish Breakfast Tea: A warm cup of strong Irish breakfast tea enhances the meal, balancing the richness of the farls and every bite’s savory essence.
-
Fresh Fruit: A small bowl of mixed berries brightens your plate with natural sweetness, offering a beautiful contrast to the comforting farls.
-
Homemade Jam: Serve sweet homemade jams on the side for a delightful dip option, adding a touch of sweetness to your savory breakfast spread.
Each pair not only enhances the taste experience but also brings vibrant colors to your breakfast table, ensuring a beautiful start to your day!
Authentic Irish Potato Farls Variations
Feel free to get creative and personalize your Irish Potato Farls with these fun twists!
-
Gluten-Free: Substitute all-purpose flour with a gluten-free flour blend for a delicious alternative that everyone can enjoy.
-
Dairy-Free: Replace butter with your favorite cooking oil, keeping the richness intact while catering to dairy-sensitive friends.
-
Cheesy Delight: Mix in shredded cheese like cheddar or mozzarella for a savory, gooey center that will make every bite irresistible.
-
Herb-Infused: Add fresh herbs, such as chopped parsley or chives, into the dough for a burst of flavor that elevates your farls to new heights.
-
Zesty Kick: For some heat, include finely chopped jalapeños or crushed red pepper flakes for a spicy version that adds excitement to your breakfast spread.
-
Onion Variation: Incorporate grated onion into the dough for a fragrant twist that pairs beautifully with crispy bacon or a hearty sausage link.
-
Sweet Surprise: Serve your farls alongside a fruit chutney or sweet jam to create a satisfying sweet and savory breakfast that surprises the palate.
-
Savory Sauté: Before frying, brown the farls along with finely chopped onions or shallots in the pan to infuse them with deeper flavors reminiscent of a hearty meal.
As you explore these variations, don’t forget to check out Southern Sweet Potato for another comforting dish or perhaps some Potato Cheese Bombs for a fun sidekick at your next brunch gathering!
Expert Tips for Authentic Irish Potato Farls Recipe
-
Choose Right Potatoes: Use fluffy, high-starch varieties like Russet, Maris Piper, or Roosters for the best texture and taste in your farls.
-
Hot Mash: Make sure your mashed potatoes are warm when mixing; this helps the dough come together smoothly and prevents lumps.
-
Don’t Overmix: Mix just until combined; overworking the dough can lead to tough farls. Aim for a soft, pliable texture.
-
Adjust Cooking Fat: For a richer flavor, fry the farls in bacon fat or use butter. For a dairy-free version, opt for oil instead.
-
Serving Variety: Try adding grated onion or chives to the dough for a flavor boost, or serve with jams for a sweet twist—endless possibilities await with your Authentic Irish Potato Farls!
Storage Tips for Authentic Irish Potato Farls
Room Temperature: If you have leftovers, keep them in an airtight container at room temperature for up to 2 days. Enjoy them cold or reheat before serving.
Fridge: Store any cooked potato farls in the fridge for up to 3 days. Place them in a covered container to maintain their moisture and flavor.
Freezer: Uncooked farls can be frozen individually by laying them flat on a baking tray first. Once frozen, transfer them to a freezer bag for up to 2 months. Cook from frozen without thawing.
Reheating: For the best flavor and texture, reheat cooked potato farls in a skillet over medium heat for about 3-4 minutes on each side until warmed through and crispy. Enjoy your Authentic Irish Potato Farls warm!
Authentic Irish Potato Farls Recipe FAQs
How should I choose my potatoes for this recipe?
Absolutely! For the best results, select fluffy, high-starch potatoes like Russet, Maris Piper, or Roosters. These varieties yield a light, fluffy texture when mashed, which is essential for delicious potato farls. Avoid waxy potatoes, as they might result in a denser finished product.
What’s the best way to store leftover potato farls?
Very good question! Store any leftover cooked farls in an airtight container in the fridge for up to 3 days. You can enjoy them cold or reheat them in a skillet for about 3-4 minutes on each side until they’re warm and crispy again. If you want to store them longer, keep them at room temperature for up to 2 days, always reheating before serving.
Can I freeze uncooked potato farls?
Yes, you can! To freeze uncooked farls, lay them flat on a baking tray in a single layer and freeze them for a couple of hours. Once frozen solid, transfer them to a freezer bag for up to 2 months. When you’re ready to cook, simply fry them from frozen without thawing—just add a couple of extra minutes to your cooking time for great results!
What if my dough is too sticky or dry?
Good thinking! If your dough feels too sticky, sprinkle a little more flour (1 tablespoon at a time) until it reaches the right consistency. Conversely, if it’s too dry, add a tiny splash of water or melted butter to help it come together smoothly. Remember, the dough should be soft and manageable, not overly wet or crumbled.
Are potato farls suitable for those with dietary restrictions?
Definitely! My Authentic Irish Potato Farls Recipe is egg-free and can easily be adapted for gluten-free diets by using a gluten-free flour blend. Just check your other ingredients to ensure they’re suitable for your specific dietary needs. These farls are a great choice for anyone looking for a comforting breakfast without eggs!
How can I tell when my farls are done cooking?
Great question! The potato farls should be golden brown on both sides when they’re ready. Typically, you should cook them for about 5 minutes on each side over medium heat. Look for a crispy exterior, and don’t be afraid to give them a quick peek during cooking to ensure they’re reaching that perfect color!
Delicious Authentic Irish Potato Farls Recipe in 30 Minutes
Ingredients
Equipment
Method
- Begin by peeling and chopping the potatoes into uniform pieces. Steam or boil for 20-25 minutes until fork-tender.
- While warm, pass the potatoes through a sieve or ricer to achieve a light and fluffy texture, ensuring no lumps.
- In a bowl, combine the mashed potatoes with flour, sea salt, black pepper, and melted butter. Stir until it forms a soft dough.
- On a floured surface, flatten the dough into an 8-inch round disc, about ½-inch thick. Cut into six wedges.
- Heat a frying pan over medium heat with butter. Fry each farl for 5 minutes per side until golden brown.
- Remove from skillet and drain on paper towels. Serve hot, ideally with eggs, tomatoes, and crispy bacon.
Leave a Reply