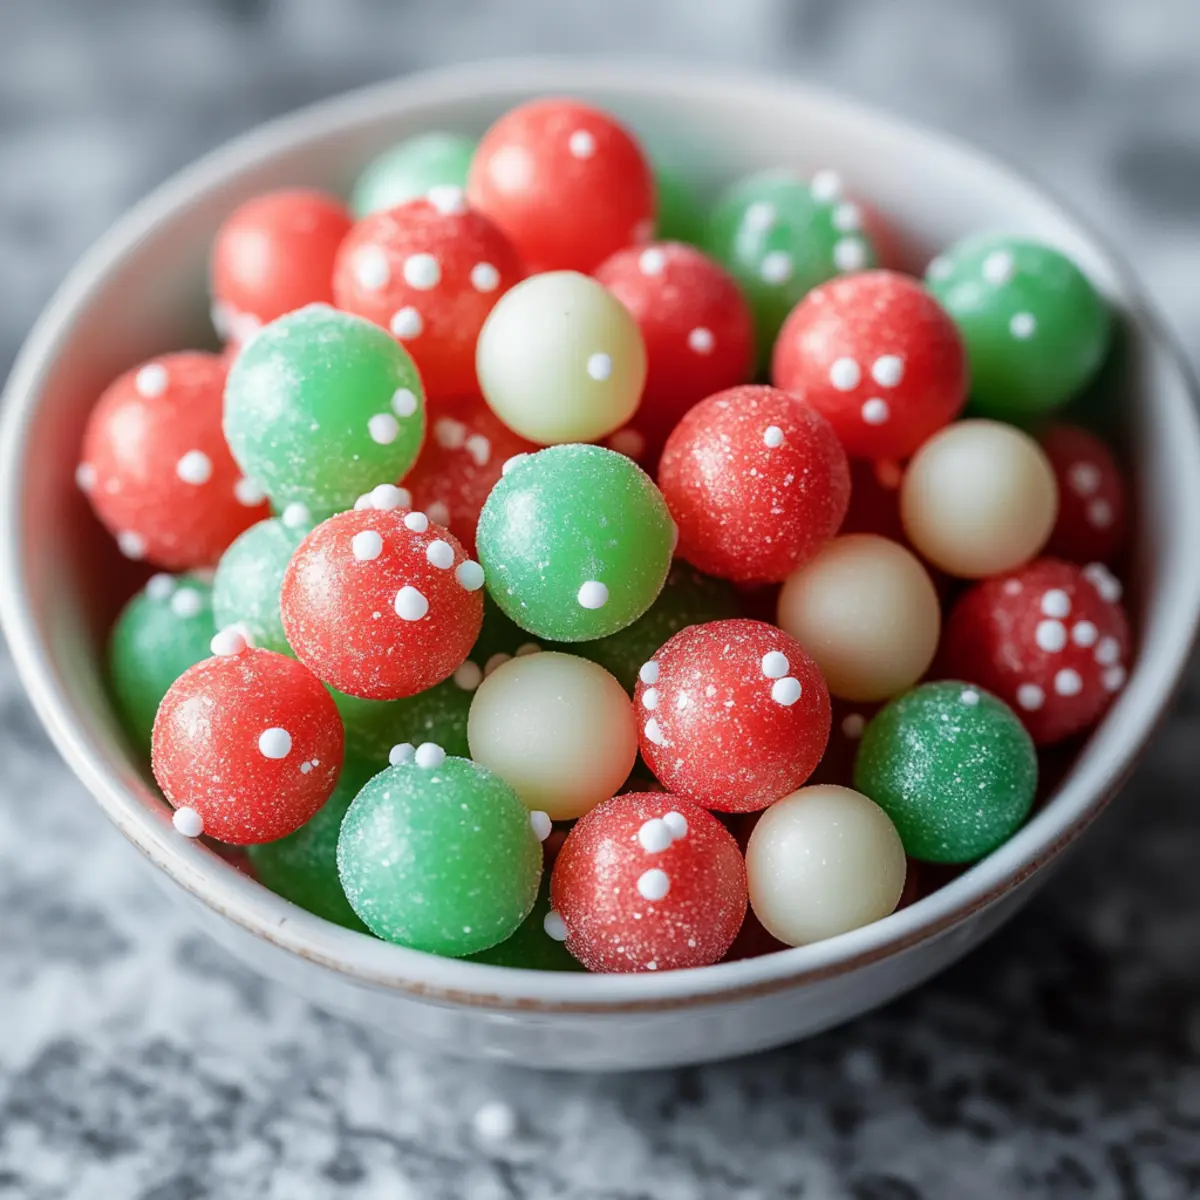
As I rummaged through dusty boxes of holiday decorations, an unexpected aroma of peppermint brought back memories of childhood Christmases spent in a candy-filled wonderland. This journey down memory lane sparked an idea: why not recreate that joy with a fun twist? Enter the DIY Christmas Bubble Gum! This festive treat is not only easy to make—taking just 15 minutes to whip up—but also customizable to reflect your unique holiday spirit. With this delightful gum, you can evoke nostalgia while adding a personalized touch to your celebrations, making it perfect for gift-giving or sharing at parties. Ready to create some sweet memories? Let’s get started on making your own batch of DIY Christmas Bubble Gum!
Why Make DIY Christmas Bubble Gum?
Nostalgic Flavor: This recipe takes you back to childhood Christmases filled with peppermint and joy, creating sweet memories.
Quick and Easy: In just 15 minutes, you can whip up a batch—perfect for last-minute holiday treats!
Customizable Fun: Tailor flavors and colors to suit any festive occasion, from vibrant hues for a birthday to soft pastels for Easter.
Perfect for Gifting: Package your homemade gum in cute bags or jars as thoughtful gifts for friends and family, just like my Christmas Truffles Melt.
Crowd Pleaser: This DIY treat is sure to be a hit at holiday gatherings, making it an excellent addition to your festive spread!
Enticing Visuals: The pop of color makes it an eye-catching delight that everyone will want to try!
DIY Christmas Bubble Gum Ingredients
For the Gum Base
• Gum Base – Essential for achieving that perfect chewy bubble gum texture.
• Corn Syrup – Adds sweetness and helps bind the mixture; opt for light corn syrup for best results.
• Powdered Sugar – Use this generously to control stickiness while kneading the dough.
For Flavoring
• Flavor Oils (peppermint, wintergreen) – These determine the festive taste; avoid alcohol-based extracts to keep texture intact.
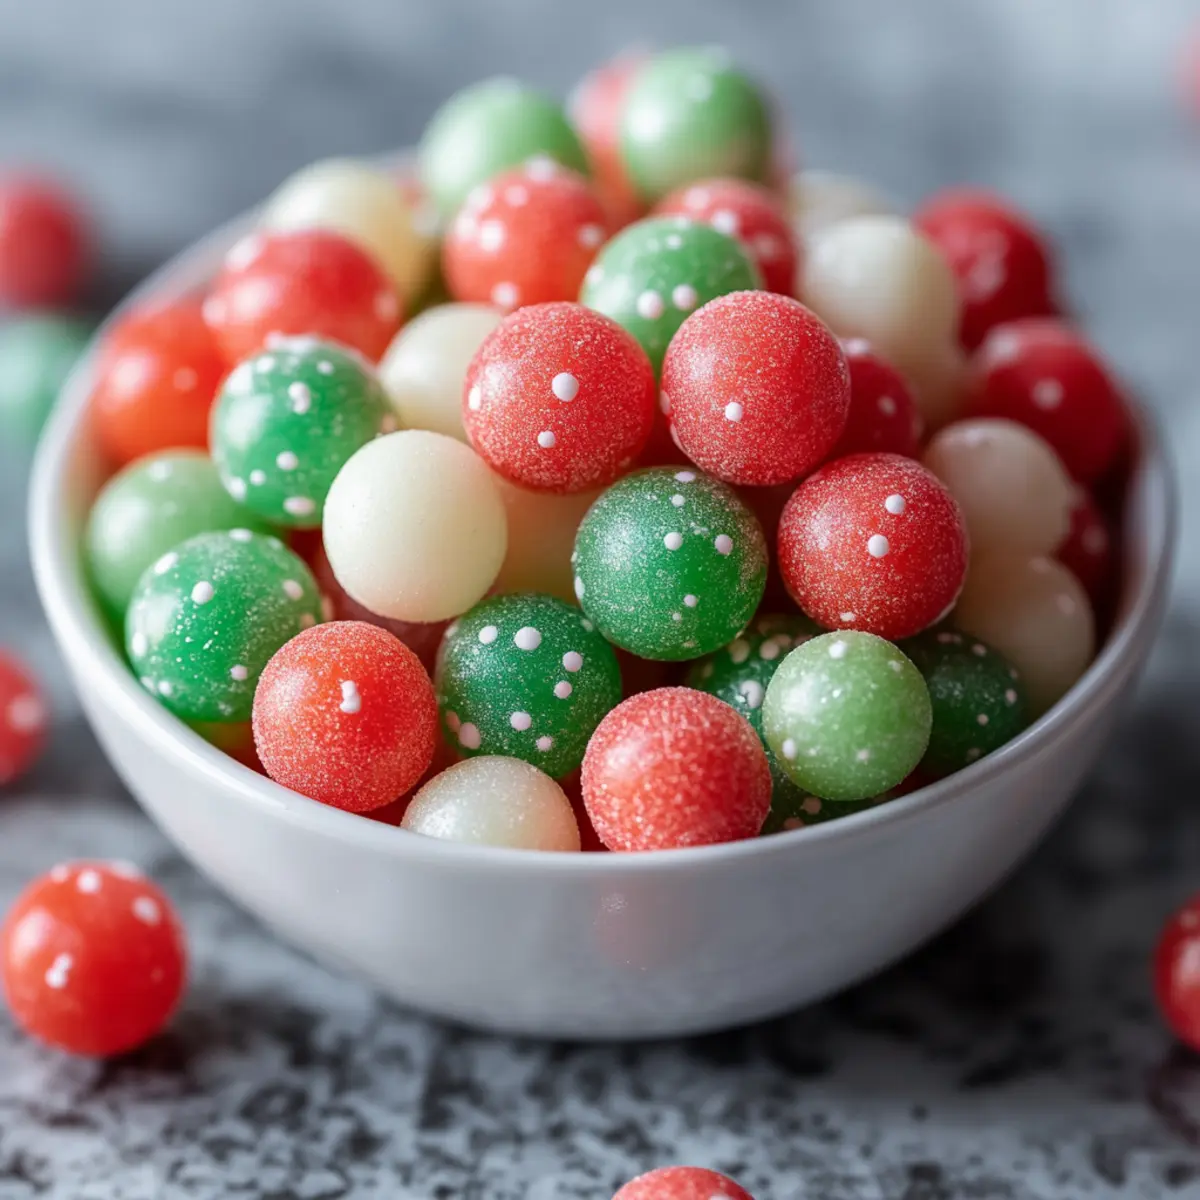
• Food Coloring – Optional, but a fun way to enhance visual appeal—red and green work beautifully for the holiday spirit!
Now that you have your ingredients ready, you’re one step closer to creating your own DIY Christmas Bubble Gum that will bring joy and nostalgia to your celebrations!
Step‑by‑Step Instructions for DIY Christmas Bubble Gum
Step 1: Prepare Your Space
Start by gathering all your equipment and ingredients to make DIY Christmas Bubble Gum. You’ll need a microwave-safe bowl, measuring cups, mixing spoons, and a clean surface for kneading. Clear your workspace for a smooth experience, ensuring everything is within reach. Take a moment to enjoy the festive atmosphere as you prepare to create these delightful treats.
Step 2: Melt the Gum Base
Place the gum base in your microwave-safe bowl, and heat it in 10-second intervals on medium power. Stir the gum between each burst until it’s completely melted and smooth, taking about 30-60 seconds. Carefully watch for any signs of overheating, as this can cause the gum to harden uncomfortably. Once melted, remove it from the microwave and let it cool for a minute.
Step 3: Combine the Ingredients
Add the light corn syrup and a generous amount of powdered sugar to the melted gum base. Pour in the festive flavor oils, like peppermint, maintaining the joyful spirit of DIY Christmas Bubble Gum. Mix everything thoroughly with a spoon until it forms a cohesive and sticky dough, ensuring all ingredients are well combined and no lumps remain.
Step 4: Knead the Mixture
Transfer your gum mixture to a clean, powdered sugar-dusted surface. Begin kneading the dough with your hands for about 3-5 minutes until it’s smooth and pliable. If the dough sticks to your hands, add more powdered sugar to avoid any mess. This step is crucial to achieve that perfect chewy texture reminiscent of classic bubble gum.
Step 5: Add Color and Shape
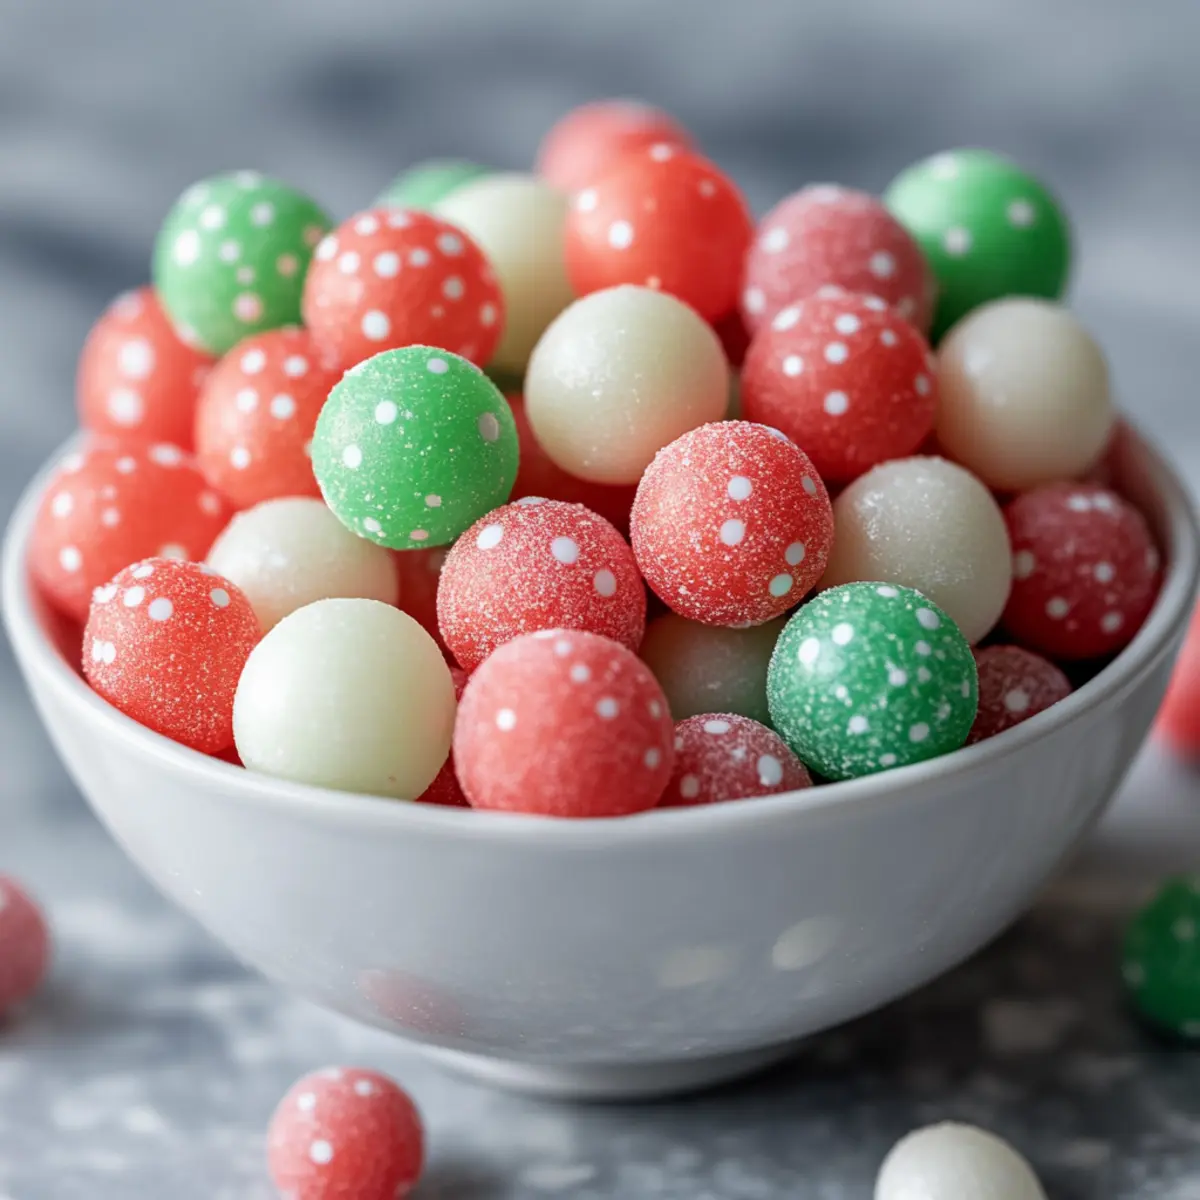
If desired, divide the kneaded dough into portions and add a few drops of food coloring to each. This is your chance to get creative with colors! Knead until the color is evenly distributed. Roll the dough into fun shapes or gum balls, approximately one-inch in diameter, making sure each piece is uniform for consistent results.
Step 6: Cool and Store Your Gum
Allow the shaped gum to sit at room temperature for about 10 minutes to firm up slightly. Once cool, transfer your homemade gum into an airtight container to keep them fresh. Store it at room temperature for up to 2-3 weeks, ensuring you can enjoy your delightful DIY Christmas Bubble Gum whenever the festive spirit strikes!
Make Ahead Options
These DIY Christmas Bubble Gum delights are perfect for busy home cooks looking to save time during the hectic holiday season! You can prepare the gum base mixture and shape it into gum balls up to 24 hours in advance. Simply follow the steps to melt, mix, and knead your ingredients, then shape them as desired. To maintain quality, store the formed gum balls in an airtight container at room temperature, ensuring they remain fresh and chewy. When you’re ready to serve, there’s no need for extra effort—your homemade gum is just a joyful chew away, ready to impress family and friends during the festivities!
Expert Tips for DIY Christmas Bubble Gum
• Watch the Melting: Avoid overheating the gum base by melting it in short intervals. This ensures a smooth texture instead of a hard clump.
• Powdered Sugar is Key: Use plenty of powdered sugar while kneading. This prevents stickiness and helps achieve the perfect chewy consistency in your DIY Christmas Bubble Gum.
• Choose Flavor Wisely: Stick to oil-based flavorings for the best results. Alcohol-based extracts can mess with the gum’s texture, leading to less enjoyable chewing.
• Get Creative with Colors: Feel free to mix and match food colors! Create vibrant hues or soft pastels to match any holiday celebration.
• Storage Matters: Keep your gum in an airtight container at room temperature. Proper storage maintains freshness for 2-3 weeks, ensuring you savor those holiday memories!
What to Serve with DIY Christmas Bubble Gum?
Creating festive memories doesn’t stop at making gum; it’s about building a delightful holiday feast!
-
Hot Cocoa Bar: Rich, velvety hot cocoa pairs perfectly with the sweetness of gum, inviting warmth and nostalgia. Imagine cozying up with a mug while chewing on flavorful gum.
-
Christmas Cookies: A platter of various holiday cookies adds a cheerful crunch that complements the chewy gum, enhancing the sweet experience of the season. The contrast of flavors is simply delightful!
-
Festive Fruit Platter: Brightly colored fruits like strawberries and kiwi add a fresh burst of flavor, balancing out the sweetness of the gum while providing a refreshing crunch.
-
Cheese and Charcuterie Board: Savory delights like mild cheeses and cured meats create a charming juxtaposition to the gum’s sweetness, offering guests a savory-sweet experience.
-
Mulled Cider: Warm spiced apple cider serves as a fragrant drink that elevates the festive mood, pairing wonderfully with the peppermint flavor of your gum.
-
DIY Candy Canes: The classic holiday treat not only looks charming next to your bubble gum but adds a nostalgic crunch, making it a must-have at holiday gatherings. Each piece of gum and candy cane will transport you back to childhood!
-
Spiced Nuts: A handful of spiced mixed nuts provides a satisfying crunch and a hint of warmth, adding dimension to your holiday snacking experience.
-
Gingerbread Houses: These enchanting treats are not only fun to construct but also bring nostalgic flavors that resonate with the gum’s festive spirit, making them a delightful addition to any holiday spread.
-
Eggnog Milkshake: Creamy and indulgent, an eggnog milkshake entices your taste buds, creating a delightful dessert pairing with your DIY Christmas Bubble Gum that echoes holiday cheer!
-
Chocolate-Dipped Pretzels: The combination of salty and sweet is irresistible, providing a crunchy contrast to the chewiness of the gum while enveloping your senses in festive flavors.
DIY Christmas Bubble Gum Variations
Feel free to infuse your creativity and customize your gum with fun, festive flavors and textures!
-
Cinnamon Twist: Add a few drops of cinnamon flavor oil for a warm, spicy kick that complements the holiday spirit.
-
Vanilla Swirl: Substitute peppermint with vanilla flavor for a smooth, sweet alternative, perfect for a cozy winter treat.
-
Fruity Fun: Experiment with fruit flavor oils like cherry or strawberry to add a playful twist that delights all ages.
-
Sparkling Sugar: Roll your gum balls in coarse sparkling sugar after shaping to add a delightful crunch and visual appeal.
-
Nutty Surprise: Add a hint of almond flavor for a rich, nutty edge that gives a surprisingly delicious depth to your gum.
-
Chili Heat: For those who love a little spice, mix in a drop of chili oil to create a sweet and spicy flavor profile that surprises.
-
Matcha Magic: Incorporate matcha green tea powder into the mixture for a unique, earthy flavor and a beautiful green hue.
-
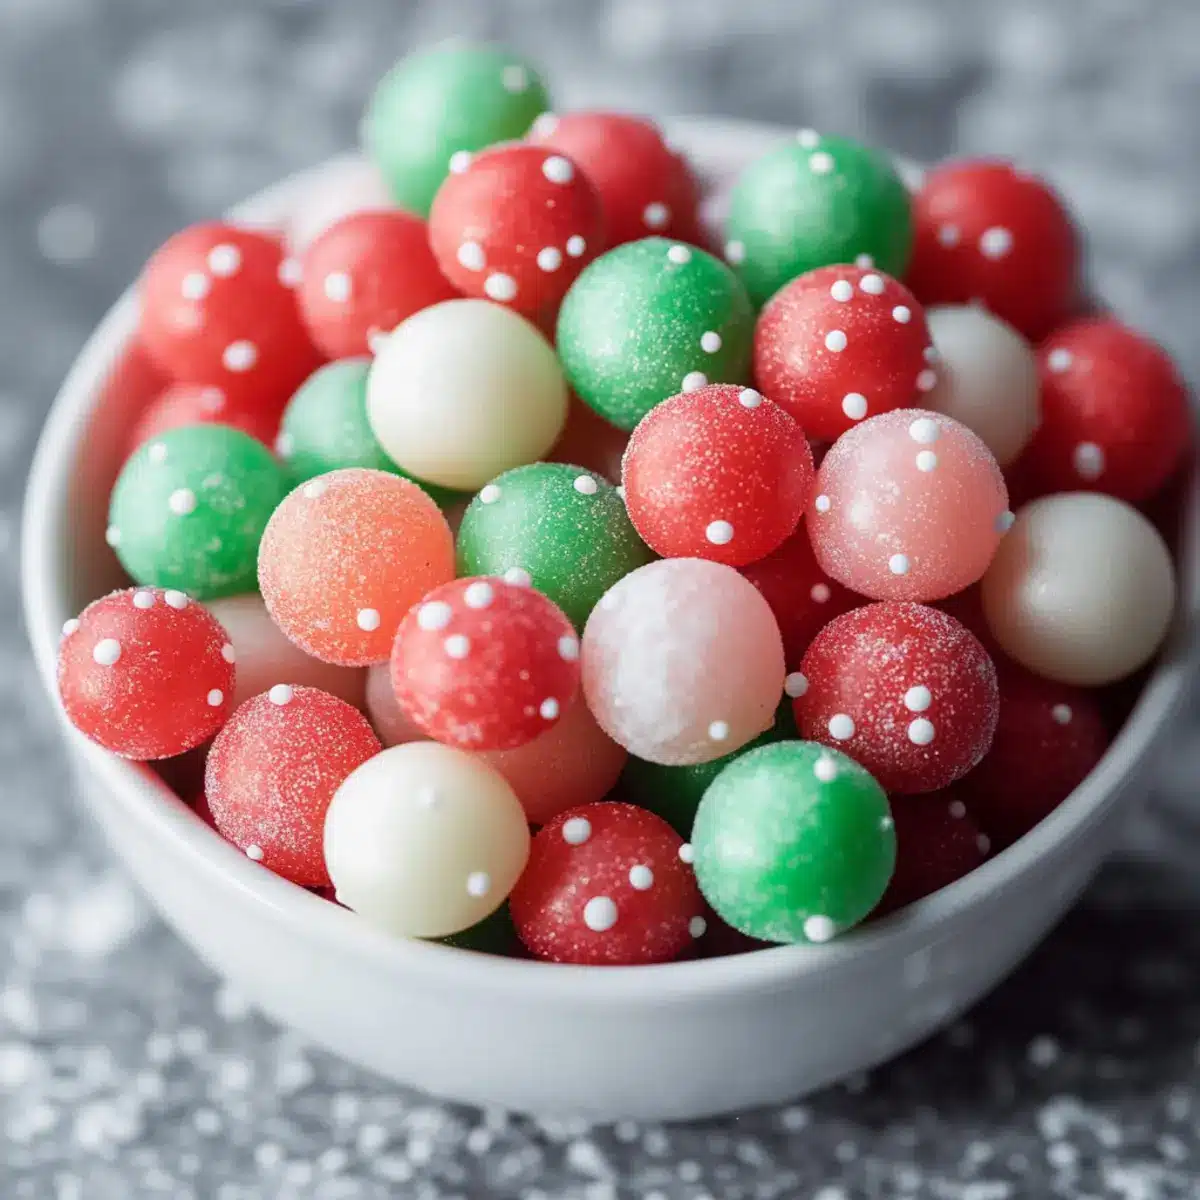
Layered Colors: Divide your dough and color each portion differently. Layer, twist or swirl them together for a stunning visual treat. These colorful gum balls can brighten any event!
Make your DIY Christmas Bubble Gum a conversation starter at holiday gatherings or give them out as charming gifts. Add a touch of whimsical creativity by pairing it with some cute packaging inspired by my Festive Christmas Tree!
How to Store and Freeze DIY Christmas Bubble Gum
Room Temperature: Store your homemade gum in an airtight container at room temperature for up to 2-3 weeks to maintain its freshness and chewiness.
Wrapping: If you prefer, individually wrap each gum ball in wax paper to prevent them from sticking together and enhance their gift-ready appeal.
Freezer: For longer storage, freeze your DIY Christmas Bubble Gum for up to 3 months. Place it in an airtight freezer bag to keep it fresh.
Reheating: Simply let the frozen gum thaw at room temperature before enjoying, ensuring it retains its delightful chewy texture.
DIY Christmas Bubble Gum Recipe FAQs
How do I select the best gum base for my bubble gum?
Absolutely! When choosing a gum base, look for one that is specifically made for bubble gum to ensure the perfect chewiness. These bases are often available at specialty baking or candy-making stores. If you’re uncertain, aim for a product without any dark spots or hard pieces, which can indicate poor quality or age.
How should I store my homemade Christmas bubble gum?
Store your DIY Christmas Bubble Gum in an airtight container at room temperature for up to 2-3 weeks. This keeps the gum fresh and prevents it from becoming hard. If you want to give them as gifts, consider wrapping each piece in wax paper to keep them from sticking together, making for a charming presentation.
Can I freeze my Christmas bubble gum for longer storage?
Yes, you can absolutely freeze your homemade gum! Place the gum in an airtight freezer bag or container and store it in the freezer for up to 3 months. To enjoy, simply let it thaw at room temperature for about 10-15 minutes. You’ll find it retains its chewy texture beautifully!
What should I do if my gum mixture turns out too sticky?
Very common! If your mixture is too sticky while kneading, just sprinkle additional powdered sugar onto your surface and your hands to make it more manageable. Knead until it becomes smooth and pliable—this step is crucial for achieving that desirable bubble gum texture. If the dough feels too dry instead, add a touch more corn syrup and knead again.
Is this bubble gum recipe safe for kids with allergies?
While the DIY Christmas Bubble Gum is gluten-free and fat-free, always double-check ingredient labels for allergens like corn syrup or specific flavor oils, especially if making for children or anyone with dietary restrictions. I often recommend using flavor oils that are specifically labeled as allergy-free for peace of mind.
How can I customize the flavors of my bubble gum?
Getting creative with flavors is half the fun! You can mix and match different oil-based flavorings. I often use peppermint for a traditional holiday flavor, but you could consider cinnamon, vanilla, or even fruity flavors like cherry or watermelon for a twist. Just be sure to stick to non-alcoholic oils for the best texture!
Create Your Own DIY Christmas Bubble Gum Delight
Ingredients
Equipment
Method
- Gather all your equipment and ingredients for making DIY Christmas Bubble Gum.
- Melt the gum base in the microwave in 10-second intervals until smooth.
- Combine melted gum base with corn syrup and powdered sugar in a bowl.
- Knead the mixture on a powdered sugar-dusted surface until smooth.
- Add food coloring if desired and shape the dough into uniform gum balls.
- Let the shaped gum sit at room temperature to firm up, then store in an airtight container.
Leave a Reply