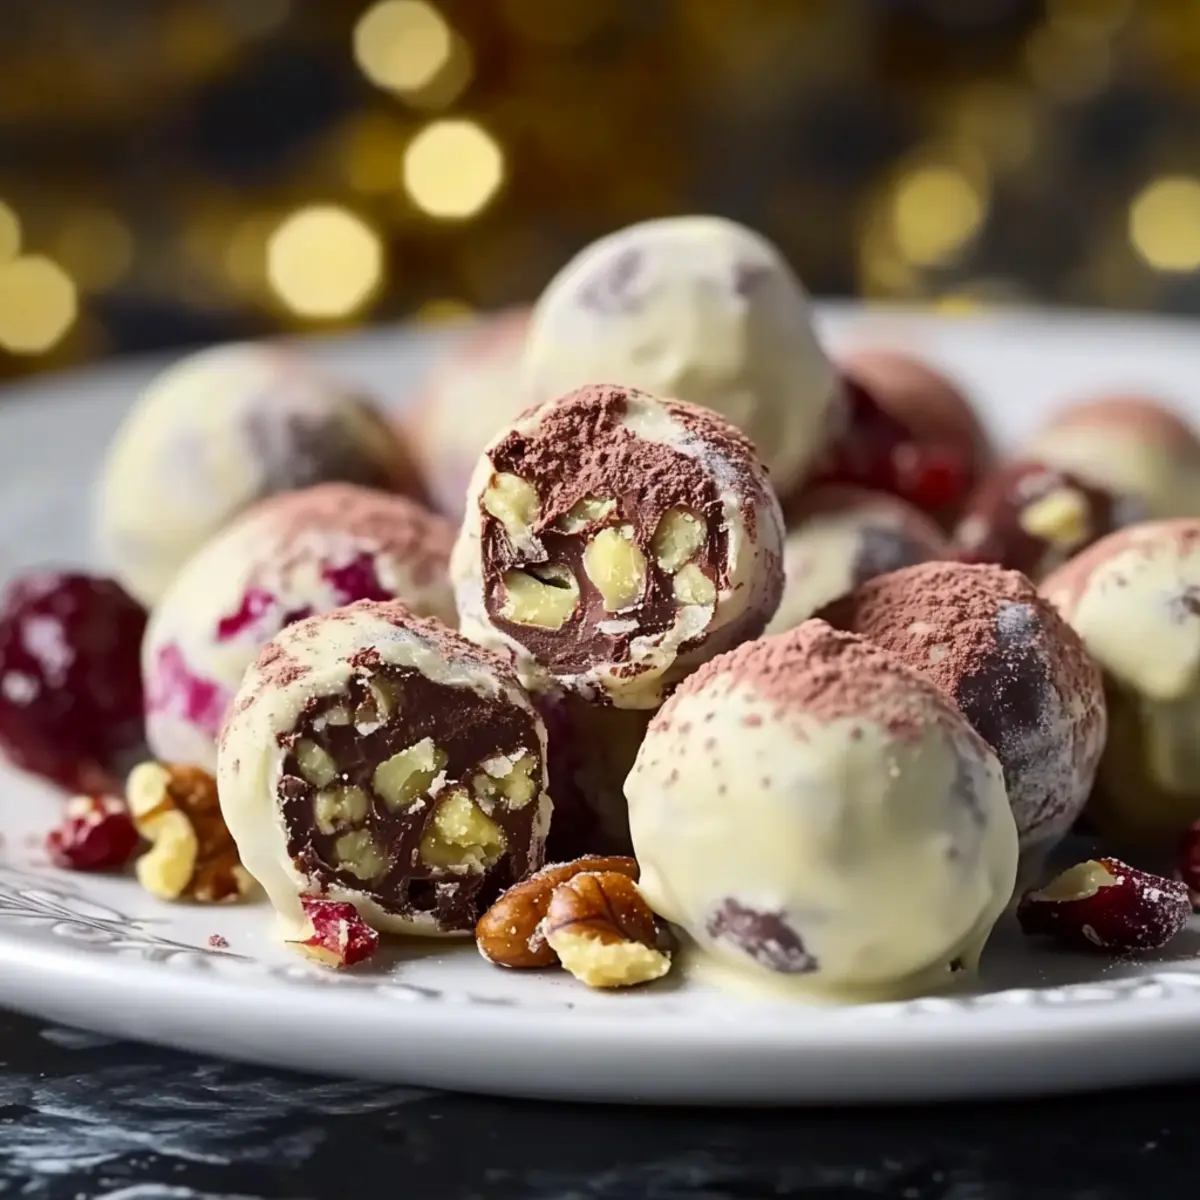
As the holiday season approaches, a cozy, sweet aroma wafts through my kitchen, transporting me to cherished memories of festive gatherings. There’s something truly magical about making Customizable No-Bake Christmas Truffles that reminds me of joy and togetherness. These delightful little bites are not only delightfully simple to create but also offer the fun of personalization—mix and match coatings or even sneak in a splash of your favorite liqueur to impress loved ones. Whether you’re preparing them as heartfelt gifts or serving them up during holiday parties, they provide a quick and effortless indulgence that everyone will adore. Ready to dive into a world of creamy chocolate bliss? Let’s embark on this flavorful journey together!
Why Are These Christmas Truffles Special?
Irresistible Customization: You can effortlessly personalize these truffles with various coatings, nuts, and even liqueurs to suit any taste, making them a hit for all guests.
No Baking Necessary: This no-bake recipe means fewer kitchen stresses during the bustling holiday season—perfect for busy schedules!
Velvety Texture: Each truffle offers a melt-in-your-mouth experience that rivals gourmet chocolates. They’re a deliciously indulgent treat that brightens any gathering.
Easy to Make Ahead: With the ability to prepare them in advance, you can focus more on enjoying the festivities and less on last-minute baking. Just keep them stored in the fridge!
Perfect for Gifting: These beautifully crafted truffles make thoughtful gifts, wrapped in festive packaging or displayed on a decorative plate. They truly embody the spirit of giving.
For more festive inspirations, don’t forget to check out our recipes for Soft Christmas Peppermints and Chocolate Truffles Decadent. They make the holiday season even sweeter!
Christmas Truffles Ingredients
• Dive into delightful chocolate goodness!
For the Truffle Base
- Dark Chocolate – Use high-quality chocolate (60% cocoa or more) for a rich flavor and avoid chips due to stabilizers.
- Sweetened Condensed Milk – Ensures a creamy texture and the perfect sweetness; opt for dairy-free options if needed.
- Vanilla Extract – Adds warmth and depth to elevate the chocolate experience.
- Unsalted Butter – Creates a silky smooth consistency; make sure it’s at room temperature for easy mixing.
- Salt – Balances sweetness and intensifies the chocolate flavor beautifully.
For the Coating
- Cocoa Powder – Adds a classic chocolate touch; it’s a simple yet sophisticated coating choice.
- Sprinkles – Perfect for a festive touch and fun colors; customize based on your theme!
- Crushed Nuts – Provides rich texture and crunch; choose your favorites like almonds or hazelnuts for extra flavor.
Feel free to mix and match these ingredients in your Christmas Truffles creation for a festive treat that’s uniquely yours!
Step‑by‑Step Instructions for Christmas Truffles
Step 1: Melt Chocolate
Begin by breaking the dark chocolate into small pieces and placing them in a heatproof bowl. Using a double boiler or microwave, gently melt the chocolate with the unsalted butter, stirring every 30 seconds until the mixture is smooth and glossy. This should take about 2 to 3 minutes. Be cautious not to overheat, as this can cause the chocolate to seize.
Step 2: Mix Ingredients
Once the chocolate is melted, remove it from the heat and stir in the sweetened condensed milk, vanilla extract, and a pinch of salt. Mix thoroughly until you have a glossy and fully combined mixture. The rich aroma of the chocolate will fill your kitchen, letting you know you’re on the right track to making exquisite Christmas Truffles.
Step 3: Chill Mixture
Transfer the chocolate mixture into a shallow dish and spread it out evenly. Cover the dish with plastic wrap and refrigerate for at least 2 hours, or until the chocolate mixture is firm enough to roll into balls. This chilling process is crucial for achieving the perfect texture in your Christmas Truffles.
Step 4: Shape Truffles
After chilling, take the mixture out of the refrigerator. Using a spoon, scoop out tablespoon-sized portions and roll them into smooth balls with your hands. Work quickly to prevent the mixture from warming up too much. Aim for uniform sizes for a beautiful presentation of your Christmas Truffles.
Step 5: Coat Truffles
While the truffles are still soft, roll each ball in your desired coating option, such as cocoa powder, sprinkles, or crushed nuts. Make sure each truffle is thoroughly coated for added flavor and texture. This step not only enhances the look but also contributes to the festive appeal of your delicious Christmas Truffles.
Step 6: Store
Place the coated truffles in an airtight container, ensuring they don’t touch each other to prevent sticking. Store them in the refrigerator until you’re ready to serve or gift them. These Christmas Truffles can be kept for up to two weeks and continue to delight everyone with their rich, velvety chocolate indulgence.
Make Ahead Options
These Customizable No-Bake Christmas Truffles are perfect for meal prep, allowing you to indulge in the festive spirit without the last-minute rush! You can prepare the chocolate mixture up to 24 hours in advance; simply follow the melting and mixing steps, then chill the mixture in the refrigerator. Once firm, scoop and roll the truffles, but it’s best to coat them just before serving to maintain their texture and quality. If you want to prep even further ahead, you can roll the truffles in coatings like cocoa powder or crushed nuts up to 3 days before. Store them in an airtight container in the fridge, and when ready to serve, simply let them sit at room temperature for about 10 minutes for optimal softness and flavor. This way, you’ll have delightful, melt-in-your-mouth Christmas Truffles ready to impress your guests!
Expert Tips for Christmas Truffles
-
Quality Counts: Use high-quality dark chocolate (60% cocoa or more) to achieve the best melting texture and flavor in your Christmas Truffles.
-
Avoid Overheating: Melt chocolate using gentle heat; overheating can lead to a seized mixture. Stir frequently to maintain a smooth consistency.
-
Chilling is Key: Allow the truffle mixture to chill for at least 2 hours. Skipping this step can result in a sticky mix that’s hard to shape.
-
Roll with Ease: Dust your hands lightly with cocoa powder when rolling the truffles to prevent stickiness, making the process smoother and more enjoyable.
-
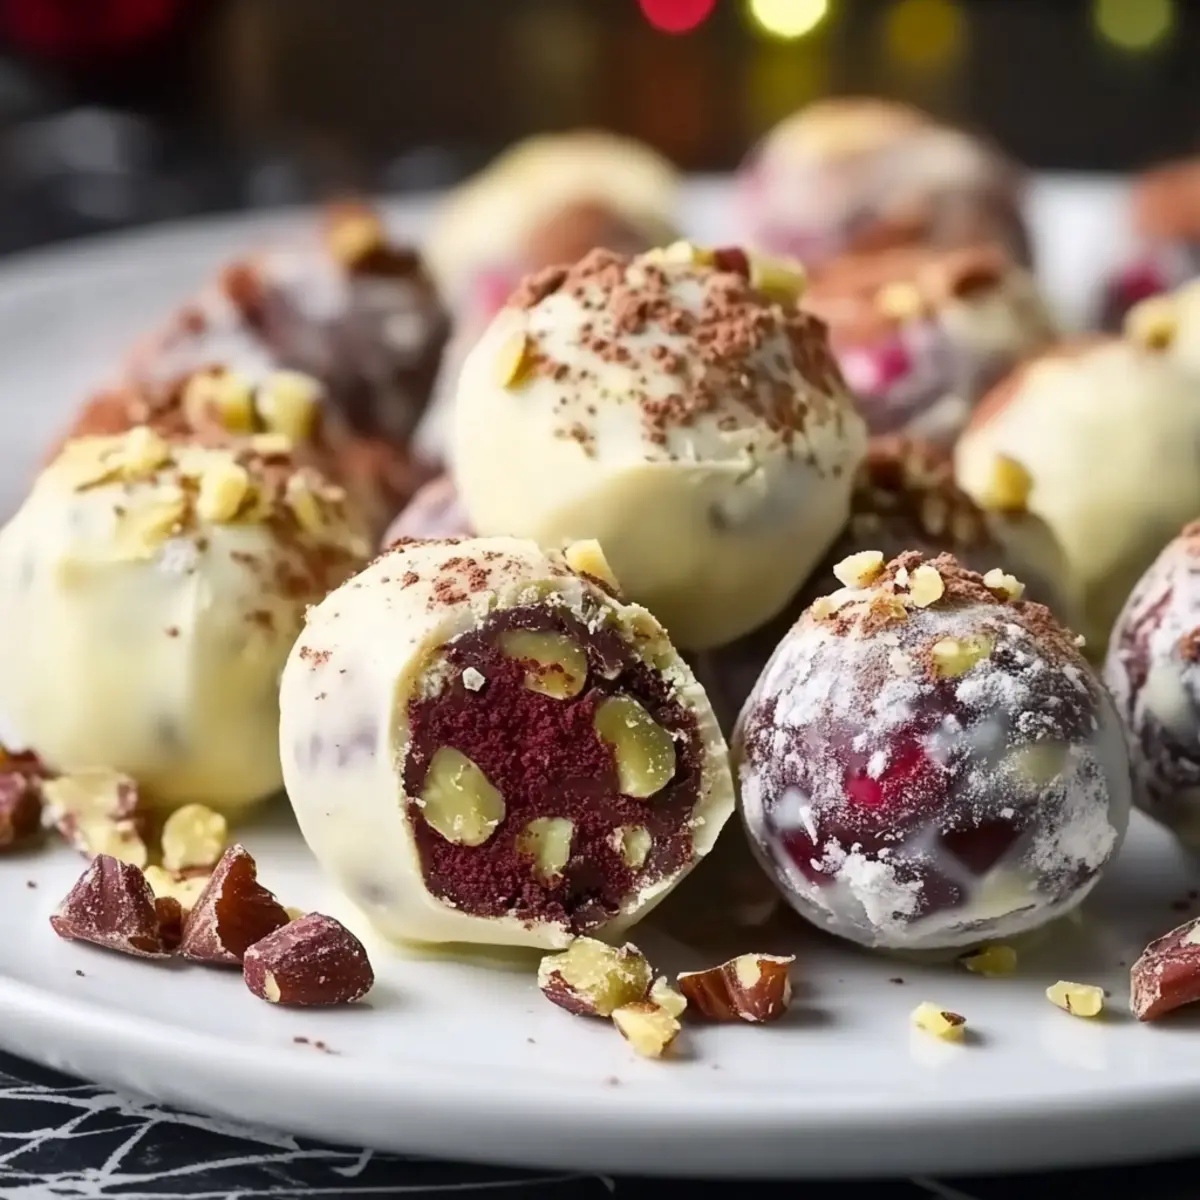
Coating Variety: Don’t be afraid to mix your coatings! Use crushed nuts, cocoa powder, or sprinkles to create a colorful and textured assortment of Christmas Truffles.
How to Store and Freeze Christmas Truffles
Fridge: Keep your Christmas Truffles in an airtight container in the refrigerator for up to 2 weeks. This preserves their rich flavor and creamy texture for festive indulgence.
Freezer: For longer storage, you can freeze the truffles for up to 3 months. Simply place them in a single layer in an airtight container, separated by parchment paper to prevent sticking.
Thawing: When ready to enjoy, remove them from the freezer and let them sit at room temperature for about 10 minutes before serving. This helps restore their delightful melt-in-your-mouth quality.
Reheating: There’s no need to heat these truffles; enjoy them chilled or at room temperature for a truly satisfying treat.
What to Serve with Customizable No-Bake Christmas Truffles
As you prepare your delightful truffles, think about what to complement their rich, chocolatey goodness and festive spirit.
-
Elegant Hot Chocolate: A cup of rich hot chocolate can amplify the chocolatey experience and warm the soul on chilly winter nights.
-
Festive Fruit Salad: With bright berries and citrus, a fresh fruit salad adds a burst of color and contrast that balances sweetness perfectly. Enjoy the zesty flavors as a refreshing bite after rich treats!
-
Decadent Cheesecake: A slice of creamy cheesecake paired with your truffles makes for an indulgent dessert platter that guests will rave about. The creamy texture complements the truffles without overshadowing their flavors.
-
Gingerbread Cookies: The spicy warmth of gingerbread cookies brings nostalgia to the table. Their crunchy texture adds a delightful contrast to the melt-in-your-mouth truffles.
-
Peppermint Bark: This festive favorite adds a minty freshness that beautifully contrasts with the rich chocolate, creating a perfect duo for holiday gatherings.
-
Mulled Wine: Sip on warm, spiced mulled wine as you enjoy the truffles. Its fragrant spices enhance the overall festive atmosphere during your holiday celebrations.
-
Chocolate-Dipped Strawberries: For a lighter option, these strawberries bring a burst of freshness that pairs exquisitely with the rich chocolate flavor of the truffles.
-
Personalized Gift Boxes: Consider serving the truffles in beautiful boxes with other homemade goodies for a thoughtful gifting experience that spreads holiday cheer.
Indulge in these combinations to elevate your truffle experience this festive season!
Christmas Truffles – Fun Variations
Feel free to unleash your creativity with these Christmas Truffles and explore exciting twists that cater to your personal preferences!
-
Dairy-Free: Substitute sweetened condensed milk with coconut cream for a luscious, dairy-free option. The tropical hint will add a delightful flavor dimension.
-
Flavored Liqueurs: Add a splash of your favorite liqueur, like Grand Marnier or Peppermint Schnapps, for a sophisticated adult treat that brightens the holiday spirit.
-
Texture Boost: Mix in crushed gluten-free cookies like Oreos or shortbread for an extra crunch that complements the creamy chocolate perfectly.
-
Nutty Delight: Incorporate finely chopped nuts into the chocolate mixture before chilling for added crunch and flavor. A blend of almond and hazelnut will elevate the richness.
-
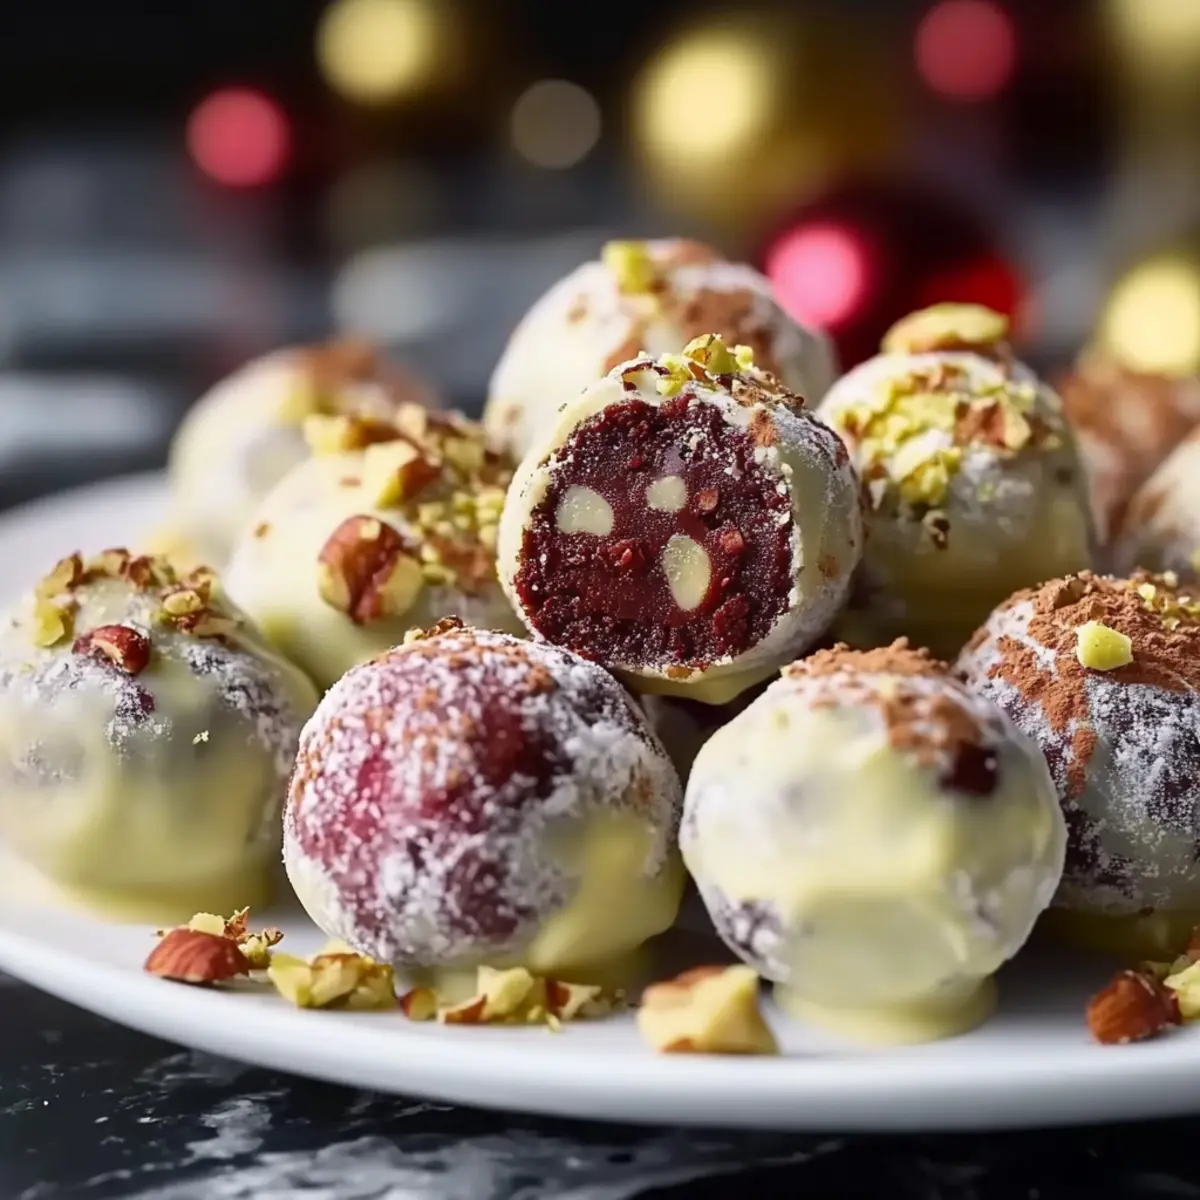
Fruit Infusion: Fold in dried fruits, such as cranberries or cherries, into the base for a sweet tang that balances the chocolate’s richness beautifully.
-
Spicy Kick: Add a pinch of cayenne or chili powder to the chocolate mixture. This unexpected heat can create a delightful contrast with the sweetness.
-
Gourmet Coating: Get creative with your coatings! Swap traditional cocoa powder for matcha green tea powder or crushed freeze-dried berries for a pop of color and flavor.
-
Mini Truffles: Shape smaller bite-sized truffles perfect for holiday parties. They’re great for sharing and allow everyone to sample different flavors!
For even more holiday inspiration, consider making some delightful Soft Christmas Peppermints or whipping up some rich Chocolate Truffles Decadent. These treats are sure to spread holiday cheer alongside your fabulous Christmas Truffles!
Christmas Truffles Recipe FAQs
How do I select the right dark chocolate for my truffles?
Absolutely! For the best results, choose high-quality dark chocolate that contains 60% cocoa or more. Avoid using chocolate chips because they have stabilizers that can affect the melting process. Instead, opt for bars that can be easily chopped into pieces for a smoother melt.
How should I store my Christmas Truffles, and how long do they last?
Store your Christmas Truffles in an airtight container in the refrigerator for up to two weeks. This helps maintain their delicious flavor and creamy texture. For longer storage, freeze them for up to three months—this way, you can enjoy a festive treat even after the holidays!
Can I freeze my Christmas Truffles?
Yes! Freezing is a great option. Before placing them in an airtight container, line the container with parchment paper to prevent them from sticking. Arrange the truffles in a single layer and separate each layer with more parchment paper. When you’re ready to indulge, thaw them at room temperature for about 10 minutes for the best texture.
What should I do if my chocolate mixture is too sticky to roll into truffles?
No worries! If you find your truffle mixture is too sticky, simply dust your hands with cocoa powder or powdered sugar before rolling. This helps reduce stickiness and makes shaping the truffles much easier. Additionally, ensure you chill the mixture adequately, as it should be firm enough to handle.
Can I make these truffles dairy-free?
Absolutely! Swap the sweetened condensed milk with a dairy-free alternative—like coconut condensed milk or homemade nut milk mix. Make sure to use a dairy-free dark chocolate for the base, and remember to check labels to ensure all ingredients align with your dietary needs. Your loved ones will never notice the difference!

Melt-in-Your-Mouth Christmas Truffles You’ll Love to Make
Ingredients
Equipment
Method
- Melt chocolate by breaking it into small pieces and placing it in a heatproof bowl. Use a double boiler or microwave to gently melt with unsalted butter, stirring every 30 seconds until smooth.
- Once melted, remove from heat and stir in sweetened condensed milk, vanilla extract, and salt until fully combined.
- Transfer the mixture into a shallow dish, spread evenly, and refrigerate for at least 2 hours until firm.
- Scoop tablespoon-sized portions and roll into smooth balls quickly to prevent warming.
- While still soft, roll each ball in coating options ensuring they're fully covered.
- Store coated truffles in an airtight container in the refrigerator.
Leave a Reply