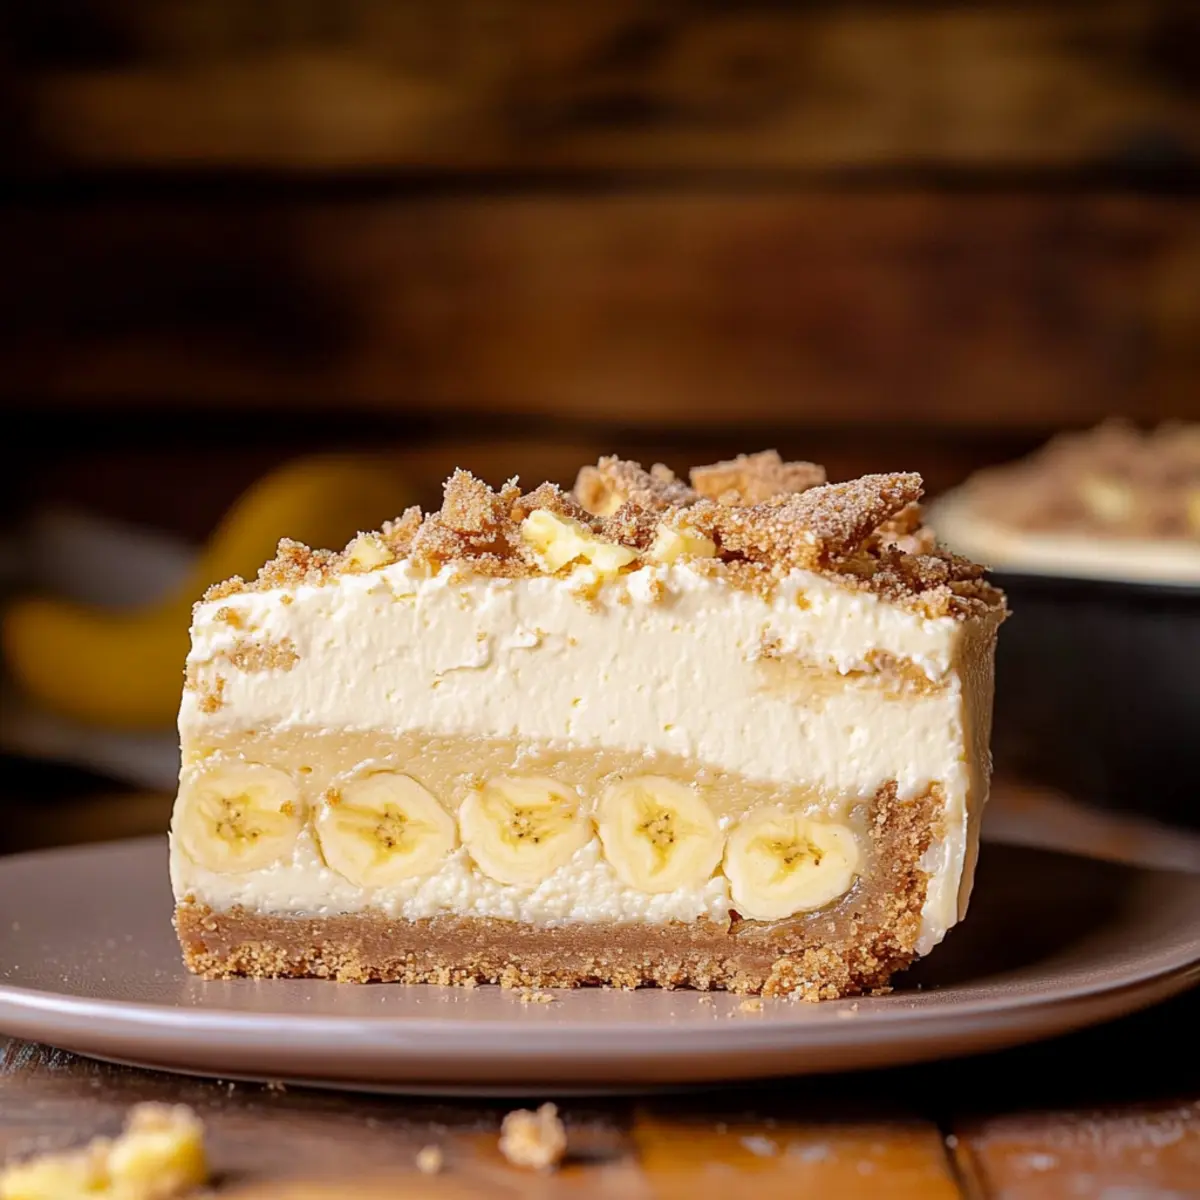
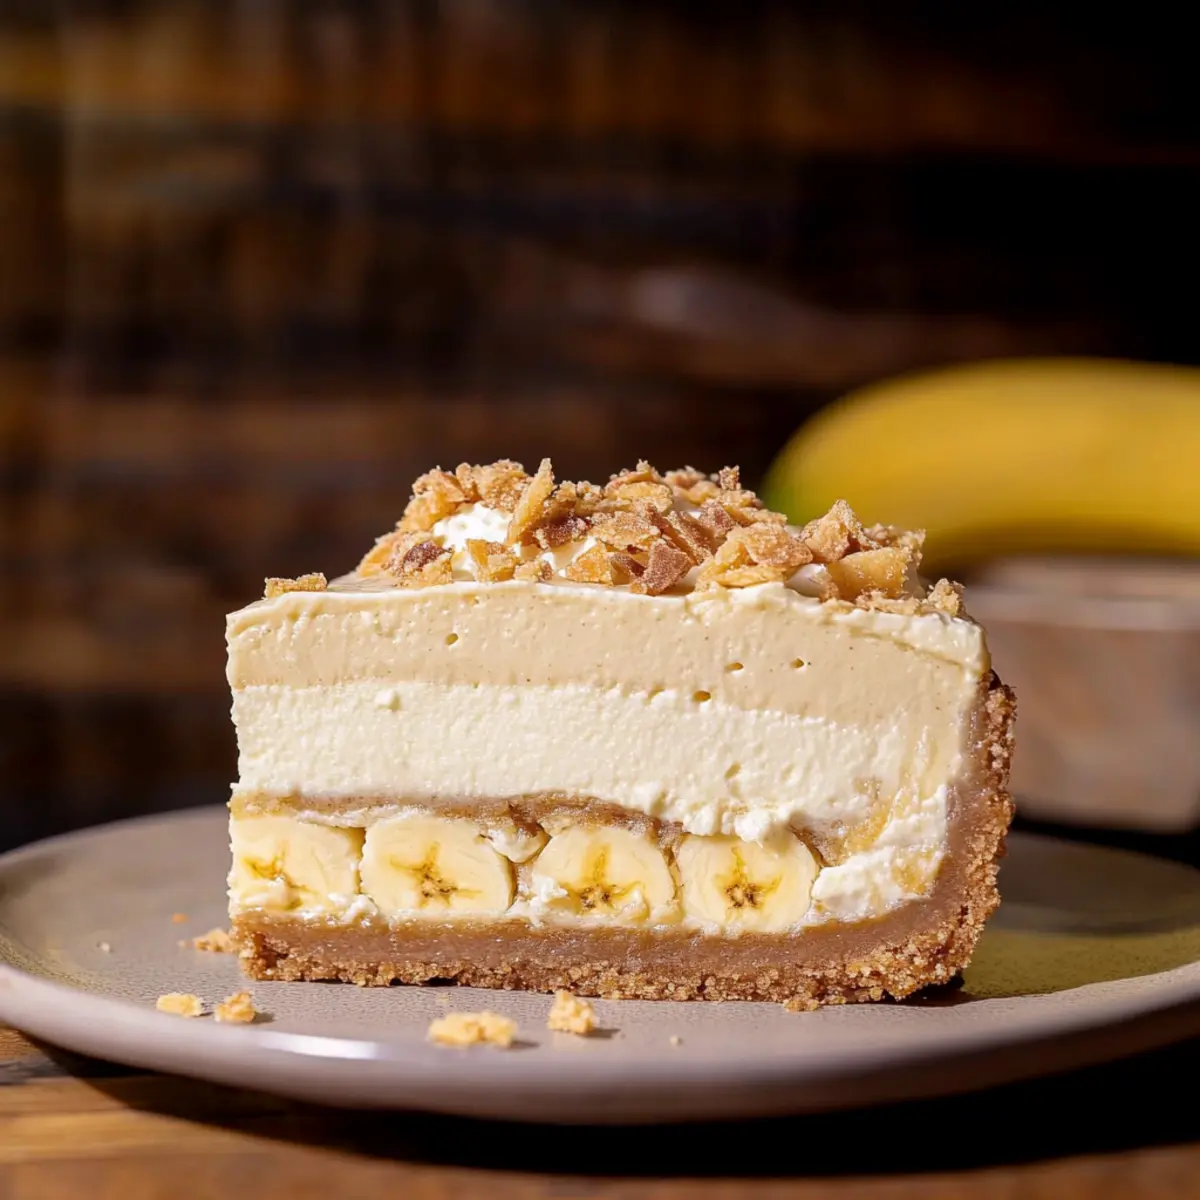
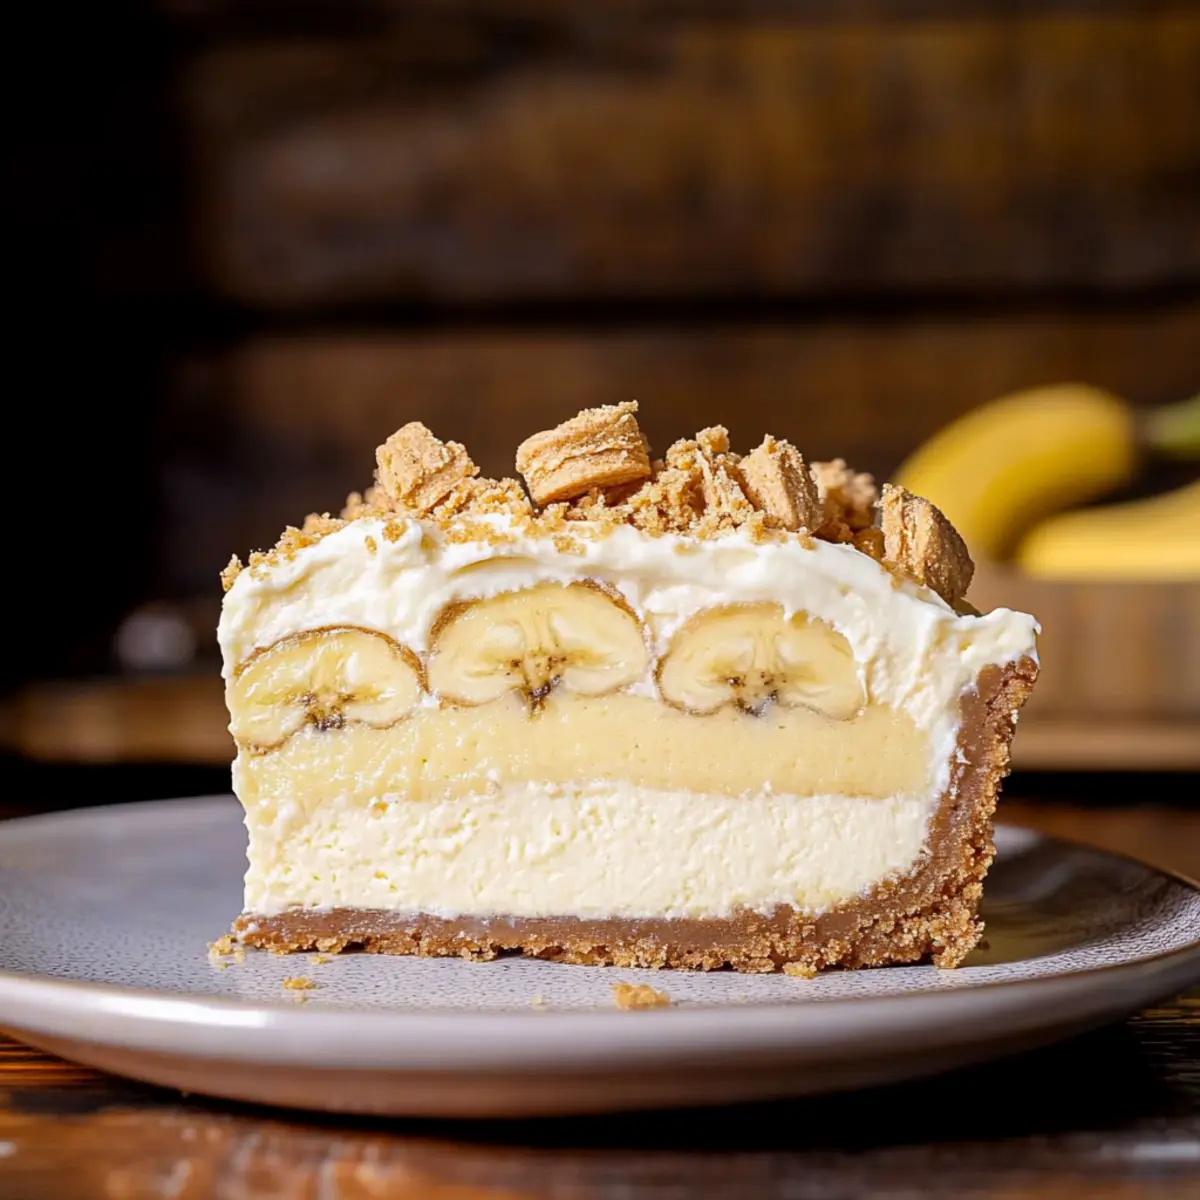
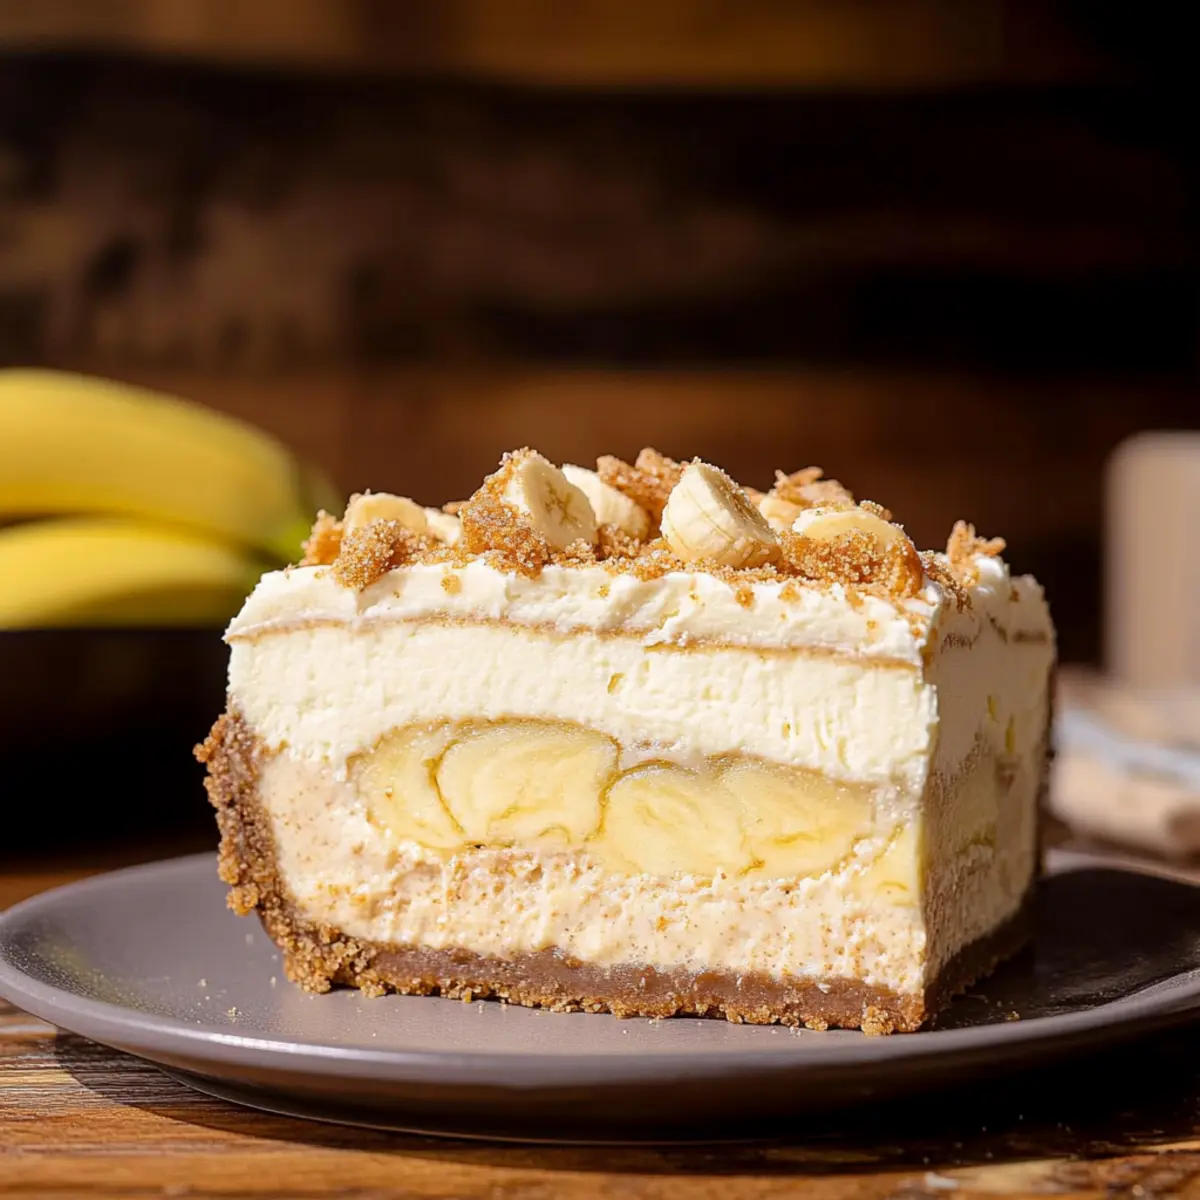
As I unwrapped the memories of family gatherings, a familiar warmth filled the kitchen, reminding me of that beloved dessert centerpiece: Banana Pudding Cheesecake. Combining the best of both worlds, this rich cheesecake captures the timeless flavors of banana pudding and embraces a crumbly Nilla Wafer crust for that perfect crunch. With its velvety texture and delightful layers, this Banana Pudding Cheesecake is not just a dessert; it’s a crowd-pleaser and a testament to the joy of homemade treats. Plus, it’s surprisingly simple to make, letting you indulge without spending hours in the kitchen. Are you ready to bring this delightful dessert to life and share sweet moments with your loved ones?
Why is this Banana Pudding Cheesecake special?
Simplicity in Preparation: Even novice bakers can easily follow this straightforward recipe and impress everyone with minimal effort.
Layered Goodness: The combination of creamy banana filling and crunchy Nilla Wafer crust creates a delightful texture that is both smooth and satisfying.
Nostalgic Flavor: This dessert beautifully melds classic banana pudding with cheesecake, evoking fond memories of family gatherings and celebrations.
Versatile Toppings: Feel free to customize your cheesecake with variations like a drizzle of caramel sauce or extra slices of banana for added flair. Check out my recipe for Pumpkin Pie Cheesecake for more flavor inspiration!
Perfect for Any Occasion: Whether it’s a family dinner, potluck, or holiday celebration, this cheesecake is guaranteed to be the star of the dessert table.
Make-Ahead Delight: Prepare in advance and chill overnight for a richer taste that leaves you free to enjoy the moment without the rush!
Banana Pudding Cheesecake Ingredients
For the Crust
- Nilla Wafers – Provides a crunchy, sweet base that’s essential for the cheesecake.
- Brown Sugar – Adds a rich sweetness to the crust; you can substitute it with granulated sugar, but it alters the flavor.
- Unsalted Butter – Binds the ingredients together; feel free to use margarine or coconut oil if preferred.
For the Cheesecake Filling
- Cream Cheese – Forms the creamy base; using full-fat cream cheese yields the best results.
- Granulated Sugar – Sweetens the filling; adjust to your taste preference for the perfect balance.
- Pure Vanilla Extract – Enhances the cheesecake’s flavor; opt for high-quality vanilla for superior taste.
- Bananas (mashed and sliced) – Infuses natural banana flavor and sweetness; ripe bananas work best for mashing.
- Sour Cream – Contributes tanginess and creaminess; plain Greek yogurt can be a great substitute.
- Heavy Cream – Ensures a rich texture; make sure it’s cold before whipping for best volume.
- Large Eggs – Helps set the cheesecake; room temperature eggs mix more smoothly into the batter.
For the Topping
- Instant Vanilla Pudding – Provides sweetness and stability for the whipped cream; avoid cooked pudding as it won’t set properly.
- Milk – Used to prepare the pudding; whole milk ensures the creamiest results.
For Decoration
- Crushed Nilla Wafers – Adds visual appeal and textural crunch on top; other similar cookie crumbles can be used as a substitute.
This Banana Pudding Cheesecake comes together beautifully, blending all these delightful ingredients into a show-stopping dessert your family will love!
Step‑by‑Step Instructions for Banana Pudding Cheesecake
Step 1: Prepare the Crust
Preheat your oven to 325°F (163°C). In a food processor, pulse Nilla Wafers until you achieve fine crumbs, then combine them with melted unsalted butter and brown sugar until the mixture resembles wet sand. Press this mixture firmly into the bottom of a springform pan, ensuring it’s even. Bake for 11 minutes or until lightly golden, then set aside to cool.
Step 2: Make the Cheesecake Filling
In a large mixing bowl, beat the cream cheese and granulated sugar together until smooth and creamy—about 2 minutes. Gradually add in the mashed bananas, pure vanilla extract, sour cream, and heavy cream, mixing until fully combined. Once smooth, add the large eggs one at a time at low speed, mixing just until incorporated to maintain a light texture.
Step 3: Layer Cheesecake
Pour half of the cheesecake filling over the cooled Nilla Wafer crust, spreading evenly. Arrange sliced bananas evenly on top, followed by a sprinkle of crushed Nilla Wafers for added texture. Finally, pour the remaining cheesecake batter over the layered bananas and crumbs, ensuring everything is covered smoothly.
Step 4: Bake
Prepare a water bath to bake the cheesecake evenly and prevent cracking. Place your springform pan in a larger pan filled with hot water, making sure the water comes halfway up the sides of the cheesecake pan. Bake in the preheated oven for 80-90 minutes, or until the edges are set but the center still slightly jiggles. Turn off the oven and leave the cheesecake inside for 30 minutes to cool gradually.
Step 5: Chill
After cooling in the oven, carefully remove the cheesecake from the water bath and let it cool to room temperature. Once cooled, wrap it with plastic wrap and refrigerate for a minimum of 6 hours, or preferably overnight, to allow the flavors to meld beautifully in this Banana Pudding Cheesecake.
Step 6: Prepare Whipped Topping
In a mixing bowl, whisk together the instant vanilla pudding mix and milk until thickened, about 2 minutes. In another bowl, whip the heavy cream until stiff peaks form. Gently fold the whipped cream into the pudding mixture, being careful to keep the volume intact for a light and airy topping.
Step 7: Assemble
Once the cheesecake has chilled completely, spread the whipped pudding mixture evenly over the top. Finish by sprinkling crushed Nilla Wafers on top for a beautiful presentation. This ensures each slice has that perfect crunch, making your Banana Pudding Cheesecake a true showstopper.
How to Store and Freeze Banana Pudding Cheesecake
Fridge: Keep the cheesecake covered in an airtight container or tightly wrapped with plastic wrap for up to 5 days. This will help maintain its creamy texture.
Freezer: You can freeze the Banana Pudding Cheesecake (without the topping) for up to 2 months. Wrap it tightly in plastic wrap and place it in a freezer-safe container.
Thawing: To enjoy your frozen cheesecake, simply transfer it to the fridge and let it thaw for approximately 4-6 hours before serving. This helps retain its delicious flavor and texture.
Reheating: If you prefer your cheesecake slightly warm, gently warm individual slices in the microwave for about 10-15 seconds, making sure not to overheat.
Banana Pudding Cheesecake Variations
Feel free to let your creativity shine as you make this delightful cheesecake your own!
-
Chocolate Delight: Substitute chocolate pudding for the vanilla in the topping for an irresistible chocolate twist that brings a new level of indulgence.
-
Salted Caramel Layer: Add a luscious layer of salted caramel sauce underneath the whipped cream topping to elevate those sweet, banana flavors with a hint of saltiness.
-
Graham Cracker Crust: Use crushed graham crackers instead of Nilla Wafers for the crust if you’re craving a different flavor profile. The slight nuttiness provides a lovely contrast!
-
Nutty Crunch: Incorporate chopped nuts like walnuts or pecans into the crust or sprinkle them on top for added texture and delightful crunch.
-
Banana Ripple: Swirl in some fresh banana puree into the cheesecake filling before baking to intensify the banana flavor, creating a delightful marbled effect.
-
Spiced Sensation: Add a pinch of cinnamon or nutmeg to the filling for a warm spice that complements the sweetness of the banana beautifully, creating depth in flavor.
-
Fruity Fusion: Top the cheesecake with fresh berries or tropical fruits for a vibrant, fresh explosion of flavor that balances the richness of the cheesecake.
-
Creamy Coconut: Mix coconut cream or shredded coconut into the cheesecake filling for a tropical vibe that pairs beautifully with the banana.
Whatever path you choose, don’t hesitate to explore! If you love flavor variations, you might also enjoy my recipe for Strawberry Cheesecake Protein Balls or check out the delicious Pumpkin Cheesecake Gingersnap for more inspiration.
Make Ahead Options
These Banana Pudding Cheesecakes are perfect for busy weeknights or special gatherings! You can prepare the crust and cheesecake filling up to 24 hours in advance; simply store them separately in the refrigerator. The crust should be baked, cooled, and wrapped tightly to maintain its crunchy texture. For the cheesecake, chill it overnight after baking to allow the flavors to develop deeply, keeping it covered to prevent drying out. When ready to serve, only then should you prepare the whipped topping and assemble everything—this way, your Banana Pudding Cheesecake will be just as delicious and fresh! Enjoy the convenience of making ahead, making life easier while creating delightful moments.
What to Serve with Banana Pudding Cheesecake
To create a memorable meal, consider these delicious pairings that will elevate your Banana Pudding Cheesecake experience.
-
Fresh Fruit Salad: Bright, juicy fruits like berries and kiwi complement the creamy cheesecake and add a refreshing balance to your dessert platter.
-
Toasted Coconut Flakes: Adding a sprinkle of toasted coconut gives your cheesecake a tropical flair and enhances the overall flavor profile beautifully.
-
Caramel Sauce: A warm drizzle of caramel adds a rich sweetness that pairs well with the banana flavors in the cheesecake. It creates a stunning visual contrast too!
-
Whipped Cream: Lightly sweetened whipped cream adds a fluffy texture that complements the dense cheesecake perfectly. Serve it alongside each slice for a delightful touch.
-
Ice Cream: Vanilla or banana-flavored ice cream provides a creamy, cold contrast to the cheesecake, making for a truly indulgent dessert experience.
-
Iced Tea or Lemonade: A refreshing glass of iced tea or freshly squeezed lemonade brings a zesty freshness, cleansing the palate between bites of the rich cheesecake.
-
Chocolate Espresso Torte: For those who adore chocolate, a slice of rich espresso torte can create an intriguing flavor combination when served alongside your Banana Pudding Cheesecake.
-
Nutty Granola: Sprinkling nutty granola over your cheesecake adds a delightful crunch; it enhances texture and offers an exciting flavor contrast to the creaminess.
-
Banana Muffins: For a whimsical touch, serve mini banana muffins on the side to amplify the banana flavor while providing a variety of textures and forms.
Expert Tips for Banana Pudding Cheesecake
-
Room Temperature Ingredients: Allow all dairy ingredients to reach room temperature for a smoother, more cohesive batter in your Banana Pudding Cheesecake.
-
Careful Mixing: Don’t overmix the batter after adding eggs; this helps maintain a light and airy texture, preventing a dense cheesecake.
-
Water Bath Benefits: Using a water bath during baking prevents cracks by providing moisture, resulting in a beautifully smooth surface for your Banana Pudding Cheesecake.
-
Chill Time: Refrigerate the cheesecake overnight for a richer, more developed flavor; trust me, the wait is worth every moment!
-
Keep it Covered: When storing, ensure the cheesecake is covered tightly to prevent drying out and absorbing any refrigerator odors.
Banana Pudding Cheesecake Recipe FAQs
What type of bananas should I use for the cheesecake?
It’s best to use ripe bananas for your Banana Pudding Cheesecake. They should have a few brown spots, indicating they’re sweet and easy to mash. This will enhance the flavor of your cheesecake, giving it that delightful banana sweetness.
How can I store leftover Banana Pudding Cheesecake?
Store the cheesecake covered in an airtight container in the refrigerator for up to 5 days. This will ensure it remains creamy and fresh while preventing it from absorbing any odors from the fridge. If you have any topping, keep it separate to retain its texture.
Can I freeze my Banana Pudding Cheesecake?
Absolutely! You can freeze the cheesecake without the topping for up to 2 months. To freeze, wrap it tightly in plastic wrap and place it in a freezer-safe container. When you’re ready to enjoy it again, just transfer it to the fridge for about 4-6 hours to thaw before serving.
What should I do if my cheesecake cracks during baking?
If your Banana Pudding Cheesecake cracks, don’t fret! It happens to the best of us. Using a water bath during baking can help prevent this. If cracks do appear, you can cover them up with the whipped topping or a sprinkle of crushed Nilla Wafers for a charming look!
Is this cheesecake suitable for people with dietary restrictions?
While this dessert contains dairy and eggs, you can make some substitutions to accommodate dietary needs. For a gluten-free version, use gluten-free cookies for the crust. For those avoiding dairy, substitute with vegan cream cheese and almond milk in the pudding. Always check for allergies before sharing!
How should I serve this Banana Pudding Cheesecake?
Serve the cheesecake chilled, garnished with additional sliced bananas or a drizzle of caramel sauce if desired. This adds an extra touch of sweetness, making every slice an unforgettable experience!
Banana Pudding Cheesecake That Will Steal the Show
Ingredients
Equipment
Method
- Preheat your oven to 325°F (163°C). In a food processor, pulse Nilla Wafers until you achieve fine crumbs, then combine them with melted unsalted butter and brown sugar until the mixture resembles wet sand. Press this mixture firmly into the bottom of a springform pan, ensuring it's even. Bake for 11 minutes or until lightly golden, then set aside to cool.
- In a large mixing bowl, beat the cream cheese and granulated sugar together until smooth and creamy—about 2 minutes. Gradually add in the mashed bananas, pure vanilla extract, sour cream, and heavy cream, mixing until fully combined. Once smooth, add the large eggs one at a time at low speed, mixing just until incorporated to maintain a light texture.
- Pour half of the cheesecake filling over the cooled Nilla Wafer crust, spreading evenly. Arrange sliced bananas evenly on top, followed by a sprinkle of crushed Nilla Wafers for added texture. Finally, pour the remaining cheesecake batter over the layered bananas and crumbs, ensuring everything is covered smoothly.
- Prepare a water bath to bake the cheesecake evenly and prevent cracking. Place your springform pan in a larger pan filled with hot water, making sure the water comes halfway up the sides of the cheesecake pan. Bake in the preheated oven for 80-90 minutes, or until the edges are set but the center still slightly jiggles. Turn off the oven and leave the cheesecake inside for 30 minutes to cool gradually.
- After cooling in the oven, carefully remove the cheesecake from the water bath and let it cool to room temperature. Once cooled, wrap it with plastic wrap and refrigerate for a minimum of 6 hours, or preferably overnight, to allow the flavors to meld beautifully.
- In a mixing bowl, whisk together the instant vanilla pudding mix and milk until thickened, about 2 minutes. In another bowl, whip the heavy cream until stiff peaks form. Gently fold the whipped cream into the pudding mixture, being careful to keep the volume intact.
- Once the cheesecake has chilled completely, spread the whipped pudding mixture evenly over the top. Finish by sprinkling crushed Nilla Wafers on top for a beautiful presentation.
Leave a Reply