
With every crunch, these homemade saltine crackers transport me back to cozy afternoons spent with family over a board game and a good conversation. It turns out that whipping up a batch of these light, crisp delights is easier than it seems. In just 25 minutes, you can create this quick, versatile snack perfect for pairing with cheese or dipping into your favorite soups. Using only simple pantry staples, these Homemade Saltine Crackers offer a satisfying, fresh alternative to store-bought snacks. What will you pair them with—your go-to dip or perhaps a slice of savory cheese? Let’s dive into this fun and rewarding baking adventure!
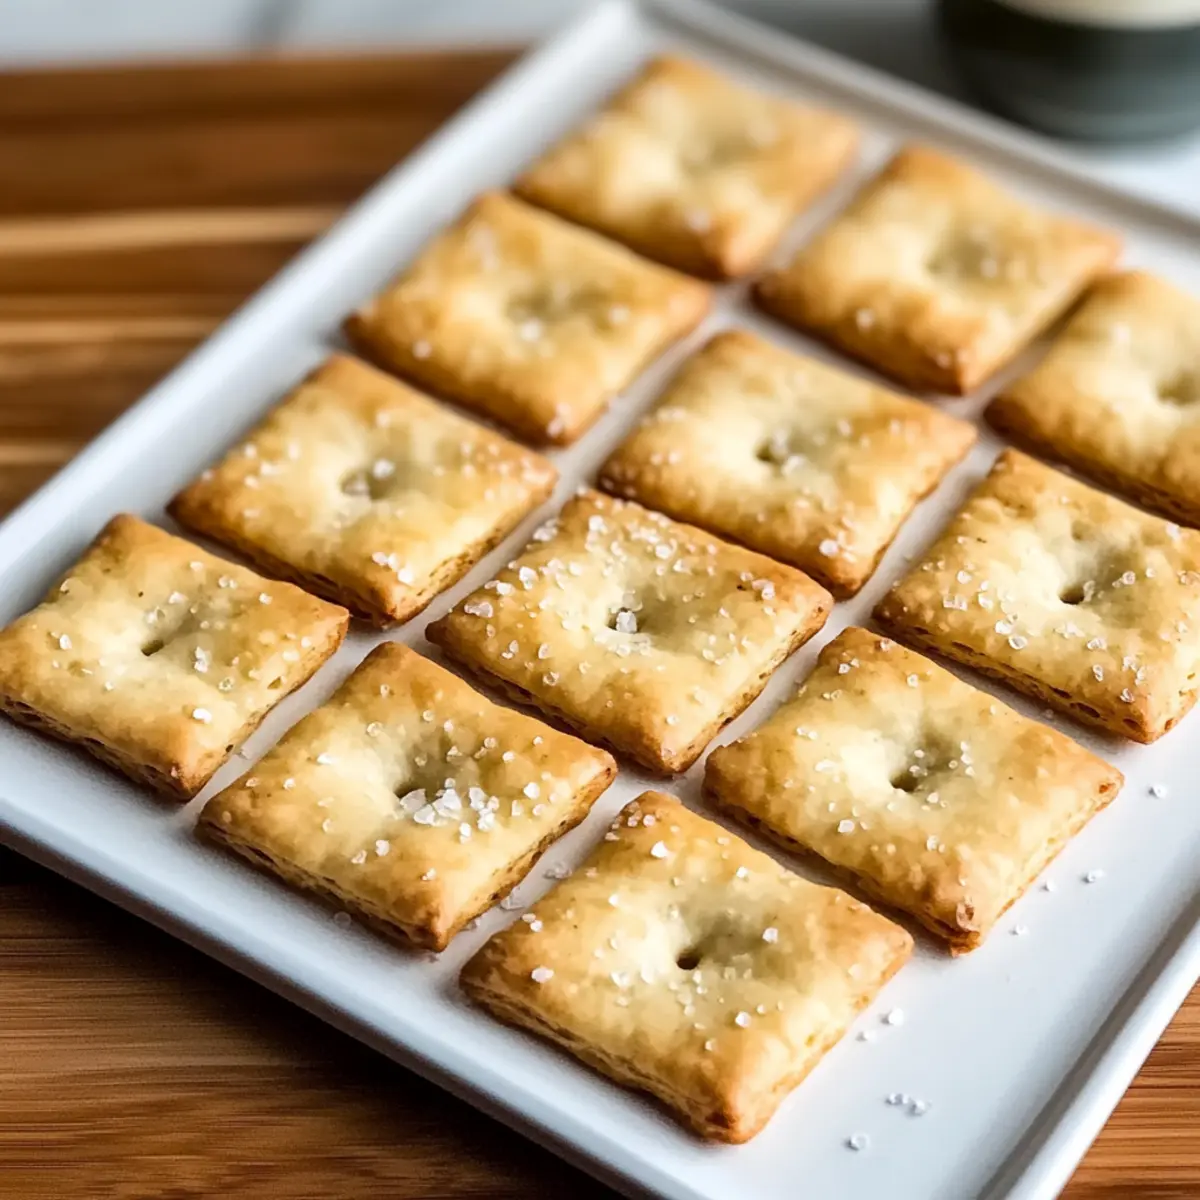
Why Choose Homemade Saltine Crackers?
Delightful crunch: These homemade saltine crackers offer a satisfying snap that’s hard to resist, making them a perfect snack any time of day.
Simple ingredients: With just a handful of pantry staples needed, this recipe is effortless even for beginner bakers.
Versatile pairing: Enjoy them with cheese, dips, or soups, highlighting their adaptability to various flavors.
Quick preparation: In just 25 minutes, you’re on your way to fresh, crispy crackers that elevate your snacking game!
Fresh taste: You’ll experience the difference in flavor—homemade is always better than store-bought! Plus, if you love easy snacks, check out my recipe for Homemade English Toffee for another delightful treat.
Homemade Saltine Cracker Ingredients
Ready to dive into a baking adventure? Let’s gather what you need for those delightful Homemade Saltine Crackers!
For the Dough
- All-Purpose Flour – The foundational ingredient to create sturdy crackers; for a gluten-free option, substitute with gluten-free flour.
- Baking Soda – This ingredient provides the essential airiness needed for that perfect crunch; if you don’t have it, omit but note the texture will change.
- Cream of Tartar – Adds a hint of flavor and contributes to the crispy texture; lemon juice can be used as a 1:1 substitute if necessary.
- Fine Salt – Enhances the overall flavor; feel free to use kosher salt but adjust to taste!
- Unsalted Butter – Richness and flakiness come from cold, solid butter; try coconut oil for a dairy-free alternative.
- Cold Water – Helps bind the dough together; pour gradually to avoid stickiness.
For the Topping
- Coarse Salt – Sprinkle this on top before baking to capture that classic saltine taste; it’s optional but highly recommended!
Step‑by‑Step Instructions for Homemade Saltine Crackers
Step 1: Mix Dry Ingredients
In a large mixing bowl, whisk together 2 cups of all-purpose flour, 1 teaspoon of baking soda, 1 teaspoon of cream of tartar, and 1 teaspoon of fine salt until well combined. The mixture should be uniform and well-aerated, which is essential for the light texture of your Homemade Saltine Crackers. This step will take about 2 minutes.
Step 2: Cut in Butter
Take ½ cup of cold, cubed unsalted butter and use a pastry blender or your fingertips to cut it into the flour mixture. Continue until the mixture resembles coarse crumbs, with visible butter chunks throughout. This process should take about 3-4 minutes, ensuring the butter remains cold for optimal flakiness in the crackers.
Step 3: Add Water
Slowly drizzle in cold water, one tablespoon at a time, into the flour mixture, stirring gently with a fork after each addition. You’ll want to add just enough to bring the dough together into a shaggy mass. This should take around 3-5 minutes; be cautious not to add too much water, as it will make the dough sticky.
Step 4: Roll and Fold Dough
Transfer the shaggy dough onto a lightly floured surface. Roll it into a rectangle about ½ inch thick, then fold the dough into thirds, similar to a letter. Turn it 90 degrees and roll again into a rectangle. Repeat this rolling and folding process 2-3 times to create layers, which will enhance the texture of your Homemade Saltine Crackers.
Step 5: Shape Crackers
Roll the dough out to a thickness of 1/16 inch on a floured surface. Using a pizza cutter, score the rolled-out dough into squares, making sure not to cut all the way through. Dock the squares by prickling them 5-7 times with a fork to prevent puffing during baking, which ensures they stay flat and crisp.
Step 6: Bake
Preheat your oven to 200°C (400°F). Place the scored dough squares on a lined baking sheet. Bake for 10-12 minutes, or until the edges are golden brown and crisp. Keep a close eye on the crackers during this time, as they can turn from perfect to overdone very quickly. Remove them from the oven and transfer immediately to a cooling rack.
Step 7: Cool and Store
Once completely cooled, your Homemade Saltine Crackers will be light, crispy, and ready to enjoy. Store them in an airtight container at room temperature for up to a week to retain their delightful crunch. You can serve them with cheese, dips, or enjoy them on their own!
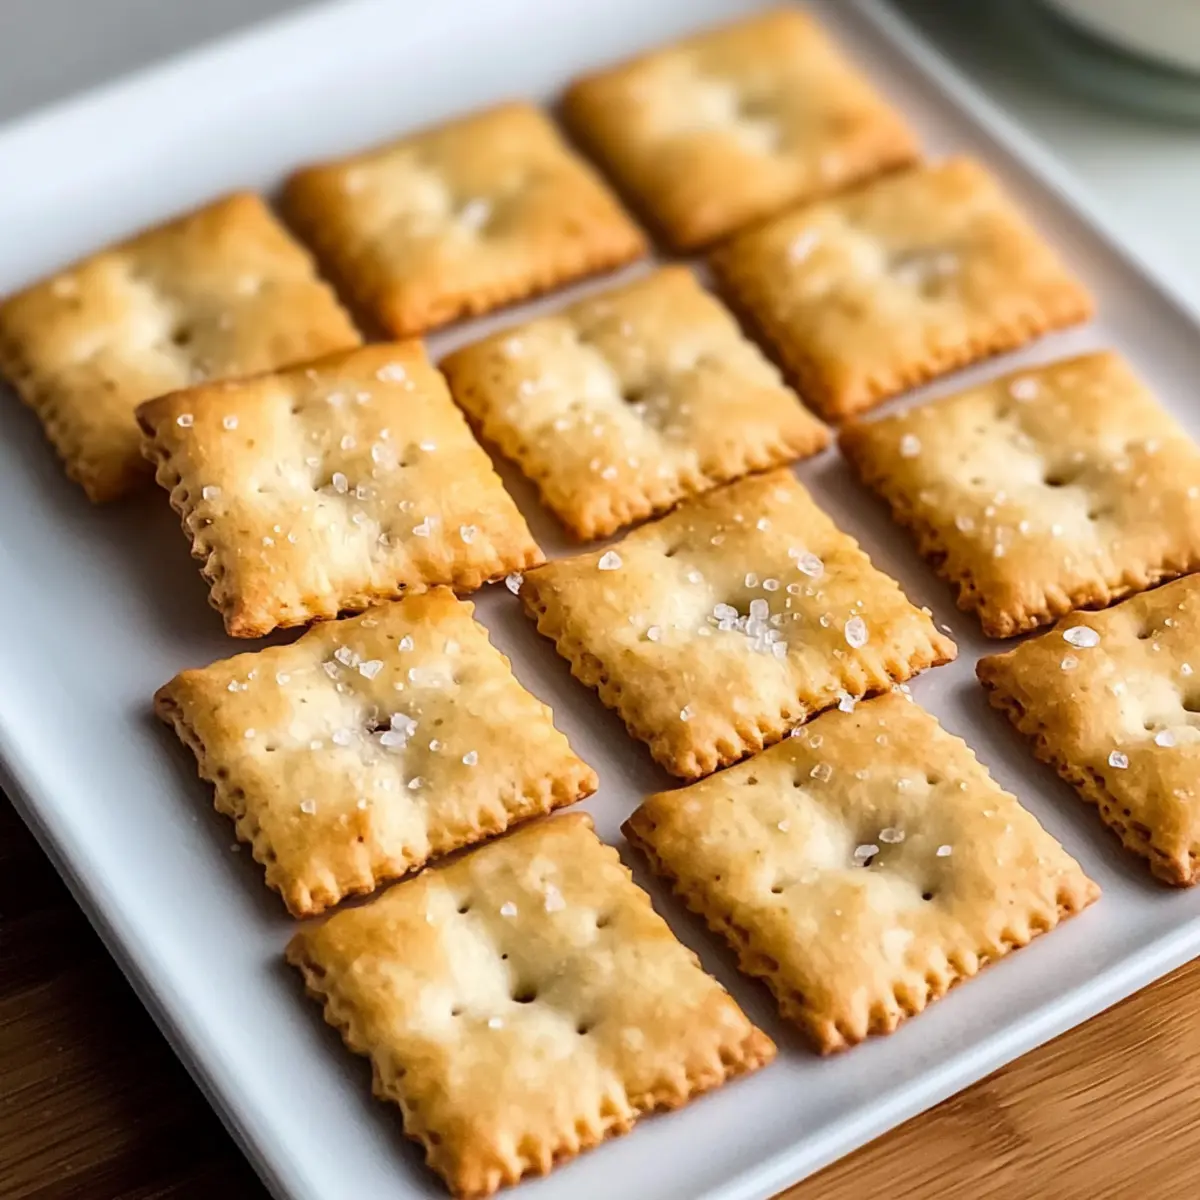
Make Ahead Options
These Homemade Saltine Crackers are perfect for meal prep enthusiasts who want to save time in the kitchen! You can mix the dry ingredients and cut in the butter up to 24 hours in advance. Simply store the mixture in an airtight container in the refrigerator to maintain freshness and prevent the butter from softening. When you’re ready to bake, follow the remaining steps by adding the water, rolling, and cutting the dough into squares. This method allows you to enjoy fresh, homemade crackers with minimal effort, making them a fantastic snack option for busy weeknights or unexpected gatherings!
Homemade Saltine Cracker Variations
Feel free to explore these fun and delicious twists on your homemade saltine crackers!
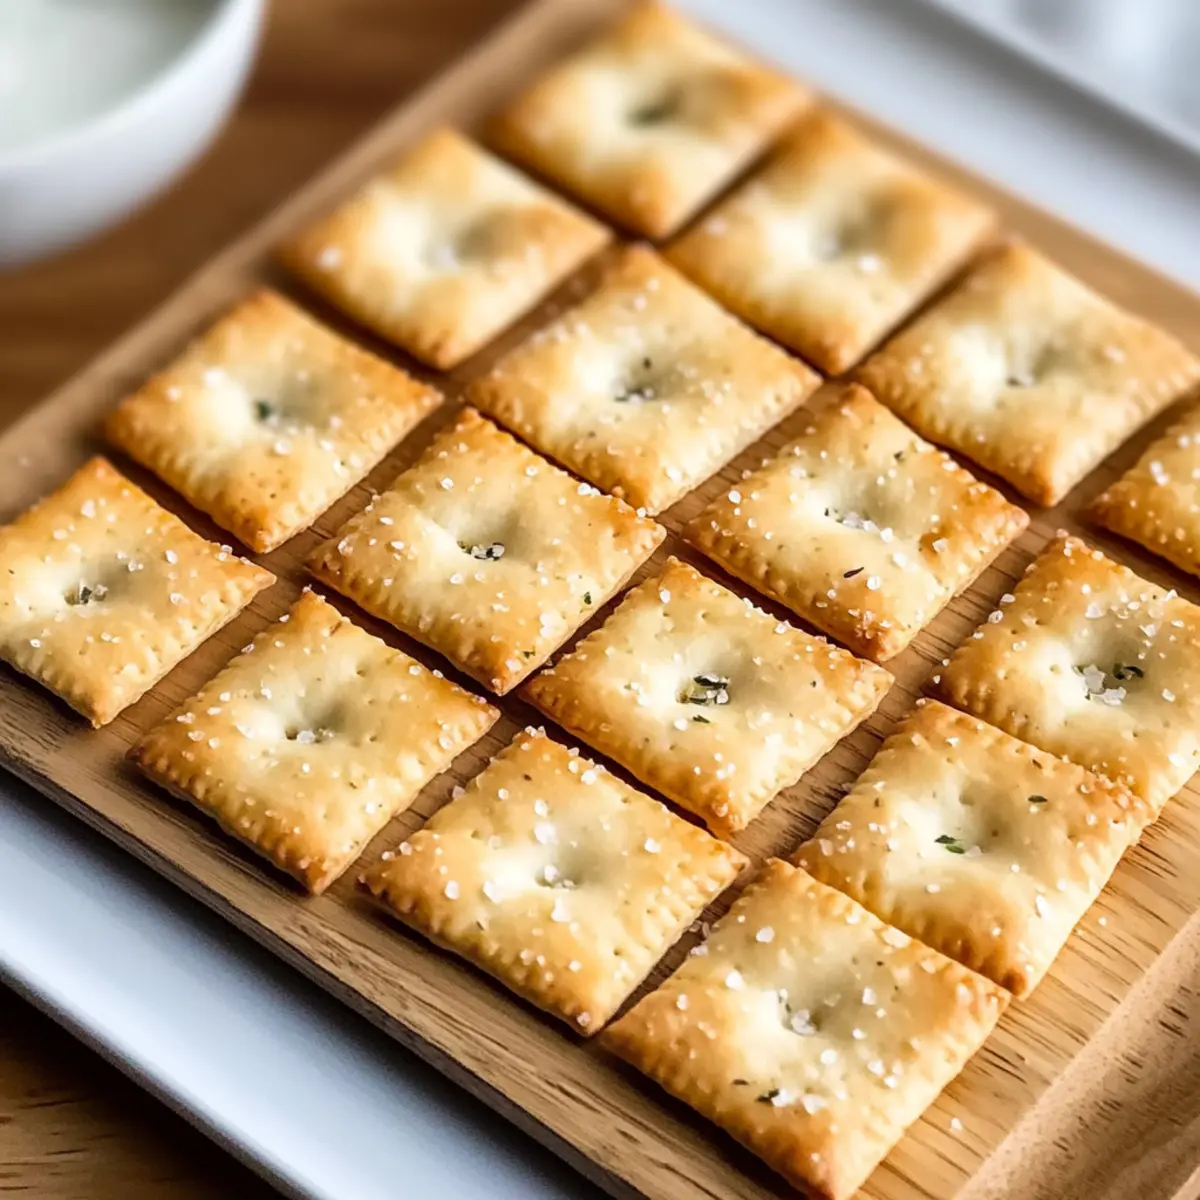
- Herb-Infused: Add 1 tablespoon of dried herbs like rosemary or thyme to the dough for an aromatic flavor. The delightful fragrance will fill your kitchen as they bake!
- Spicy Kick: Mix in ½ teaspoon of cayenne pepper or paprika to the dry ingredients for a zesty surprise. Just a hint of heat can elevate your snacking experience!
- Cheesy Touch: Incorporate ½ cup of grated cheese, such as parmesan or cheddar, into the dough. It’ll bring a rich, savory element that pairs wonderfully with soups.
- Whole Wheat Option: Swap out half of the all-purpose flour for whole wheat flour for a heartier, fiber-rich cracker. A perfect choice for those looking to enjoy added nutrition!
- Sweet Twist: For a unique treat, dust the top with cinnamon and sugar before baking. It creates a sweet crackling crust that’s perfect for an afternoon snack.
- Flavored Salt: Use flavored sea salt, such as garlic or truffle salt, on top before baking to enhance the taste with minimal effort. It’s like gourmet snacking at home!
- Nutty Addition: Fold in ¼ cup of finely chopped nuts, like almonds or pecans, into the dough for a delightful crunch and additional texture. Great for those who love an extra bite!
- Vegan-Friendly: Replace butter with coconut oil and skip the milk for a completely dairy-free and vegan snack that doesn’t compromise on flavor. It’s all about enjoying homemade snacks everyone can love!
For another sweet treat perfect for sharing, don’t forget to check out my recipe for Homemade English Toffee.
What to Serve with Quick and Crunchy Homemade Saltine Crackers
Elevate your snacking experience with delightful accompaniments that perfectly complement these crisp, buttery bites.
-
Creamy Cheese Spread: A rich, creamy cheese spread enhances the saltiness of the crackers, creating a delicious contrast. The smooth texture of the cheese pairs exquisitely with the crunchy cracker base.
-
Savory Tomato Soup: The warmth and flavor of homemade tomato soup provide a comforting balance to the crunchy crackers. Dip them in for a nostalgic, soothing experience that warms the soul.
-
Zesty Hummus: Bright and tangy hummus offers a refreshing dip that brings out the saltine’s snap, making it a fabulous snack choice. It’s also a great way to sneak in some healthy ingredients!
-
Spiced Olive Oil: A drizzle of garlic-infused olive oil brings an aromatic twist and enhances the flavor of each cracker. Pairing this with some fresh herbs can elevate your snacking game even further.
-
Herbed Yogurt Dip: A light, herby yogurt dip adds a cool, tangy flavor that pairs beautifully with the salty crackers. This combination provides a delightful texture contrast—perfect for parties!
-
Crunchy Veggie Sticks: Fresh vegetable sticks like carrots or celery create a satisfying crunch when paired with saltines. The freshness of the veggies balances the savory flavors, making for a wholesome snack.
-
Chardonnay: A chilled glass of Chardonnay complements the crackers’ buttery notes and rounds out the flavors beautifully. Its crisp acidity enhances the pairing, making each bite even more enjoyable.
Expert Tips for Homemade Saltine Crackers
- Proper Thickness: Roll the dough to 1/16 inch thick for the best crispness; thicker dough results in chewy crackers.
- Cutting Technique: Score but don’t cut all the way through the dough to ensure easy snapping after baking.
- Docking Importance: Remember to dock the dough 5-7 times to prevent puffing and maintain a flat texture in your homemade saltine crackers.
- Watch the Clock: Keep a close eye on baking; these crackers can go from perfectly golden to overdone in seconds.
- Cool Properly: Allow them to cool completely before storing to ensure they stay crisp and fresh longer.
How to Store and Freeze Homemade Saltine Crackers
Airtight Container: Store your Homemade Saltine Crackers in an airtight container at room temperature for up to 1 week to maintain their delightful crunch.
Cooling First: Allow the crackers to cool completely before storing to prevent moisture buildup, which can lead to sogginess.
Freezer Storage: For longer storage, freeze the crackers in a single layer on a baking sheet, then transfer to a freezer bag after frozen. They can last for up to 3 months.
Reheating: To restore crispness, reheat the crackers in a preheated oven at 350°F (175°C) for 5-7 minutes before serving.
Homemade Saltine Crackers Recipe FAQs
What type of flour should I use for Homemade Saltine Crackers?
You can use all-purpose flour as the base for your Homemade Saltine Crackers for the best texture. If you need a gluten-free version, try substituting with a 1:1 gluten-free flour blend, but be aware that the texture might differ slightly.
How long can I store my Homemade Saltine Crackers?
Store your Homemade Saltine Crackers in an airtight container at room temperature for up to a week. Make sure they are completely cool before sealing to avoid any moisture buildup that could lead to sogginess.
Can I freeze Homemade Saltine Crackers?
Absolutely! To freeze your crackers, arrange them in a single layer on a baking sheet and freeze until solid. Then, transfer them to a freezer bag or airtight container. They can last up to 3 months in the freezer. When you’re ready to enjoy them, simply reheat in a preheated oven at 350°F (175°C) for 5-7 minutes to regain their crispness.
What if my dough is too sticky?
If you find your dough is too sticky while preparing your Homemade Saltine Crackers, simply add a bit more flour, one tablespoon at a time, until it achieves the right consistency. Be cautious not to add too much; you want a shaggy dough that holds together without sticking to your hands.
Can I make these crackers dairy-free?
Yes! For a dairy-free option, use coconut oil instead of unsalted butter. Just make sure it’s in a solid state (not melted) before incorporating it into your flour mixture for that delightful flakiness.
How can I adjust the saltiness of my crackers?
If you want your Homemade Saltine Crackers to be less or more salty, adjust the fine salt in the dough as per your preference. For example, using less coarse salt on top when baking can also modify the overall taste. Always taste as you go, and remember, you can add but not take away!
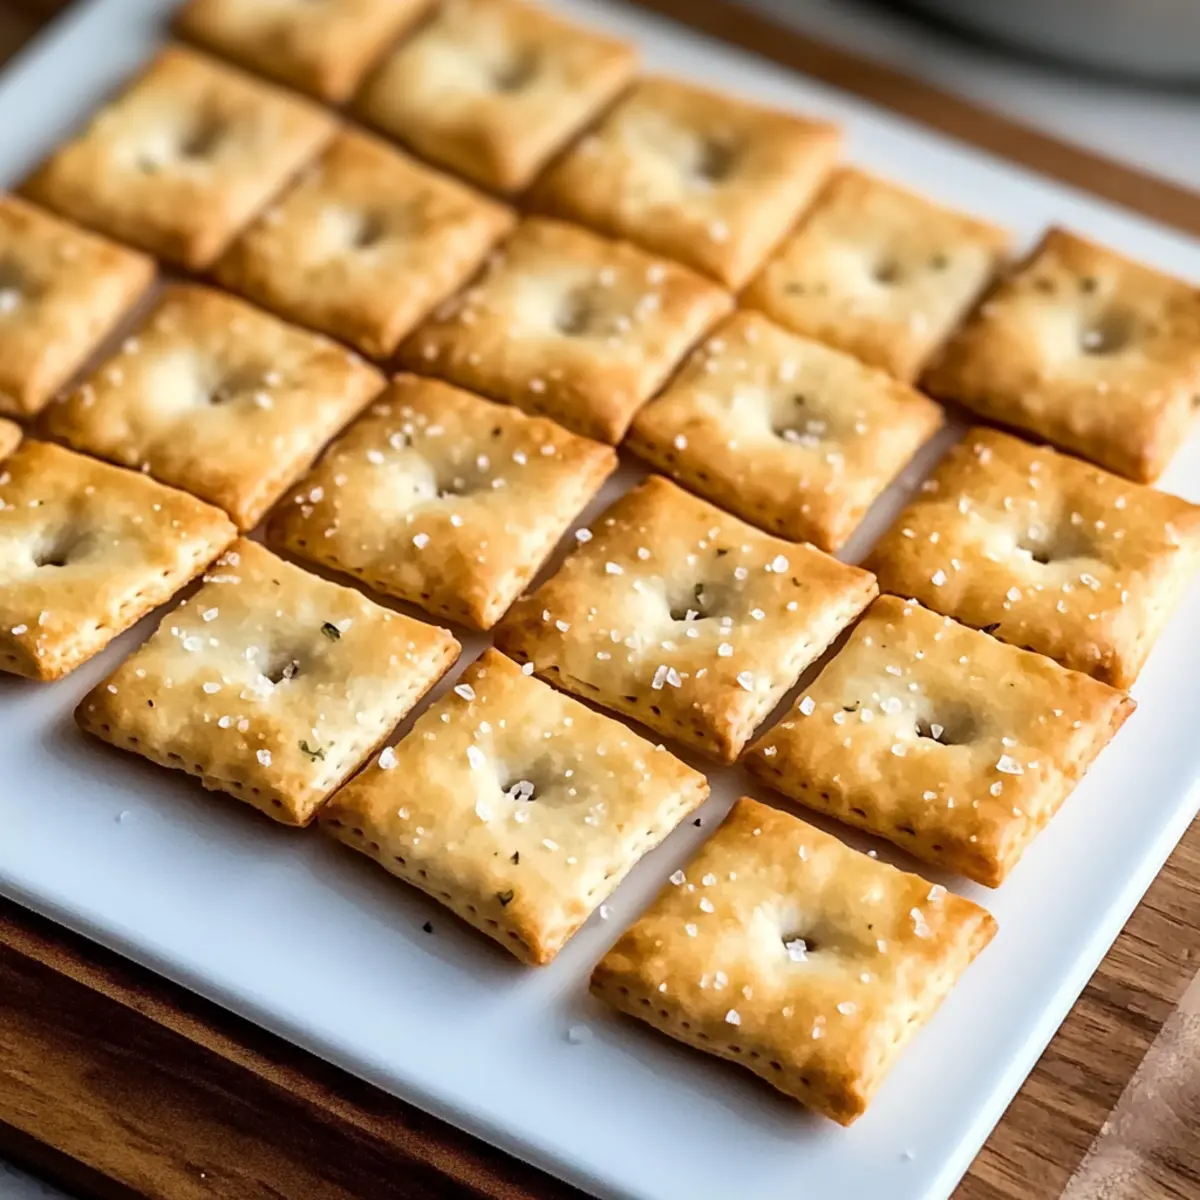
Crispy Homemade Saltine Crackers for Snacking Bliss
Ingredients
Equipment
Method
- In a large mixing bowl, whisk together 2 cups of all-purpose flour, 1 teaspoon of baking soda, 1 teaspoon of cream of tartar, and 1 teaspoon of fine salt until well combined.
- Use a pastry blender to cut in ½ cup of cold, cubed unsalted butter into the flour mixture until it resembles coarse crumbs.
- Slowly drizzle in cold water, one tablespoon at a time, gently stirring after each addition until a shaggy mass forms.
- Transfer the dough to a floured surface, roll it into a rectangle about ½ inch thick, and fold it into thirds.
- Roll the dough out to 1/16 inch thick and score it into squares with a pizza cutter.
- Preheat oven to 200°C (400°F). Bake the scored dough squares for 10-12 minutes until golden brown.
- Allow the crackers to cool completely before storing in an airtight container.
Leave a Reply