
As I prepped for a casual dinner with friends, I stumbled upon a craving that whisked me straight back to those delightful nights at Chinese buffets—Cheesy Mayo Mussels. With the perfect blend of tender, succulent mussels topped with a creamy, savory mayonnaise and gooey melted mozzarella, this quick and easy recipe transforms humble seafood into a star dish. In just 20 minutes, you can impress your guests or enjoy a cozy weeknight feast that feels indulgent yet effortless. Plus, they’re versatile: you can whip them up cheesy or keep them lighter without the dairy. Ready to dive into a world of flavor that’s sure to spark joy in your kitchen? Let’s get started!
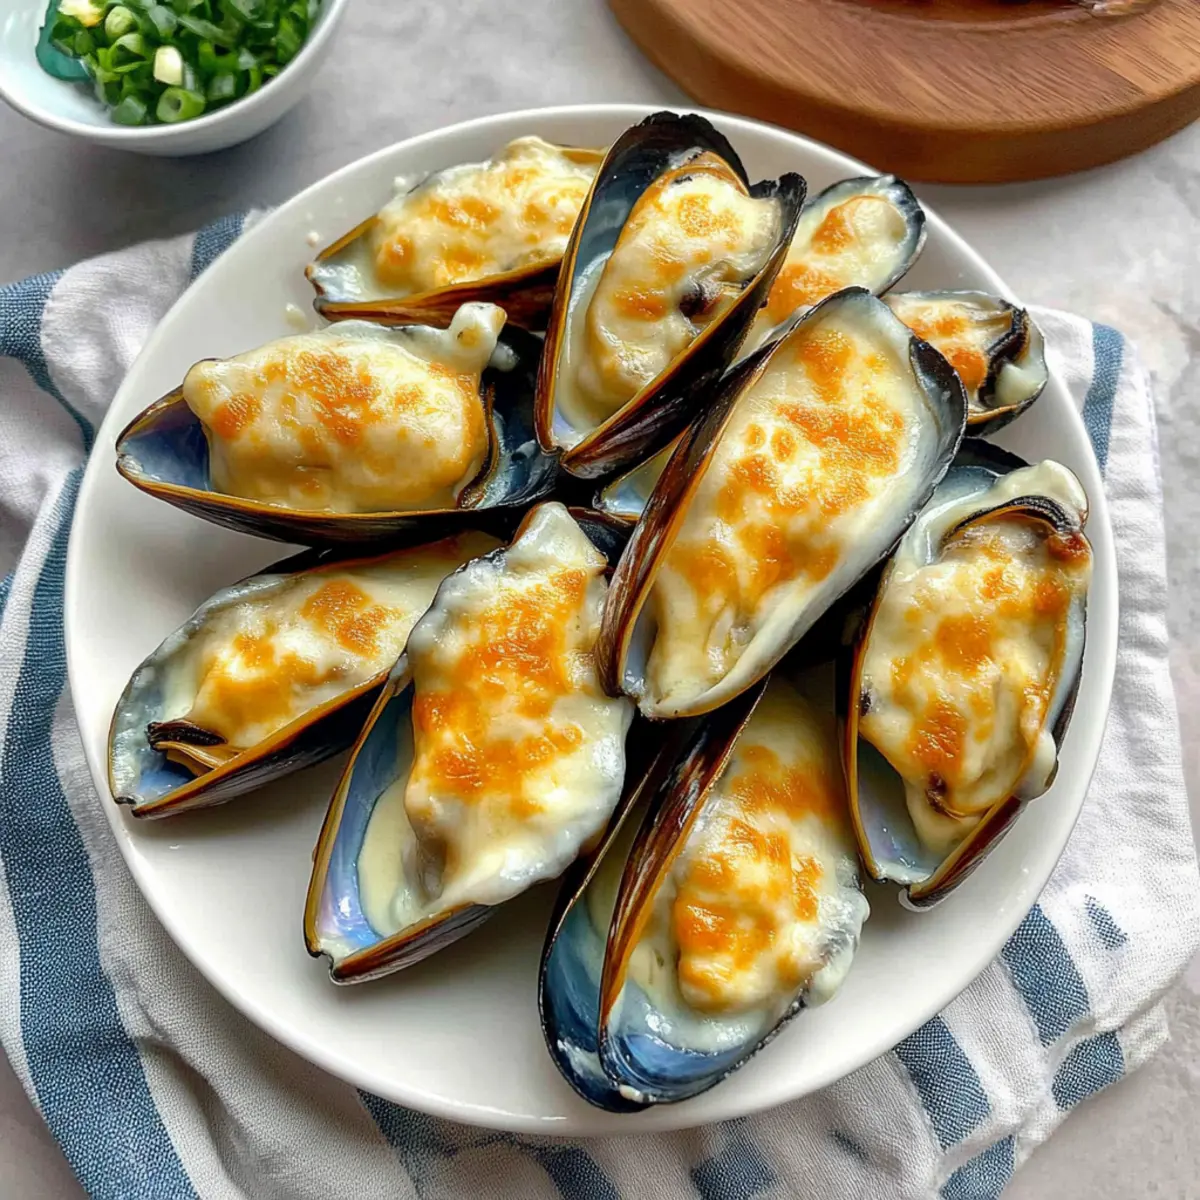
Why Are Cheesy Mayo Mussels Irresistible?
Quick and Easy: This recipe is perfect for busy nights, taking only 20 minutes from prep to plate!
Flavor Explosion: The blend of creamy mayonnaise, rich garlic, and gooey mozzarella provides an unforgettable taste that’ll transport you to your favorite buffet.
Versatile Ingredients: Customize your dish effortlessly—swapping mussels for clams or oysters brings a fresh twist, while using Kewpie mayo enhances the flavor even more.
Crowd-Pleasing Appeal: Whether it’s a casual dinner with friends or a fancy gathering, these cheesy delights will impress everyone at the table.
Comforting Texture: The combination of tender mussels with a bubbly, golden cheese top creates a satisfying bite that’s both comforting and gourmet.
If you’re interested in other quick meals, don’t miss our One Pot Cheesy and Smashburger Quesadillas Cheesy for more delicious inspiration!
Cheesy Mayo Mussels Ingredients
For the Sauce
• Mayonnaise – Adds creaminess and flavor; Kewpie mayo enhances the richness!
• Garlic – Provides aromatic flavor; fresh garlic is best for a vibrant taste.
• Garlic Powder – Enhances the garlic flavor; optional if you’re using fresh garlic.
• Onion Powder – Adds depth to the flavor; feel free to substitute with fresh onion.
• Sugar – Balances acidity; can be omitted if you prefer a less sweet profile.
• Lemon Juice – Adds brightness; vinegar can serve as an alternative.
For the Mussels
• Mussels (in the half-shell) – The star ingredient, offering protein and texture; frozen New Zealand green mussels are great.
• Shredded Mozzarella Cheese – Melts beautifully, creating a delicious topping; for best results, stick with mozzarella.
These Cheesy Mayo Mussels are not only delightful but a fusion of tastes that will take your culinary experience to the next level!
Step‑by‑Step Instructions for Cheesy Mayo Mussels
Step 1: Preheat Your Oven
Start by preheating your oven to 425°F (220°C), placing the rack in the middle position. This temperature is perfect for achieving that delightful golden brown on the cheese topping. A preheated oven ensures even cooking, so don’t skip this crucial step while you gather your ingredients.
Step 2: Mix the Savory Sauce
In a medium bowl, combine mayonnaise, minced garlic, garlic powder, onion powder, sugar, and lemon juice. Stir until the mixture is smooth and creamy, which should take about 2-3 minutes. This flavorful sauce is key to your Cheesy Mayo Mussels, lending a rich depth of flavor to the dish.
Step 3: Prepare the Mussels
Take your frozen New Zealand green mussels, ensuring they are thawed and blanched. Arrange them shell-side down on a baking sheet lined with parchment paper for easier cleanup. Make sure they’re spaced apart for even cooking, allowing the heat to circulate around them.
Step 4: Assemble the Dish
Using a spoon, generously dollop the creamy mayonnaise mixture over each mussel. Be sure to coat them well for maximum flavor. Next, sprinkle shredded mozzarella cheese on top, ensuring it covers the sauce completely. This step transforms them into luxurious Cheesy Mayo Mussels that will impress your taste buds.
Step 5: Bake to Perfection
Slide the baking sheet into your preheated oven and bake for 8-10 minutes. Keep an eye on them; they are ready when the cheese has melted and turned golden brown around the edges. The bubbly cheese signals that your Cheesy Mayo Mussels are close to being devoured.
Step 6: Serve and Savor
Once baked, remove the mussels from the oven and let them cool for a minute to avoid burns. Serve hot, garnished with fresh herbs if desired, and enjoy your delicious Cheesy Mayo Mussels as a cozy appetizer or a show-stopping main dish that’s sure to wow your guests!
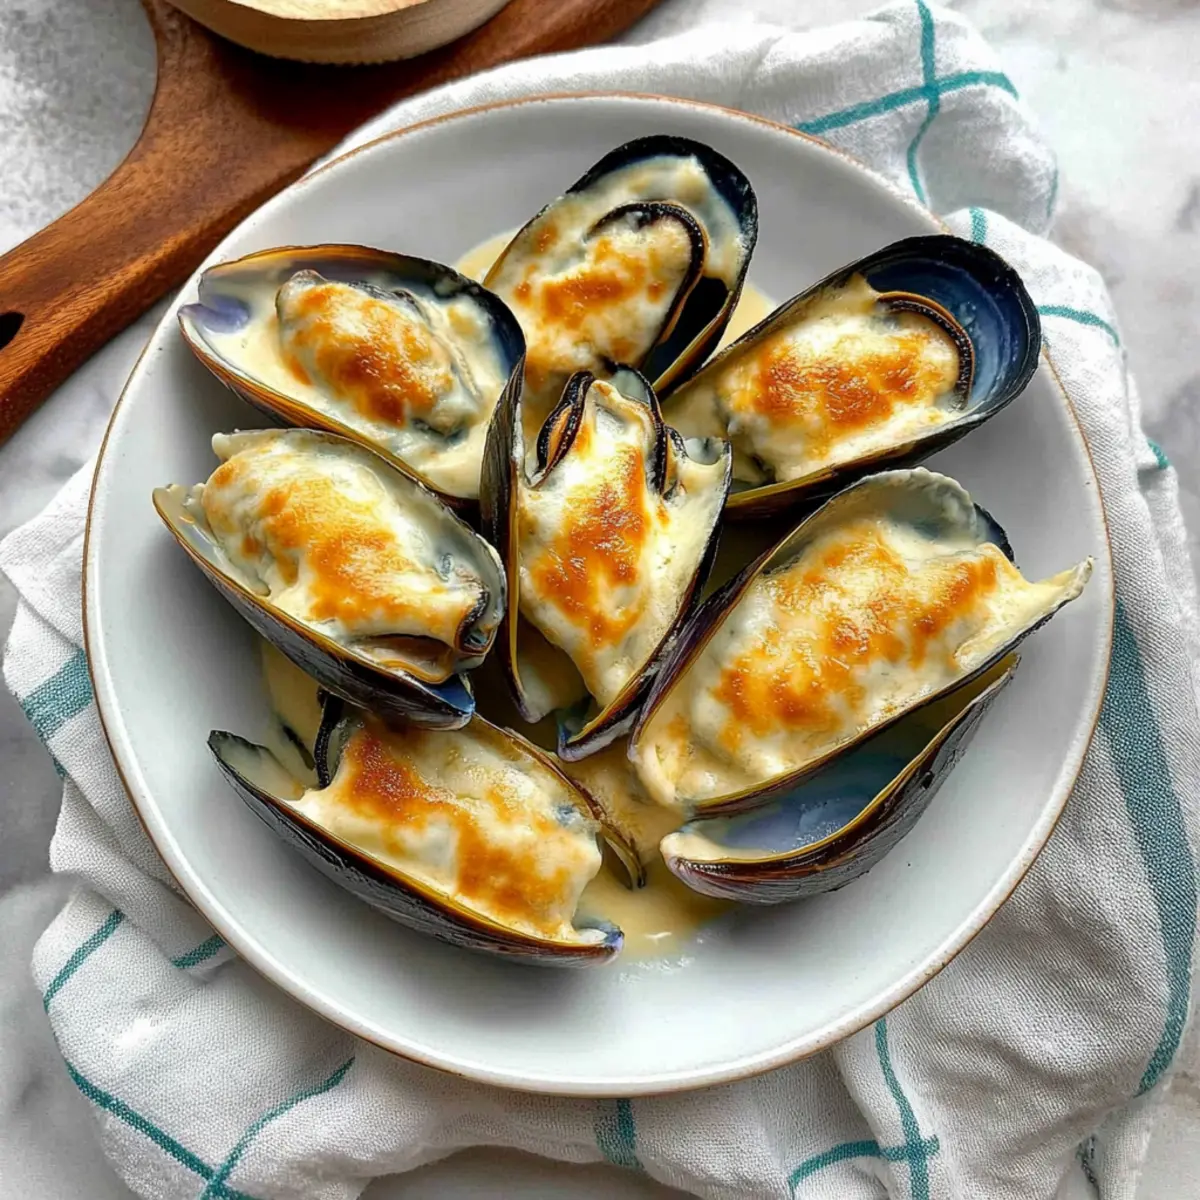
Expert Tips for Cheesy Mayo Mussels
• Choose Fresh Mussels: Always opt for fresh or well-thawed mussels to ensure a tender texture. Frozen mussels should be properly blanched before use.
• Perfectly Mixed Sauce: Ensure your mayonnaise mixture is well combined. A smooth sauce means better flavor distribution across each mussel!
• Watch the Baking Time: Overbaking can lead to rubbery mussels. Aim for 8-10 minutes, and look for golden brown cheese as your cue.
• Experiment with Cheese: While mozzarella is delicious, try blending with aged cheeses like Gouda or sharp cheddar for added depth.
• Garnish for Freshness: A sprinkle of fresh parsley or chives before serving not only enhances appearance but adds a burst of flavor to your Cheesy Mayo Mussels!
What to Serve with Cheesy Mayo Mussels
Create an inviting dining experience with delicious accompaniments that elevate your meal to new heights.
- Garlic Bread: A perfect side to soak up the cheesy goodness, crispy on the outside and buttery within.
- Fresh Garden Salad: Light and refreshing, a salad with mixed greens balances the rich, creamy mussels wonderfully.
- Steamed Asparagus: Adds a bright crunch to the meal, with its earthy notes complementing the savory flavors of the dish.
- White Wine: A chilled glass of crisp Sauvignon Blanc enhances the seafood experience and cleanses the palate beautifully.
- Lemon Wedges: Brighten up each bite, a squeeze of lemon enhances the dish’s flavors and adds a zesty twist.
- Fried Rice: This comforting, flavorful side is great for a heartier experience, offering a satisfying texture variation alongside the mussels.
With these tasty pairings, your Cheesy Mayo Mussels will shine, transforming dinner into a cherished gathering of flavors.
Make Ahead Options
These Cheesy Mayo Mussels are perfect for meal prep! You can prepare the creamy mayonnaise mixture up to 24 hours in advance—simply combine mayonnaise, minced garlic, garlic powder, onion powder, sugar, and lemon juice in a bowl and store it in an airtight container in the refrigerator. The mussels can also be placed on a baking sheet and refrigerated (make sure they are covered) until you’re ready to bake them, which can be done up to 3 days before serving. When it’s time to enjoy, just top the mussels with the chilled mayonnaise mixture, sprinkle with shredded mozzarella, and bake them for 8-10 minutes at 425°F. This way, you’ll achieve restaurant-quality results with minimal effort, allowing you to impress your guests on busy weeknights!
Storage Tips for Cheesy Mayo Mussels
Fridge: Store leftover Cheesy Mayo Mussels in an airtight container for up to 1-2 days. They’re best enjoyed fresh, but refrigerating helps preserve flavor and texture.
Freezer: If you want to freeze them, place the mussels in a single layer on a baking sheet to freeze individually before transferring to a freezer-safe container. Use within 1 month for optimal taste.
Reheating: To reheat, bake at 350°F (175°C) for 10-15 minutes until warmed through. Check that the center reaches a safe temperature of at least 145°F before serving.
Cheesy Mayo Mussels Variations & Substitutions
Feel free to explore your culinary creativity with these delicious twists to enhance your Cheesy Mayo Mussels experience!
-
Cheese-Free: Skip the mozzarella for a lighter option without sacrificing flavor. The creamy mayo still brings its own richness!
-
Extreme Flavor: Add a sprinkle of smoked paprika or cayenne pepper to the mayo mixture for a smoky kick. This adds an enticing depth that will tantalize your taste buds.
-
Herb Infusion: Mix in chopped fresh herbs like parsley, basil, or cilantro for a refreshing finish. The herbs elevate the dish and brighten every bite!
-
Creamy Alternatives: Try cream cheese or sour cream instead of mayo for a tangy change. Each substitution offers a unique creamy texture that’s still luscious.
-
Additional Crunch: Top with breadcrumbs before baking for an extra crunchy texture. This delightful contrast adds another layer of interest to each mussel.
-
Seafood Swap: Substitute mussels with clams or oysters for a unique flavor. Those tender clams or briny oysters can turn this dish into something special.
-
Tangy Zing: Incorporate a teaspoon of dijon mustard into the mayo for a zesty surprise. It brightens the dish with richness and adds a sophisticated twist.
-
Spicy Heat: Mix in a dash of hot sauce into the mayo for added heat. This little boost will bring a captivating warmth that is sure to impress!
Remember to savor this culinary journey, and if you’re craving more delightful seafood recipes, check out our One Pot Cheesy and Smashburger Quesadillas Cheesy for inspiration!
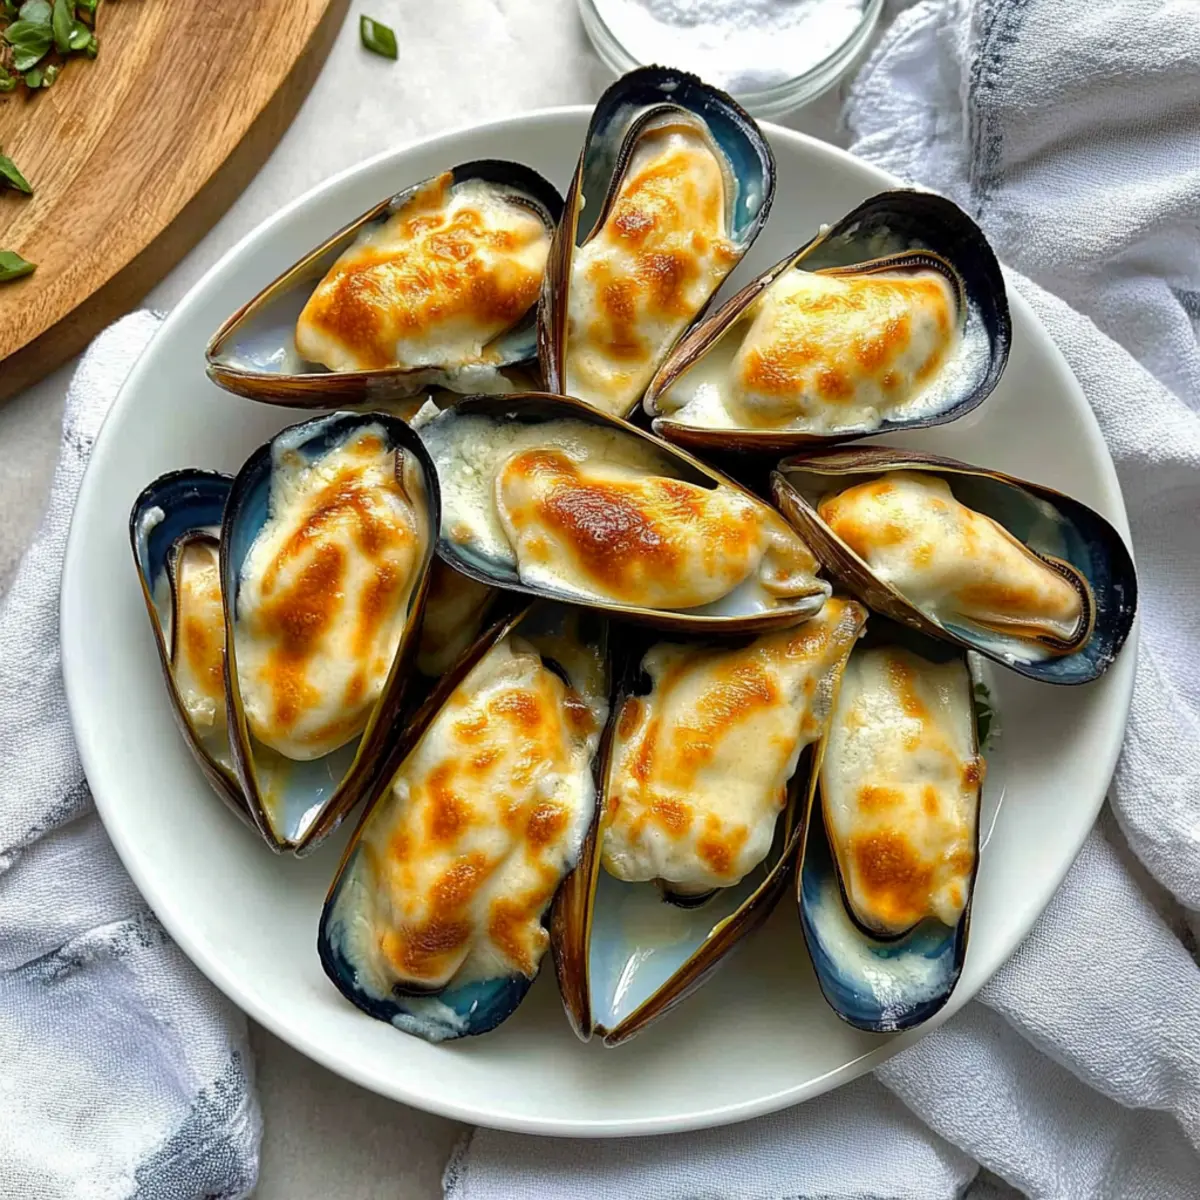
Cheesy Mayo Mussels Recipe FAQs
How do I choose the freshest mussels?
Absolutely! When selecting mussels, look for shells that are tightly closed or close when tapped. Avoid any that are cracked or have an unpleasant smell, as these can indicate spoilage. Fresh mussels should feel firm and heavy in your hand. If you’re purchasing frozen mussels, ensure they have been properly blanched and are free from frost or ice crystals.
How should I store leftovers?
Very! Leftover Cheesy Mayo Mussels can be stored in an airtight container in the refrigerator for up to 1-2 days. For the best taste and texture, consume them as soon as possible. If you want to keep them longer, you can freeze them, but note that the texture might slightly change upon reheating.
Can I freeze Cheesy Mayo Mussels?
Of course! To freeze, first bake the mussels as per the recipe. Once they’ve cooled, place them in a single layer on a baking sheet and freeze for about 1-2 hours. After they are frozen solid, transfer them to a freezer-safe container or bag. They can last for up to 1 month. When you’re ready to enjoy them again, bake at 350°F (175°C) for 10-15 minutes until heated through.
What should I do if the cheese isn’t melting well?
Oh no! If the cheese isn’t melting properly, first ensure that your oven is fully preheated before putting the mussels in. If you’re using a low-moisture mozzarella or aged cheese, they may require a slightly higher temperature or longer baking time. Check if your mussels are evenly spaced on the baking sheet; overcrowding can impact even cooking. If all else fails, place them under the broiler for a minute or two to achieve that bubbly, golden finish.
Are there any dietary considerations I should keep in mind?
Definitely! If you or your guests have shellfish allergies, it’s best to avoid mussels altogether. You can substitute mussels with other seafood such as clams or oysters. Additionally, if you’re concerned about dairy, using a dairy-free cheese or simply omitting the cheese can still yield a delicious dish. Just remember to adjust cooking times if using larger shellfish!
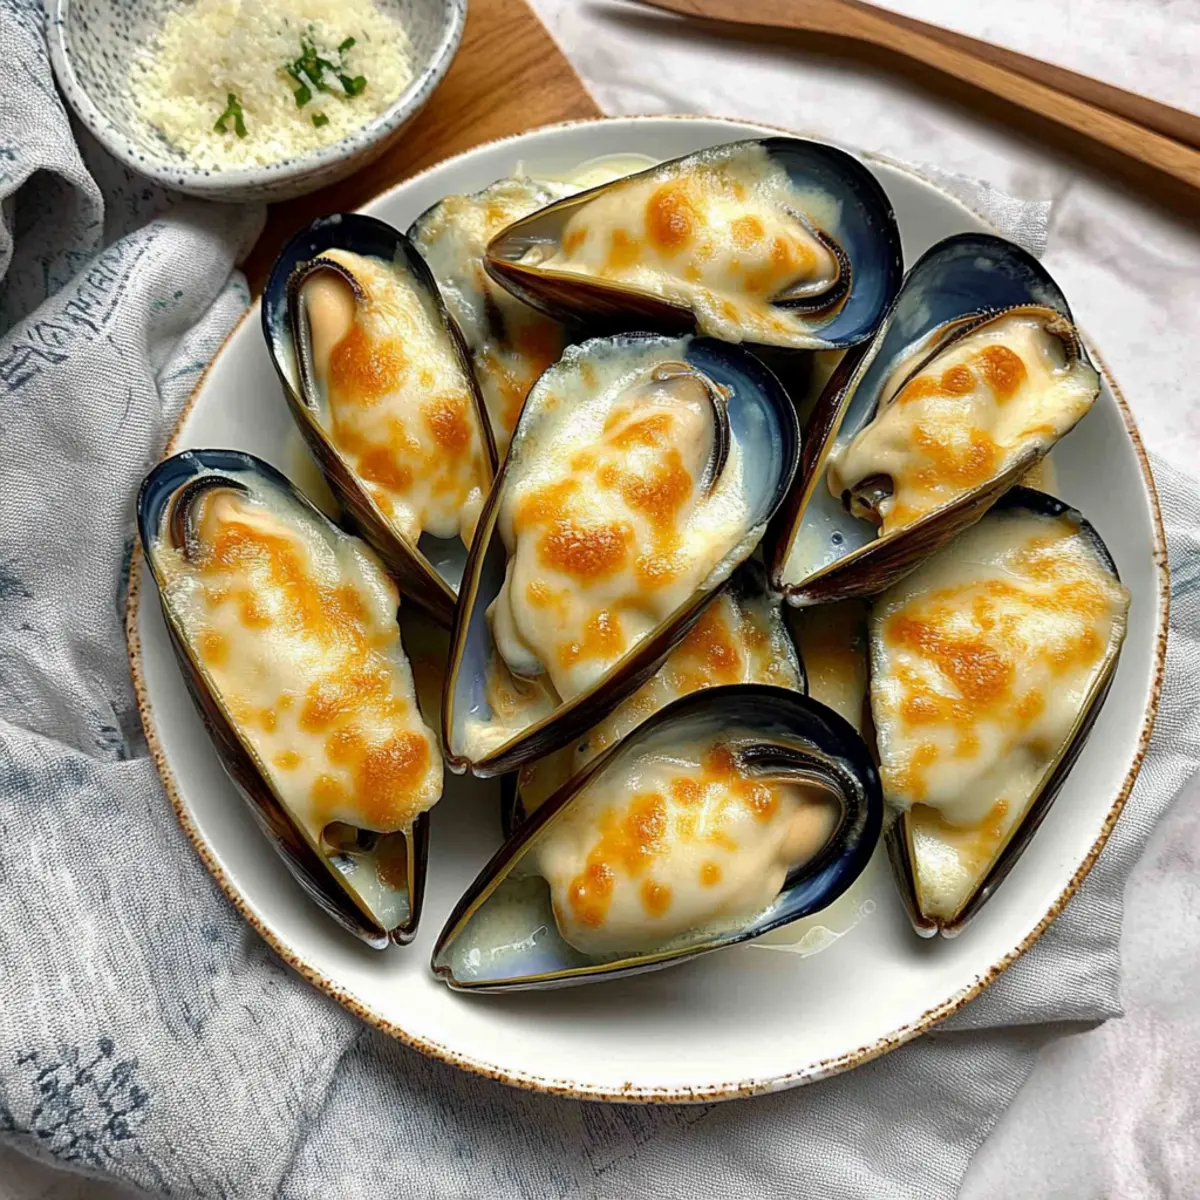
Cheesy Mayo Mussels That Will Wow Your Taste Buds
Ingredients
Equipment
Method
- Preheat your oven to 425°F (220°C), placing the rack in the middle position.
- In a medium bowl, combine mayonnaise, minced garlic, garlic powder, onion powder, sugar, and lemon juice. Stir until smooth and creamy.
- Ensure your frozen New Zealand green mussels are thawed and blanched, then arrange them shell-side down on a lined baking sheet.
- Dollop the creamy mayonnaise mixture over each mussel and sprinkle shredded mozzarella on top.
- Bake in the preheated oven for 8-10 minutes until the cheese is melted and golden brown.
- Let the mussels cool for a minute before serving hot, garnished with fresh herbs if desired.
Leave a Reply