
As I savored my last bite of tropical paradise, I was struck by the perfect crunch of Baked Coconut Shrimp with Sweet Chili Mayo—a delightful appetizer that transforms any gathering into a festive occasion. This recipe is not only a healthier alternative to frying, but it’s also incredibly easy to whip up, making it perfect for both casual dinners and special celebrations. With the golden crispness of coconut and the juicy sweetness of shrimp, each bite feels like a mini-vacation on your plate. The creamy sweet chili mayo adds just the right tang, ensuring this dish will be a hit with anyone tired of the usual and seeking a taste of the extraordinary. Ready to impress your guests or treat yourself to something delicious? Let’s dive into this delectable journey together!
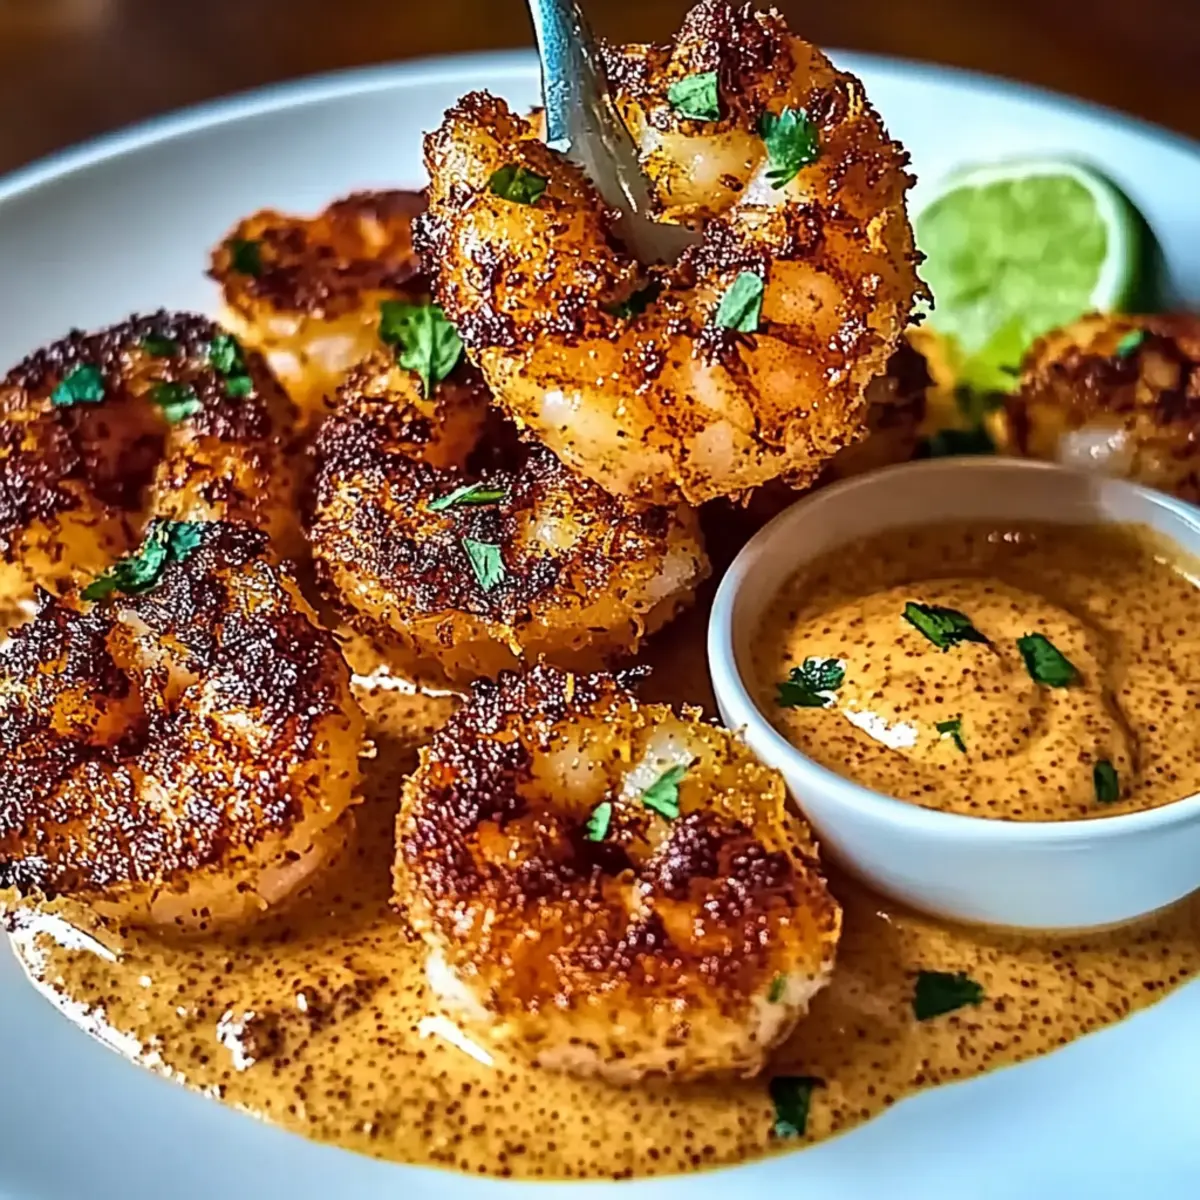
Why is this shrimp recipe irresistible?
Simplicity: Preparation is a breeze with minimal steps, ensuring even novice cooks can impress their guests.
Healthier Choice: Enjoy the crunchy goodness of shrimp without the guilt of frying while savoring all the flavors.
Crowd-Pleaser: Perfect for gatherings, this appetizer brings smiles to faces and compliments to your kitchen.
Flavorful Dip: The creamy sweet chili mayo perfectly balances the crispy shrimp, creating an explosion of taste in every bite.
Versatile: Easily adapt the recipe with gluten-free options or switch up the protein for a fresh take, making it suitable for everyone at the table.
If you love the idea of combining tropical flavors, check out my recipe for Southern Sweet Potato for another delightful experience!
Baked Coconut Shrimp with Sweet Chili Mayo Ingredients
For the Shrimp
• Large shrimp – Main protein that provides texture and flavor; use peeled and deveined for convenience.
• Shredded coconut (unsweetened) – Adds sweetness and crunch; sweetened coconut is not recommended as it may burn.
• All-purpose flour – Coating base for adhesion; can be substituted with gluten-free flour for a dietary adaptation.
• Eggs – Binds the coating; ensure they are beaten well for even coating.
• Salt – Enhances flavor; adjust to taste if needed.
• Black pepper – Adds mild heat; can omit if sensitive to spice.
• Paprika – Contributes color and mild flavor; consider smoked paprika for additional depth.
• Panko breadcrumbs – Provides a light, crispy texture; can be swapped with gluten-free breadcrumbs for a gluten-free version.
For the Dipping Sauce
• Mayonnaise – Base for dipping sauce, adds creaminess; Greek yogurt can be used as a lighter alternative.
• Sweet chili sauce – Adds sweetness and tang to the dip; choose a brand that aligns with dietary needs (gluten-free if required).
• Lime juice – Provides acidity to balance the richness of the sauce; fresh lime is preferred.
• Garlic powder – Seasoning element for flavor depth; fresh garlic can be used, but adjust quantity accordingly.
Step‑by‑Step Instructions for Baked Coconut Shrimp with Sweet Chili Mayo
Step 1: Preheat the Oven
Begin by preheating your oven to 400°F (200°C). While the oven warms up, prepare a baking sheet by lining it with parchment paper. This will prevent sticking and make cleanup easier. The parchment also helps achieve a nice golden crisp on your Baked Coconut Shrimp once cooked.
Step 2: Prepare the Shrimp
Take your large shrimp and pat them dry with paper towels to ensure a better coating adherence. This crucial step helps achieve a delightful crunch after baking. Lay the shrimp out in a single layer on a clean plate, ready for the coating process to begin.
Step 3: Set Up Coating Stations
Prepare three shallow bowls to streamline the breading process. In the first bowl, mix all-purpose flour with salt, pepper, and paprika. The second bowl should contain the beaten eggs for binding. Combine panko breadcrumbs and shredded coconut in the last bowl, ensuring even distribution for your Baked Coconut Shrimp coating.
Step 4: Coat the Shrimp
One by one, take each shrimp and dredge it in the flour mixture, ensuring an even coating. Next, dip it into the beaten eggs, allowing any excess to drip off. Finally, transfer the shrimp to the coconut-panko mixture, pressing down gently to ensure a good layer adheres to the shrimp. Repeat for all shrimp.
Step 5: Arrange and Bake
Place the coated shrimp in a single layer on the prepared baking sheet. Make sure they’re spaced apart to allow hot air to circulate freely. Bake the shrimp in your preheated oven for 12-15 minutes, flipping them halfway through. Look for a golden-brown color and crispy texture as indicators of doneness.
Step 6: Make the Dipping Sauce
While your Baked Coconut Shrimp is baking, prepare the sweet chili mayo. In a mixing bowl, whisk together mayonnaise, sweet chili sauce, fresh lime juice, and garlic powder until smooth and creamy. Taste and adjust the flavors as needed, ensuring a delightful zing that pairs perfectly with your shrimp.
Step 7: Serve and Enjoy
Once the shrimp are baked and crispy, remove them from the oven and let cool for a minute. Serve them warm alongside the sweet chili mayo dipping sauce. This vibrant pairing brings a tropical touch to your appetizer table, making your Baked Coconut Shrimp a standout dish for any occasion.
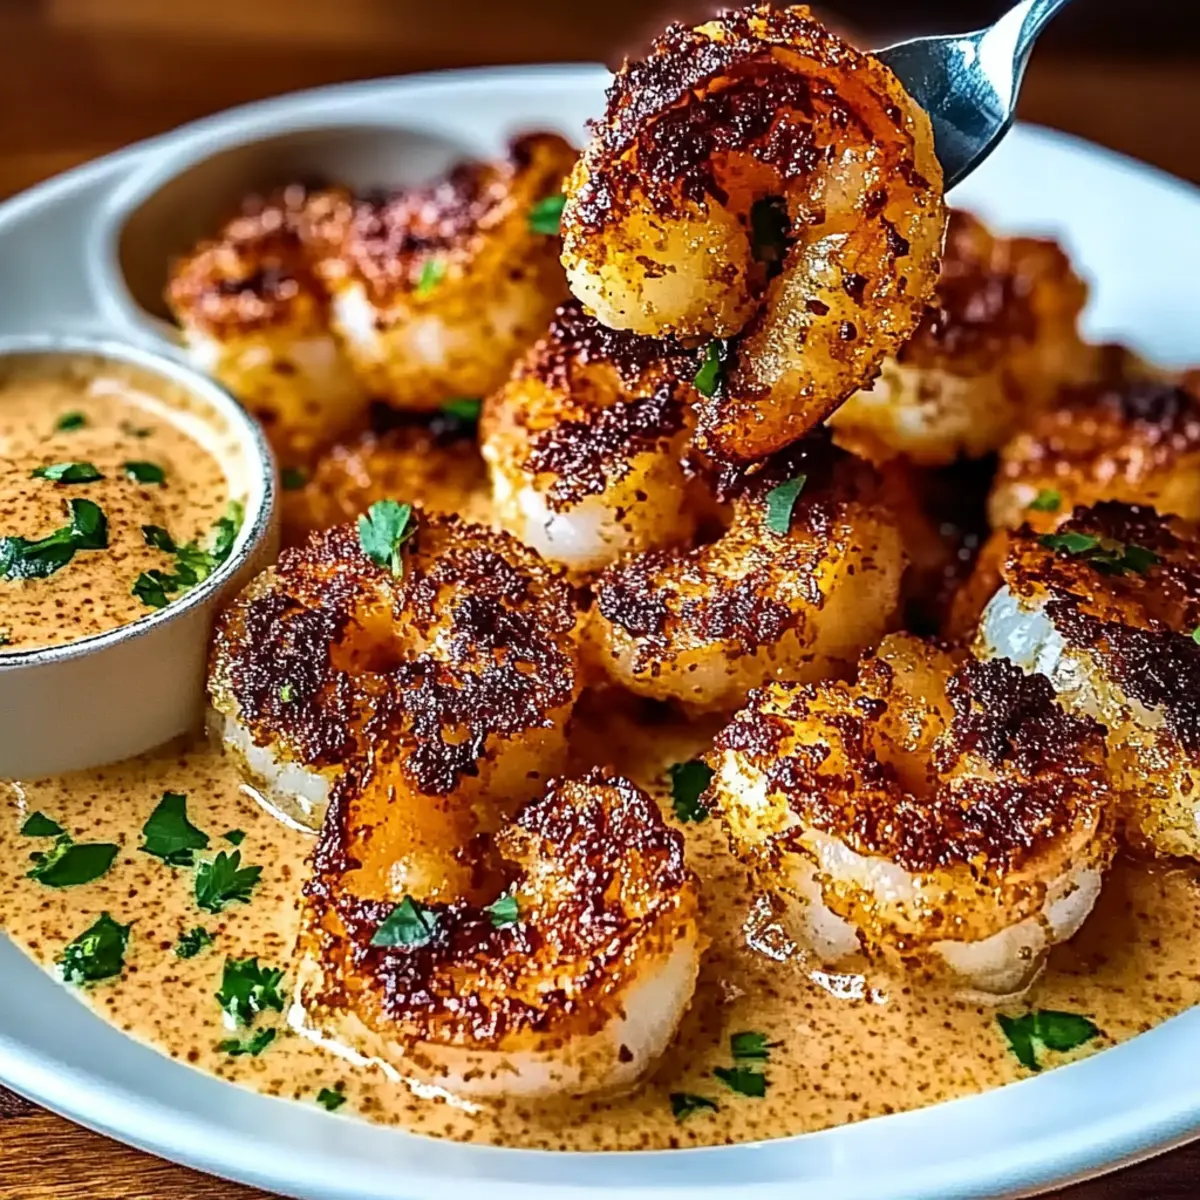
Baked Coconut Shrimp with Sweet Chili Mayo Variations
Feel free to get creative and tailor this recipe to suit your taste buds and dietary preferences!
- Gluten-Free: Substitute all-purpose flour with almond flour and use gluten-free Panko breadcrumbs for a crunchy texture.
- Chicken Swap: Replace shrimp with chicken tenders for a different protein option; they will still be delightfully crispy when baked!
- Smoky Flavor: Introduce a twist by using smoked paprika for a deeper flavor that pairs beautifully with the coconut.
- Coconut Flour: For a richer coconut flavor, consider swapping out half of the all-purpose flour with coconut flour in the coating.
- Herb Infusion: Add fresh herbs like cilantro or parsley to the coconut-Panko mixture for an herbal freshness that elevates each bite.
- Zest it Up: Incorporate lime or lemon zest into the breadcrumbs for a burst of citrus that brightens the dish.
- Spicy Kick: Add cayenne pepper to the flour mixture for those who enjoy an extra spicy kick alongside the sweetness of the chili mayo.
- Dipping Sauce Variants: Mix things up by adding sriracha to the sweet chili mayo for a zesty dipping sauce that’ll wow your taste buds!
While you explore these variations, try pairing your Baked Coconut Shrimp with the delightful flavors of Crab Shrimp Stuffed for a fabulous spread at your next gathering!
Make Ahead Options
These Baked Coconut Shrimp with Sweet Chili Mayo are perfect for meal prep, allowing you to enjoy this delightful dish on busy weeknights! You can prepare the shrimp coating (flour, egg, coconut, and Panko mixture) and store it separately in the refrigerator for up to 24 hours. Just make sure to cover it tightly to maintain the mixture’s freshness. When you’re ready to serve, simply dredge the shrimp, follow the baking instructions, and enjoy the same crispy, golden goodness! For best results, bake the shrimp just before serving to ensure they remain crispy and satisfying. This make-ahead approach saves you time without sacrificing flavor, making it a wonderful option for entertaining or family gatherings.
What to Serve with Baked Coconut Shrimp with Sweet Chili Mayo
Elevate your meal with delightful sides that enhance the tropical essence of this appetizing dish.
-
Tropical Fruit Salsa: A refreshing blend of mango, pineapple, and lime that brings a sweet and zesty contrast to the shrimp.
-
Cilantro Lime Rice: Light and fragrant, this rice adds a fluffy texture and tanginess that complements the coconut shrimp perfectly.
-
Crisp Green Salad: Fresh greens tossed with a citrus vinaigrette provide a crunchy, vibrant balance to the richness of the shrimp dish.
-
Garlic Noodles: These savory, garlicky noodles make for a comforting addition that pairs well with the sweet chili mayo.
-
Grilled Vegetables: Charred zucchini, bell peppers, and asparagus offer a smoky flavor and crisp texture that elevate your dinner experience.
-
Mango Avocado Salad: Creamy avocado and sweet mango create a harmonious blend that mirrors the tropical flavors of the shrimp, making every bite delightful.
-
Pina Colada Smoothie: A frosty, tropical drink that combines coconut and pineapple flavors, whisking you away to an island getaway with every sip.
-
Coconut Rice Pudding: To finish on a sweet note, this creamy dessert echoes the coconut in your shrimp, providing a comforting taste of paradise.
-
Sparkling Water with Lime: A refreshing, palate-cleansing beverage that enhances the tropical theme while keeping the meal light and lively.
Expert Tips for Baked Coconut Shrimp
Perfect Drying: Pat the shrimp dry: Ensuring your shrimp are dry before breading will yield a crispy texture after baking, avoiding sogginess.
Crispy Coating: Use Panko breadcrumbs: This type of breadcrumb provides a light and crispy texture that makes your Baked Coconut Shrimp irresistible.
Ingredient Substitutions: Flour options: If you need a gluten-free dish, substitute all-purpose flour with gluten-free flour for the best results without compromising flavor.
Serve Fresh: Enjoy immediately: For the ultimate experience, serve your Baked Coconut Shrimp immediately after baking while the crust is still crispy and the shrimp are warm.
Storage Tip: Store leftovers wisely: If you have any shrimp left, refrigerate them for up to 2 days but reheat in the oven to maintain their crispy coating.
Dip Variation: Experiment with the sauce: Add spices or herbs to the sweet chili mayo for added flair, creating a new flavor experience with each serving.
How to Store and Freeze Baked Coconut Shrimp
Fridge: Store leftover Baked Coconut Shrimp in an airtight container for up to 2 days. To maintain quality, let them cool completely before sealing.
Freezer: For longer storage, freeze the baked shrimp in a single layer on a baking sheet, then transfer to a freezer bag once frozen. They can be kept for up to 2 months.
Reheating: For the best results, reheat leftover or frozen shrimp in the oven at 375°F (190°C) for 10-15 minutes until warmed through and crispy again.
Make-Ahead: If you’d like to prepare ahead, assemble the shrimp and store them unbaked in the fridge for up to 2 hours before popping them into the oven for a fresh, crispy treat.
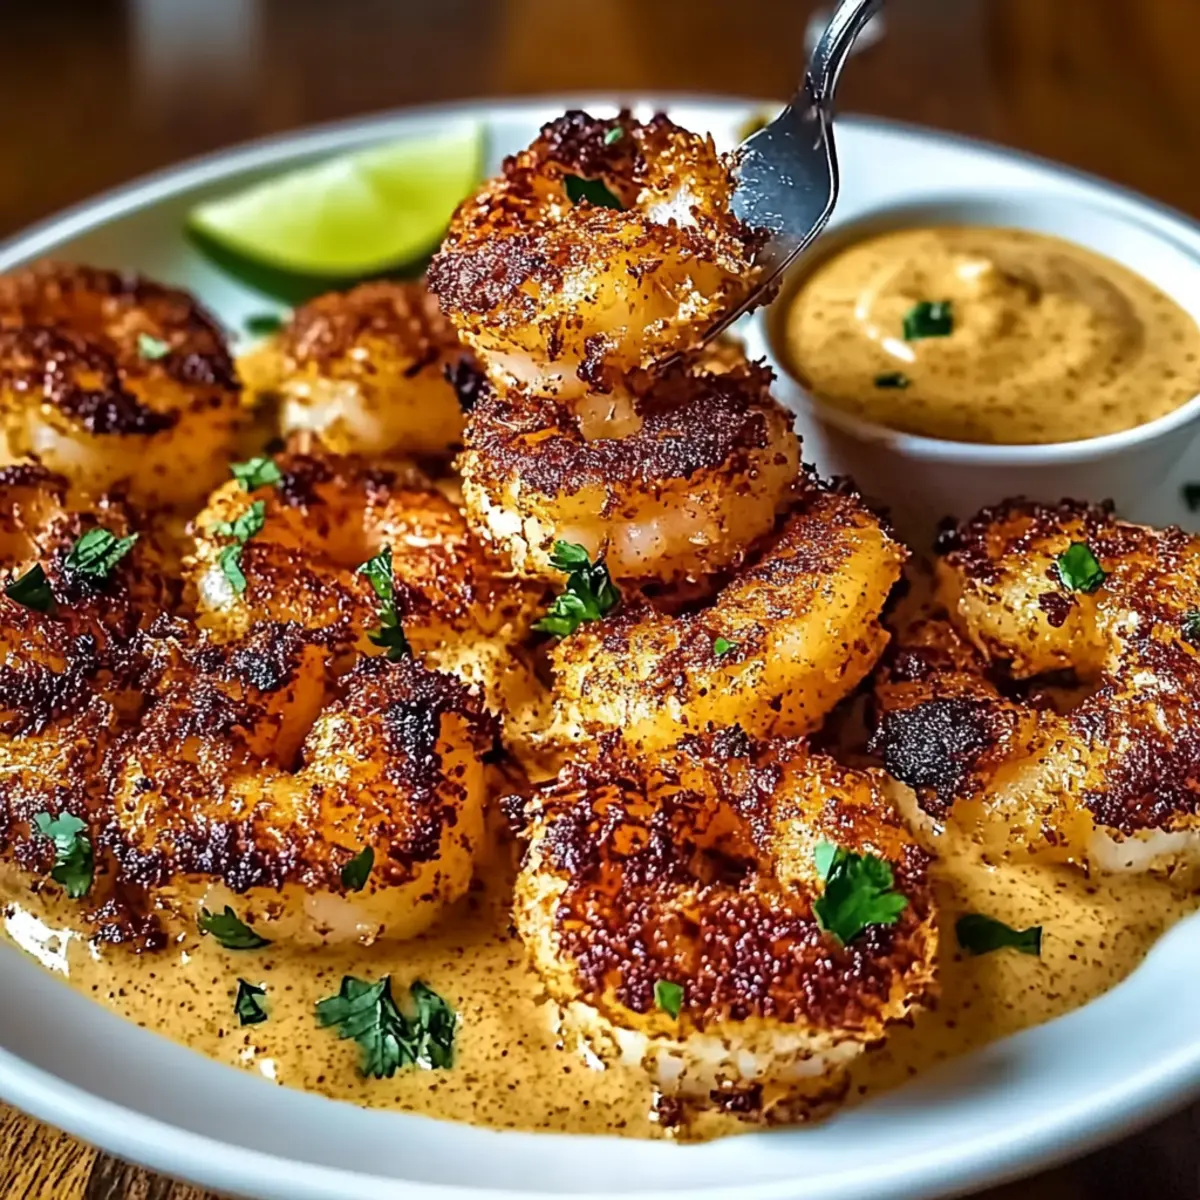
Baked Coconut Shrimp with Sweet Chili Mayo Recipe FAQs
How do I choose the perfect shrimp for this recipe?
Absolutely! For the best flavor and texture, opt for large, peeled, and deveined shrimp. Fresh shrimp should have a slight sea smell, firm texture, and a translucent look. If using frozen shrimp, ensure they are completely thawed and patted dry, which will help achieve that delightful crispness.
How long can I store leftover Baked Coconut Shrimp in the fridge?
Leftovers can be safely stored in an airtight container in the refrigerator for up to 2 days. However, to maintain the crispy texture, let them cool completely before sealing. When you’re ready to enjoy, reheat them in the oven to regain that wonderful crunch.
Can I freeze the baked coconut shrimp, and if so, how?
Yes, you can! To freeze Baked Coconut Shrimp, first, allow them to cool completely. Then arrange them in a single layer on a baking sheet and place them in the freezer until frozen solid (this prevents sticking). Once frozen, transfer them to a freezer bag, where they will stay good for up to 2 months. Label the bag with the date for freshness.
What should I do if my coating isn’t sticking to the shrimp?
Very! If the coating isn’t adhering well, it may be due to excess moisture on the shrimp. Ensure they are thoroughly patted dry with paper towels before breading. Another tip is to lightly sprinkle the shrimp with flour first, as this can help the egg mixture stick better. Lastly, make sure to press the coconut-Panko coating firmly onto the shrimp for a more secure adherence.
Are there any allergy considerations I should be aware of?
Definitely! This recipe contains shrimp, eggs, and mayonnnaise, which can be allergens for some. For those avoiding gluten, don’t worry; you can easily use gluten-free flour and Panko breadcrumbs. If you plan to serve this to pets, it’s important to note that shrimp should be given in moderation and without seasoning, as some may cause digestive issues.
Can I make this dish in advance?
You sure can! To prepare ahead, assemble the shrimp and bread them but don’t bake them yet. Cover and store them in the fridge for up to 2 hours. When you’re ready to serve, simply pop them in the oven, and you’ll have freshly baked shrimp in no time!
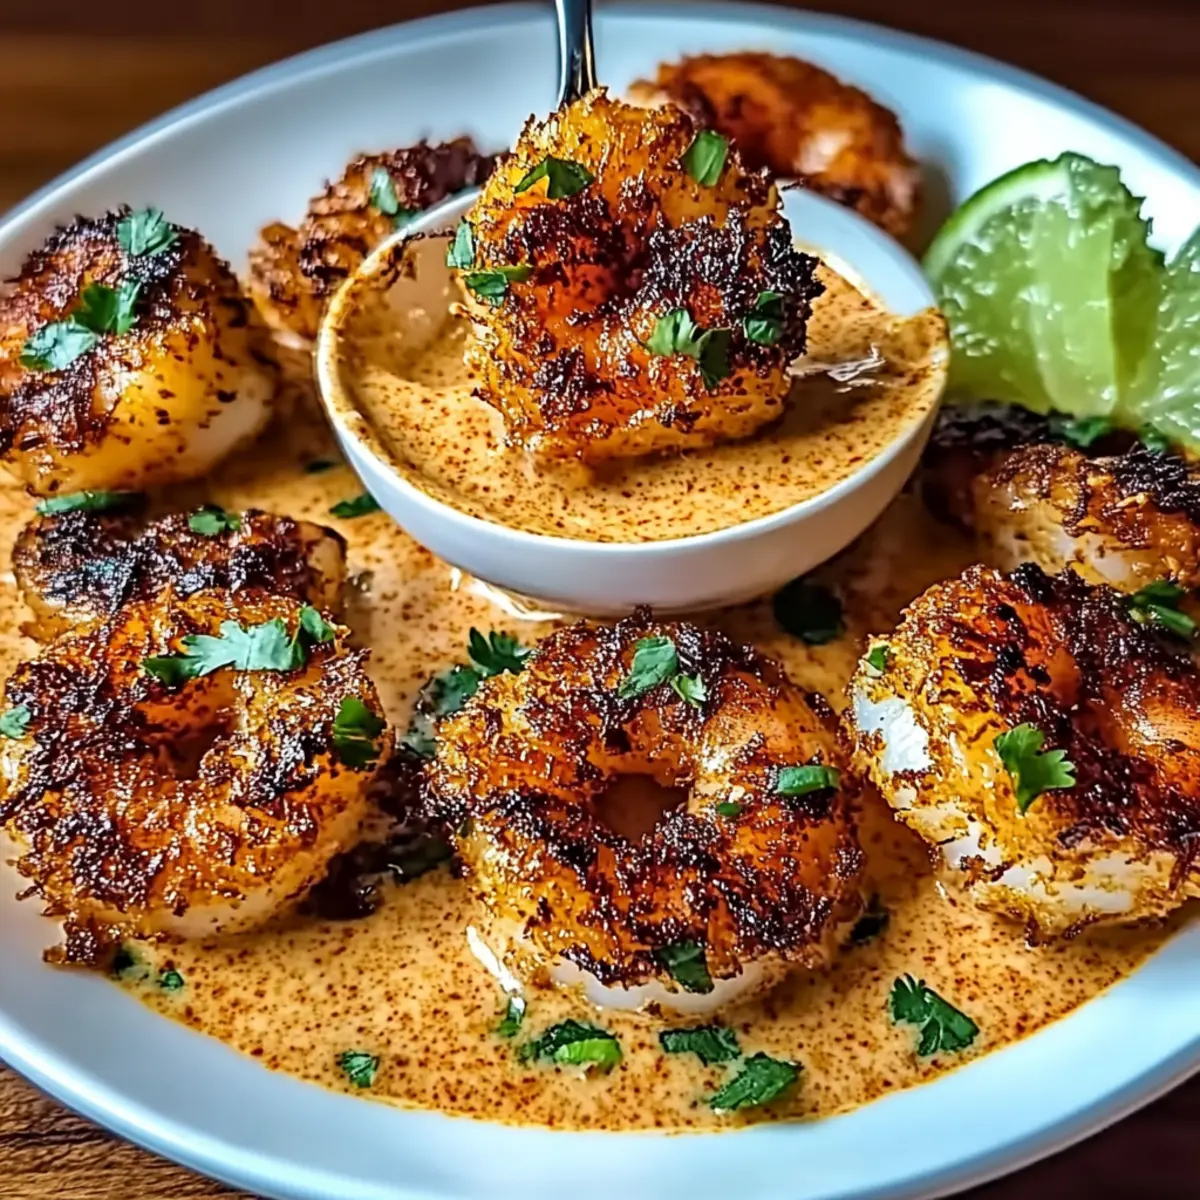
Baked Coconut Shrimp with Sweet Chili Mayo for Tropical Bliss
Ingredients
Equipment
Method
- Preheat your oven to 400°F (200°C) and prepare a baking sheet lined with parchment paper.
- Pat the large shrimp dry with paper towels and lay them out in a single layer on a plate.
- Prepare three shallow bowls: one with flour, salt, pepper, and paprika; one with beaten eggs; and one with panko and shredded coconut.
- Dredge each shrimp in flour, coat in eggs, and then press into the coconut-panko mixture. Repeat for all shrimp.
- Arrange the coated shrimp in a single layer on the prepared baking sheet and bake for 12-15 minutes, flipping halfway through.
- While the shrimp bake, whisk together mayonnaise, sweet chili sauce, lime juice, and garlic powder for the dipping sauce.
- Serve the baked shrimp warm alongside the sweet chili mayo dipping sauce.
Leave a Reply