
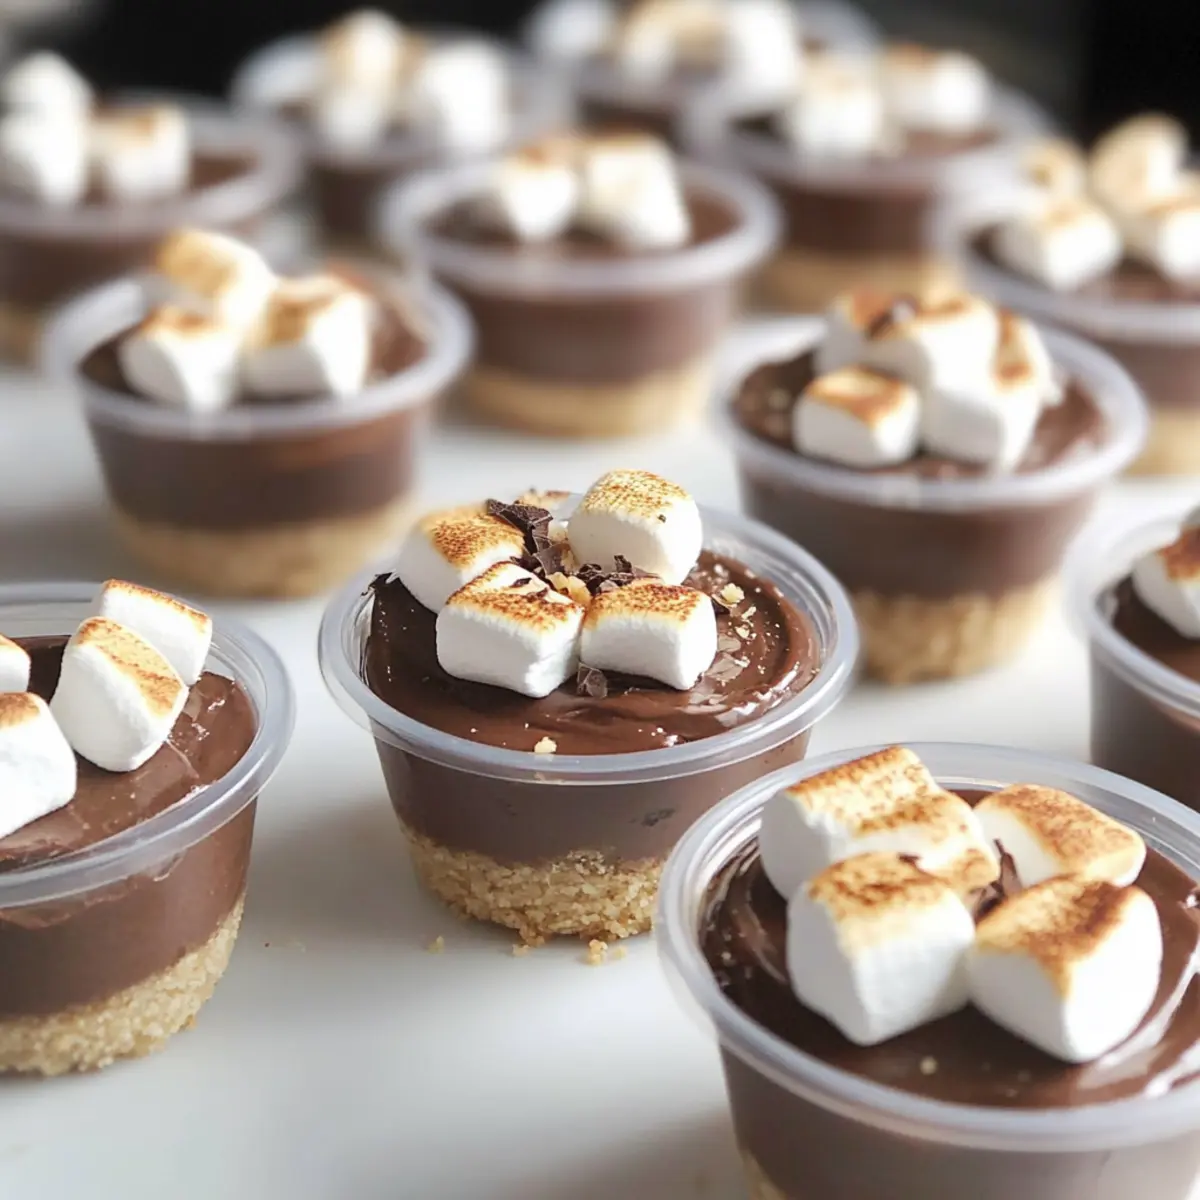
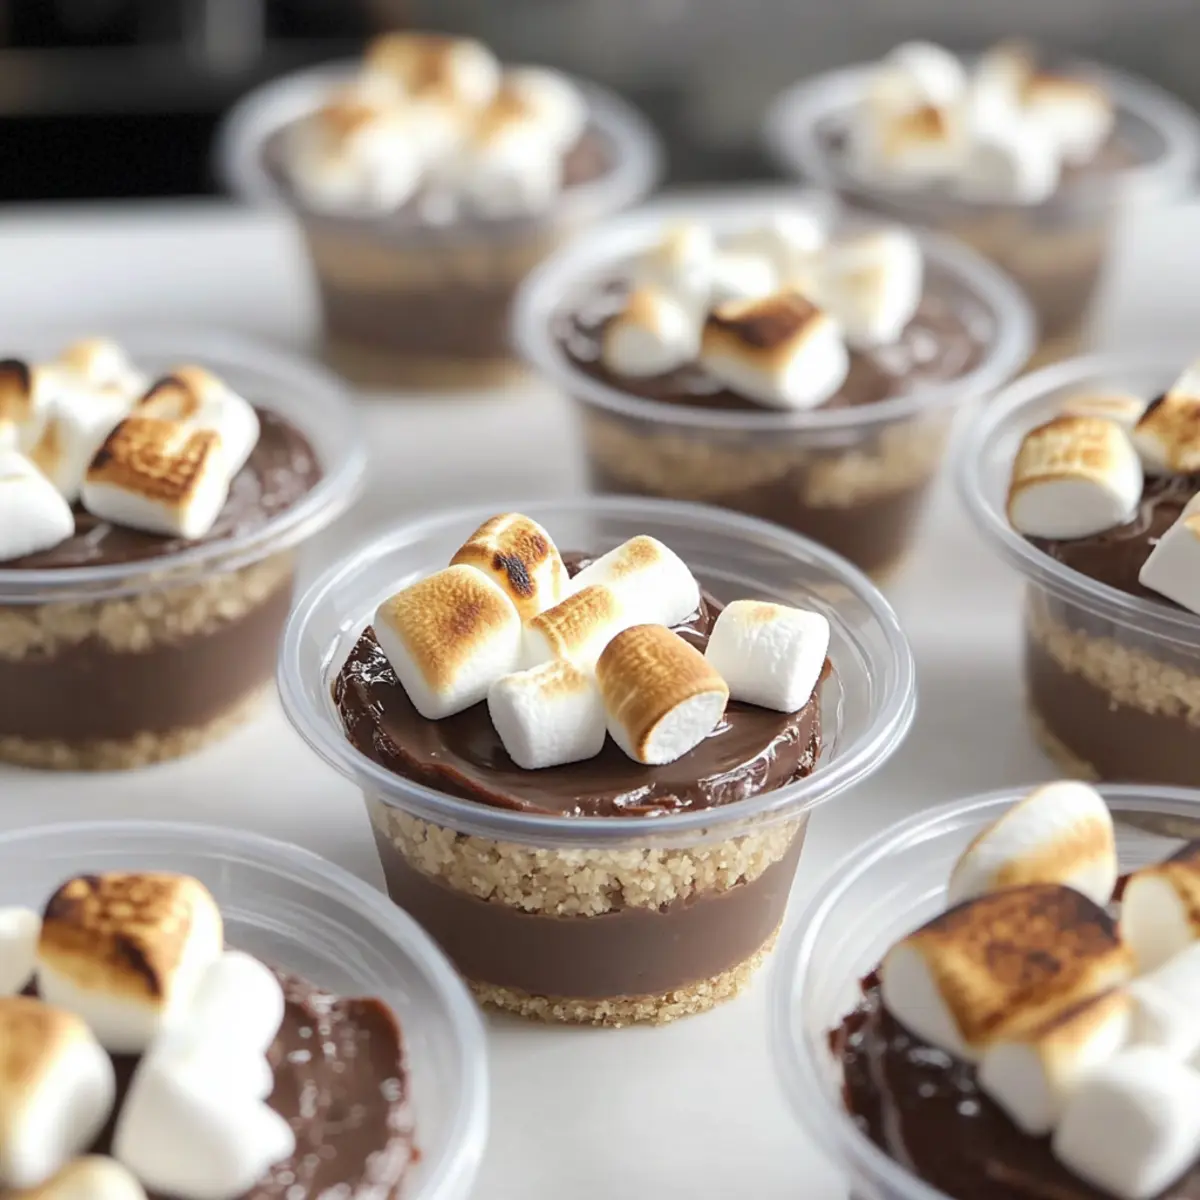
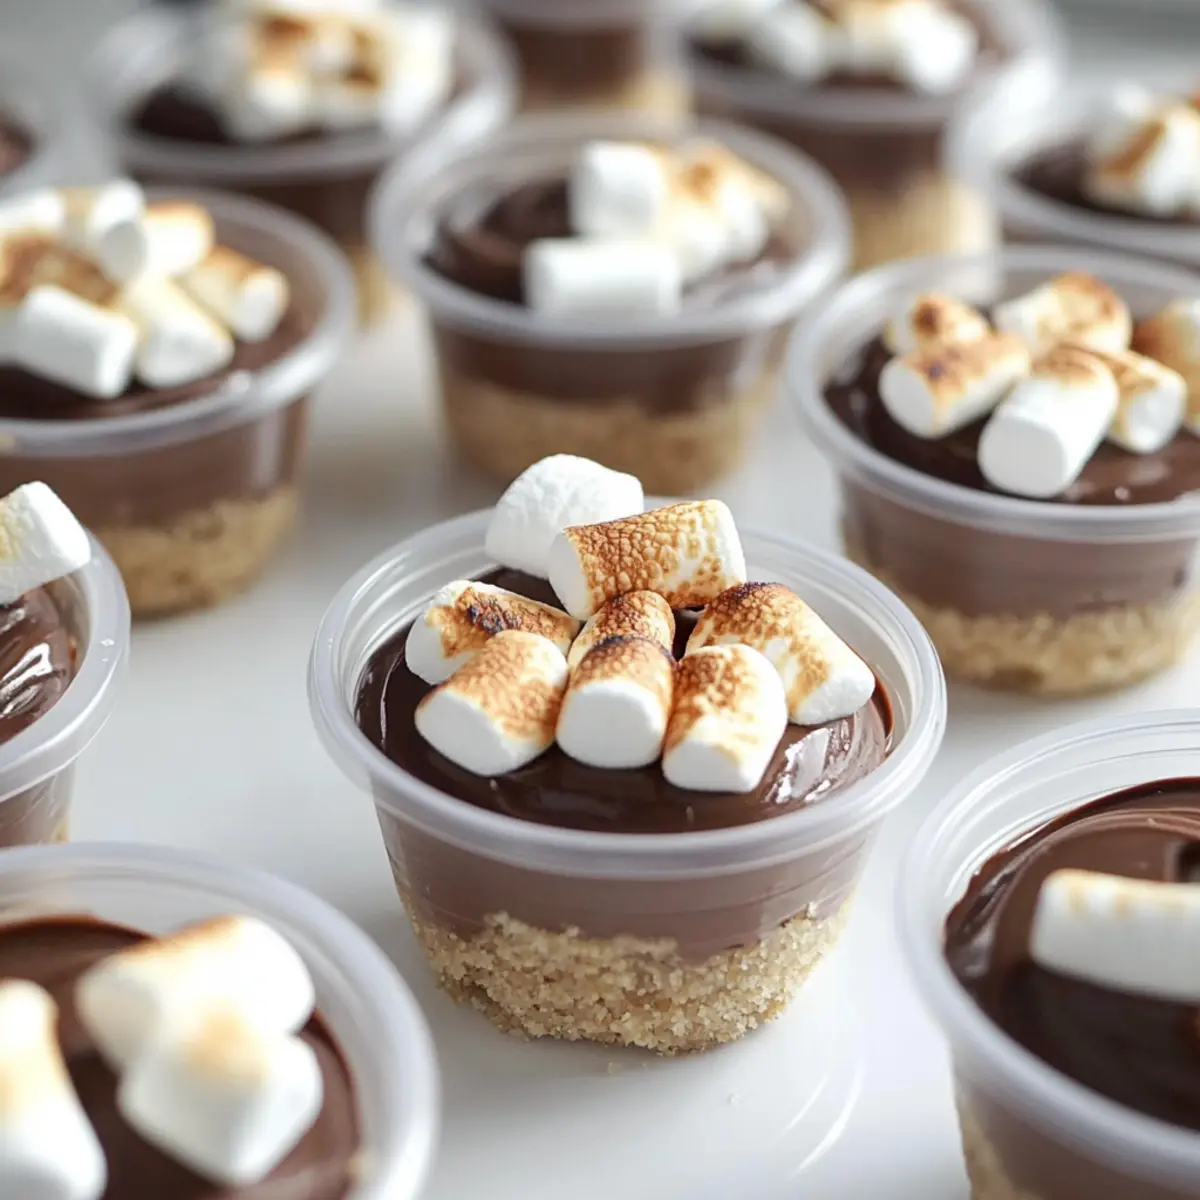
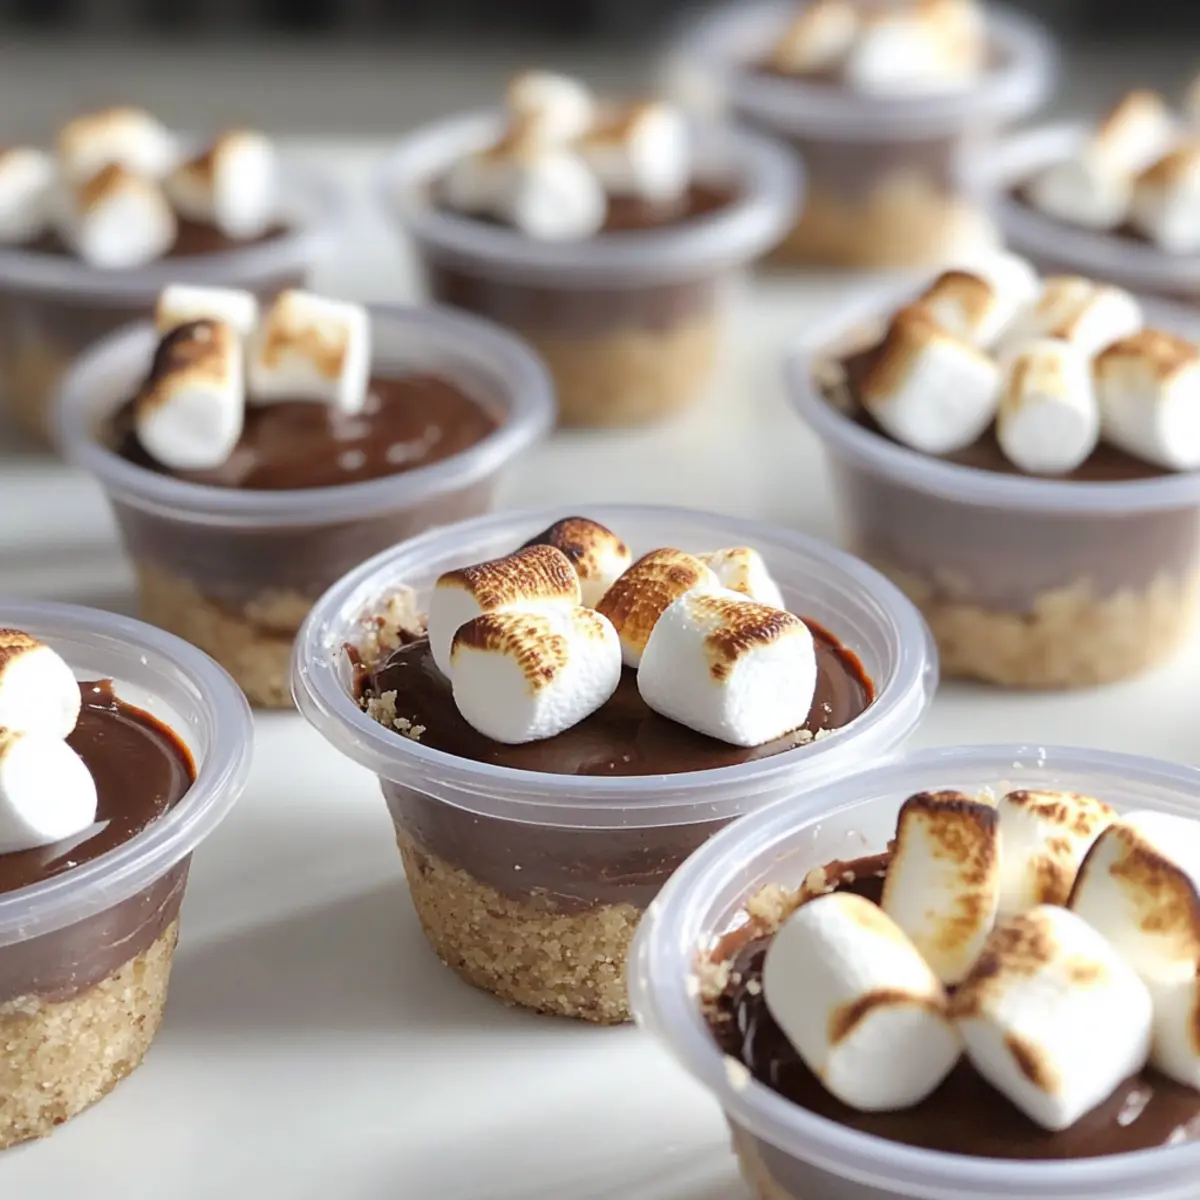
As I held the first S’mores Dessert Cup in my hand, memories of campfire nights flooded my mind—smoky air, laughter, and that perfect gooey marshmallow. This easy, no-bake treat captures all the nostalgic flavors of s’mores while being utterly portable, making it a fantastic addition to picnics and parties. Picture this: a crunchy graham cracker crust layered with silky chocolate mousse, topped with a rich chocolate ganache and caramelized marshmallows. The best part? These S’mores Dessert Cups require zero baking, which means you can whip them up in a flash and impress everyone without breaking a sweat. They’re not just a crowd-pleaser; they’re a delightful way to bring people together over shared sweetness. Ready to dive in and create your own tasty memories? Let’s get started!
Why are S’mores Dessert Cups the Best?
Nostalgic Flavors: These dessert cups recreate the beloved essence of classic s’mores, evoking memories of campfires and cozy nights.
Effortless Preparation: No baking means anyone can whip these up in no time, perfect for last-minute gatherings or spontaneous cravings.
Portable Treat: Designed for on-the-go enjoyment, they’re ideal for picnics, parties, or camping trips—no mess, just pure delight!
Versatile Options: Customize with alternative toppings like nuts or flavored pudding for a unique twist on a timeless favorite.
Crowd-Pleasing Appeal: Whether for kids or adults, everyone loves a treat that combines crunchy, creamy, and sweet textures; you’re bound to keep them coming back for more! Get ready to wow your guests with these unforgettable S’mores Dessert Cups!
S’mores Dessert Cups Ingredients
For the Crust
- Graham Cracker Crumbs – These form the base for a delightful crunch; swap for gluten-free graham crackers if needed.
- Unsalted Butter (¼ cup) – Binds the crust together; you can replace it with coconut oil for a dairy-free version.
For the Chocolate Mousse
- Instant Chocolate Pudding Mix (3.4 oz) – Provides rich flavor and texture; opt for a sugar-free version if you’re counting calories.
- Milk (1½ cups) – Rehydrates the pudding mix; almond or oat milk work as great dairy-free alternatives.
- Heavy Cream (1¼ cups + 2 tbsp) – Essential for whipping to achieve that airy mousse; try whipped coconut cream for a vegan option.
For the Ganache
- Semisweet Chocolate Chips (¼ cup) – Offers mouth-watering chocolate flavor for the ganache; dark chocolate chips elevate the richness.
For the Topping
- Mini Marshmallows (1-2 cups) – Bring that classic s’mores texture to your dessert; vegan marshmallows are a good substitute for a plant-based option.
- Additional Graham Cracker Crumbs (2 tbsp) – Sprinkle on top for an extra crunch and fabulous finish.
With these S’mores Dessert Cups ingredients, you’re all set to indulge in a no-bake treat that’s not only delicious but also a journey back to those cherished campfire moments!
Step‑by‑Step Instructions for S’mores Dessert Cups
Step 1: Prepare Graham Cracker Crust
In a mixing bowl, combine graham cracker crumbs with melted unsalted butter until evenly mixed. The mixture should achieve a sandy texture that holds together when pressed. This step creates the base for your S’mores Dessert Cups, providing that delicious crunch.
Step 2: Assemble Crust
Portion the crust mixture into 28 clear plastic cups, using about 1-2 tablespoons per cup. Firmly press the mixture down using the bottom of a smaller cup to create a compact, even layer. The crust should appear level and cohesive, setting the stage for the luscious filling.
Step 3: Make Chocolate Mousse
In a separate bowl, whisk the instant chocolate pudding mix with 1½ cups of cold milk until thickened, about 2 minutes. Allow the mixture to chill for 5 minutes. Once cooled, fold in 1¼ cups of heavy cream gently until the mousse is light and fluffy, creating the rich filling for your dessert cups.
Step 4: Fill Cups
Using a piping bag or a spoon, carefully fill each cup with the chocolate mousse, leaving about ¼ inch of space at the top. The mousse should be beautifully layered, smooth, and slightly dome-shaped. This decadent layer brings the dreamy chocolate flavor into your S’mores Dessert Cups.
Step 5: Prepare Ganache
In a microwave-safe bowl, combine ¼ cup of semisweet chocolate chips with 2 tablespoons of heavy cream. Heat in the microwave for 30 seconds, then stir until the mixture is silky smooth. Once fully melted, let the ganache cool slightly before drizzling it over the chocolate mousse layer in each cup.
Step 6: Top with Marshmallows
Place three mini marshmallows on top of each dessert cup, carefully positioning them for an appealing look. Use a culinary torch to toast the marshmallows until golden brown and slightly gooey, which adds that classic S’mores touch. Keep the torch moving to avoid burning.
Step 7: Chill and Serve
Seal each cup with a lid or plastic wrap, then refrigerate for at least 1 hour to allow the flavors to meld and the mousse to set. When ready to serve, enjoy these S’mores Dessert Cups cool and fresh. They can be stored in the fridge for up to 3 days for a delightful treat anytime!
Tips for the Best S’mores Dessert Cups
-
Mousse Consistency: Ensure you whip the heavy cream to stiff peaks before folding it into the pudding mix. This will give the mousse a light and airy texture.
-
Graham Cracker Pressing: Press the graham cracker crust mixture firmly but gently into the cups to avoid a crumbly base. A compact crust allows for better layering and prevents any sogginess.
-
Toasting Marshmallows: Toast marshmallows just before serving for optimal texture. If toasted too early, they may become too hard or lose their gooeyness.
-
Customize Flavors: Feel free to experiment with flavored pudding mixes or toppings like caramel drizzle, which can easily elevate your S’mores Dessert Cups to a new level of deliciousness.
-
Storage Tips: Keep your dessert cups sealed in the refrigerator for up to 3 days. This will keep them fresh while ensuring that the mousse maintains its creamy consistency.
How to Store and Freeze S’mores Dessert Cups
Fridge: Keep your S’mores Dessert Cups sealed in airtight containers for up to 3 days. This will ensure the flavors remain fresh and the mousse stays creamy.
Freezer: Although freezing is not recommended for these treats due to the texture of the mousse, if you must, you can freeze them for up to 1 month. Just be aware that thawing may affect the quality.
Reheating: There’s no need to reheat these no-bake S’mores Dessert Cups. Simply enjoy them chilled straight from the fridge!
Assembly Tip: If you prepare the crust and mousse in advance, store them separately in the fridge for the best texture before filling the cups.
What to Serve with S’mores Dessert Cups
As you prepare to indulge in these whimsical S’mores Dessert Cups, consider the perfect accompaniments that will elevate your delightful dessert.
-
Fresh Berries: The tartness of strawberries or blueberries cuts through the richness of chocolate, adding a refreshing twist that balances flavors beautifully.
-
Coconut Whipped Cream: A light and airy topping that enhances the creamy texture of the mousse while adding a tropical flair, perfect for summer gatherings.
-
Ice Cold Milk: A classic pairing, a glass of fresh milk complements the chocolate and marshmallow components, creating a comforting and nostalgic experience.
-
Chocolate Dipped Fruit: Add even more sweetness by serving strawberries or bananas dipped in chocolate; it brings an extra layer of indulgence to your dessert affair!
-
Gourmet Coffee: A rich coffee, whether it’s a creamy latte or a simple espresso, offers a delightful contrast to the sweet dessert. The warmth balances the cold mousse perfectly.
-
Mini Fruit Tarts: These provide a beautiful contrast of textures and flavors. The flaky crust and creamy filling create a delightful balance against the S’mores Dessert Cups.
Consider how each of these pairings adds another dimension to your S’mores Dessert Cups experience, making every bite even more unforgettable!
Make Ahead Options
These S’mores Dessert Cups are a fantastic choice for meal prep aficionados! You can prepare the graham cracker crust and the chocolate mousse up to 24 hours in advance, allowing you to save time on busy days. Simply mix the crust and fill the cups with mousse, then refrigerate them tightly covered. To maintain the quality, wait to toast the marshmallows until just before serving; this will keep them perfectly fluffy and golden. When you’re ready to enjoy, drizzle the cooled ganache over the mousse, top with marshmallows, and give them a quick toast. You’ll have a delightful dessert ready to impress, all with minimal effort!
S’mores Dessert Cups Variations & Substitutions
A little creativity can turn these S’mores Dessert Cups into a fully customized experience, tantalizing your taste buds in delightful new ways.
- Gluten-Free: Swap the graham cracker crust for gluten-free graham crackers or almond flour for a gluten-free version. You’ll still enjoy that classic crunch!
- Dairy-Free: Replace the unsalted butter with coconut oil and the heavy cream with whipped coconut cream. This allows everyone to indulge, no matter their dietary needs.
- Flavor Twist: Use vanilla or butterscotch pudding mix instead of chocolate to explore a different flavor profile. The result will be equally enthralling!
- Nutty Crunch: Fold crushed nuts like pecans or walnuts into the graham cracker crust for an extra layer of texture. The delightful crunch will elevate each bite.
- Fruity Addition: Incorporate a layer of fresh berries, like raspberries or strawberries, between the mousse and ganache. This adds a fruity contrast that brightens every spoonful.
- Spicy Kick: Add a pinch of cayenne pepper or a drizzle of spicy chocolate sauce for a surprising heat that pairs interestingly with the sweetness.
- Maximalist Toppings: Top with chocolate shavings, caramel drizzle, or additional mini marshmallows. This extravagant finish brings everyone’s S’mores dreams to life.
- Portable Packaging: Serve the dessert cups in mason jars for a charming, rustic presentation. They’re easy to transport, perfect for gatherings or picnics!
Feel free to experiment with a refreshing twist! If you’re looking for more recipe ideas, consider browsing through the best gluten-free desserts or check out a few fun camping-friendly recipes to complement your S’mores adventure!
S’mores Dessert Cups Recipe FAQs
What kind of graham crackers should I use for the crust?
You can use classic graham crackers for the crust, but if you need a gluten-free option, gluten-free graham crackers work perfectly as a substitute. Simply crush them into crumbs and combine with melted butter for the same delicious crunch.
How should I store my S’mores Dessert Cups?
Store your S’mores Dessert Cups in an airtight container in the refrigerator for up to 3 days. This keeps the flavors fresh and ensures the mousse remains creamy and delightful, ready for you to indulge in whenever a sweet craving strikes!
Can I freeze S’mores Dessert Cups?
Although freezing isn’t recommended because it may compromise the texture of the mousse, you can freeze them for up to 1 month if needed. To do this, wrap the cups tightly in plastic wrap or place them in an airtight container. When you’re ready to enjoy them, thaw in the fridge overnight for the best results.
What if my chocolate mousse isn’t fluffy enough?
If the chocolate mousse doesn’t achieve the desired light and fluffy texture, it may be due to the heavy cream not being whipped enough. Make sure to whip the cream to stiff peaks before folding it into the pudding mix. This step is crucial to achieving that dreamy mouthfeel.
Are there any dietary considerations I should keep in mind?
Absolutely! If you’re catering to guests with dietary restrictions, you can easily modify this recipe. Use dairy-free alternatives like coconut cream and almond milk for a vegan option, or swap out the regular marshmallows for vegan marshmallows to ensure everyone can enjoy these S’mores Dessert Cups.
Can I customize the flavors of my S’mores Dessert Cups?
Very! Feel free to get creative by experimenting with different flavored pudding mixes, such as vanilla, caramel, or butterscotch. You can also add toppings like crushed nuts or chocolate shavings for extra flair and personalization in your dessert cups.
S’mores Dessert Cups: No-Bake Treats Everyone Will Love
Ingredients
Equipment
Method
- In a mixing bowl, combine graham cracker crumbs with melted unsalted butter until evenly mixed.
- Portion the crust mixture into 28 clear plastic cups, using about 1-2 tablespoons per cup. Firmly press down to create an even layer.
- In a separate bowl, whisk the instant chocolate pudding mix with 1½ cups of cold milk until thickened. Chill for 5 minutes, then fold in the whipped cream.
- Carefully fill each cup with the chocolate mousse, leaving about ¼ inch of space at the top.
- In a microwave-safe bowl, combine chocolate chips with 2 tablespoons of heavy cream. Heat for 30 seconds and stir until smooth, then drizzle over the mousse.
- Top with three mini marshmallows on each dessert cup and toast them until golden brown using a culinary torch.
- Seal each cup and refrigerate for at least 1 hour before serving.
Leave a Reply