
Is there anything more satisfying than creating zesty condiments right in your own kitchen? With my recipe for Korean Garlic Chive Pickles with Chili Flakes, you’ll discover just how easy it is to transform fresh ingredients into a crunchy delight that spices up any meal. These pickles not only add a lovely kick thanks to the Korean chili flakes, but they’re also a fantastic way to elevate your culinary creations without spending hours in the kitchen. Prepared in just 25 minutes, they’re a quick and wholesome option that’s perfect for those who crave homemade goodness over fast food. Whether you’re looking to serve them alongside grilled meats or as a topping for rice bowls, these invigorating pickles are sure to become a staple in your home. Ready to add some zing to your meals? Let’s dive into this refreshing recipe!
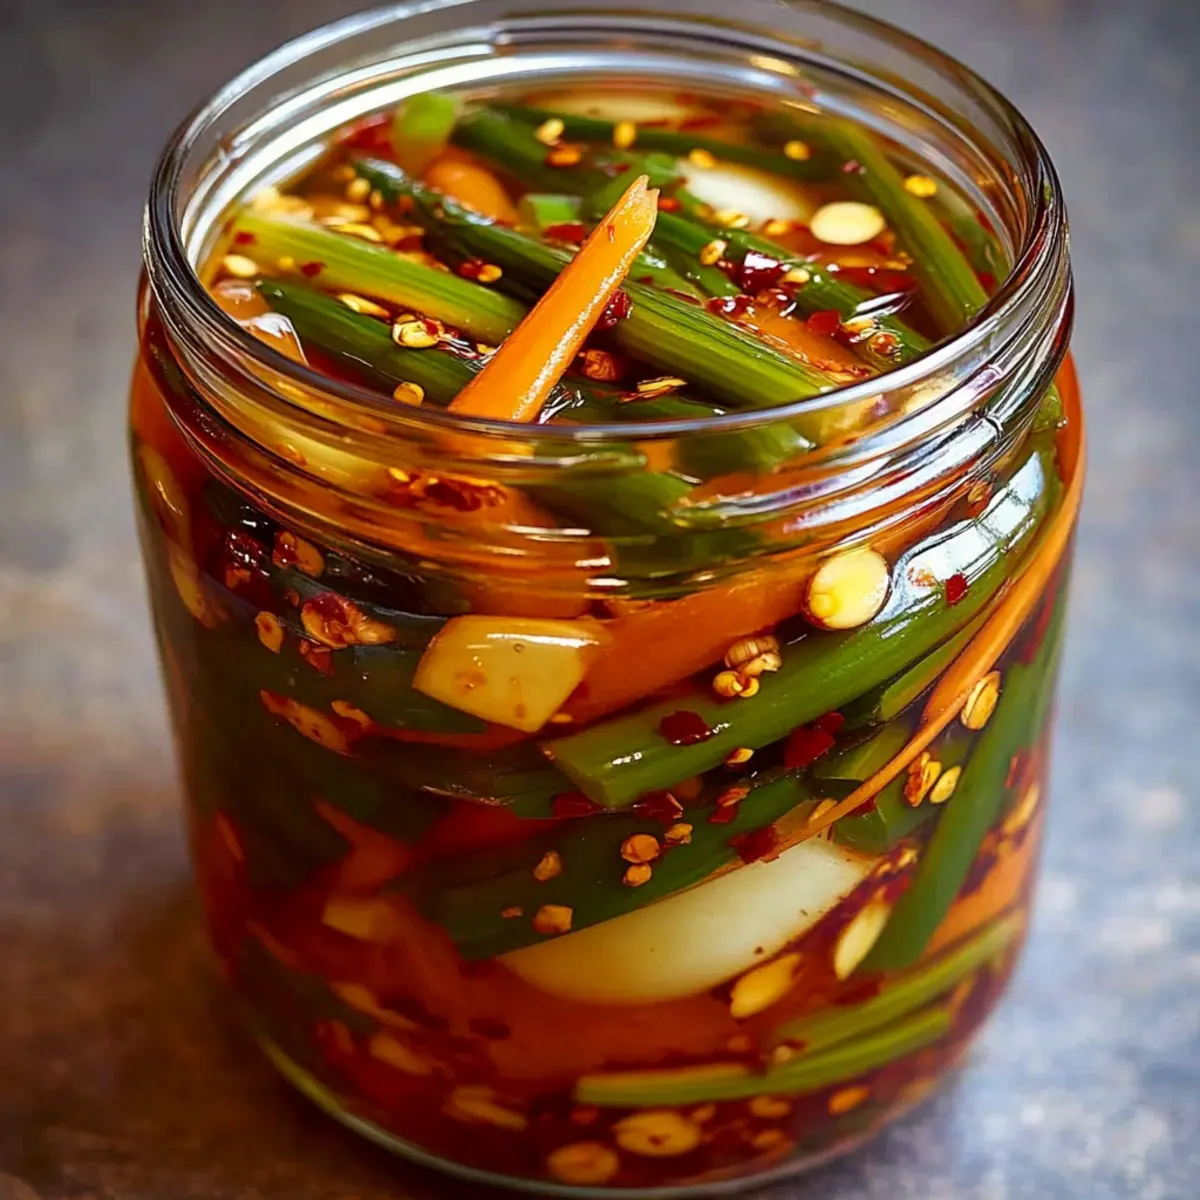
Why Try Korean Garlic Chive Pickles?
Bold flavors: These pickles boast a delightful combination of garlic, chili, and vinegar that will awaken your taste buds.
Quick preparation: In just 25 minutes, you can whip up this refreshing condiment, making it a fantastic choice for busy weeknights.
Versatile usage: Serve them as an essential side dish, or incorporate them into salads and rice bowls for added pizzazz! Pair them with dishes like Honey Garlic Sausage or Garlic Pasta Amp for an unforgettable meal.
Healthy indulgence: With their fresh, wholesome ingredients, these pickles are a great way to spice up your meals, keeping them exciting and nutritious!
Cultural experience: Enjoy a taste of Korean cuisine right at home with this dish that brings authentic flavors to your table.
Korean Garlic Chive Pickles Ingredients
• Discover the fresh flavors!
For the Pickles
- Garlic Chives – Use fresh, cut into 2-inch lengths for the best flavor and texture.
- Korean Radish (or Daikon) – Adds a delightful crunch; can be substituted with turnip or watermelon radish if needed.
- Carrot – Provides vibrant color and a lovely crunch; remember to peel and julienne it for even texture.
- Garlic Cloves – Thinly sliced to infuse the pickles with aromatic depth.
- Korean Chili Flakes (Gochugaru) – Essential for an authentic taste, adding heat and beautiful color to your Korean Garlic Chive Pickles.
- Toasted Sesame Seeds – Optional but adds a wonderful texture contrast and nutty flavor if included.
For the Brine
- Rice Vinegar – The backbone of the brine, providing acidity essential to the pickling process.
- Water – Used to dilute the vinegar for a balanced brine.
- Sugar – A touch of sweetness that beautifully balances the flavors in the pickles.
- Salt – Crucial for seasoning and enhancing the overall flavor profile.
- Fish Sauce (or Soy Sauce) – Adds a savory umami richness; opt for soy sauce for a vegan version.
Step‑by‑Step Instructions for Korean Garlic Chive Pickles with Chili Flakes
Step 1: Prepare the Vegetables
Begin by washing your fresh garlic chives thoroughly, then cut them into 2-inch lengths for optimal texture. Next, peel and julienne the Korean radish (or daikon) along with the carrot, ensuring fine, even strips for a delightful crunch. Thinly slice the garlic cloves to enhance the aromatic depth of your Korean Garlic Chive Pickles.
Step 2: Toss with Chili Flakes
In a large mixing bowl, combine the chopped garlic chives, julienned radish, carrot, and sliced garlic. Generously sprinkle Korean chili flakes (gochugaru) over the mixture, tossing everything together with your hands or a spatula until the vegetables are evenly coated. This vibrant mix should have a distinct red hue from the chili flakes, promising a bold flavor sensation.
Step 3: Make the Pickling Brine
In a medium saucepan, combine rice vinegar, water, sugar, salt, and fish sauce (or soy sauce for a vegan alternative). Bring the mixture to a gentle simmer over medium heat, stirring until the sugar and salt are completely dissolved. Remove the saucepan from heat and allow the brine to cool for about 10 minutes, ensuring it’s at room temperature before proceeding to the next step.
Step 4: Jar the Vegetables
Take a clean, sterilized glass jar and pack the vegetable mixture tightly inside, leaving a bit of space at the top. This will help create a nice crunch and allow the brine to circulate effectively. Press down gently as you fill it, ensuring no air pockets remain, to maintain the freshness of your Korean Garlic Chive Pickles.
Step 5: Pour in the Brine
Once the pickling brine has cooled completely, carefully pour it over the packed vegetables in the jar. Ensure that all the veggies are submerged in the brine; add more water or vinegar as needed for complete coverage. This step is crucial for achieving a balanced flavor throughout your pickles, so take your time to ensure they’re well immersed.
Step 6: Seal and Refrigerate
Seal the jar tightly with a lid, then place it in the refrigerator. Allow your Korean Garlic Chive Pickles to sit for at least 24 hours to start developing their flavors. For the best taste experience, let them marinate for 2-3 days, allowing the spicy, garlicky flavors to meld beautifully.
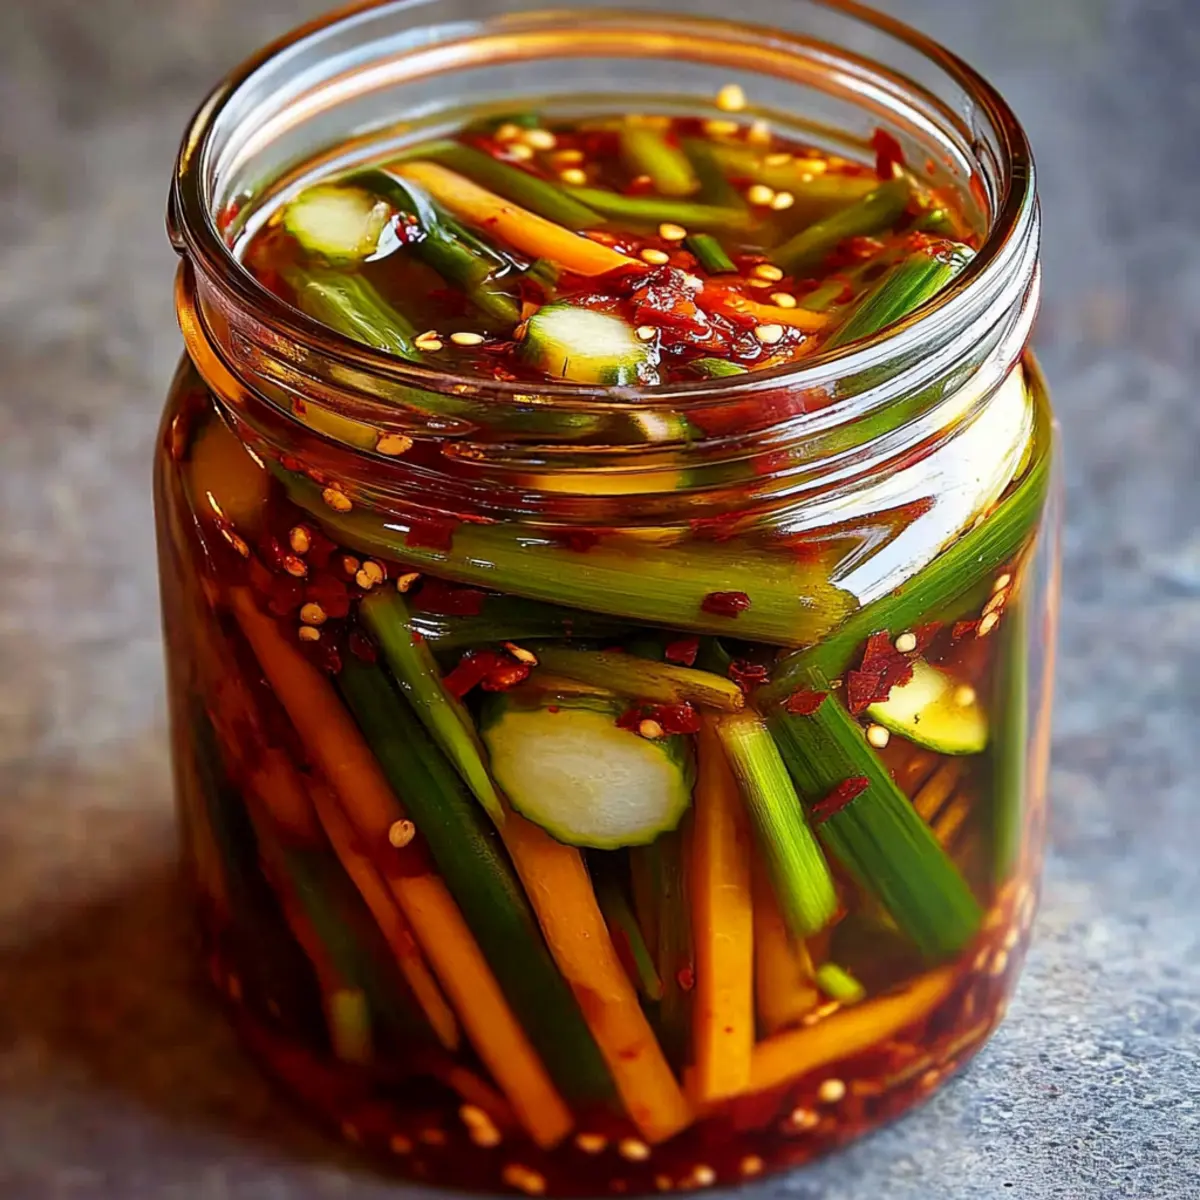
Korean Garlic Chive Pickles Variations
Feel free to get creative and make this recipe your own with these fun variations!
-
Scallions: Swap garlic chives for scallions for a milder onion flavor. They’re a great alternative that adds a similar crunch!
-
Cucumber Twist: Use diced cucumber instead of radish for a refreshing summer pickle. Its crisp texture beautifully absorbs the brine.
-
Fermented Option: Skip the vinegar and sugar, increase the salt, and let the mixture sit at room temperature for 2-3 days. This brings a tangy, fermented flavor akin to homemade kimchi.
-
Spicy Kick: Add more gochugaru for an extra spicy kick, or mix in some sliced fresh chili peppers for a lively burst of heat!
-
Sweet Variation: Incorporate thin slices of fresh mango or pineapple for a sweet, tropical twist that pairs wonderfully with the savory elements.
-
Sesame Crunch: Mix in toasted sesame seeds with the veggies right before packing them in the jar. This will provide an extra layer of flavor and delightful texture, much like in Garlic Mashed Potatoes.
-
Umami Upgrade: For a deeper umami taste, try using a splash of Worcestershire sauce along with the fish sauce or soy sauce. This makes for a richer brine!
-
Herb Infusion: Toss in fresh herbs like cilantro or dill to brighten the pickles. They will add an aromatic flair that complements the garlic and chili perfectly.
Experimenting with these variations can add excitement to your pickle experience! Enjoy these flavorful additions as you transform your meals into something special. Explore more ideas with dishes like Salmon Meatballs Avocado or a comforting bowl of Chili Cozy Nights for delightful pairings!
Make Ahead Options
These Korean Garlic Chive Pickles with Chili Flakes are perfect for busy home cooks looking to save time without sacrificing flavor! You can prepare the vegetable mixture (garlic chives, radish, carrot, and garlic) up to 24 hours in advance by chopping them and storing them in an airtight container in the refrigerator. The pickling brine can also be made ahead and refrigerated for up to 3 days. When you’re ready to serve, simply combine the prepped vegetables with the cooled brine, pack them into a sterilized jar, and let them marinate for a minimum of 24 hours; for optimal taste, allow them an extra 2-3 days to meld their flavors. With these make-ahead tips, you’ll enjoy delicious pickles ready to spice up your meals!
What to Serve with Korean Garlic Chive Pickles with Chili Flakes
These pickles bring vibrant flavors to your table, perfectly complementing a variety of dishes that crave a spicy kick.
- Grilled Meats: Juicy grilled chicken or beef pairs beautifully, as their savory notes balance the pickles’ zest.
- Rice Bowls: Layering these pickles into rice bowls adds a crunchy texture and bright flavor explosion.
- Noodle Dishes: Toss them with ramen or soba for a refreshing pop and an exciting flavor contrast.
- Tacos: Wrap them in soft tortillas with grilled fish or veggies for a tasty fusion treat!
- Salads: Add them to mixed greens with sesame dressing – they provide a wonderful crunch and a flavor boost.
- Korean BBQ Spread: Serve alongside your favorite Korean BBQ dishes to enhance the experience of bold, rich flavors.
- Spicy Soups: Use as a garnish for spicy soups like kimchi stew, giving an extra kick with every bite.
- Craft Beers or Soju: Pair a bottle of winter ale or soju for a well-rounded culinary experience.
- Coconut Sorbet: For dessert, enjoy a scoop of dairy-free coconut sorbet to cleanse your palate after the vibrant heat.
Storage Tips for Korean Garlic Chive Pickles
Fridge: Store your Korean Garlic Chive Pickles in a clean, airtight jar in the refrigerator; they will maintain their crunch and flavor for up to 2-3 weeks.
Freezer: While pickles are best enjoyed fresh, if you need to freeze them, do so in an airtight container for up to 2 months. However, their texture may change.
Reheating: There’s no need to reheat pickles; simply enjoy them cold as a crisp side or topping. If you do want to warm them, use a microwave in short bursts to avoid wilting.
Refreshing Tips: Over time, the flavors of these pickles will deepen, making them even more delicious after a few days.
Expert Tips for Korean Garlic Chive Pickles
• Use Fresh Ingredients: Always opt for fresh garlic chives and vegetables for the best flavor and crunch in your pickles.
• Chill Brine Completely: Allow the pickling brine to cool down fully before pouring it over the vegetables; this prevents wilting and ensures crispness in your Korean Garlic Chive Pickles.
• Jar Packing Technique: Use a wide-mouth jar for easier packing of your vegetables, and press them down gently to minimize air pockets, enhancing the pickling process.
• Let Them Marinate: For maximum flavor, let your pickles sit in the refrigerator for at least 24 hours, although waiting 2-3 days will deepen the taste even more.
• Double the Recipe: If you find the pickles disappear quickly (and they will!), consider doubling the recipe and using an additional jar for a more generous batch.
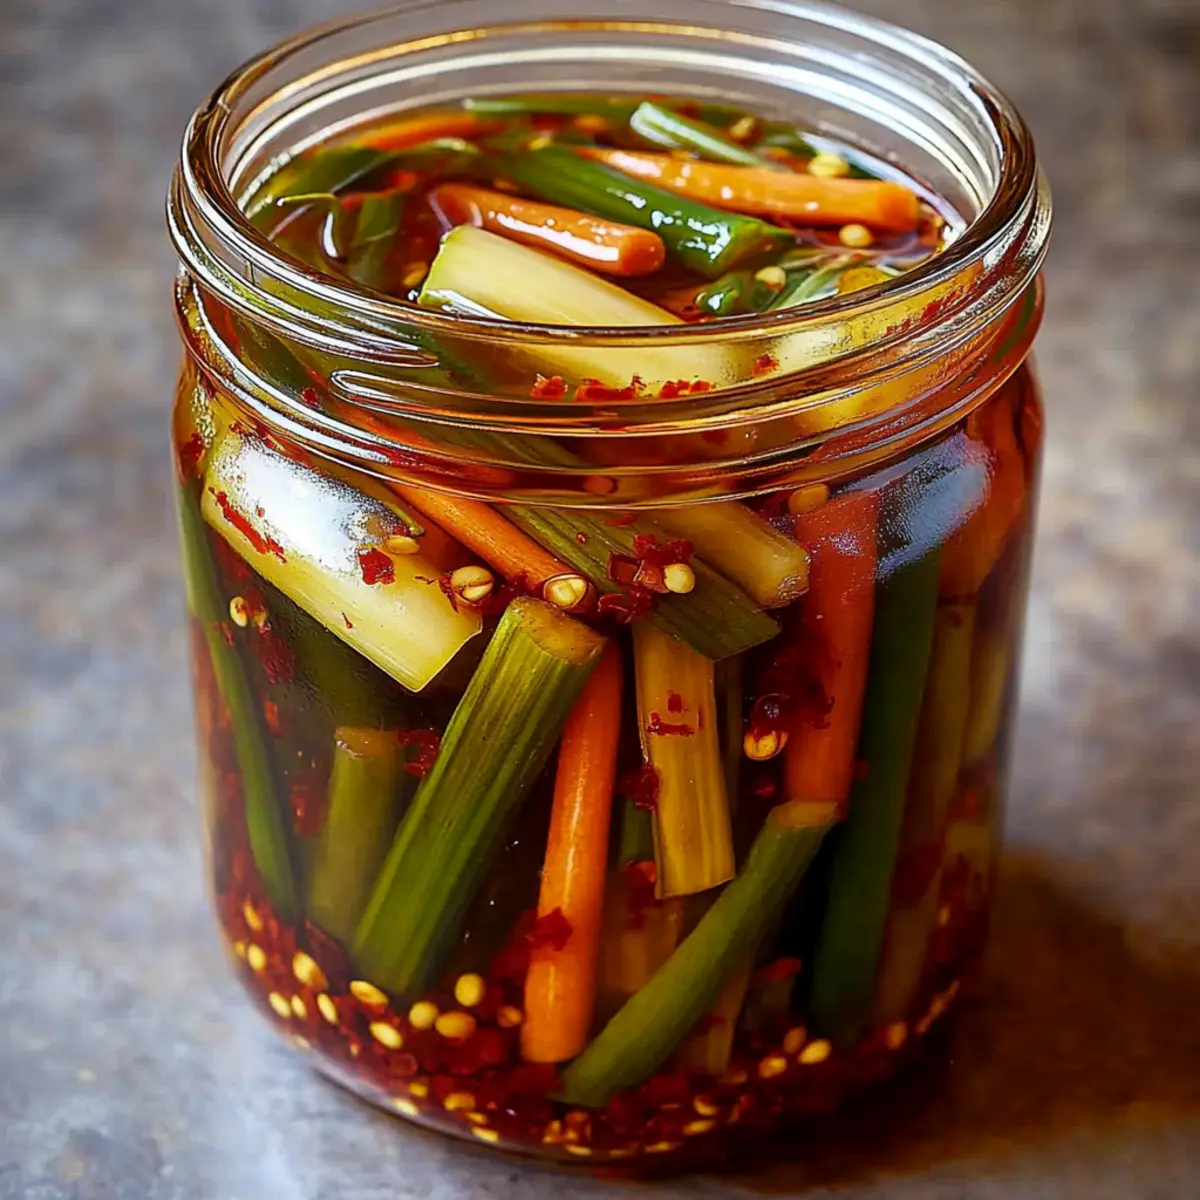
Korean Garlic Chive Pickles with Chili Flakes Recipe FAQs
What are garlic chives, and how do I select them?
Absolutely! Garlic chives are a flavorful herb that resembles regular chives but with a potent garlic flavor. Look for fresh, vibrant green stalks that are firm and free of dark spots or wilting. Ideal garlic chives should be straight and about 8-12 inches long.
How should I store my Korean Garlic Chive Pickles after making them?
To keep your Korean Garlic Chive Pickles fresh and crisp, store them in a clean, airtight jar in the refrigerator. They will maintain their delightful crunch and best flavor for up to 2-3 weeks. Be sure to check for any visual signs of spoilage, like a change in color or unexpected odors.
Can I freeze my pickles, and if so, how?
While it’s best to enjoy your pickles fresh, you can freeze them if necessary. To do so, place your pickles in an airtight container, ensuring they’re fully submerged in their brine. This will help preserve their flavor and texture, but note that the crunch may be affected. They can be stored in the freezer for up to 2 months. To thaw, simply move them to the refrigerator and allow them to defrost slowly.
What if my pickling brine doesn’t fully cover the vegetables?
Very good question! Make sure the vegetables are packed tightly in the jar to help reduce air pockets. If the brine doesn’t cover them completely, you can mix more equal parts rice vinegar and water (with a pinch of salt and sugar) and pour it over until the vegetables are submerged. This helps ensure that every piece is fully infused with flavor.
Are these pickles safe for pets or anyone with dietary restrictions?
It’s best to exercise caution! The garlic and chili flakes in these Korean Garlic Chive Pickles might not be suitable for pets, particularly dogs and cats, as they can be toxic to them. Additionally, if you have allergy concerns—like a soy allergy—be sure to substitute the fish sauce with an appropriate vegan-friendly alternative, such as a gluten-free tamari or coconut aminos.
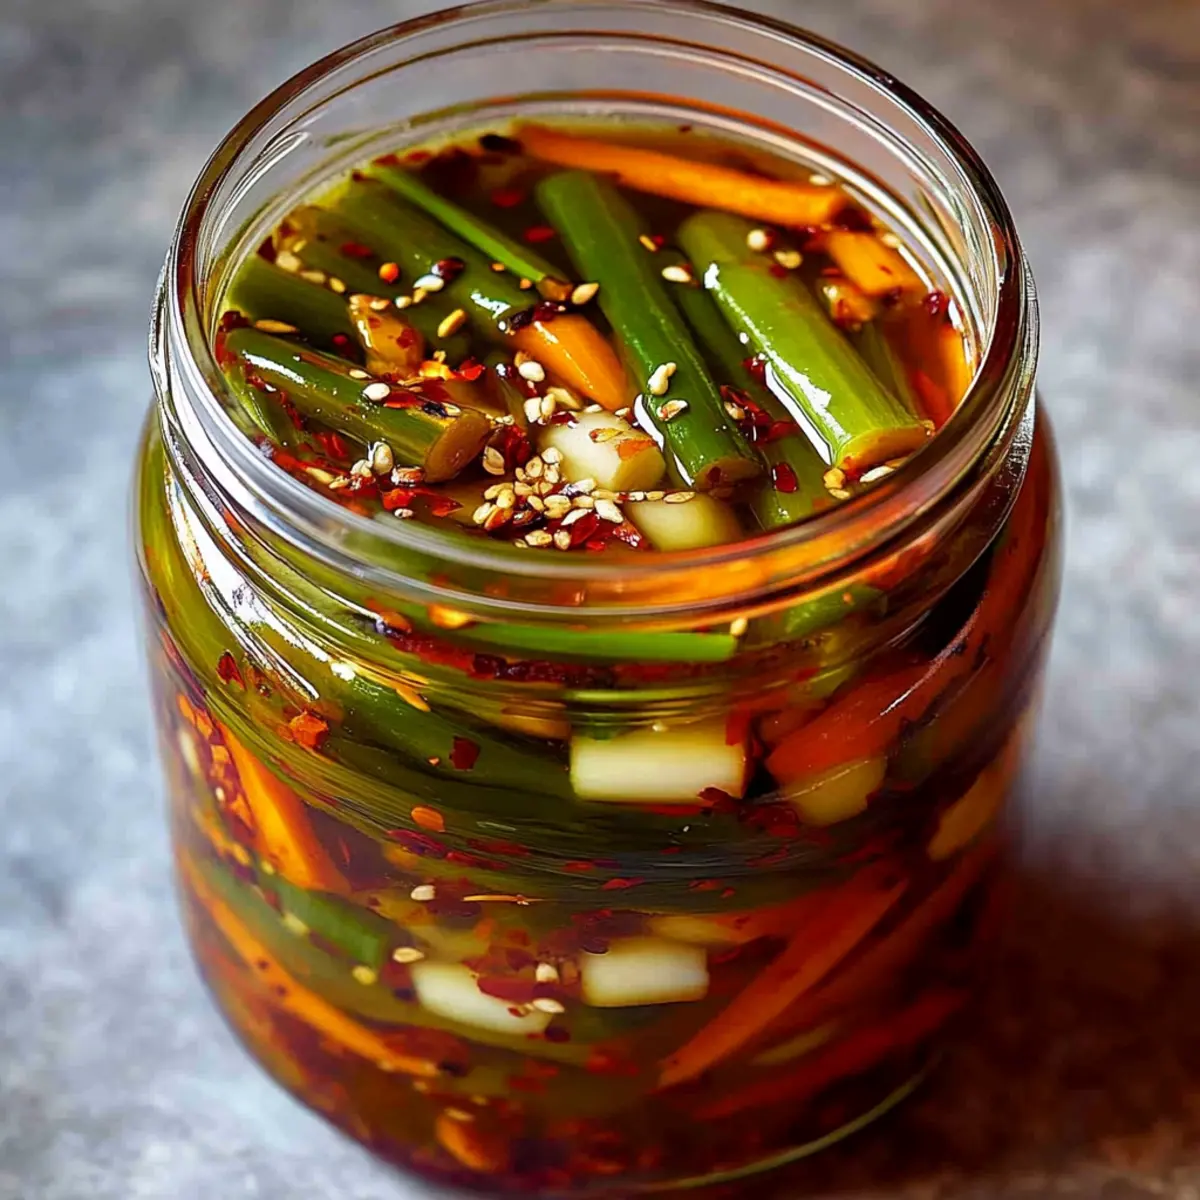
Korean Garlic Chive Pickles with Chili Flakes for Flavor Lovers
Ingredients
Equipment
Method
- Wash and cut garlic chives into 2-inch lengths. Peel and julienne the Korean radish and carrot. Thinly slice the garlic cloves.
- In a bowl, combine chopped garlic chives, radish, carrot, and garlic. Sprinkle Korean chili flakes and toss to coat evenly.
- In a saucepan, mix rice vinegar, water, sugar, salt, and fish sauce. Simmer over medium heat until dissolved, then cool.
- Pack the vegetable mixture into a sterilized jar, pressing gently to eliminate air pockets.
- Pour the cooled brine over the vegetables, ensuring everything is submerged.
- Seal the jar and refrigerate for at least 24 hours before consuming, ideally 2-3 days for fuller flavor.
Leave a Reply