
As the sun warms the sky and the scent of blooming flowers wafts through the air, I can’t help but crave something light and refreshing. That’s where my Easy No-Bake Orange Creamsicle Mini Cheesecakes come in, transforming nostalgic summer flavors into a delightful treat. With their crunchy Oreo crust and airy, citrus-infused filling, these mini cheesecakes are not only a breeze to whip up but also perfect for sharing at your next gathering or enjoying straight from the freezer on a hot afternoon. They’re the ideal portable snack that brings smiles with every bite. Curious to see how these little delights come together? Let’s dive into this fun, no-bake adventure!
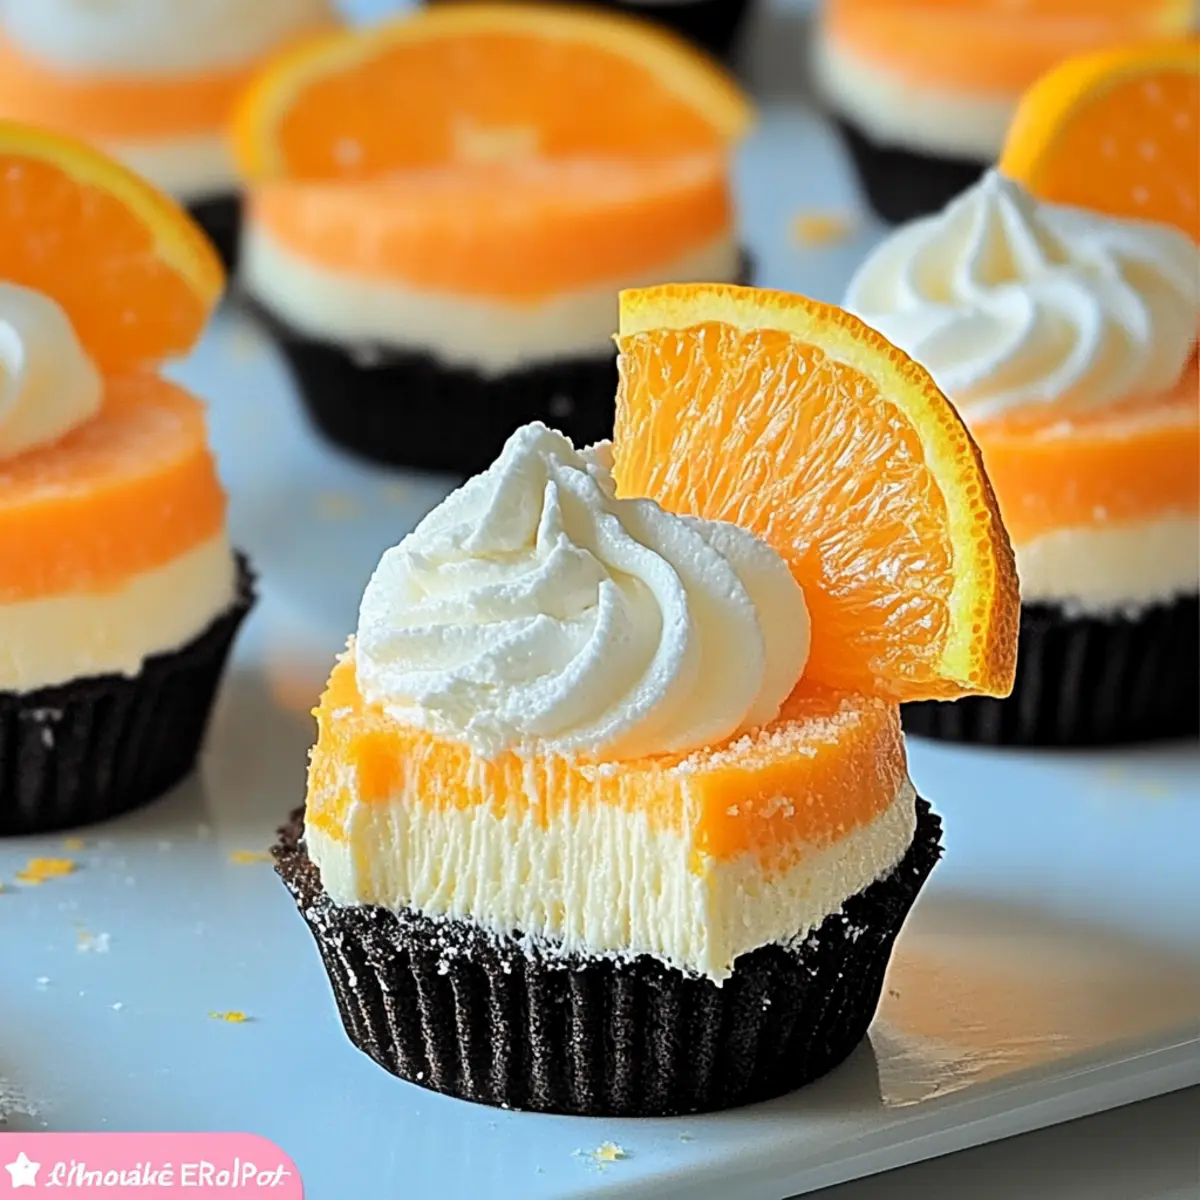
Why are these cheesecakes a must-try?
Simplicity at Its Best: The no-bake method makes these Orange Creamsicle Mini Cheesecakes a breeze to prepare, perfect for even novice chefs.
Vibrant Citrus Flavor: Fresh orange zest and a hint of orange extract create a summer symphony of taste that brightens your day.
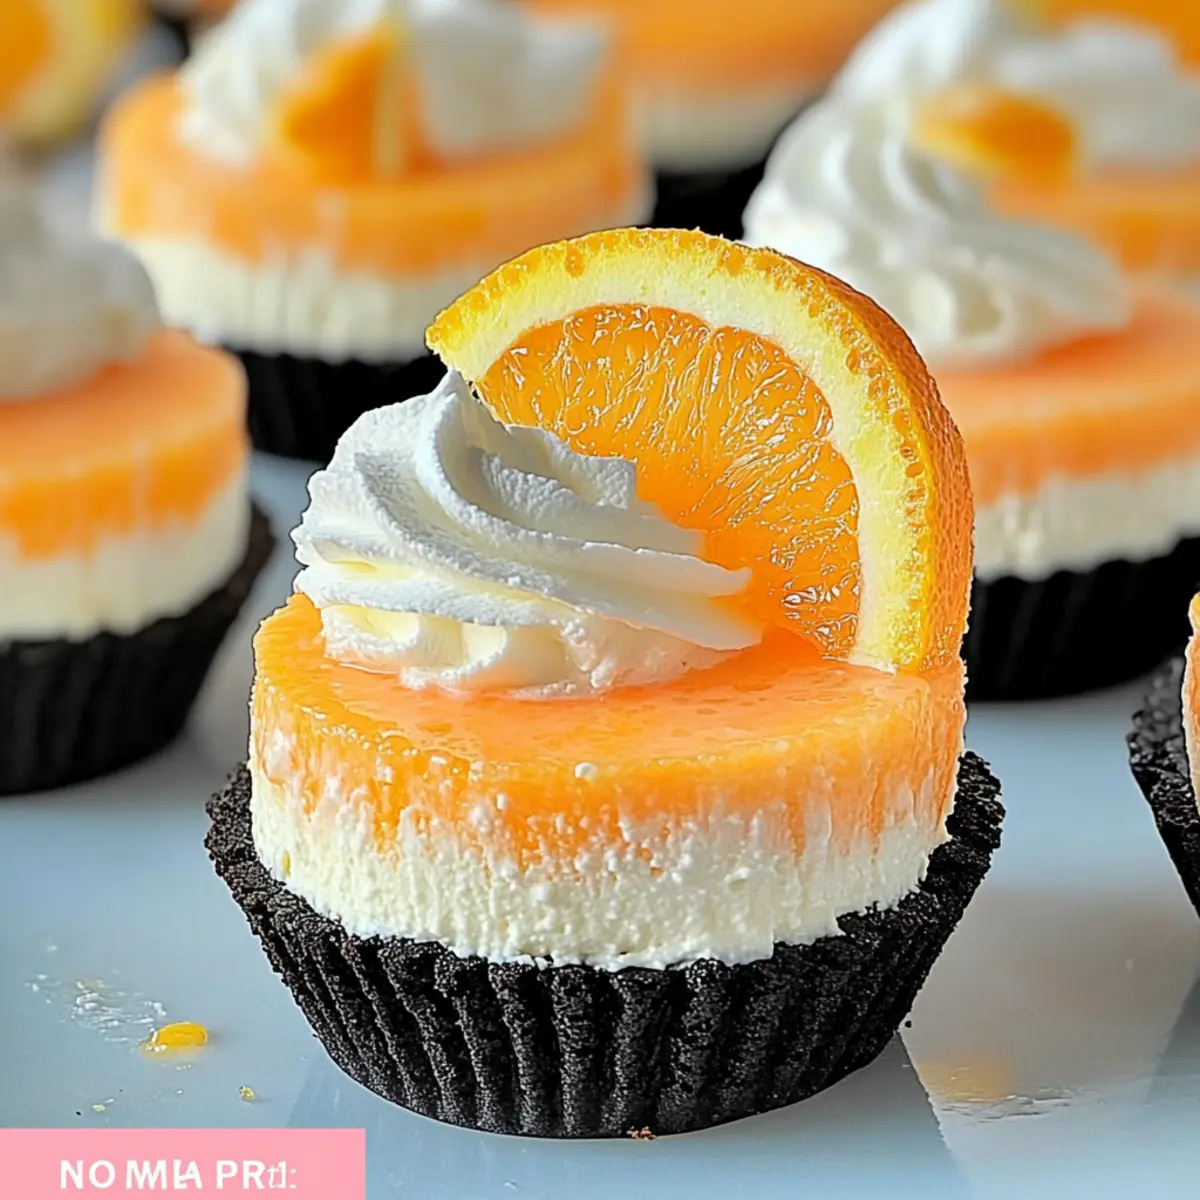
Eye-Catching Presentation: Their colorful layers and optional orange garnish make these mini treats as appealing to the eyes as they are to the palate.
Crowd-Pleasing Delight: These cheesecakes are ideal for BBQs, picnics, or any gathering—everyone will love their creamy texture and summery flavor!
Versatile Recipe: Feel free to experiment by swapping in lemon or raspberry for a twist, making this recipe a fantastic base for your creativity.
Make Ahead Convenience: With a quick prep time, you can prepare them in advance and store them in your fridge or freezer for easy serving later, just like my Christmas Mini Cookies – delicious snacks always at hand!
Orange Creamsicle Mini Cheesecake Ingredients
• Here’s everything you need to create these delightful treats!
For the Crust
- Oreo Cookies – A crunchy base that adds a rich chocolate flavor; you can substitute with chocolate wafer cookies if needed.
For the Filling
- Cream Cheese (16 oz, room temperature) – This is crucial for a creamy filling; make sure it’s softened for easy mixing.
- Powdered Sugar (½ cup) – Sweetens the filling perfectly; powdered erythritol can be used for a low-sugar alternative.
- Vanilla Extract (1 tsp) – Enhances the overall flavor; optional but using vanilla bean paste gives a richer taste.
- Heavy Whipping Cream (1 cup) – Provides fluffy texture; coconut cream is a great dairy-free substitute.
- Orange (zest of one orange) – Infuses the cheesecake with fresh citrus flavor; organic oranges are best for avoiding pesticides.
- Orange Extract (½ tsp) – Intensifies the orange flavor; optional if you’re using enough fresh zest.
- Orange Gel Food Coloring (2-3 drops) – Brightens the filling; omit for a natural look or use natural coloring alternatives.
For Garnish
- Whipped Cream (optional) – Adds a decorative finish; consider using dairy-free whipped toppings for a vegan option.
- Orange Slices (optional) – A fresh, fruity touch for decoration; edible flowers can also provide an elegant look.
Enjoy experimenting with these Orange Creamsicle Mini Cheesecakes that bring a burst of summer joy to any occasion!
Step‑by‑Step Instructions for Orange Creamsicle Mini Cheesecakes
Step 1: Prepare the Muffin Tin
Begin by lining a muffin tin with cupcake liners, placing one Oreo cookie at the bottom of each liner. This will create the delightful crust for your Orange Creamsicle Mini Cheesecakes. Make sure to press the cookies down gently to ensure they hold their shape once filled.
Step 2: Make the Cream Cheese Mixture
In a medium mixing bowl, combine the room temperature cream cheese and powdered sugar. Using an electric mixer, beat these ingredients together on medium speed for about 2 minutes, or until the mixture is smooth and creamy with no lumps. This will be the luscious filling for your cheesecakes.
Step 3: Whip the Cream
In a separate bowl, pour the heavy whipping cream, then use a handheld mixer to whip it on medium speed. Continue whipping until soft peaks form, which should take around 3-4 minutes. Once you achieve that consistency, add the orange extract and continue to whip until stiff peaks form, ensuring a light and airy texture.
Step 4: Combine the Mixtures
Gently fold the whipped cream into the cream cheese mixture using a spatula. Using slow, sweeping motions, combine them until just blended; be careful not to overmix, as you want to maintain that fluffy texture in your Orange Creamsicle Mini Cheesecakes.
Step 5: Create the Colored Layer
Divide the cheesecake mixture into two bowls. Keep one bowl plain from the previous steps, while to the other bowl, add the zest of one orange and a few drops of orange gel food coloring. Mix gently until the color is evenly distributed, creating a vibrant layer for your mini cheesecakes.
Step 6: Layer the Cheesecakes
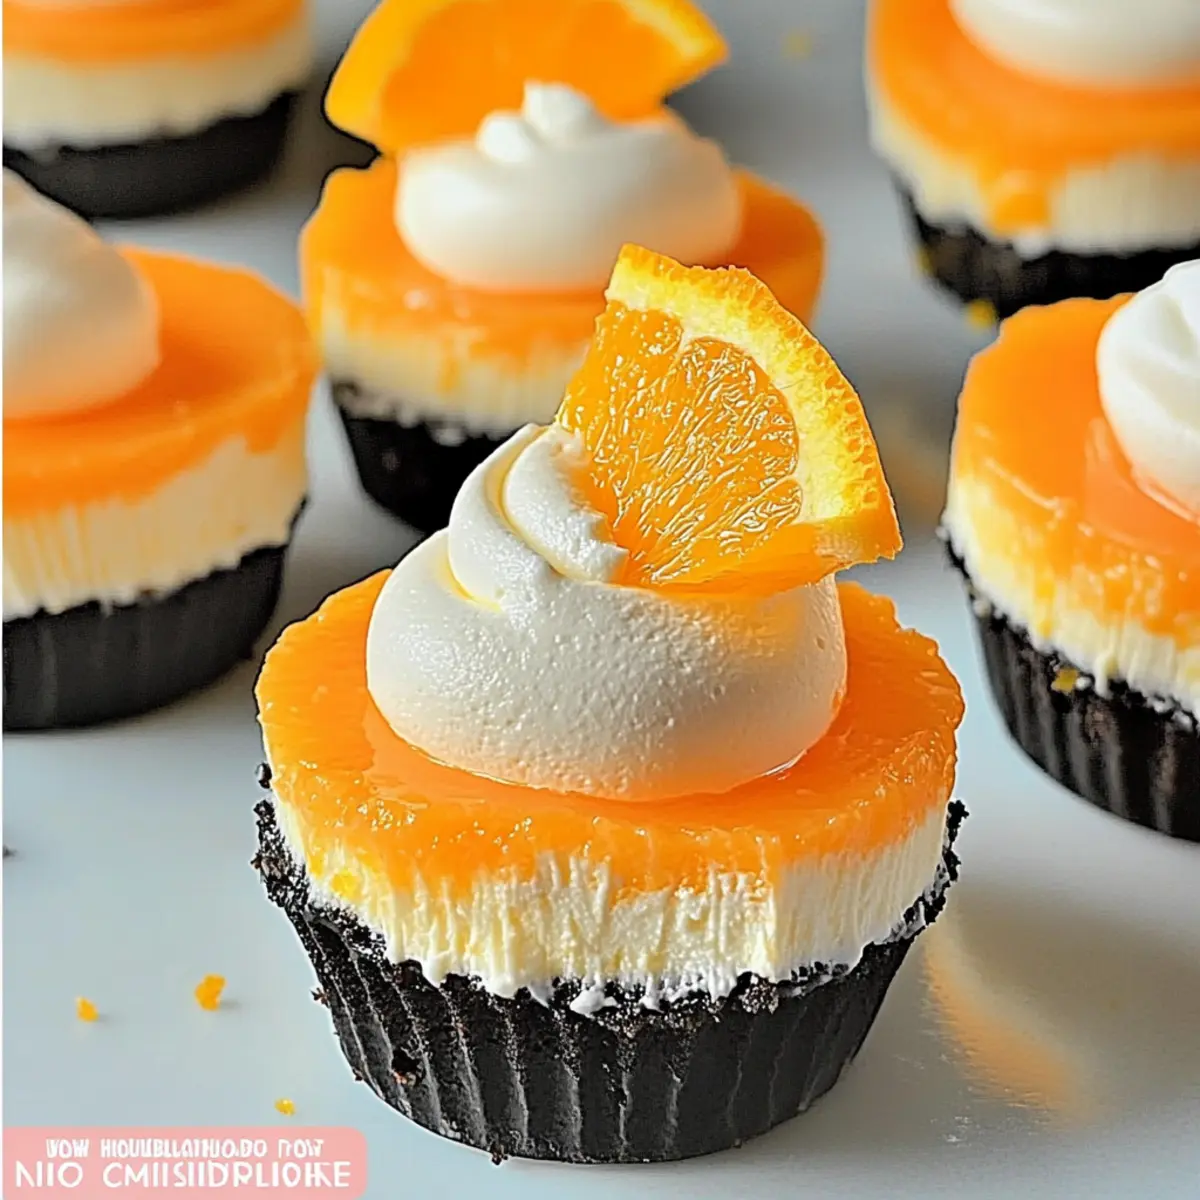
Scoop the plain cheesecake mixture over each Oreo base in the muffin tin, filling them about halfway. Then, add the orange-colored mixture on top of the plain layer, swirling lightly with a toothpick to create a beautiful marbled effect. This adds visual flair to your delightful treats.
Step 7: Chill Until Set
Cover the muffin tin with plastic wrap and place it in the refrigerator. Allow the Orange Creamsicle Mini Cheesecakes to chill for at least 3-4 hours or overnight, which will help them set firm and be easier to remove from the liners.
Step 8: Garnish and Serve
Once set, carefully remove the mini cheesecakes from the muffin tin and peel off the liners. Optionally, top each cheesecake with a dollop of whipped cream and a slice of orange for garnish. These finishing touches will make your Orange Creamsicle Mini Cheesecakes irresistible!
Orange Creamsicle Mini Cheesecakes Variations
Feel free to experiment with these ideas and make the recipe your own, adding delightful twists along the way!
-
Dairy-Free: Swap heavy whipping cream with coconut cream for a dairy-free version without sacrificing texture. Creamy and utterly satisfying!
-
Graham Cracker Crust: Use graham cracker crumbs for a classic cheesecake crust, providing a subtle cinnamon flavor that pairs beautifully with orange.
-
Berry Swirl: Add a swirl of fresh raspberry or strawberry puree into the orange filling for a fruity explosion that enhances the overall freshness of the dessert. It’s a fun surprise for your taste buds!
-
Lemon Zing: Replace orange zest and juice with lemon zest and juice for a bright and tangy twist. This variation brings a refreshing tartness that’s irresistible on a hot day.
-
Chocolate Drizzle: Melt some dark chocolate and drizzle it over the finished cheesecakes for an indulgent touch. This adds a rich contrast to the citrus flavors that everyone will love.
-
Mini Cheesecake Bites: Instead of muffin liners, pour the mixture into mini silicone molds for small, bite-sized treats that are perfect for summer gatherings.
-
Spiced Up: Add a pinch of cinnamon or nutmeg to the crust for a warm, spicy flavor that complements the citrus beautifully. It’s like a cozy hug for your palette!
-
Frozen Treats: Freeze the mini cheesecakes after they’ve set for a frosty dessert that’s equally refreshing during the heat of summer. Just remember to let them sit out for a few minutes before serving!
With these variations, your Orange Creamsicle Mini Cheesecakes will delight every palate, making them a must-try at your next dinner party or picnic. Don’t forget to check out my awesome Christmas Mini Cookies for another delicious mini dessert option!
How to Store and Freeze Orange Creamsicle Mini Cheesecakes
Fridge: Store uneaten mini cheesecakes in an airtight container in the refrigerator for up to 5 days to keep them fresh and tasty.
Freezer: For longer storage, wrap each cheesecake tightly in plastic wrap and then place them in a freezer-safe container. They’ll stay good for up to 3 months!
Thawing: When you’re ready to enjoy your frozen Orange Creamsicle Mini Cheesecakes, transfer them to the fridge to thaw overnight for the best texture.
Reheating: These cheesecakes are best enjoyed chilled or at room temperature. Avoid reheating in the microwave, as it can affect their creamy consistency.
Make Ahead Options
These Orange Creamsicle Mini Cheesecakes are perfect for busy cooks looking to save time without sacrificing flavor! You can prepare the cheesecake filling up to 24 hours in advance and store it in the refrigerator, just be sure to keep it covered to maintain its creamy texture. The crust can also be assembled ahead of time; simply place the Oreo cookies in the muffin tin and refrigerate until you’re ready to add the filling. When you’re ready to serve, gently layer the filling over the crust and chill for about 3-4 hours or overnight until set. This way, you’ll have delightful, ready-to-serve mini cheesecakes that are just as delicious and fresh as if they were made that day!
Expert Tips for Orange Creamsicle Mini Cheesecakes
-
Room Temperature Cream Cheese: Ensure your cream cheese is at room temperature for easily combining, which prevents lumps in your filling.
-
Avoid Over-Whipping: Do not over-whip the heavy cream, as it can turn grainy. Whip until you reach stiff peaks for the perfect lightness.
-
Chilling Time Matters: For best results, refrigerate your cheesecakes for a full 4 hours or overnight. This helps them set perfectly and enhances flavor.
-
Garnish Wisely: Add whipped cream and orange slices just before serving to keep them fresh. Go for edible flowers if you want a unique touch!
-
Experiment with Flavors: This recipe is versatile. Feel free to switch out orange zest for lemon, lime, or even berry flavors to create your own twist on these Orange Creamsicle Mini Cheesecakes.
What to Serve with Easy No-Bake Orange Creamsicle Mini Cheesecakes
As you prepare to delight in these creamy, citrus-infused gems, consider these tasty sides and pairings to elevate your dessert experience.
-
Fresh Berries: Juicy strawberries, blueberries, or raspberries add a pop of color and tartness, balancing the sweetness of the cheesecakes beautifully.
-
Mint-Infused Iced Tea: A refreshing drink with a hint of mint brings a cooling contrast to the rich and creamy dessert, perfect for summer gatherings.
-
Coconut Macaroons: These chewy cookies lend a tropical touch that complements the orange flavors while introducing a fun textural element to your plate.
-
Creamy Coleslaw: A tangy, crunchy side can provide a refreshing contrast to the airy cheesecakes, making your meal well-rounded and satisfying.
-
Fruit Salad: Tossed together with citrus and melons, a light fruit salad enhances the fruity vibes of the mini cheesecakes. It’s a bright addition perfect for summer feasts.
-
Sparkling Lemonade: The fizzy, zesty nature of sparkling lemonade refreshes your palate and elevates the cheerful ambiance of any gathering with these Orange Creamsicle Mini Cheesecakes.
Enjoy combining these delicious options with your mini cheesecakes for a delightful summer experience!
Orange Creamsicle Mini Cheesecakes Recipe FAQs
What types of oranges are best for this recipe?
Absolutely! I recommend using organic oranges whenever possible. They tend to have a richer flavor and fewer pesticides, which is important for maximizing that delightful orange zest flavor in your mini cheesecakes.
How should I store leftover mini cheesecakes?
To keep your Orange Creamsicle Mini Cheesecakes fresh, store them in an airtight container in the refrigerator for up to 5 days. It’s a great way to ensure they maintain their delightful creamy texture!
Can I freeze these mini cheesecakes, and how?
Yes, you can! Simply wrap each mini cheesecake tightly in plastic wrap and then place them in a freezer-safe container. They’ll be good for up to 3 months. For thawing, just transfer them to the fridge overnight before enjoying them. This method helps retain their creamy consistency, making for a delightful treat!
What if my whipped cream starts to turn grainy?
Oh no! If your whipped cream is becoming grainy, you’ve likely over-whipped it. Aim for soft peaks first, then add the orange extract and beat until you reach stiff peaks. Remember, it’s better to stop a little early than overdoing it!
Is this recipe safe for those with nut allergies?
Yes! The basic ingredients in this Orange Creamsicle Mini Cheesecakes recipe are all nut-free. Of course, always double-check any cookies you use as a base, as some brands might have cross-contamination warnings.
Can I substitute any ingredients for dietary restrictions?
Very! You can easily make this recipe dairy-free by using coconut cream instead of heavy whipped cream and vegan cream cheese. Additionally, powdered erythritol can be a fantastic sugar substitute if you’re looking for a low-sugar option. Happy cooking!
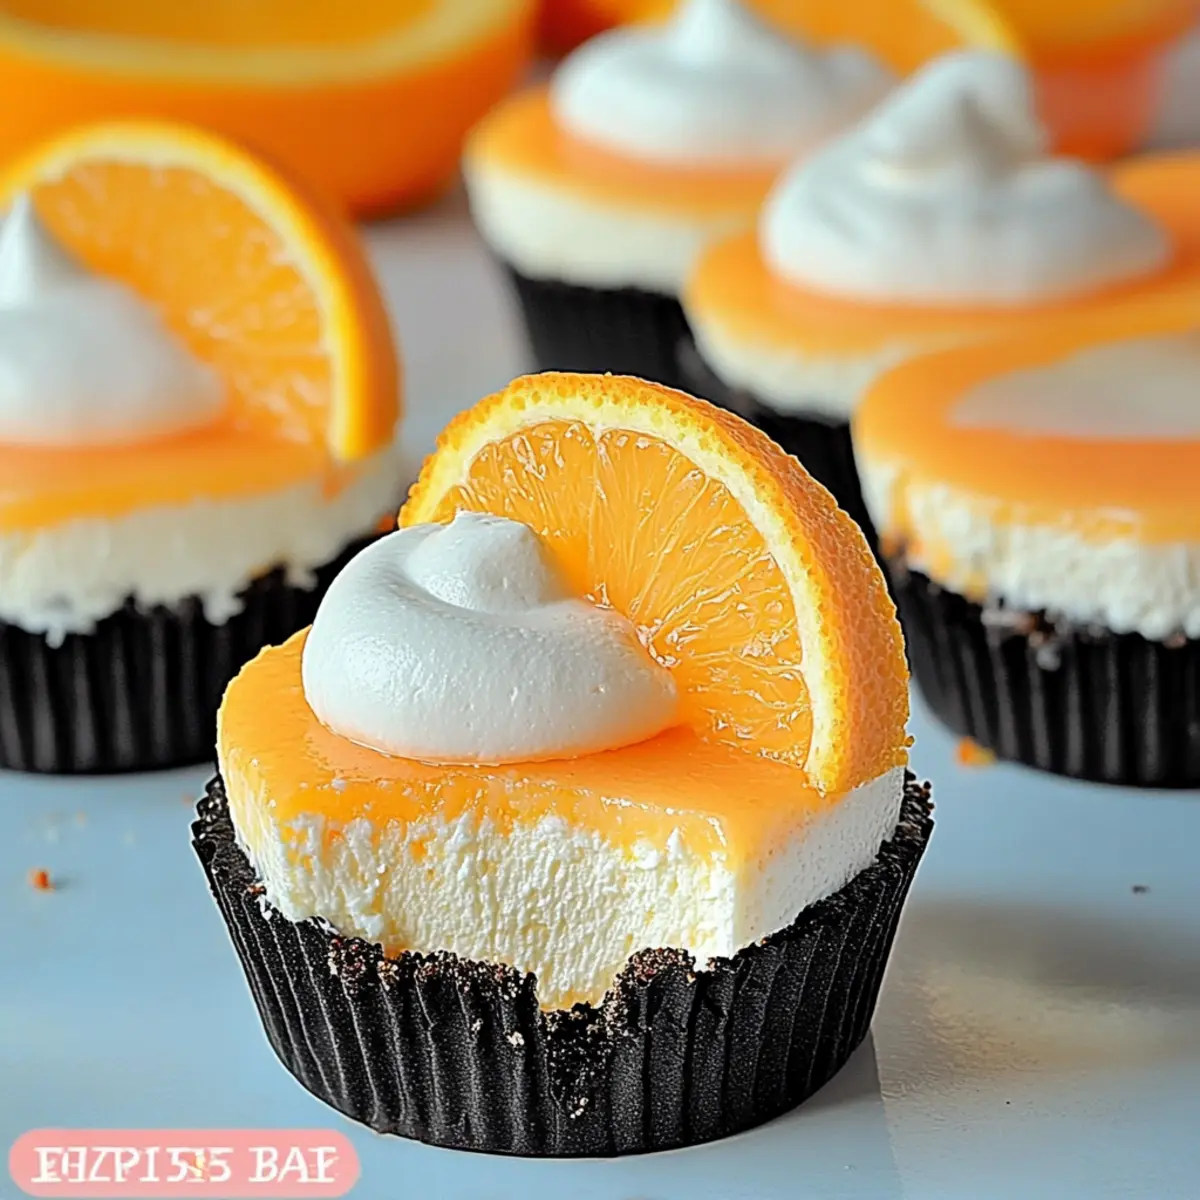
Refreshing Orange Creamsicle Mini Cheesecakes for Summer Bliss
Ingredients
Equipment
Method
- Line a muffin tin with cupcake liners and place one Oreo cookie at the bottom of each liner.
- In a medium mixing bowl, combine the cream cheese and powdered sugar; beat until smooth.
- Whip the heavy cream in a separate bowl until soft peaks form; add orange extract and whip to stiff peaks.
- Fold the whipped cream into the cream cheese mixture until just blended.
- Divide the mixture into two bowls; add orange zest and food coloring to one bowl.
- Scoop the plain mixture into the muffin tin, then add the orange mixture on top and swirl for a marbled effect.
- Cover and chill for at least 3-4 hours or overnight until set.
- Carefully remove from the tin and garnish with whipped cream and orange slices before serving.
Leave a Reply