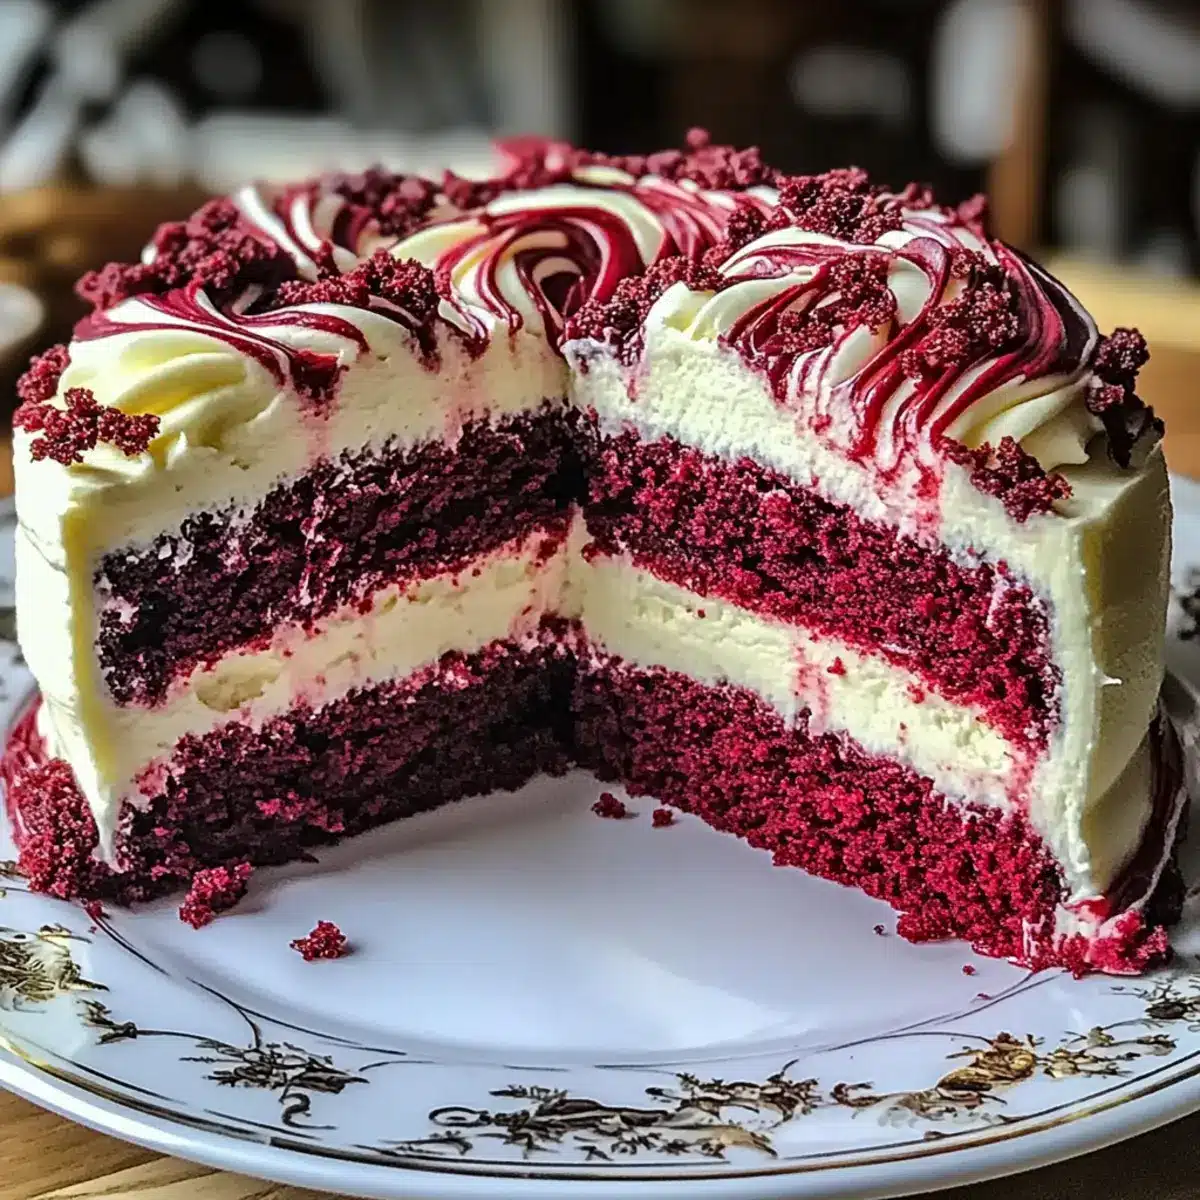
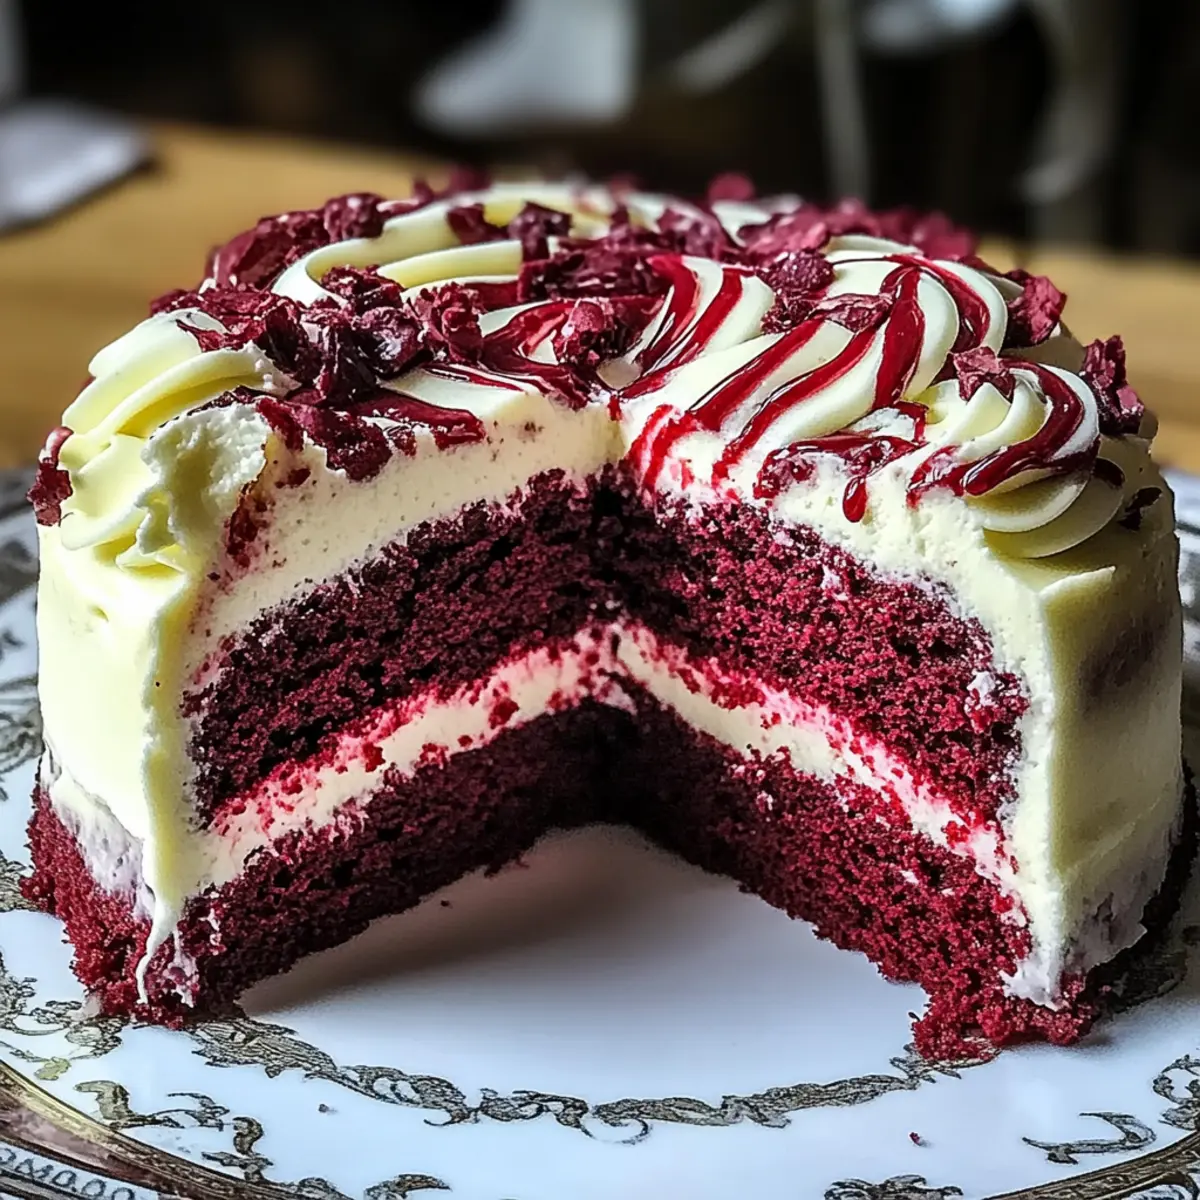
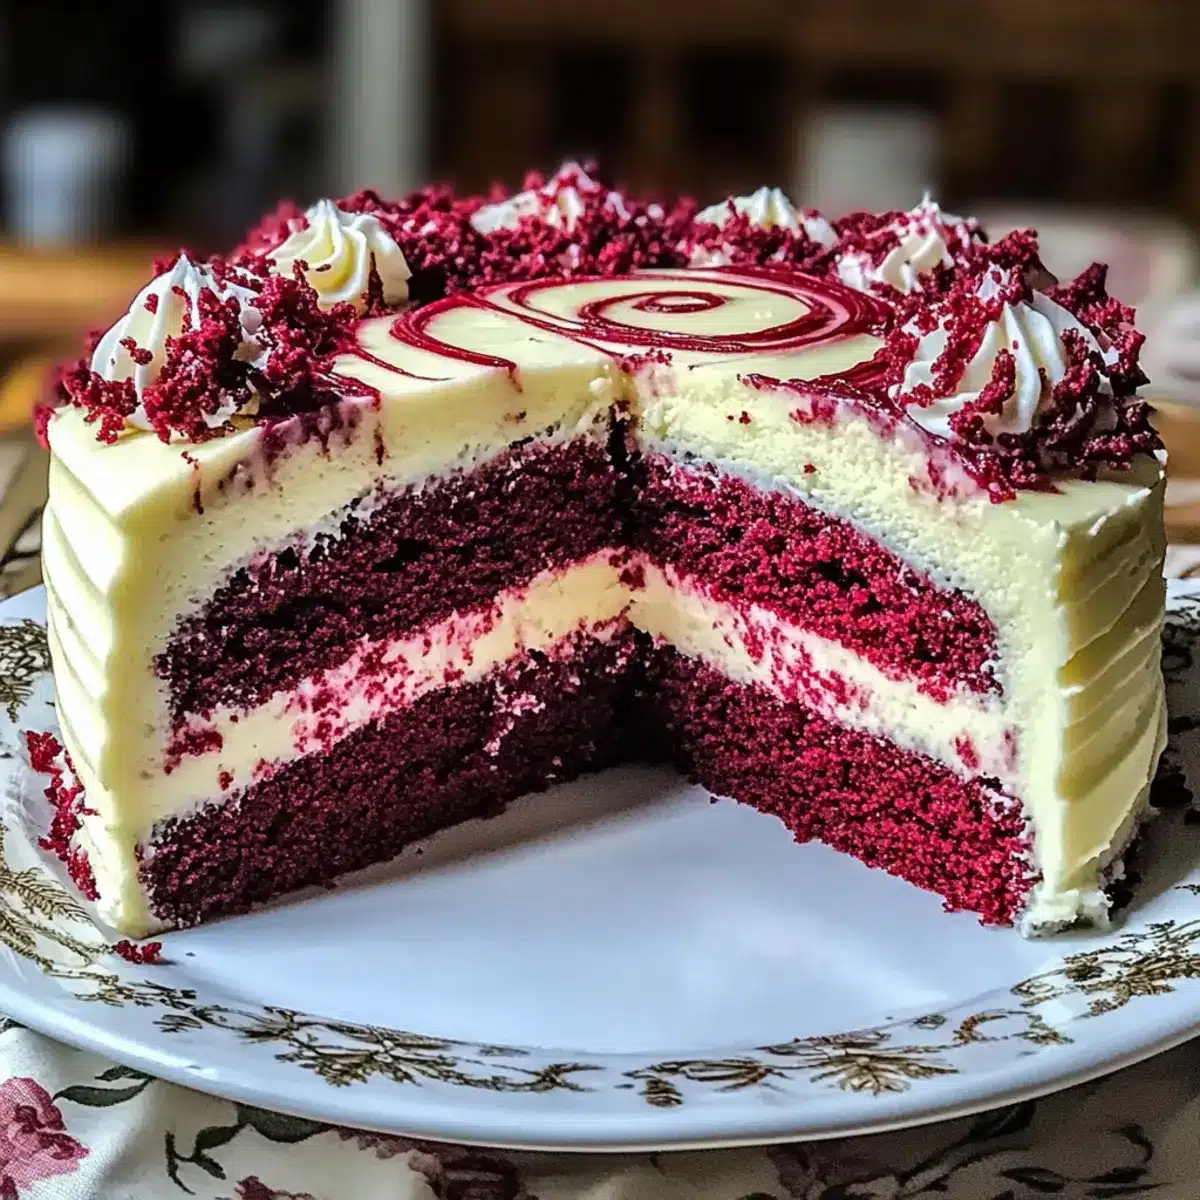
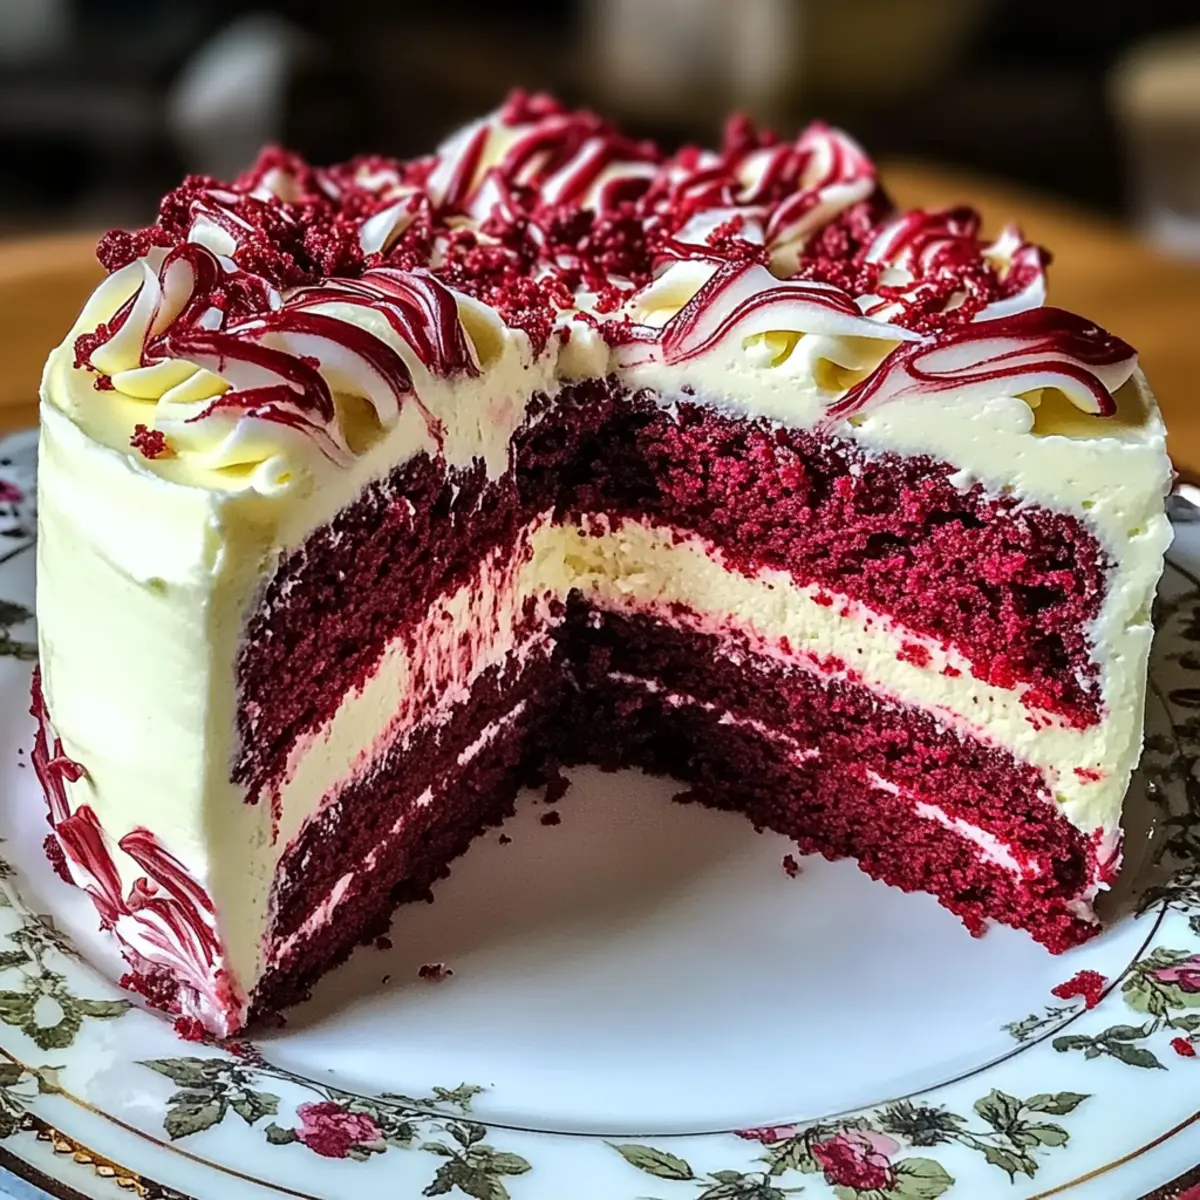
As I stared at the vibrant red layers of my freshly baked cake, the swirling patterns caught the light like a culinary masterpiece. Today, I’m excited to share my recipe for the Red Velvet Cheesecake Swirl Cake, a stunning dessert that is just as delicious as it is eye-catching. Perfect for birthdays, holidays, or even a casual gathering, this cake features a delightful combination of moist red velvet and rich cheesecake—a match made in dessert heaven! The best part? It comes together with minimal effort and can be made ahead of time, making entertaining a breeze. Ready to impress your friends and family with a show-stopping treat? Let’s dive into this irresistible recipe!
Why is This Cake Irresistible?
Decadence at its finest: This Red Velvet Cheesecake Swirl Cake brings together the rich, chocolatey essence of red velvet and the creamy tang of cheesecake, creating a truly indulgent experience.
Visually stunning: The eye-catching swirls of vibrant red make it a perfect centerpiece for any occasion, whether it’s a birthday party or a holiday gathering.
Effortless preparation: With straightforward instructions, even novice bakers can create this masterpiece without a hitch, allowing you to focus more on enjoying time with loved ones.
Make-ahead convenience: This cake can be prepared in advance and stored, making it an absolute lifesaver for busy days—just frost and serve when you’re ready.
Crowd-pleaser: It’s guaranteed to impress everyone, leaving friends and family asking for seconds! Add a scoop of ice cream or a dollop of whipped cream for an even more delightful dessert. Enjoy with a slice of Christmas Spice Cake or Cranberry Cake Wow for a sweet treat combo!
Red Velvet Cheesecake Swirl Cake Ingredients
For the Red Velvet Cake
• All-Purpose Flour – Provides structure and stability; gluten-free flour can be used for a GF option.
• Granulated Sugar – Adds sweetness and texture; coconut sugar can be a healthier alternative.
• Cocoa Powder – Delivers chocolate flavor and color; Dutch-processed cocoa deepens the taste.
• Baking Soda – Acts as a leavening agent for the cake rise; baking powder can be a substitute with adjusted quantities.
• Salt – Enhances flavor; sea salt provides a more sophisticated touch.
• Buttermilk – Adds moisture and activates the baking soda; a milk-vinegar blend can work for dairy-free needs.
• Vegetable Oil – Ensures moisture and tenderness; melted coconut oil is a delightful alternative.
• Eggs – Act as a binding agent and add richness; flax eggs serve as a vegan option.
• White Vinegar – Reacts with baking soda for leavening; lemon juice offers a similar effect.
• Vanilla Extract – Enhances flavor; vanilla bean paste intensifies this rich flavor.
• Red Food Coloring – Gives the cake its signature red hue; opt for natural beet juice for a healthier coloring.
For the Cheesecake Layer
• Cream Cheese – Creates a rich, creamy layer; vegan cream cheese can be substituted for a dairy-free option.
• Powdered Sugar – Sweetens the cheesecake filling; erythritol can make it a low-sugar choice.
Don’t forget, the star of the show is the Red Velvet Cheesecake Swirl Cake—so gather these ingredients and let’s get baking!
Step‑by‑Step Instructions for Red Velvet Cheesecake Swirl Cake
Step 1: Preheat and Prepare Pans
Begin by preheating your oven to 350°F (175°C). While the oven heats, grease two 9-inch round cake pans and line the bottoms with parchment paper. This ensures your Red Velvet Cheesecake Swirl Cake releases easily after baking. You’ll know the pans are ready when you can see the shiny grease glistening under your kitchen lights.
Step 2: Mix Dry Ingredients
In a large mixing bowl, whisk together the all-purpose flour, granulated sugar, cocoa powder, baking soda, and salt. This step is crucial for evenly distributing the leavening agents and ensuring that your cake achieves a light and fluffy texture. Continue whisking until all dry ingredients are well combined, creating a uniform mixture that looks like soft chocolatey sand.
Step 3: Combine Wet Ingredients
In a separate bowl, mix the buttermilk, vegetable oil, eggs, white vinegar, vanilla extract, and red food coloring until smooth. Use a whisk or electric mixer on low speed for about 1 minute. The mixture should be a vibrant red, indicating the food coloring is well incorporated. This blend adds moisture and flavor to your cake, providing a rich foundation for the layers.
Step 4: Combine Wet and Dry Mixtures
Gradually pour the wet ingredients into the dry ingredients, mixing with a spatula or wooden spoon until just combined. This should take about 30 seconds—be careful not to overmix, as that can lead to a dense texture. The result should be a thick, velvety batter, showcasing the deep red hue that characterizes your Red Velvet Cheesecake Swirl Cake.
Step 5: Prepare Cheesecake Layer
In another bowl, beat the cream cheese until it’s completely smooth. Add in the powdered sugar and a splash of vanilla extract; mix until fluffy and well combined, about 2 minutes. The mixture should be creamy and ready to swirl into your cake batter. This luxurious cheesecake layer will perfectly complement the rich red velvet base.
Step 6: Layer Batter and Cheesecake
Divide the red velvet batter evenly between the two prepared pans. Next, spoon dollops of the cheesecake mixture over the batter in each pan. Use a knife or toothpick to gently swirl the two batters together, creating beautiful marbled patterns. This artistic touch will elevate the visual appeal of your Red Velvet Cheesecake Swirl Cake when baked.
Step 7: Bake the Cakes
Place the pans in the preheated oven and bake for 30-35 minutes, rotating them halfway through for even baking. The cakes are done when a toothpick inserted into the center comes out clean. Watch for the edges pulling away slightly from the sides of the pans, signaling the perfect baking time for a moist and fluffy dessert.
Step 8: Cool and Frost
Once baked, remove the cakes from the oven and let them cool in the pans for about 10 minutes. After that, transfer them to wire racks to cool completely. This cooling period is essential before frosting your Red Velvet Cheesecake Swirl Cake with any remaining cheesecake mixture or cream cheese frosting, ensuring that the layers don’t melt together.
What to Serve with Irresistible Red Velvet Cheesecake Swirl Cake
As you delight in the rich flavors of this sumptuous cake, consider pairing it with charming accompaniments for a well-rounded dessert experience.
-
Whipped Cream: A dollop of fresh whipped cream adds a light, airy touch that complements the richness of the cake perfectly.
-
Vanilla Ice Cream: The creamy sweetness of vanilla ice cream balances the decadent chocolatey notes and tangy cheesecake flavors, creating a heavenly contrast.
-
Fresh Berries: Juicy strawberries, raspberries, or blueberries add a vibrant burst of color and freshness to each slice, enhancing the overall presentation and taste.
-
Chocolate Ganache: A silky drizzle of chocolate ganache brings an extra layer of indulgence, making every bite delightfully decadent.
-
Coffee or Espresso: A warm cup of coffee or espresso serves as a delightful contrast, cutting through the cake’s richness while intensifying the chocolate flavor.
-
Champagne: Celebrate special moments with a glass of bubbly! The refreshing effervescence paired with the cake makes for an unforgettable sweet experience.
Consider these pairings for an elevated dessert that will leave your guests swooning!
Make Ahead Options
Preparing your Red Velvet Cheesecake Swirl Cake ahead of time is a fantastic way to save valuable moments during busy weekdays or special occasions! You can bake the cake layers up to 3 days in advance; simply cool them completely, wrap in plastic wrap, and refrigerate. For the cheesecake layer, you can prepare it up to 24 hours ahead and keep it stored in an airtight container. To maintain the cake’s delicious texture, avoid frosting until just before serving; this ensures it stays moist and fresh. When ready to serve, simply frost the chilled cake and let it sit at room temperature for about 15-20 minutes to regain its creamy texture, ensuring your dessert is just as delightful as if you had made it fresh that day!
Red Velvet Cheesecake Swirl Cake Variations
Feel free to get creative with your Red Velvet Cheesecake Swirl Cake! Transform this beloved dessert into something uniquely yours with these flavorful ideas.
-
Gluten-Free: Substitute all-purpose flour with a gluten-free flour blend to make this cake celiac-friendly, ensuring everyone can enjoy it.
-
Dairy-Free: For a dairy-free version, use almond milk instead of buttermilk and coconut cream in place of cream cheese. It maintains the creamy richness beautifully.
-
Nutty Crunch: Incorporate chopped walnuts or pecans into the red velvet batter for a delightful crunch that contrasts the cake’s softness.
-
Chocolate Lovers: Add mini chocolate chips to the cheesecake layer for an extra chocolaty surprise. The melty morsels will create bursts of flavor throughout each slice.
-
Seasonal Twist: Swap the red food coloring for natural beet juice for a healthier twist, or try using pumpkin puree in the batter for a fall-inspired dessert.
-
Flavor Boost: Enhance the flavor by adding a teaspoon of espresso powder to the batter—this will deepen the chocolate notes and add a hint of richness.
-
Berry Topping: After frosting, add fresh raspberries or sliced strawberries on top of the cake for a fresh burst of flavor, color, and sweetness.
-
Minimalist Delight: For a simpler approach, skip the cheesecake layer and make a classic red velvet cake with creamy buttercream frosting. Perfect for a quick and easy dessert fix!
Let your creativity shine while baking and enjoy exploring these variations. Pair this cake with a side of Strawberry Cheesecake Protein for a delightful treat or serve with a generous scoop of vanilla ice cream alongside your decadent dessert!
Expert Tips for Red Velvet Cheesecake Swirl Cake
-
Perfect Egg Beating: Ensure you beat the eggs until they are pale yellow. This step is crucial for achieving that lovely rise in your Red Velvet Cheesecake Swirl Cake.
-
Avoid Overmixing: Mix the batter gently until just combined. Overmixing can lead to a dense cake, losing the fluffy texture we all love.
-
Toothpick Test: Check the doneness by inserting a toothpick into the center. It should come out clean for a perfectly baked cake without any gooey batter.
-
Cool Completely: Let your cakes cool fully before frosting. This prevents the frosting from melting and keeps your layers looking pristine and beautiful.
-
Layer Artfully: When swirling the cheesecake batter into the red velvet, don’t be afraid to get creative. This adds a stunning visual appeal to your cake while enhancing the flavor balance.
How to Store and Freeze Red Velvet Cheesecake Swirl Cake
Fridge: Store leftover cake in an airtight container for up to 5 days. This helps to keep the rich flavors intact while preventing your cake from drying out.
Freezer: For long-term storage, wrap individual slices tightly in plastic wrap and then place them in a freezer-safe container. They can be frozen for up to 2 months without losing their enchanting taste.
Thawing: To enjoy frozen slices, remove them from the freezer and let them thaw in the refrigerator overnight. This ensures that your Red Velvet Cheesecake Swirl Cake retains its delectable texture.
Reheating: If you prefer warm cake, briefly microwave a slice for about 10-15 seconds. This reawakens the creamy cheesecake layer and brings back the cake’s delightful warmth!
Red Velvet Cheesecake Swirl Cake Recipe FAQs
How do I choose ripe ingredients for this cake?
Absolutely! For the best flavor, use fresh, high-quality ingredients. Look for buttermilk that has a tangy scent and creamy consistency—this ensures moisture and flavor. For eggs, select ones that are organic, as they produce a richer cake. Additionally, opt for vibrant red food coloring or natural beet juice for that signature hue; this will enhance both the cake’s color and flavor.
How should I store the Red Velvet Cheesecake Swirl Cake?
Very! Store any leftover cake in an airtight container in the refrigerator for up to 5 days. This keeps it fresh and moist, ready for indulgent cravings. If it’s frosted, ensure it’s completely cooled beforehand to prevent melting. It’s a good idea to place a piece of wax paper between the cake and the lid to keep the frosting intact!
Can I freeze slices of the cake?
Absolutely! Wrap individual slices tightly in plastic wrap and place them in a freezer-safe container. They can be frozen for up to 2 months. When you’re ready to enjoy a slice, simply remove it from the freezer and let it thaw overnight in the refrigerator for the best texture.
What if my cake isn’t rising properly?
Oh no! If your Red Velvet Cheesecake Swirl Cake doesn’t rise as expected, it’s usually due to old leavening agents. Make sure your baking soda is fresh—check the expiration date. Additionally, when combining wet and dry ingredients, avoid overmixing; this can lead to a dense texture instead of the fluffy cake you desire. Lastly, ensure your oven is properly preheated to the correct temperature before baking.
Are there any dietary considerations I should keep in mind?
Very! If you or your loved ones have dietary restrictions, it’s easy to make adjustments. Use gluten-free flour for a GF option, and consider using vegan cream cheese and flax eggs for a dairy-free version. For those watching sugar intake, you can substitute granulated sugar with coconut sugar or erythritol to lower the sugar content without sacrificing taste. Just remember to check the ingredients in store-bought products like cream cheese, as they may contain allergens.
How should I serve the Red Velvet Cheesecake Swirl Cake?
Absolutely delightful! I recommend serving the cake slightly chilled with a dollop of whipped cream or a scoop of vanilla ice cream. For an extra special touch, finish it off with fresh berries or a drizzle of chocolate ganache. This not only elevates the presentation but also adds complementary flavors to your beautiful dessert!
Decadent Red Velvet Cheesecake Swirl Cake You'll Love
Ingredients
Equipment
Method
- Preheat your oven to 350°F (175°C). Grease two 9-inch round cake pans and line the bottoms with parchment paper.
- In a large mixing bowl, whisk together the all-purpose flour, granulated sugar, cocoa powder, baking soda, and salt.
- In a separate bowl, mix the buttermilk, vegetable oil, eggs, white vinegar, vanilla extract, and red food coloring until smooth.
- Gradually pour the wet ingredients into the dry ingredients, mixing until just combined.
- In another bowl, beat the cream cheese until smooth, then add powdered sugar and vanilla extract; mix until fluffy.
- Divide the red velvet batter evenly between the two prepared pans. Spoon dollops of the cheesecake mixture over the batter and swirl together.
- Place the pans in the preheated oven and bake for 30-35 minutes. Check for doneness with a toothpick.
- Once baked, let the cakes cool in the pans for about 10 minutes, then transfer to wire racks to cool completely.
Leave a Reply