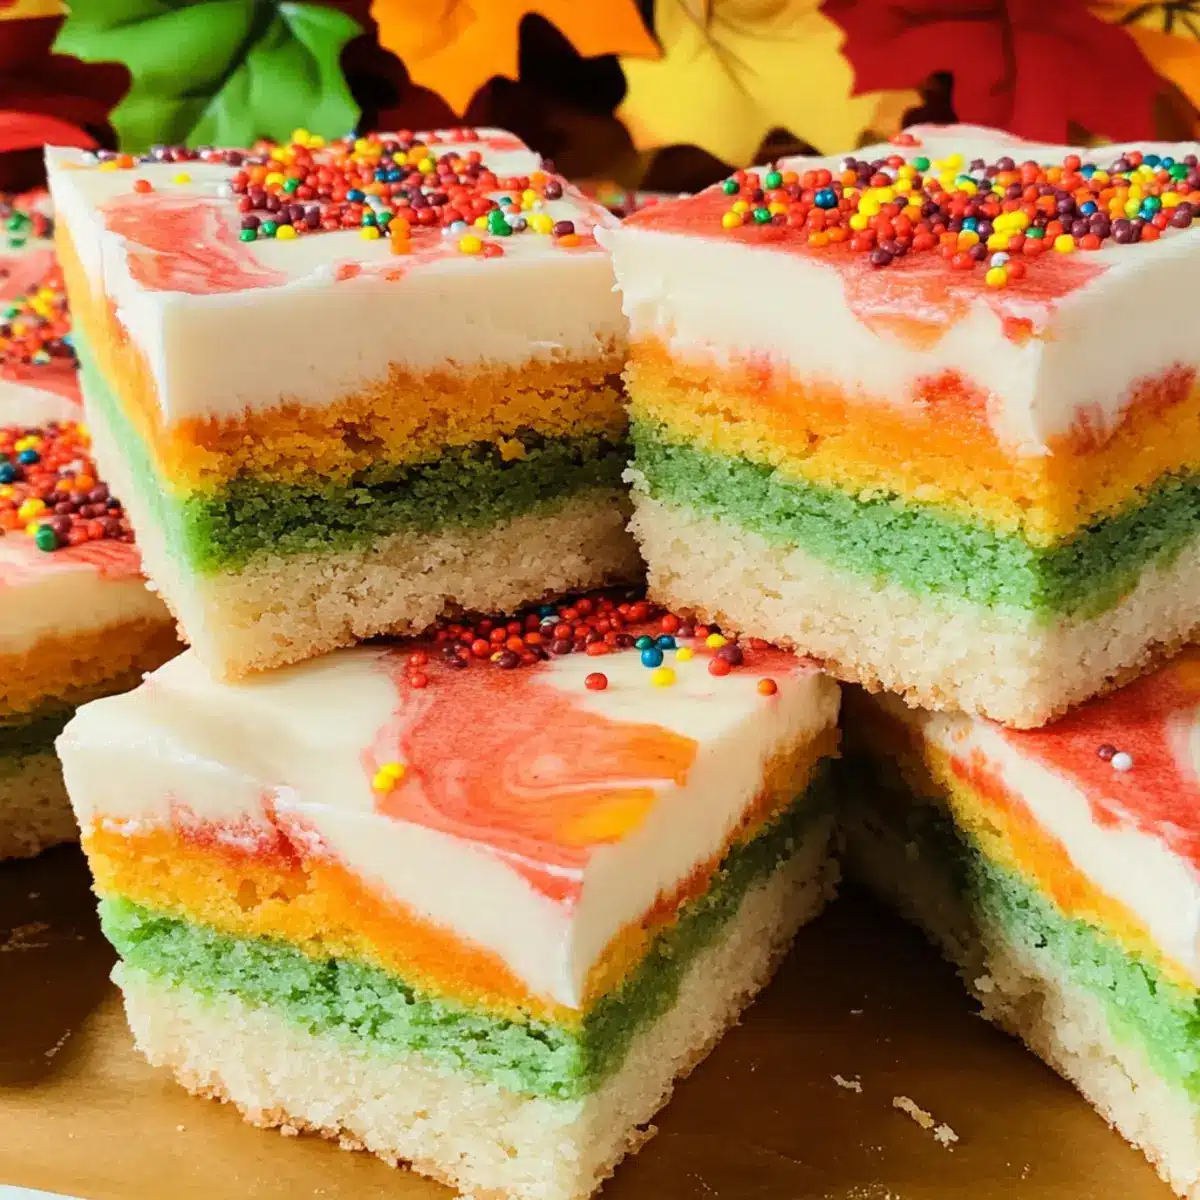
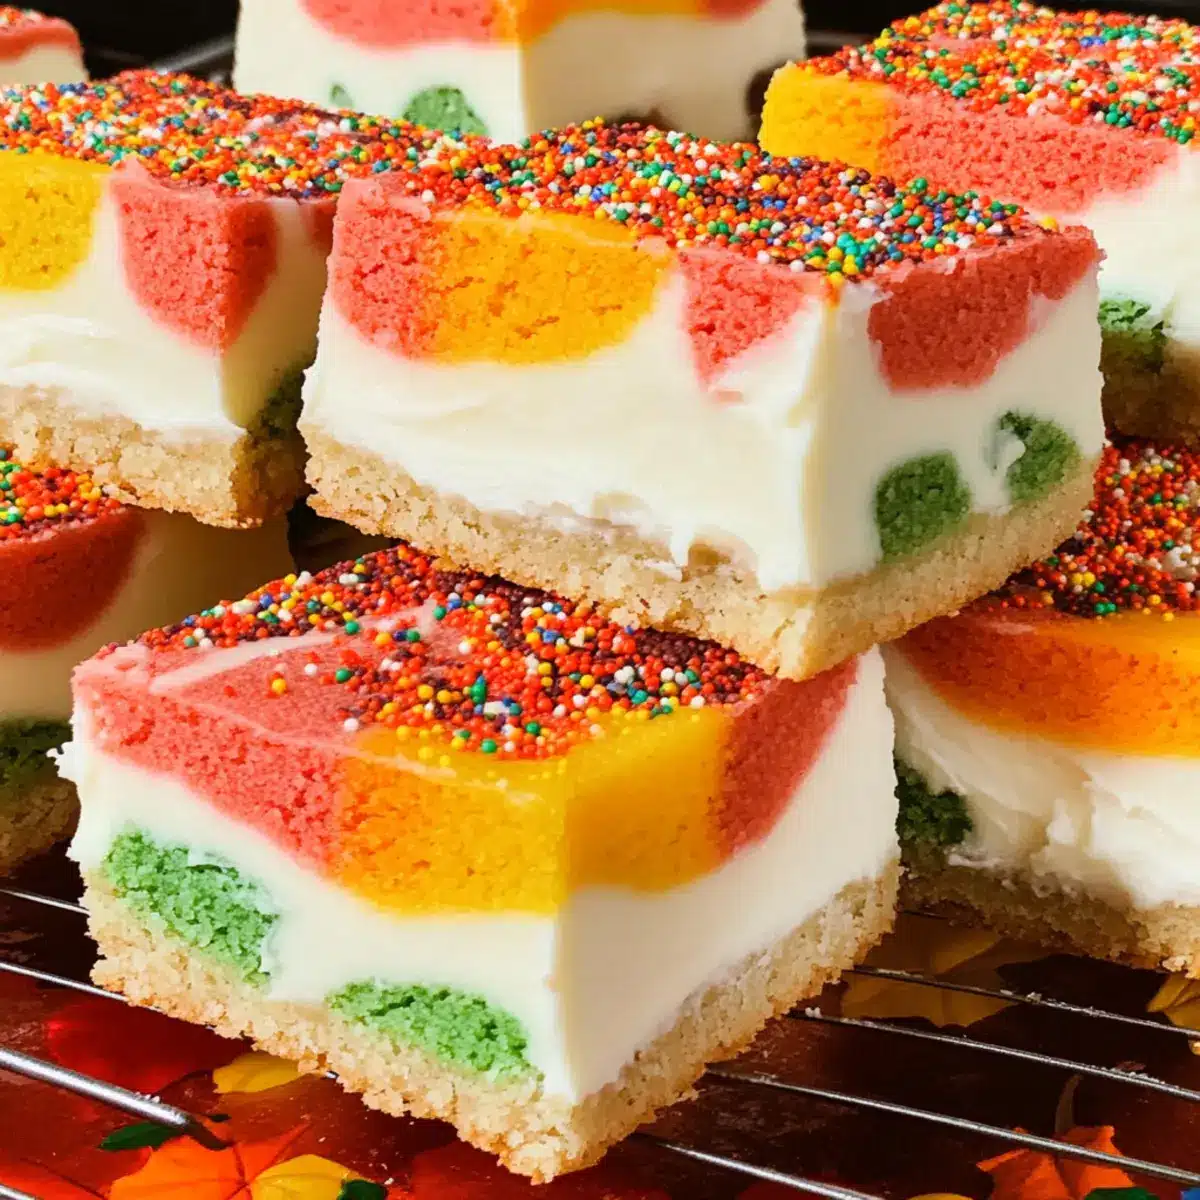
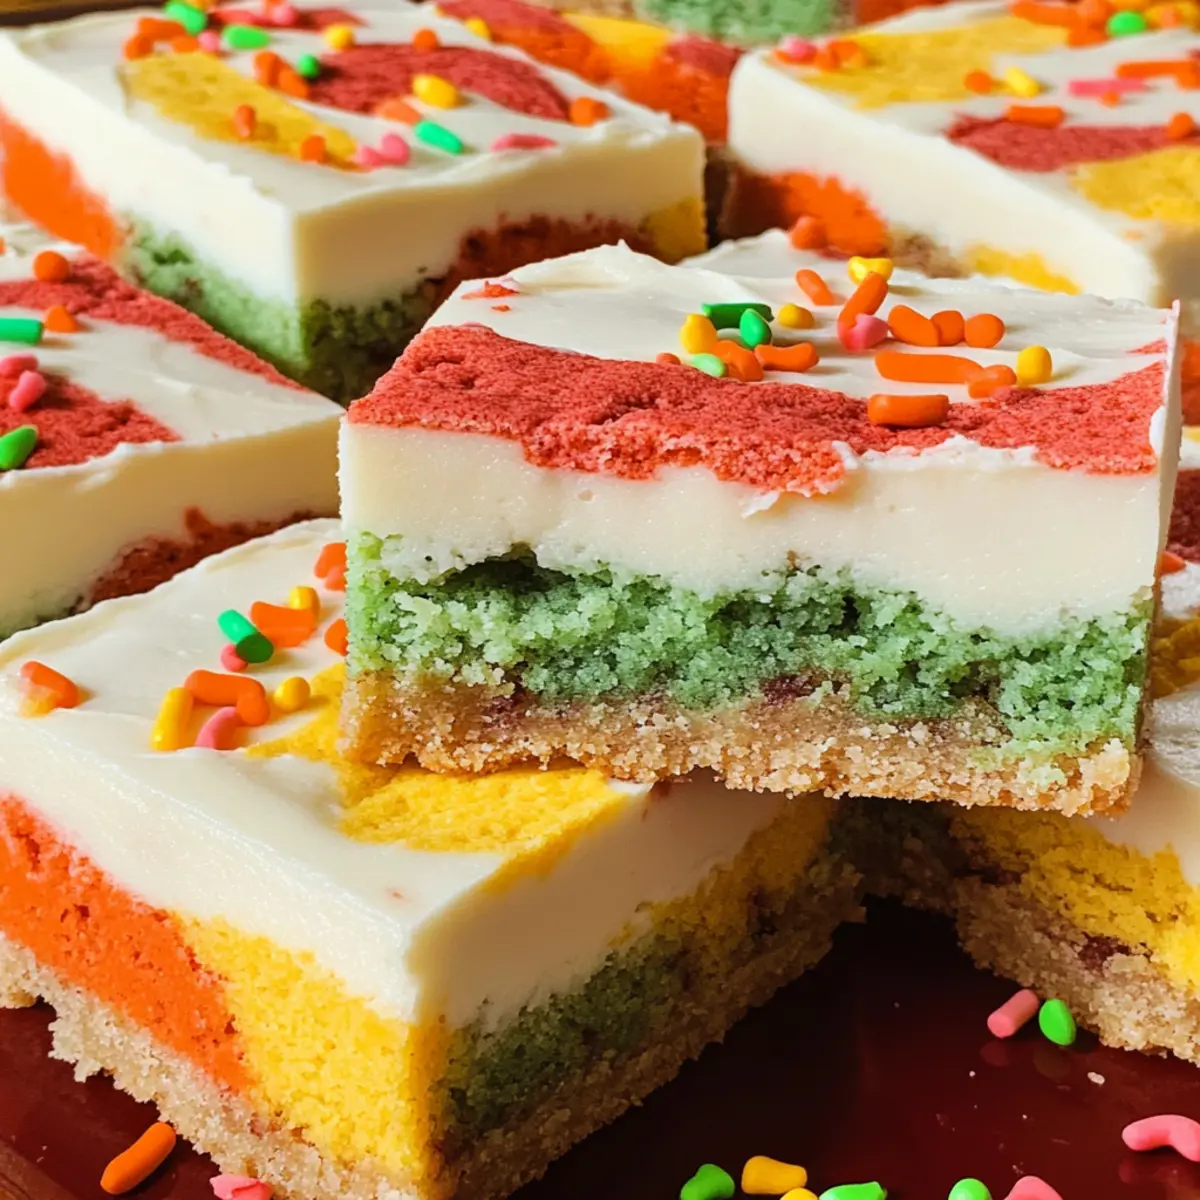
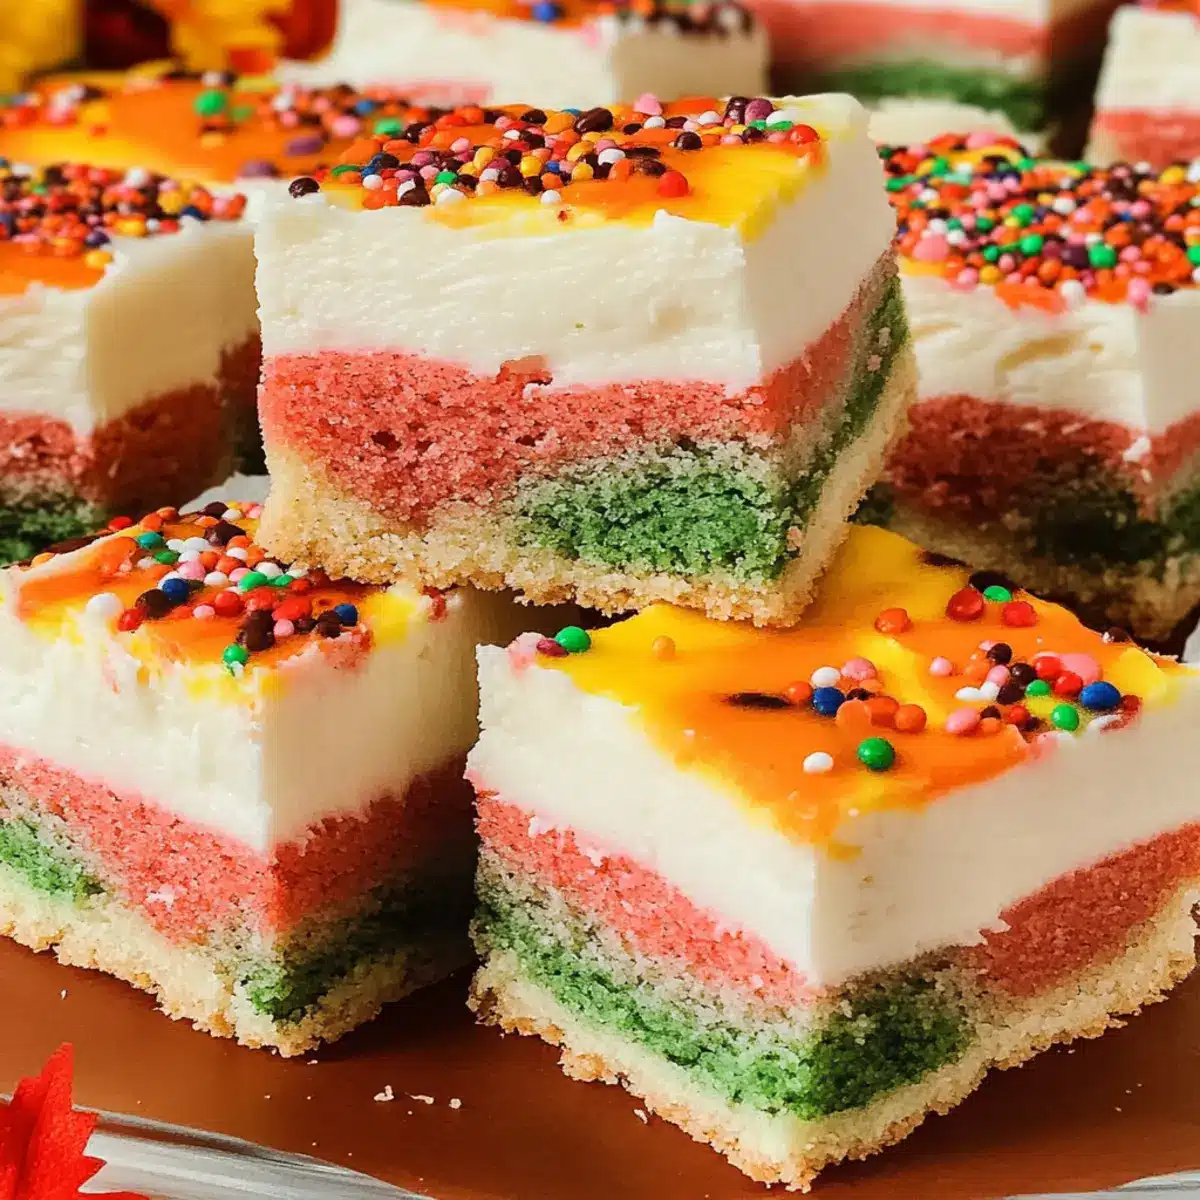
As the leaves turn and the air cools, my kitchen becomes a canvas for fall’s vibrant hues—especially when I’m whipping up a batch of Harvest Marble Sugar Cookie Bars. These colorful, buttery delights capture the spirit of the season with marbled patterns that are almost too pretty to eat. Not only are they a feast for the eyes, but their delightful texture and rich buttercream frosting make them an irresistible treat for autumn gatherings or cozy nights in. Plus, they’re quick to prepare, meaning you’ll have more time to enjoy the festive activities. Intrigued by how this recipe balances elegance and ease? Let’s dive into the delightful details!
Why Will You Adore These Cookie Bars?
Colorful Delight: Each slice of these Harvest Marble Sugar Cookie Bars is a visual feast, showcasing stunning marbled colors that brighten up any gathering.
Rich, Buttery Flavor: The buttery richness of the bars is perfectly complemented by the creamy buttercream frosting, making each bite utterly indulgent.
Easy to Make: With straightforward steps, you’ll whip these up in no time, leaving you free to bask in the autumn festivities.
Perfect for Sharing: Ideal for potlucks or family gatherings, these cookie bars are bound to impress guests of all ages. If you’re looking for more festive sweets, try our Harvest Marble Cookies for a unique twist!
Versatile Variations: Enhance the flavor by incorporating spices or swap food coloring for natural alternatives, allowing you to personalize your baking experience.
Harvest Marble Sugar Cookie Bars Ingredients
For the Cookie Bars
• 1 cup Butter – Use unsalted butter for better control of salt levels, providing richness and tenderness.
• 2 cups Granulated Sugar – Sweetens the dough and contributes to its structure; consider substituting half with brown sugar for a richer flavor.
• 4 Large Eggs – They provide moisture and act as a binding agent; remember to use room temperature eggs for better mixing.
• 2 teaspoons Vanilla Extract – Pure vanilla is preferred over imitation as it enhances the overall flavor.
• 5 cups All-Purpose Flour – The foundation for the cookie bars’ structure; no substitutes are recommended for traditional texture.
• 1/2 teaspoon Baking Soda – A leavening agent crucial for helping the cookie bars rise; check the expiration date for best results.
For the Frosting
• 1 batch of The Best Buttercream Frosting – Homemade frosting offers the best flavor for topping these bars; consider cream cheese frosting for a delightful twist.
These Harvest Marble Sugar Cookie Bars are not just a treat—they’re an experience, combining flavors and colors that will wow your fall gatherings!
Step‑by‑Step Instructions for Harvest Marble Sugar Cookie Bars
Step 1: Cream the Butter and Sugar
In a large mixing bowl, cream together 1 cup of softened unsalted butter and 2 cups of granulated sugar using an electric mixer on medium speed. Beat until the mixture is light and fluffy, about 3 to 5 minutes. This creates a rich base for your Harvest Marble Sugar Cookie Bars, ensuring they are tender and flavorful.
Step 2: Incorporate Eggs and Vanilla
Add 4 room temperature large eggs, one at a time, mixing well after each addition. Then, stir in 2 teaspoons of pure vanilla extract. Continue mixing on low speed until everything is combined smoothly. The mixture should look glossy and creamy, showcasing the delicious flavors that will infuse your cookie bars.
Step 3: Combine Dry Ingredients
In a separate bowl, whisk together 5 cups of all-purpose flour and 1/2 teaspoon of baking soda. Gradually add this dry mixture to the wet ingredients, mixing on low speed until just incorporated. Be careful not to overmix; stop when no flour is visible. This step is essential for achieving the perfect texture in your Harvest Marble Sugar Cookie Bars.
Step 4: Divide the Dough
Once the dough is well combined, transfer it to a clean surface, and divide it into five equal portions. Leave one portion plain, and color the other four portions with food coloring in shades of red, orange, gold, and sage. Knead gently until the colors are vibrant, creating a beautiful marbled effect in your cookie bars.
Step 5: Prepare the Baking Sheet
Line a baking sheet with parchment paper to prevent sticking. Randomly place pieces of the plain and colored dough onto the sheet, mixing them up for a pretty marbled look. Use your hands to ensure that the pieces are distributed evenly across the surface, setting the stage for your Harvest Marble Sugar Cookie Bars.
Step 6: Press and Flatten the Dough
Press down on the mixed pieces of dough with your fingers or a flat spatula, shaping them into a cohesive slab that is about 3/4 inch thick. This ensures even baking and gives your bars a uniform appearance. Optionally, place another piece of parchment on top and gently press down to smooth the surface.
Step 7: Bake the Cookie Bars
Preheat your oven to 375°F (190°C). Bake the cookie slab in the preheated oven for 10-15 minutes, or until a toothpick inserted into the center comes out clean. Keep an eye on the bars as they bake—avoid overbaking to maintain their soft, chewy texture, which is the hallmark of these Harvest Marble Sugar Cookie Bars.
Step 8: Cool and Frost
Once baked, remove the cookie bars from the oven and allow them to cool completely in the pan on a wire rack. Cooling is crucial to prevent melting when you spread the frosting. Once cooled, generously frost the bars with a batch of the best buttercream frosting, creating a beautiful layer on top.
Step 9: Add the Finishing Touches
To make these Harvest Marble Sugar Cookie Bars truly festive, sprinkle your favorite fall-themed sprinkles over the frosted surface. This final touch adds an exciting burst of color and makes them perfect for sharing at any autumn gathering or celebration!
Step 10: Slice and Serve
Using a sharp knife, carefully slice the cooled and frosted cookie bars into squares or rectangles. Serve them fresh at your next gathering, and watch as guests fall in love with both their stunning appearance and rich, buttery flavor. These delightful treats are sure to be a hit!
How to Store and Freeze Harvest Marble Sugar Cookie Bars
Room Temperature: Store your cookie bars in an airtight container at room temperature for up to 1 week. This keeps them soft and flavorful, ready for your enjoyment.
Freezer: For longer storage, freeze the Harvest Marble Sugar Cookie Bars by wrapping them tightly in plastic wrap, then placing them in a freezer-safe bag. They can be frozen for up to 3 months.
Thawing: When ready to enjoy, simply thaw the frozen bars in the refrigerator overnight or at room temperature for about 1 hour. Frost them after thawing if desired.
Reheating: If you prefer a warm treat, gently reheat them in the microwave for 10-15 seconds. This will bring back their delightful softness, making them a comforting indulgence.
Make Ahead Options
These Harvest Marble Sugar Cookie Bars are perfect for meal prep enthusiasts looking to save time in the kitchen! You can prepare the cookie dough up to 24 hours in advance—simply follow the instructions up to the mixing stage, then cover and refrigerate it. For best results, separate the colored dough pieces into individual containers to prevent drying out. When you’re ready to bake, take the dough out and let it sit at room temperature for about 15 minutes before following the baking instructions. Once baked, these bars can also be frosted 1-3 days in advance; just ensure they are cooled completely and stored in an airtight container to maintain their wonderful softness. Get ready for baking bliss and enjoy more quality time this fall!
Expert Tips for Harvest Marble Sugar Cookie Bars
-
Mix Wisely: Avoid overmixing the dough; stop when no flour is visible to ensure your Harvest Marble Sugar Cookie Bars remain soft and tender.
-
Cool Before Frosting: Make sure the bars are completely cooled before frosting. Frosting on warm bars can lead to a gooey mess, losing that beautiful finish.
-
Check for Doneness: Use a toothpick to check for doneness rather than relying solely on color. The bars should spring back slightly when touched and the toothpick should come out clean.
-
Be Bold with Colors: Experiment with different color combinations for a unique presentation. It allows for personal flair while retaining the classic flavor of the Harvest Marble Sugar Cookie Bars.
-
Storage Savvy: Keep these bars in an airtight container for maximum freshness. They can stay good at room temperature for up to one week, or freeze for later enjoyment!
Harvest Marble Sugar Cookie Bars Variations
Feel free to get creative with these delightful cookie bars to suit your taste and dietary preferences!
-
Natural Colors: Swap out artificial food coloring for natural alternatives like beet juice for red or spinach puree for green.
-
Spice It Up: Add a teaspoon of cinnamon or nutmeg to your dough for a warm, autumnal flavor that perfectly complements the festive essence of fall.
-
Chocolate Delight: Incorporate chocolate chips into the dough or enhance the frosting with cocoa powder for a rich chocolate buttercream.
-
Nutty Flavor: Mix in chopped walnuts or pecans for added crunch and a nutty twist that pairs beautifully with the buttery cookie base.
-
Frosting Variations: Alternate the buttercream frosting with cream cheese frosting for a tangy kick that contrasts perfectly with the sweet cookies.
-
Burst of Citrus: Add a teaspoon of orange or lemon zest to your dough for a refreshing citrus note that brightens each bite.
-
Dairy-Free Option: To make these bars dairy-free, substitute the butter with vegan butter and use almond milk in place of eggs.
-
Extra Crunch: Top the frosted bars with crushed caramel corn for an unexpected crunchy twist, similar to our delicious Harvest Caramel Corn.
These variations invite you to personalize your baking experience while ensuring every bite remains delicious. Whether you’re sharing at a gathering or enjoying them solo, these twists will make your Harvest Marble Sugar Cookie Bars a hit!
What to Serve with Harvest Marble Sugar Cookie Bars
Indulge in an autumn-inspired feast that enhances the vibrant flavors and festive colors of your cookie bars.
- Creamy Hot Chocolate: The rich, velvety texture of hot chocolate pairs beautifully, creating a delightful contrast with the sweetness of the cookie bars.
- Sparkling Apple Cider: A bubbly treat that harmonizes with the fall flavors, bringing a refreshing zing to your dessert experience.
- Whipped Cream Topping: A dollop of freshly whipped cream adds lightness, complementing the buttery richness of the bars perfectly.
- Pumpkin Spice Latte: The spiced warmth of this seasonal favorite enhances the autumn vibe, providing a cozy pairing for your sweet treats.
For an elevated experience, consider serving the cookie bars alongside a scoop of vanilla ice cream. The melting ice cream creates a delightful marriage of warm and cold, making each bite an indulgent experience. Enjoy!
Harvest Marble Sugar Cookie Bars Recipe FAQs
What is the best way to select ripe ingredients for the Harvest Marble Sugar Cookie Bars?
Absolutely! For the butter, ensure it’s unsalted and softened to room temperature. This creates a better emulsion when mixed with sugar. When it comes to granulated sugar, opt for fresh, as older sugar can clump and affect texture. Always choose large eggs at room temperature for better blending into the dough.
How should I store the Harvest Marble Sugar Cookie Bars and how long will they last?
You can store your cookie bars in an airtight container at room temperature for up to 1 week, which helps retain their soft and chewy texture. If you have any leftovers or want to make them ahead of time, freeze them wrapped tightly in plastic wrap and then in a freezer-safe bag for up to 3 months. This is a fantastic way to enjoy these vibrant treats later!
Can I freeze the Harvest Marble Sugar Cookie Bars and if so, how?
Absolutely! To freeze your cookie bars, let them cool completely after baking. Wrap each bar with plastic wrap individually for best results, then place them all in a freezer-safe bag. When you’re ready to indulge, just thaw them overnight in the refrigerator or at room temperature for about 1 hour before serving.
What if my cookie bars don’t rise properly, how can I troubleshoot this?
If your Harvest Marble Sugar Cookie Bars don’t rise as expected, it could be due to outdated baking soda. Ensure that your baking soda is fresh—check the expiry date on the package. You should also make sure not to overmix your dough; mixing just until combined ensures the leavening agents can work effectively. Lastly, a proper oven temperature is critical—consider using an oven thermometer if your baked goods consistently underperform.
Are there any dietary considerations when making Harvest Marble Sugar Cookie Bars?
Very! If you have allergies, the primary concerns here are gluten and eggs, as these are key ingredients in the recipe. For gluten-free alternatives, you can experiment with flour blends designed for baking. Additionally, if you’re looking to make the bars dairy-free, consider using vegan butter and a dairy-free frosting option. Always check the labels on your food coloring and sprinkles, as some may contain allergens.
Can I substitute any of the ingredients in the Harvest Marble Sugar Cookie Bars?
Yes, you can! For the flour, if you’re looking to switch up the flavor, you might consider adding spices like cinnamon or nutmeg. You can also replace half the granulated sugar with brown sugar for a deeper flavor. If you want natural color alternatives, beet juice can replace red food coloring and turmeric for yellow! Feel free to get creative while keeping the integrity of the cookie simple and delightful!
Harvest Marble Sugar Cookie Bars That Wow Your Fall Gatherings
Ingredients
Equipment
Method
- Cream together the butter and sugar until light and fluffy.
- Incorporate eggs one at a time and add vanilla extract.
- Combine flour and baking soda, then gradually mix into wet ingredients.
- Divide the dough, color portions with food coloring, and create a marbled effect.
- Prepare a baking sheet lined with parchment paper and place dough pieces for marbling.
- Press the dough into a cohesive slab, about 3/4 inch thick.
- Bake at 375°F for 10-15 minutes, or until a toothpick comes out clean.
- Cool completely in the pan before frosting.
- Frost with buttercream frosting and sprinkle with fall-themed sprinkles.
- Slice into squares and serve.
Leave a Reply